Labwc
A complete, productivity-focused Labwc desktop experience — thoughtfully configured, highly customizable, and unified by a powerful theme engine.
Archcraft's labwc configuration brings together a carefully selected collection of tools, utilities, scripts, and desktop components to deliver a cohesive and customizable desktop experience. From window management and application launchers to system controls, workflow utilities, and dynamic theming, every component is configured to work together.
Designed with both functionality and aesthetics in mind, it provides a practical desktop environment without unnecessary complexity.
Get the complete labwc configuration from Ko-fi and support the continued development of Archcraft.
Features
This is more than a collection of dotfiles. It's a complete, productivity-focused Labwc desktop setup, with carefully configured applications, integrated utilities, custom scripts, and a unified theme engine.
Desktop Environment
- Fully Configured Labwc — A comprehensive compositor configuration with window management, layouts, workspaces, decorations, keyboard shortcuts, mouse bindings, and other available options configured through
rc.xml. - Feature-Rich Desktop Menu — An extensive menu system with multiple styles, icon support, and dynamic pipemenus for launching applications, running commands, managing windows, browsing files and locations, and accessing system utilities.
- Advanced Display Management — Automatic display profile switching when monitors are connected or disconnected, saved display configurations, resolution and scaling controls, and virtual monitor management through integrated menus and scripts.
- Multiple Statusbar Layouts — A fully configured Waybar setup with modular configuration files, independently managed modules, and multiple statusbar layouts.
- Crystal Dock — A fully configured dock with customizable appearance, panel settings, positioning, and visibility options.
Applications and Launchers
- Three Configured Terminals — Alacritty, Kitty, and Foot, each with dedicated configuration files for appearance, colors, fonts, and general settings.
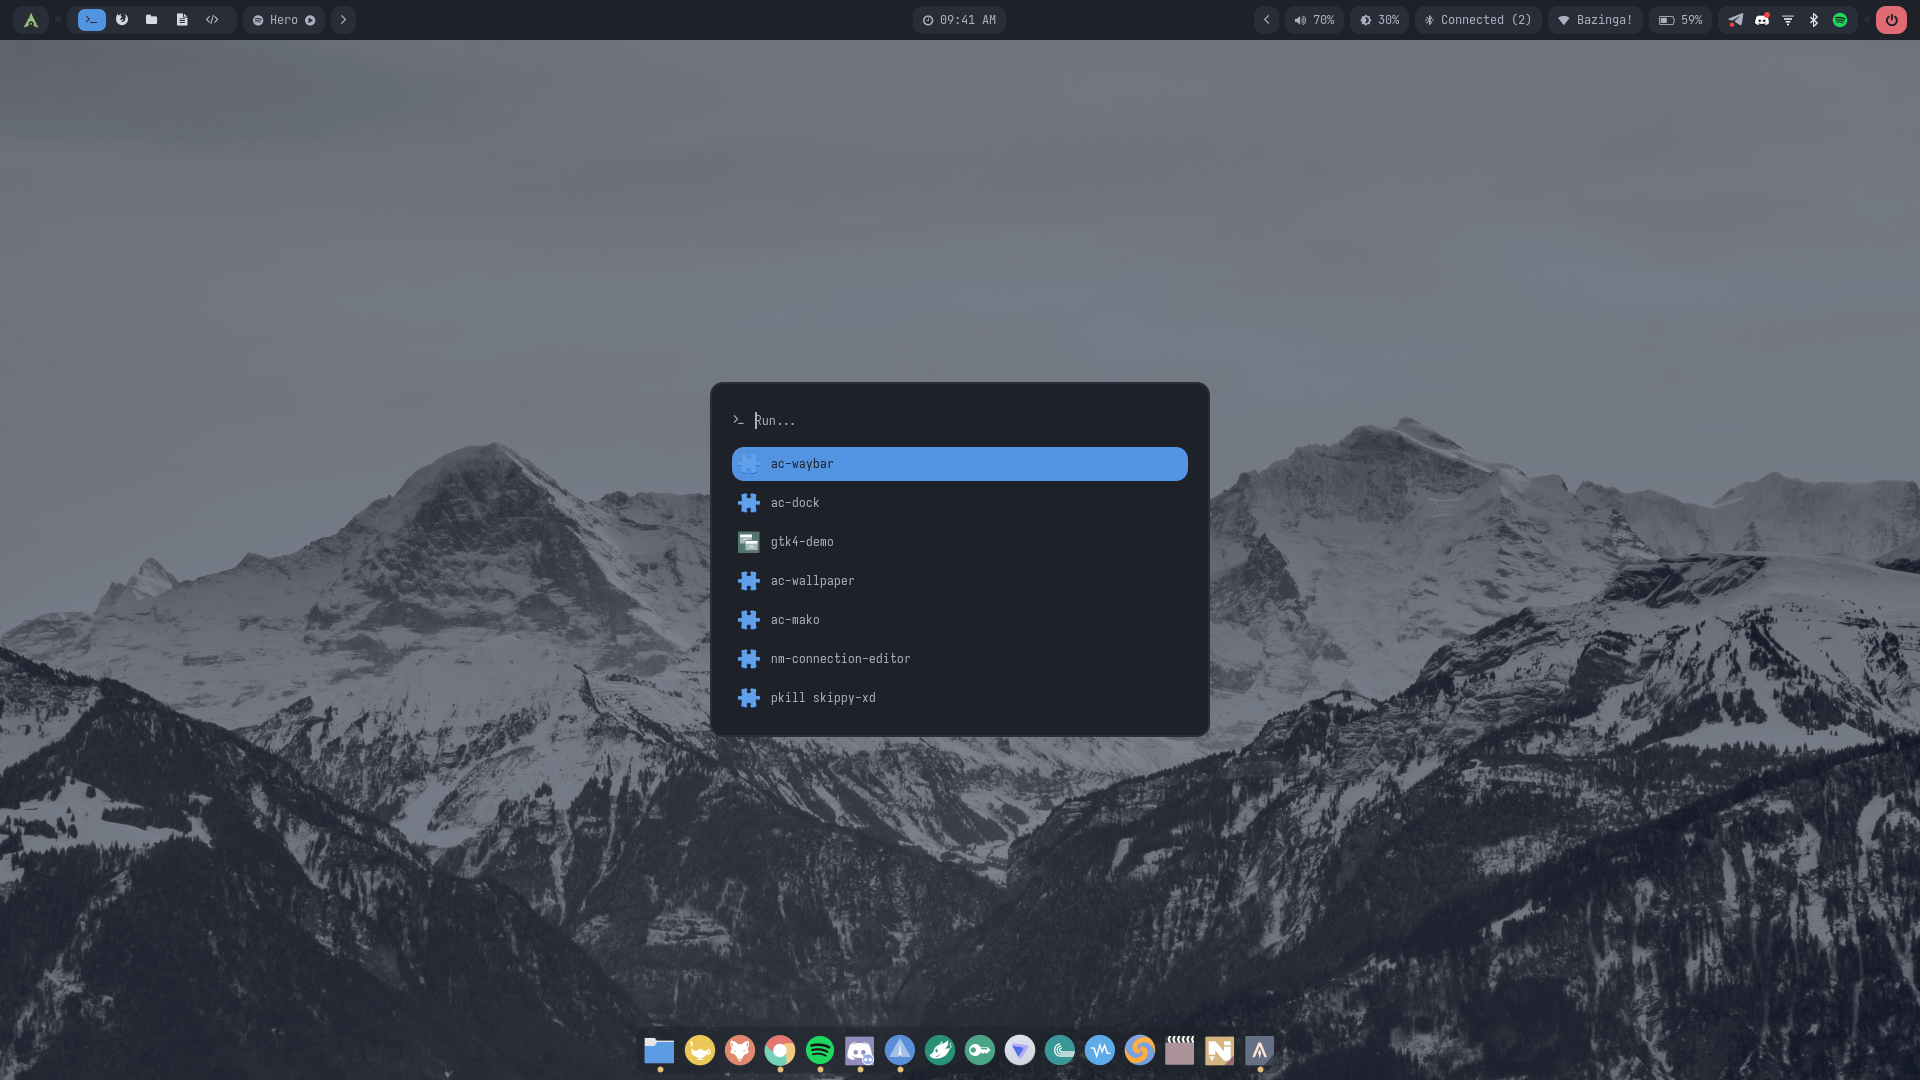
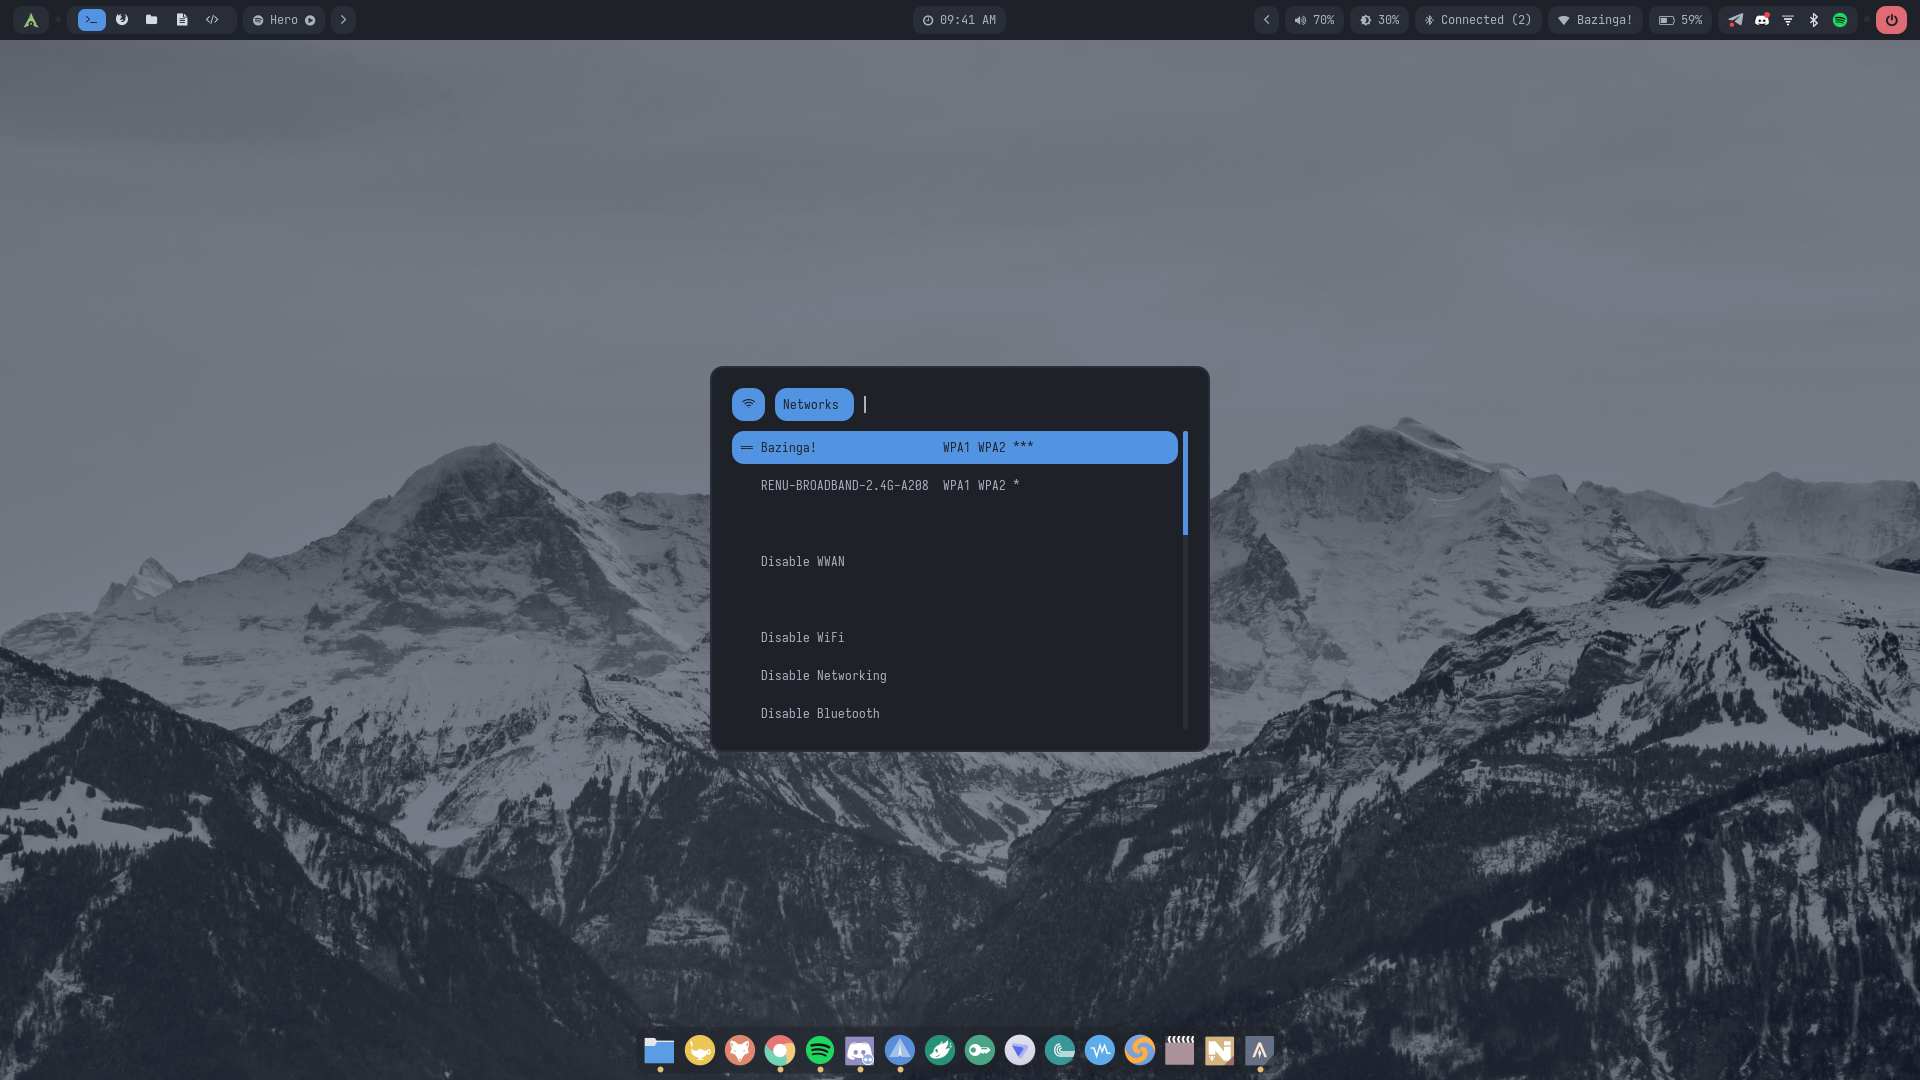
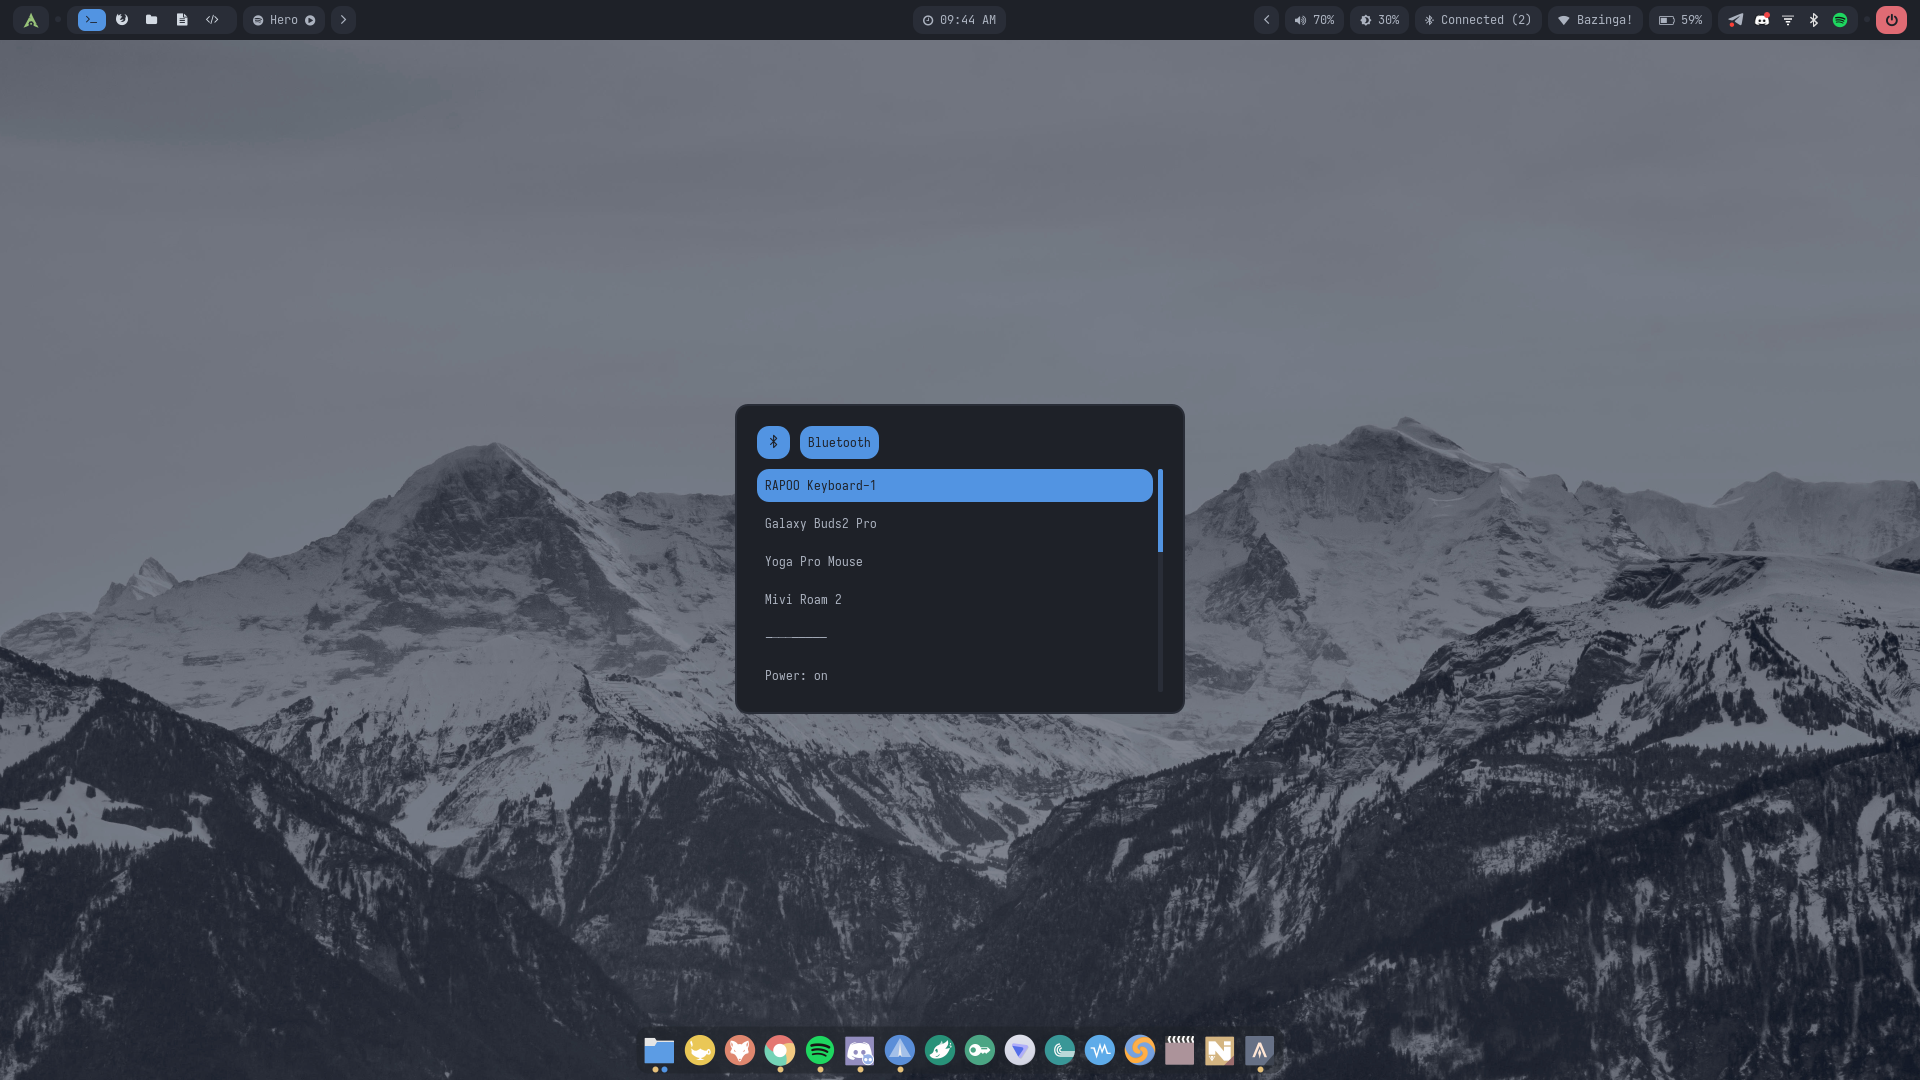
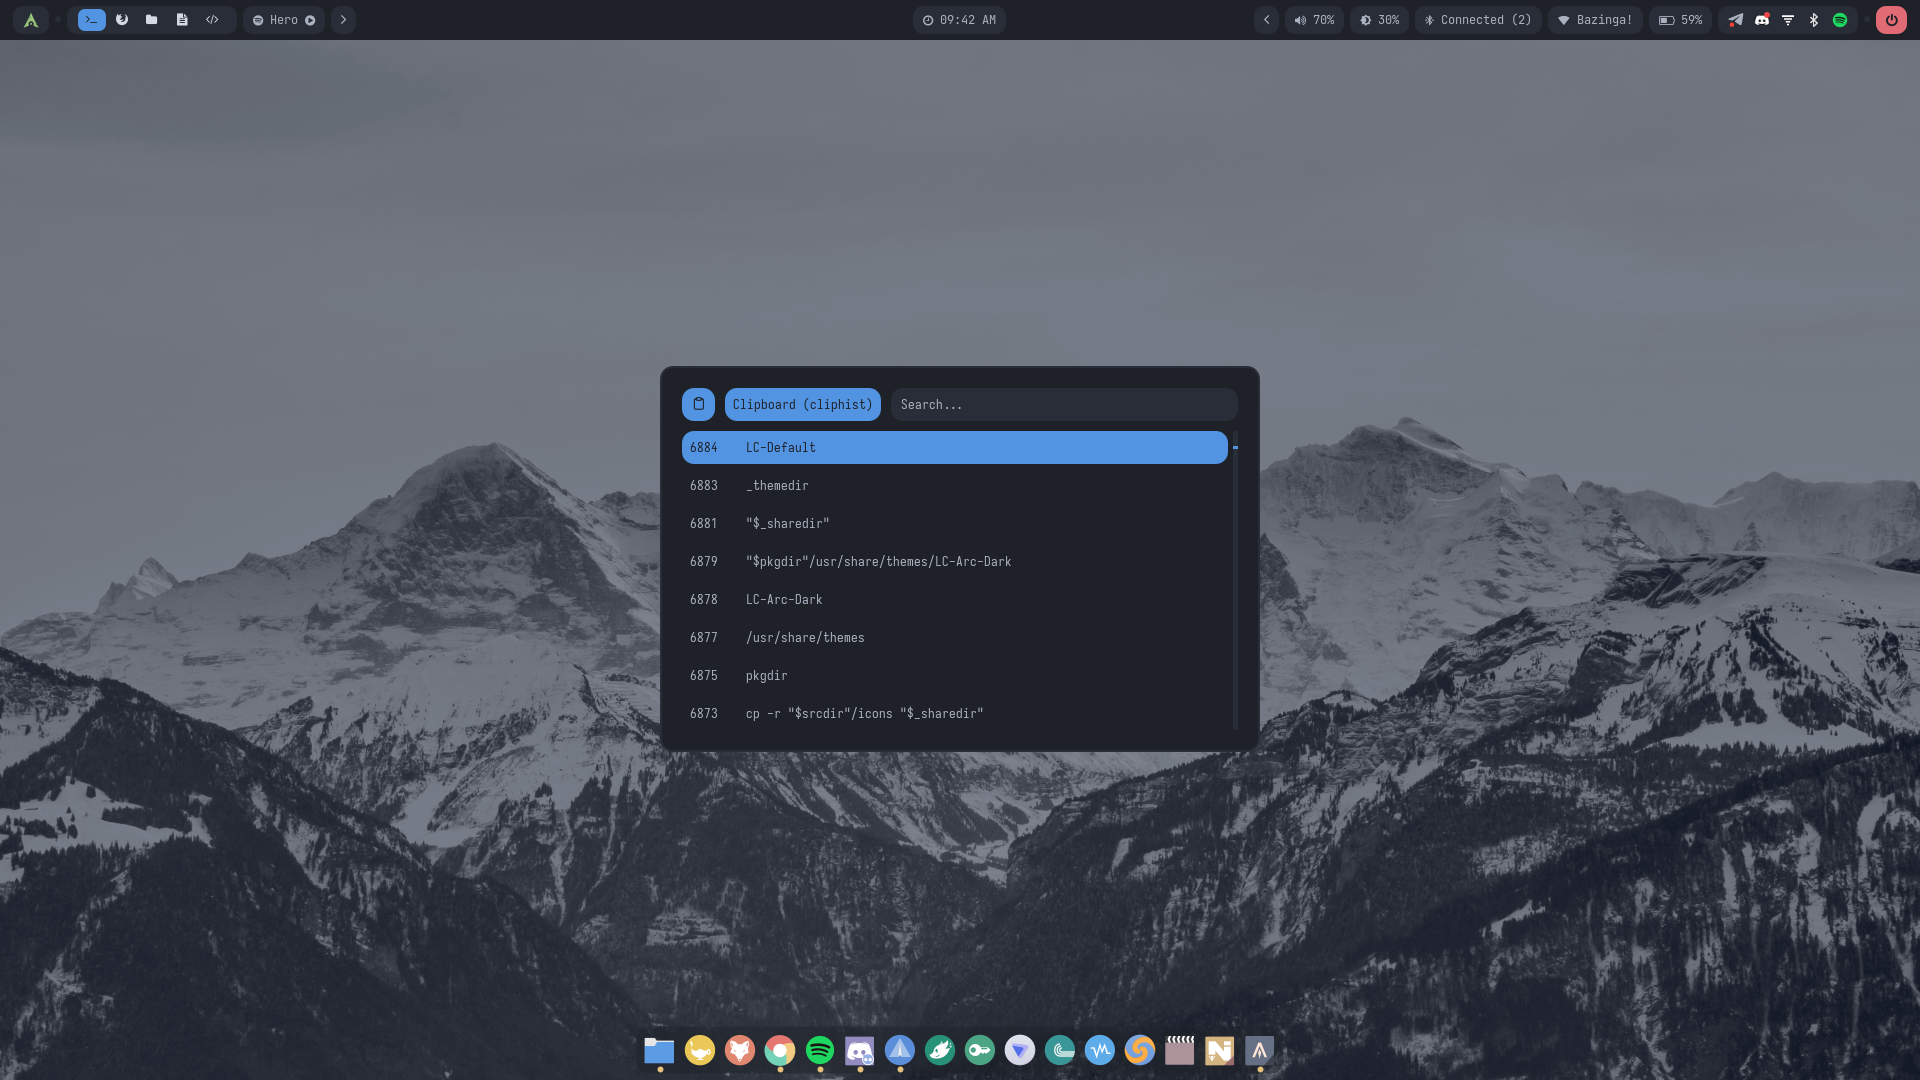
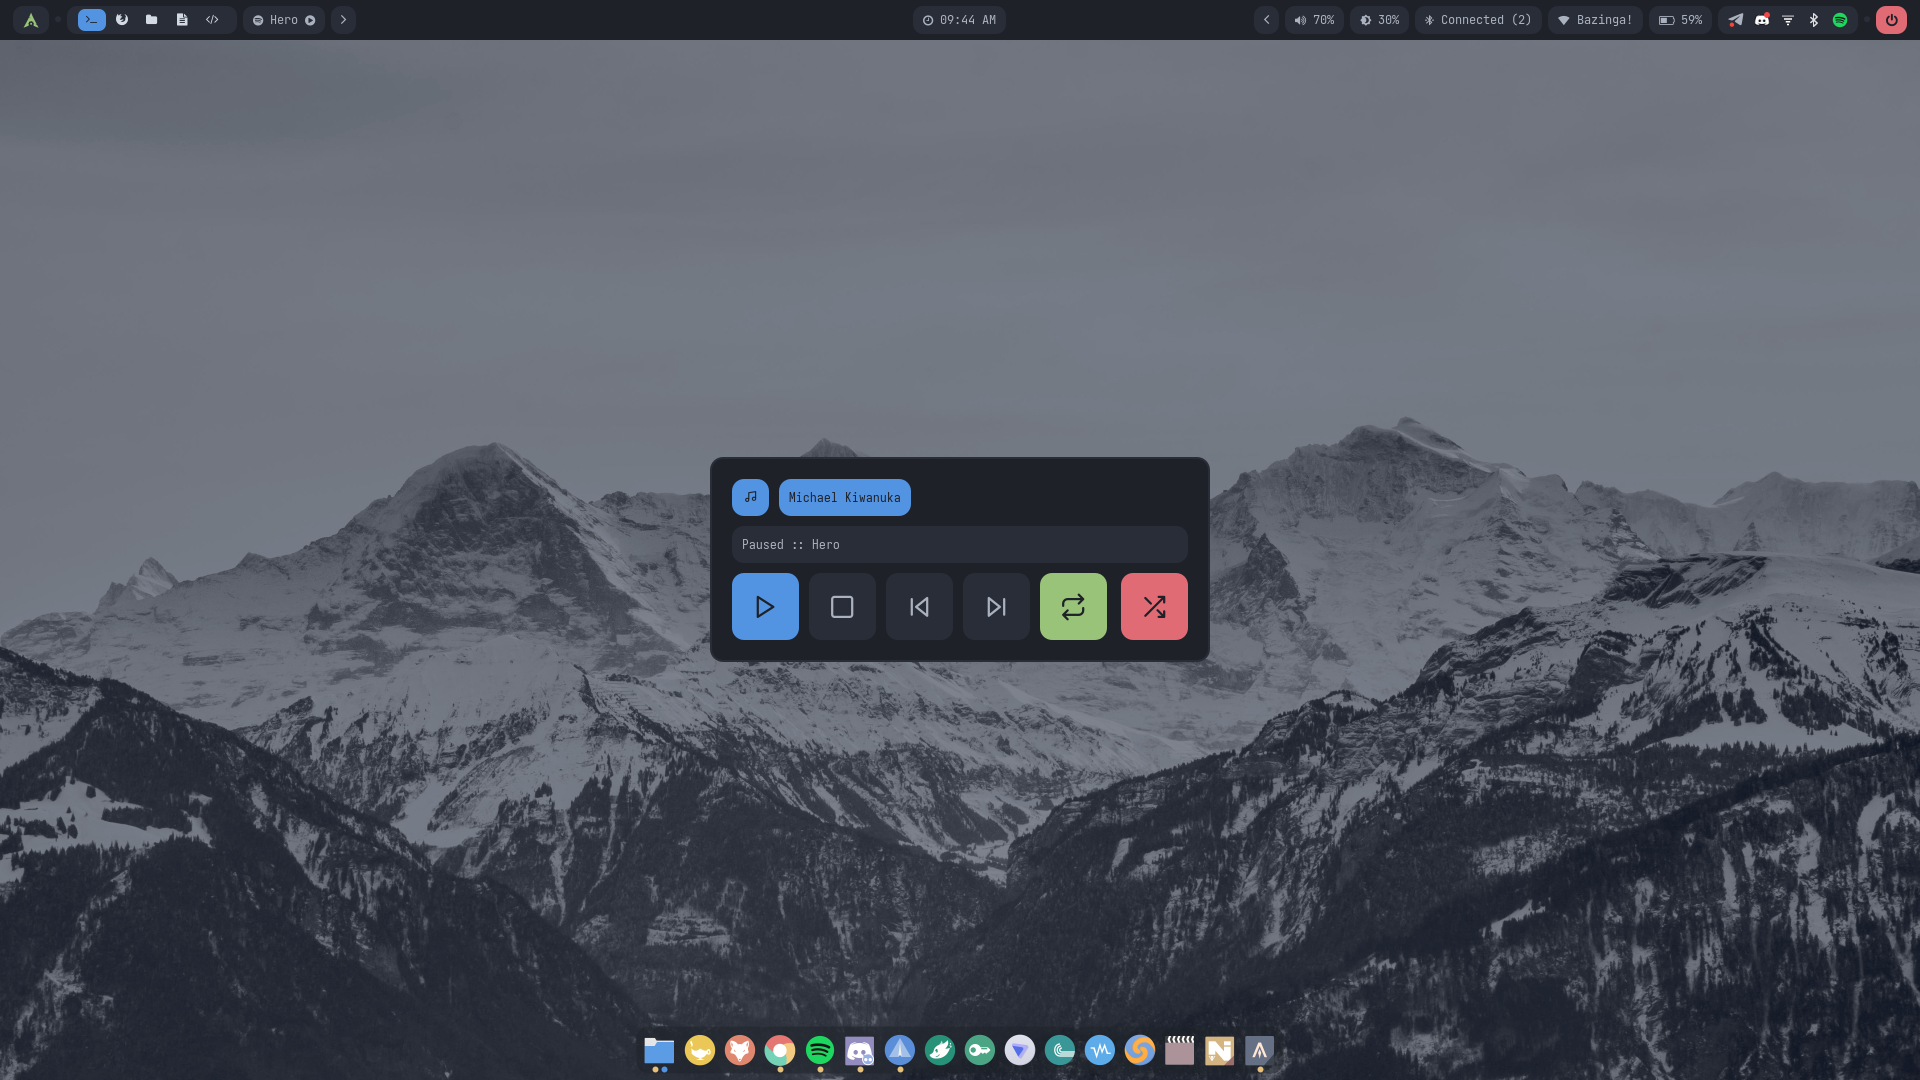
- Rofi Applets — A collection of menus and applets for launching applications, running commands, browsing files, taking screenshots, managing themes, browsing and setting wallpapers, gtk appearances, controlling media and sessions, handling network connections, accessing clipboard history, and launching applications with elevated privileges.
- Wofi Alternative Launcher — An alternative application launcher and session power menu.
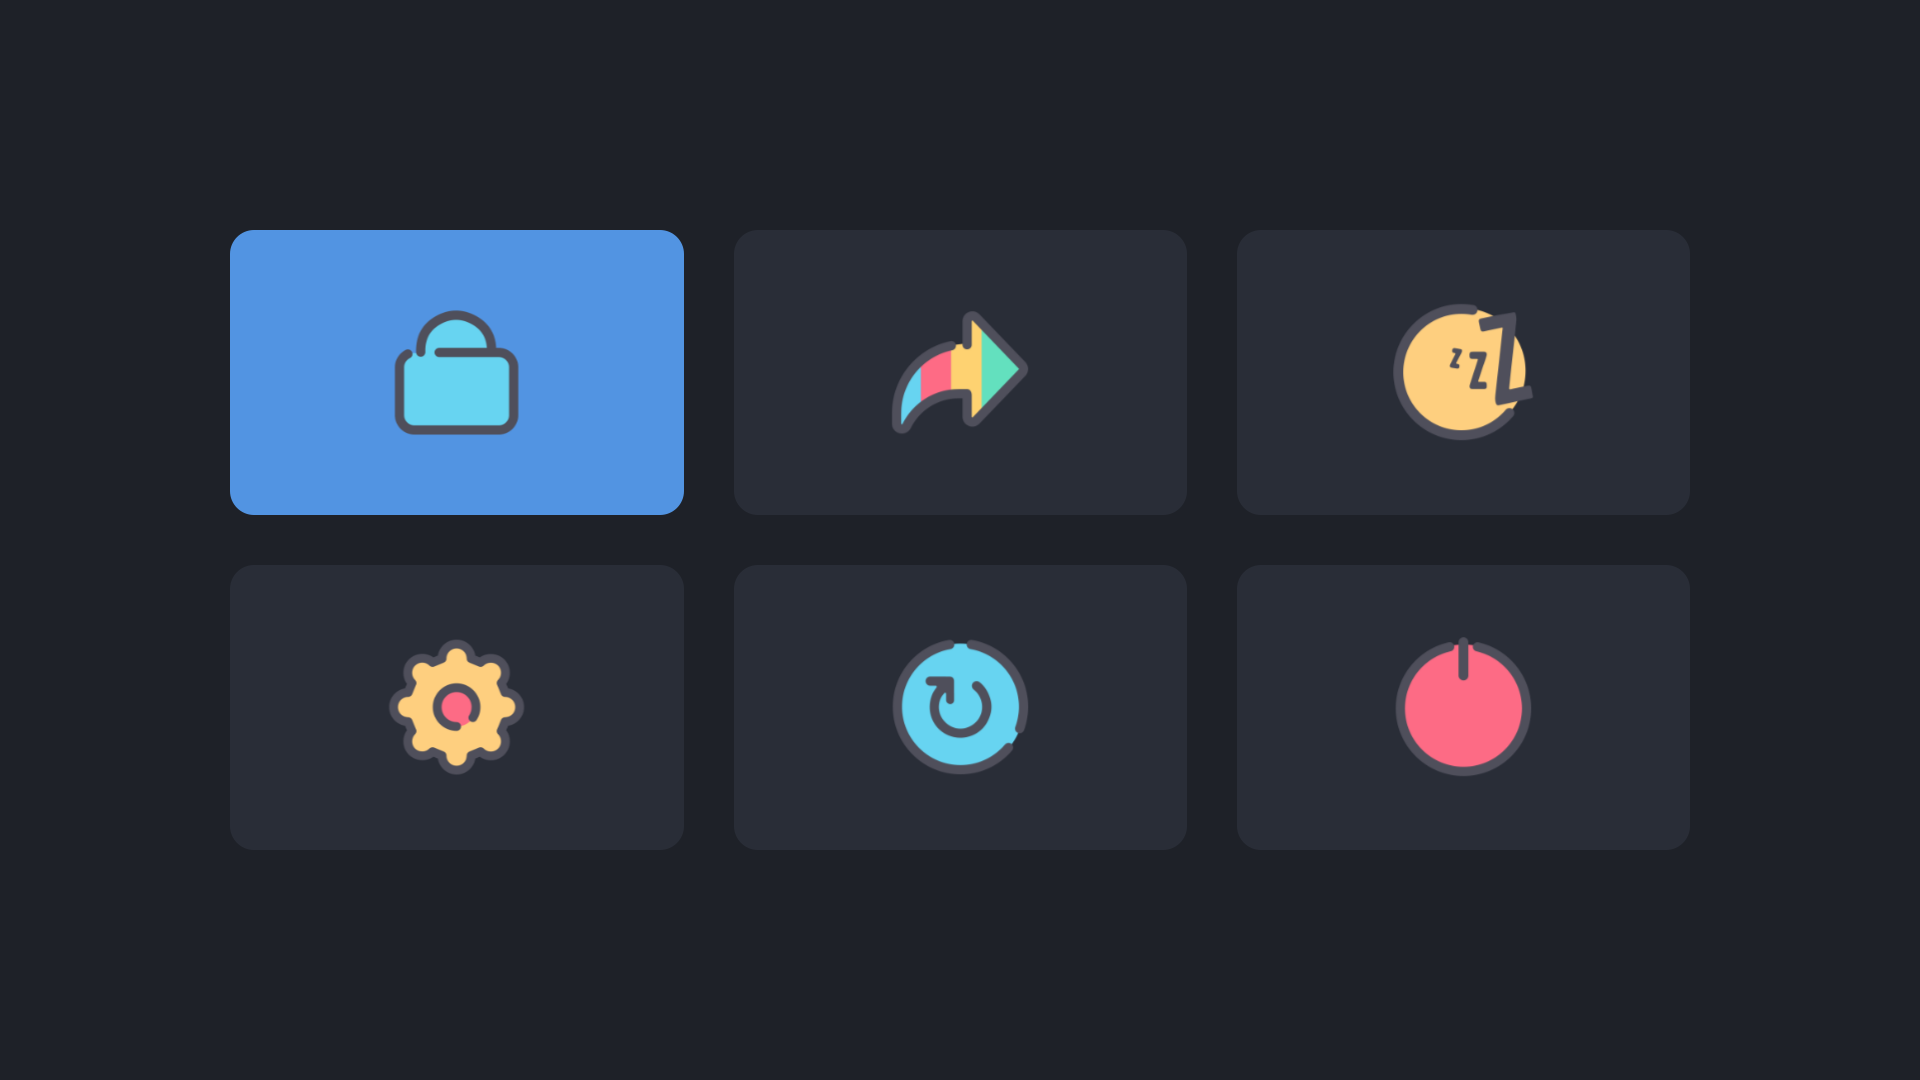
- Wlogout Session Manager — An alternative graphical interface for logging out, rebooting, shutting down, and managing the session.
Desktop Utilities
- Custom Notification Daemon — Mako is configured with dedicated settings, modular configuration options, and custom notification icons.
- Dedicated OSD — An on-screen display for system feedback, with configurable positioning, appearance, and icons that adapt their colors to the active theme.
- Extensive Script Collection — A range of utilities for managing the desktop, launching applications with custom configurations, displaying system information, and controlling system functions.
- Hardware Controls — Integrated brightness and volume controls with support for multiple backends.
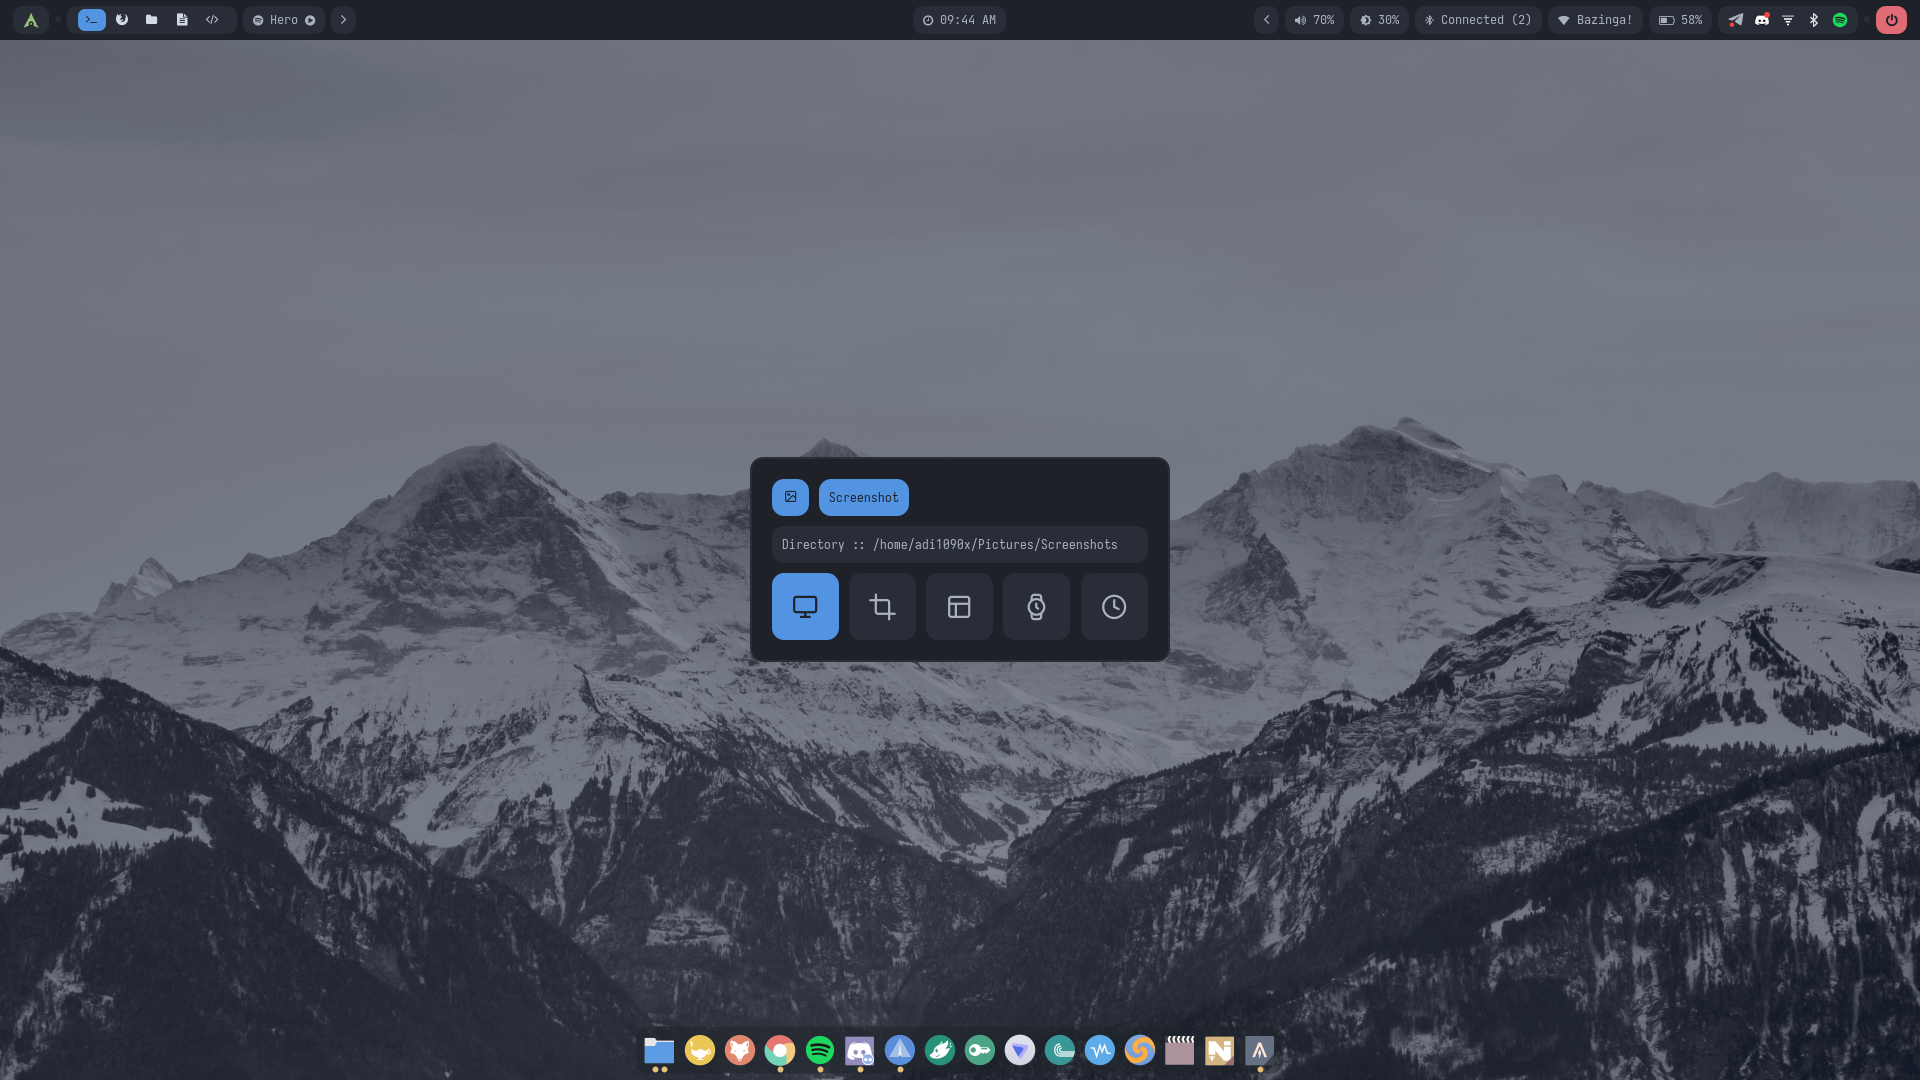
- Screenshot and Screen Recording — Dedicated tools and menus for capturing screenshots(selection, annotation, and editing through
satty) and recording the desktop(GPU Screen Recorder integration), with configurable options. - Clipboard Management — Clipboard history and retrieval through Cliphist and Rofi.
Session and Power Management
- Automatic Idle Management — Swayidle integration for managing idle behavior and triggering configured actions.
- Automatic Screen Locking — Integrated idle-triggered locking with support for the configured lockscreen options.
- Display Power Management — Automatic display power control during idle periods.
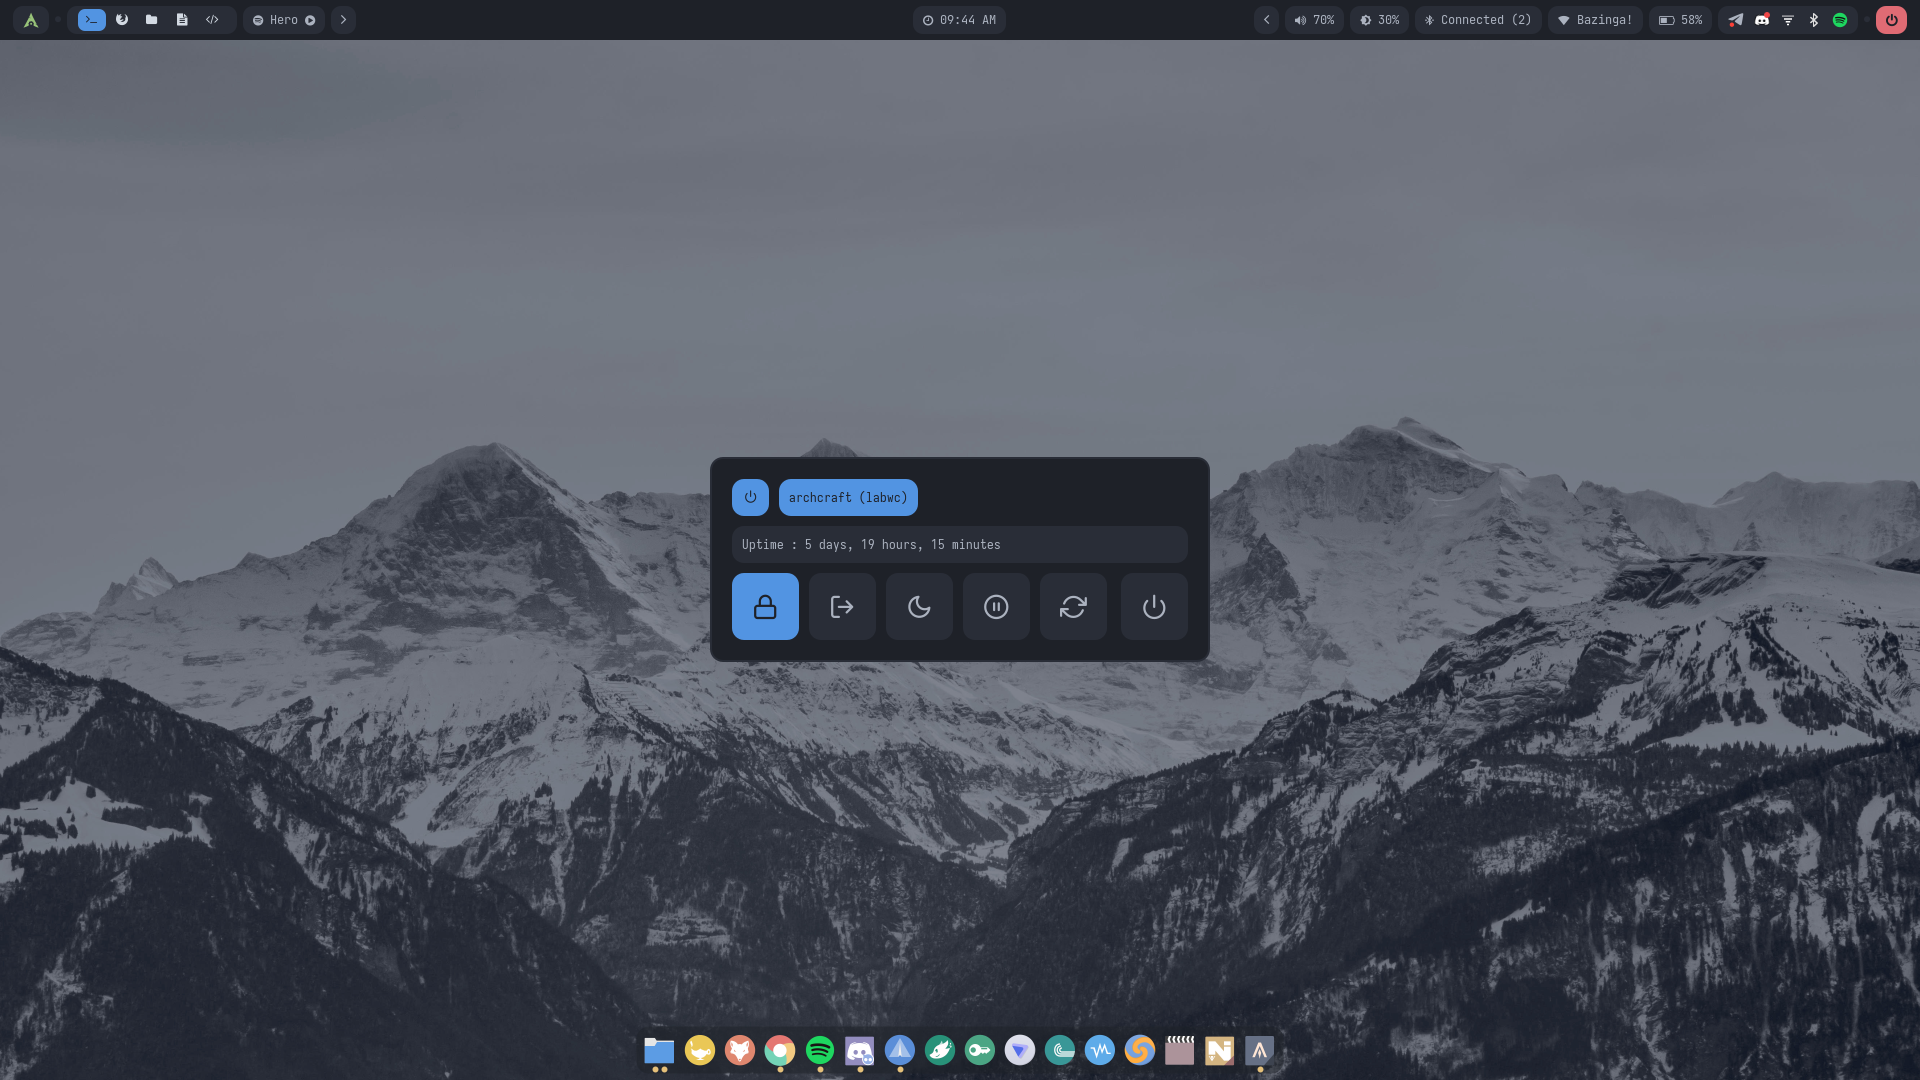
- Session Controls — Integrated session and power menus for locking, logging out, rebooting, and shutting down.
Theme Engine
- 45 Handcrafted Static Themes — A collection of carefully designed themes with distinct color palettes and visual styles.
- Dynamic Theme Generation — Generate an unlimited variety of color schemes using Pywal and randomly selected wallpapers.
- Unified Appearance — Apply themes consistently across Labwc, terminals, Waybar, dock, notifications, OSD, launchers, lock screens, GTK applications, and other supported components.
- Application Theme Integration — Theme switching also updates GTK appearance, Geany color schemes, and Satty window colors.
Lock Screen
- Veila — The default lockscreen, integrated with the desktop theme engine.
- Hyprlock — An alternative lockscreen with static and dynamic theme support.
- Swaylock — An additional fallback lockscreen option.
Customization and Management
- Comprehensive Keyboard and Mouse Bindings — Extensive shortcuts and mouse actions for window management, application launching, workspace navigation, display control, and system operations.
- Configurable Menus — Multiple menu styles, icon support, and preferences for changing menu appearance, editing configuration files, managing displays, switching themes, and viewing system information.
- Modular Configuration — Components are organized into dedicated directories and separate configuration files, making individual applications and desktop features easier to customize and maintain.
Obtain Files
There are two ways to get the Labwc Desktop configuration: a one-time purchase through Ko-fi or a monthly subscription through GitHub Sponsors.
Both options provide the complete configuration. The difference is how you access future releases and updates.
One-Time Purchase (Ko-fi)
Purchase the configuration directly from the Ko-fi Shop with a single payment.
- Pay once: No subscription or recurring charges.
- Choose your version: Purchase the specific release you want, such as
v1.0orv2.0. - Download anytime: Access your purchased version through your Ko-fi order.
- Future releases: Major versions are sold separately and require an additional purchase.
After completing your purchase, download the configuration archive from your Ko-fi order.
A one-time purchase grants access to the selected version only. For example, purchasing v1.0 does not automatically include v2.0 or later releases.
Monthly Sponsorship (GitHub)
Become a monthly sponsor through GitHub Sponsors to access the configuration and receive ongoing updates.
- Monthly subscription: Select the sponsorship tier that includes Labwc Desktop.
- Private repository: Get access to the dedicated GitHub repository containing the configuration files.
- Regular updates: Receive new releases, improvements, and bug fixes while your sponsorship remains active.
- Support development: Help fund continued development, maintenance, and future improvements.
This option is ideal for users who want to stay up to date with the latest improvements without purchasing each new release separately.
Access to the private repository requires an active sponsorship under an eligible tier. If your sponsorship ends, repository access will be revoked.
Previously downloaded files remain yours to use in accordance with the included license.
Compare Your Options
| Feature | Ko-fi | GitHub Sponsors |
|---|---|---|
| Payment | One-time | Monthly |
| Complete desktop configuration | ✅ | ✅ |
| Access to selected version | ✅ | ✅ |
| Future releases and updates | Separate purchase | Included while active |
| Private GitHub repository | ❌ | ✅ |
| Recurring payment | ❌ | ✅ |
| Supports development | ✅ | ✅ |
License and Usage
The Labwc Desktop configuration is distributed under a personal-use license, regardless of the purchase method.
You may customize the files for your own use and maintain private backups, including in private repositories.
However, redistributing, reselling, publicly uploading, or sharing the configuration files with others is not permitted, whether the files are original or modified.
Please read the included LICENSE file for the complete terms and conditions.
Installation
The Labwc Desktop configuration is distributed as a compressed archive containing the complete desktop setup, including configuration files, scripts, themes, and supporting resources.
Before proceeding with the installation, obtain the configuration files using one of the available options above.
Download and Extract
After obtaining the configuration, download the labwc_YYYY-MM-DD.tar.gz archive and save it to a directory of your choice.
Open a terminal in that directory and extract the archive:
tar -xzvf labwc_YYYY-MM-DD.tar.gz
Navigate to the extracted labwc directory:
cd labwc
The archive includes prebuilt packages for Archcraft, along with the configuration files and resources required for manual installation on other Linux distributions.
Choose your distribution below to continue with the installation.
- Archcraft
- Other Distributions
Install on Archcraft
On Archcraft, installation is straightforward. The provided package automatically installs the configuration along with all required dependencies.
Navigate to the archcraft directory and install the package using pacman:
cd archcraft
sudo pacman -U archcraft-labwc-X.Y-Z-any.pkg.tar.zst
Replace the package filename with the actual version included in the archive.
Once the installation is complete, log out and select labwc from your display manager's session menu.
Archcraft users can install the provided package directly. Manual configuration deployment and dependency installation are not required for this installation method.
Install on Other Distributions
If you're using Arch Linux or another Linux distribution, you can install the configuration manually. The setup is not limited to Arch-based distributions; it can run on any distribution that provides the required dependencies.
Install Dependencies
Install all the dependencies listed below using your distribution's package manager or an appropriate third-party package source before deploying the configuration.
Compositor and desktop components
labwc · labwc-tweaks-git · labwc-menu-generator-git · crystal-dock-git · waybar · mako · wlogout · wofi · rofi · veila-bin
Wayland utilities
swaybg · swayidle · swaylock · hyprpicker · hyprlock · grim · slurp · satty · wl-clipboard · cliphist · kanshi · wlr-randr · wlopm
System and media utilities
pulsemixer · wireplumber · libpulse · playerctl · brightnessctl · light · gpu-screen-recorder · yad
Terminals and supporting applications
alacritty · kitty · foot · imagemagick · pastel · python-pywal · xmlstarlet · python-gobject · gtk3 · gtk-layer-shell · xorg-xwayland
Desktop portals
xdg-desktop-portal · xdg-desktop-portal-wlr · xdg-desktop-portal-gtk
Package names and availability may vary between distributions. Some packages, particularly those with a -git or -bin suffix, may need to be obtained from the AUR or another compatible package source.
Make sure all required dependencies are installed before starting the labwc session.
Deploy the Configuration
Before installing the configuration, back up any existing labwc configuration you want to preserve.
From the extracted labwc directory, run:
backup="$HOME/.config/labwc.backup-$(date +%Y%m%d-%H%M%S)"

if [ -d "$HOME/.config/labwc" ]; then
    mv "$HOME/.config/labwc" "$backup"
fi

mkdir -p "$HOME/.config/labwc"
cd ./other-distros
cp -a ./files/. "$HOME/.config/labwc/"
sudo mkdir -p /usr/share/archcraft/labwc
sudo cp -a ./shared/. /usr/share/archcraft/labwc
This creates a timestamped backup of your existing configuration, then deploys the supplied dotfiles.
Install Appearance Assets
For the intended desktop appearance, also install the fonts, GTK theme, icon theme, and cursor theme provided in the archive:
Follow the instructions in appearance/README.md file and install the required files.
Refer to your distribution's documentation for the appropriate installation locations.
Start labwc
Once the dependencies, configuration files, and appearance assets are installed, log out of your current session and select labwc from your display manager.
labwc is not pre-installed in the Archcraft WSE or Archcraft Prime ISOs.
You can still install it separately using the Archcraft installation package.
Configuration
The labwc desktop is built around a collection of independently configurable components, each responsible for a specific part of the desktop experience. These components are integrated through configuration files, scripts, and shared resources to provide a consistent and cohesive environment.
This section provides an overview of the configuration structure, explains the purpose of each component, and identifies the files you can modify to customize your desktop.
Configuration Structure
The main configuration files are stored in ~/.config/labwc. This directory contains the compositor settings, application configurations, themes, wallpapers, and scripts used throughout the desktop.
The directory structure is organized as follows:
~/.config
└── labwc
    ├── alacritty            # Alacritty terminal configuration
    ├── dock                 # Crystal Dock configuration
    ├── foot                 # Foot terminal configuration
    ├── kitty                # Kitty terminal configuration
    ├── mako                 # Notification daemon configuration
    ├── osd                  # OSD scripts and configuration
    ├── rofi                 # Rofi themes and configuration
    ├── scripts              # Desktop utilities and helper scripts
    ├── themes               # Theme definitions and management scripts
    ├── veila                # Veila lockscreen configuration and themes
    ├── wallpapers           # Desktop wallpapers
    ├── waybar               # Waybar configuration and modules
    ├── wlogout              # Wlogout configuration
    ├── wofi                 # Wofi configuration
    ├── autostart            # Session startup commands
    ├── environment          # Environment variables
    ├── hyprlock.conf        # Hyprlock configuration
    ├── kanshi.conf          # Display profile configuration
    ├── menu-glyphs.xml.in   # Menu template
    ├── menu-icons.xml.in    # Menu template
    ├── menu-minimal.xml.in  # Menu template
    ├── menu-simple.xml.in   # Menu template
    ├── menu.xml             # Compositor menu configuration
    ├── rc.xml               # Main labwc configuration
    ├── shutdown             # Session shutdown commands
    └── themerc-override     # Window decoration theme overrides

/usr/share/archcraft
└── labwc
    ├── icons                # Icons used by compositor menus
    ├── menulib              # Shared pipemenu functions
    └── pipemenus            # Compositor pipemenu scripts
The desktop configuration is organized across two directories:
~/.config/labwccontains user-level configuration files, application settings, themes, and scripts./usr/share/archcraft/labwccontains shared resources used by the labwc configuration, including menu icons, pipemenu scripts, and shared menu functions.
Both directories are part of the labwc configuration and should be deployed at their respective paths, regardless of the Linux distribution being used.
Terminal Emulators
The desktop includes three configured terminal emulators: Alacritty, Kitty, and Foot.
Alacritty is the default terminal, while Kitty and Foot are available as alternatives. Each terminal is launched with its corresponding configuration files from the labwc configuration directory.
- Alacritty
- Kitty
- Foot
Alacritty is the default terminal emulator. Its configuration is stored in ~/.config/labwc/alacritty and organized into separate files for general settings, appearance, colors, and fonts.
| File | Description |
|---|---|
alacritty.toml | Main configuration file |
appearance.toml | Appearance settings |
colors.toml | Color scheme |
fonts.toml | Font settings |
For detailed configuration options, refer to the Alacritty documentation or run man 5 alacritty in a terminal.
Kitty is provided as an alternative terminal emulator. Its configuration is stored in ~/.config/labwc/kitty.
| File | Description |
|---|---|
kitty.conf | Main configuration file |
appearance.conf | Appearance settings |
colors.conf | Color scheme |
fonts.conf | Font settings |
For detailed configuration options, refer to the Kitty documentation or run man kitty.conf in a terminal.
Foot is another lightweight terminal emulator available as an alternative. Its configuration is stored in ~/.config/labwc/foot.
| File | Description |
|---|---|
foot.ini | Main configuration file |
appearance.ini | Appearance settings |
colors.ini | Color scheme |
fonts.ini | Font settings |
For detailed configuration options, refer to the Foot documentation or run man foot.ini in a terminal.
Notifications
Mako is used as the notification daemon, handling desktop notifications from applications and system utilities.
The configuration is stored in:
~/.config/labwc/mako/config
You can modify this file to customize notification appearance, positioning, timing, and other supported options.
For a complete list of available settings, refer to the Mako documentation or run man 5 mako in a terminal.
Wallpaper Management
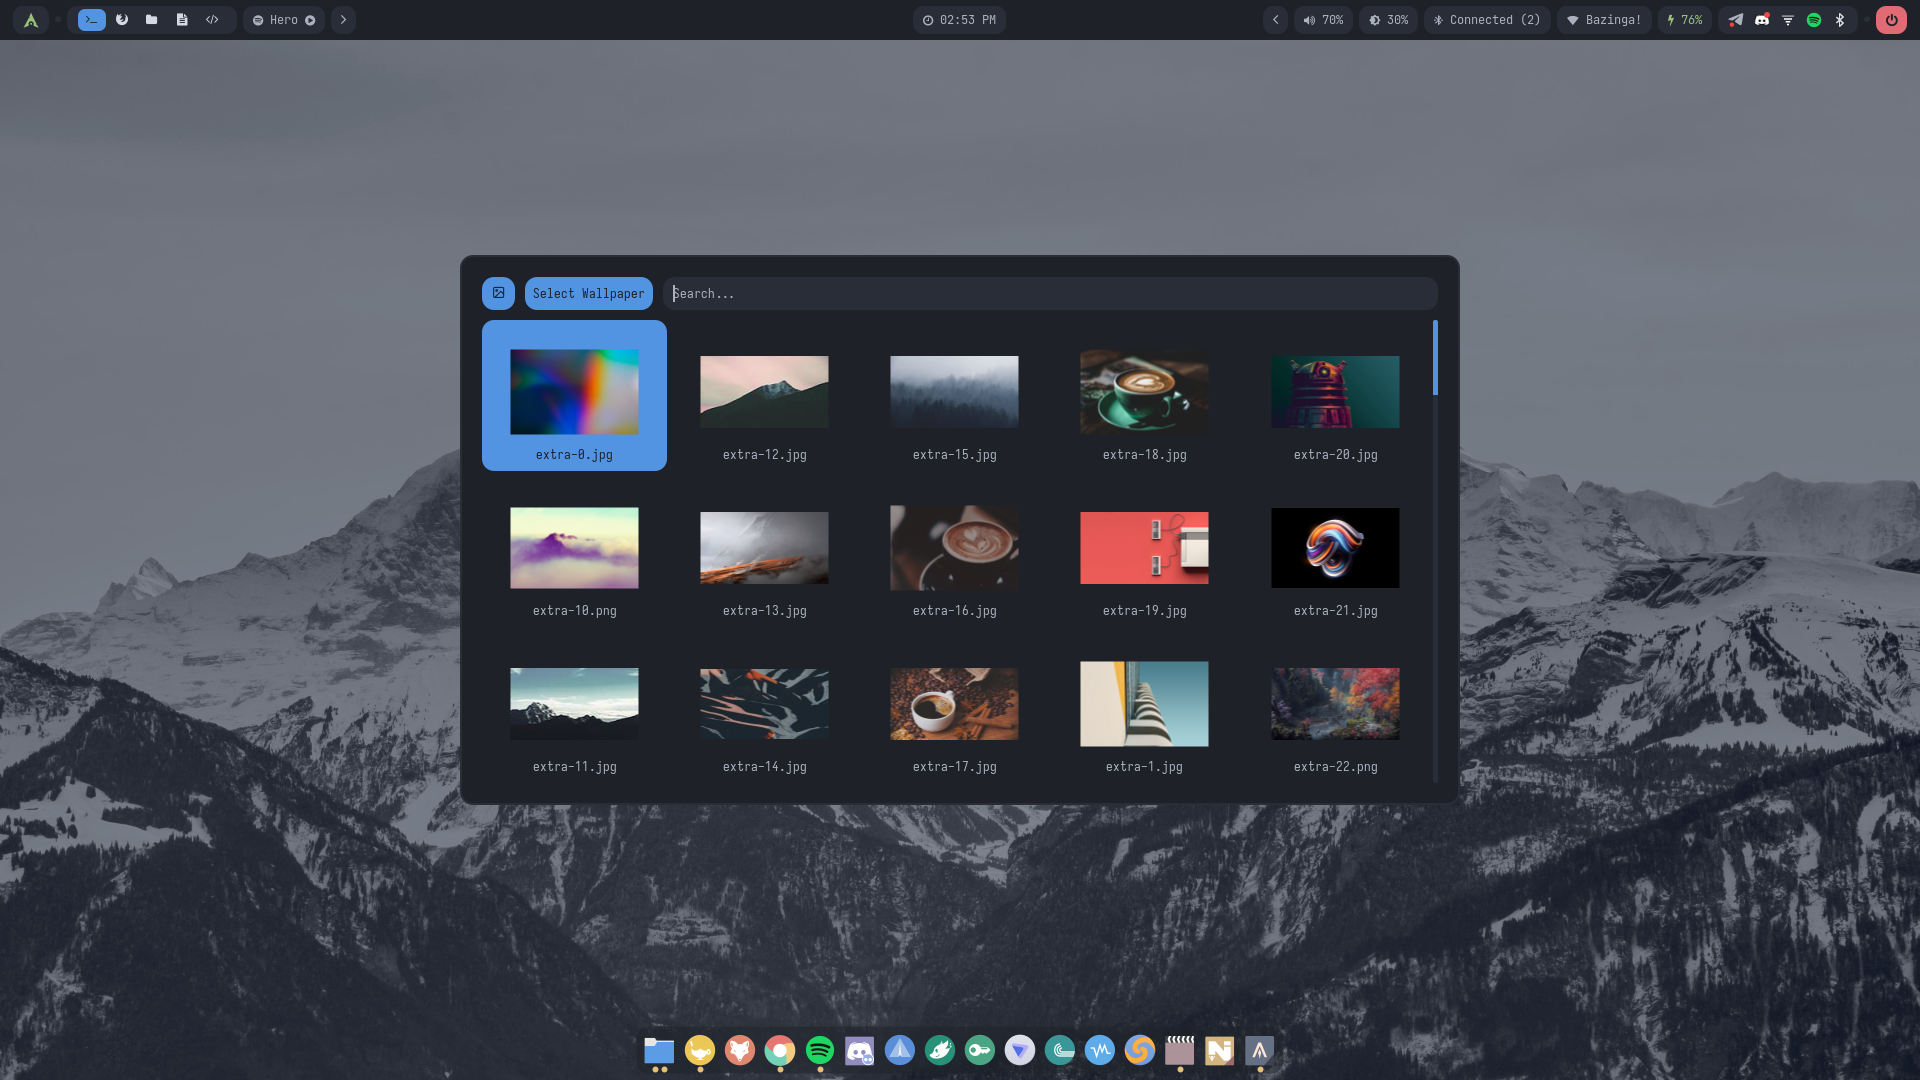
swaybg is used to display desktop wallpapers, while the rofi-wallpaper applet provides a convenient interface for managing them.
The applet supports multi-monitor setups and saves wallpaper preferences, allowing your selected wallpapers to persist across sessions.
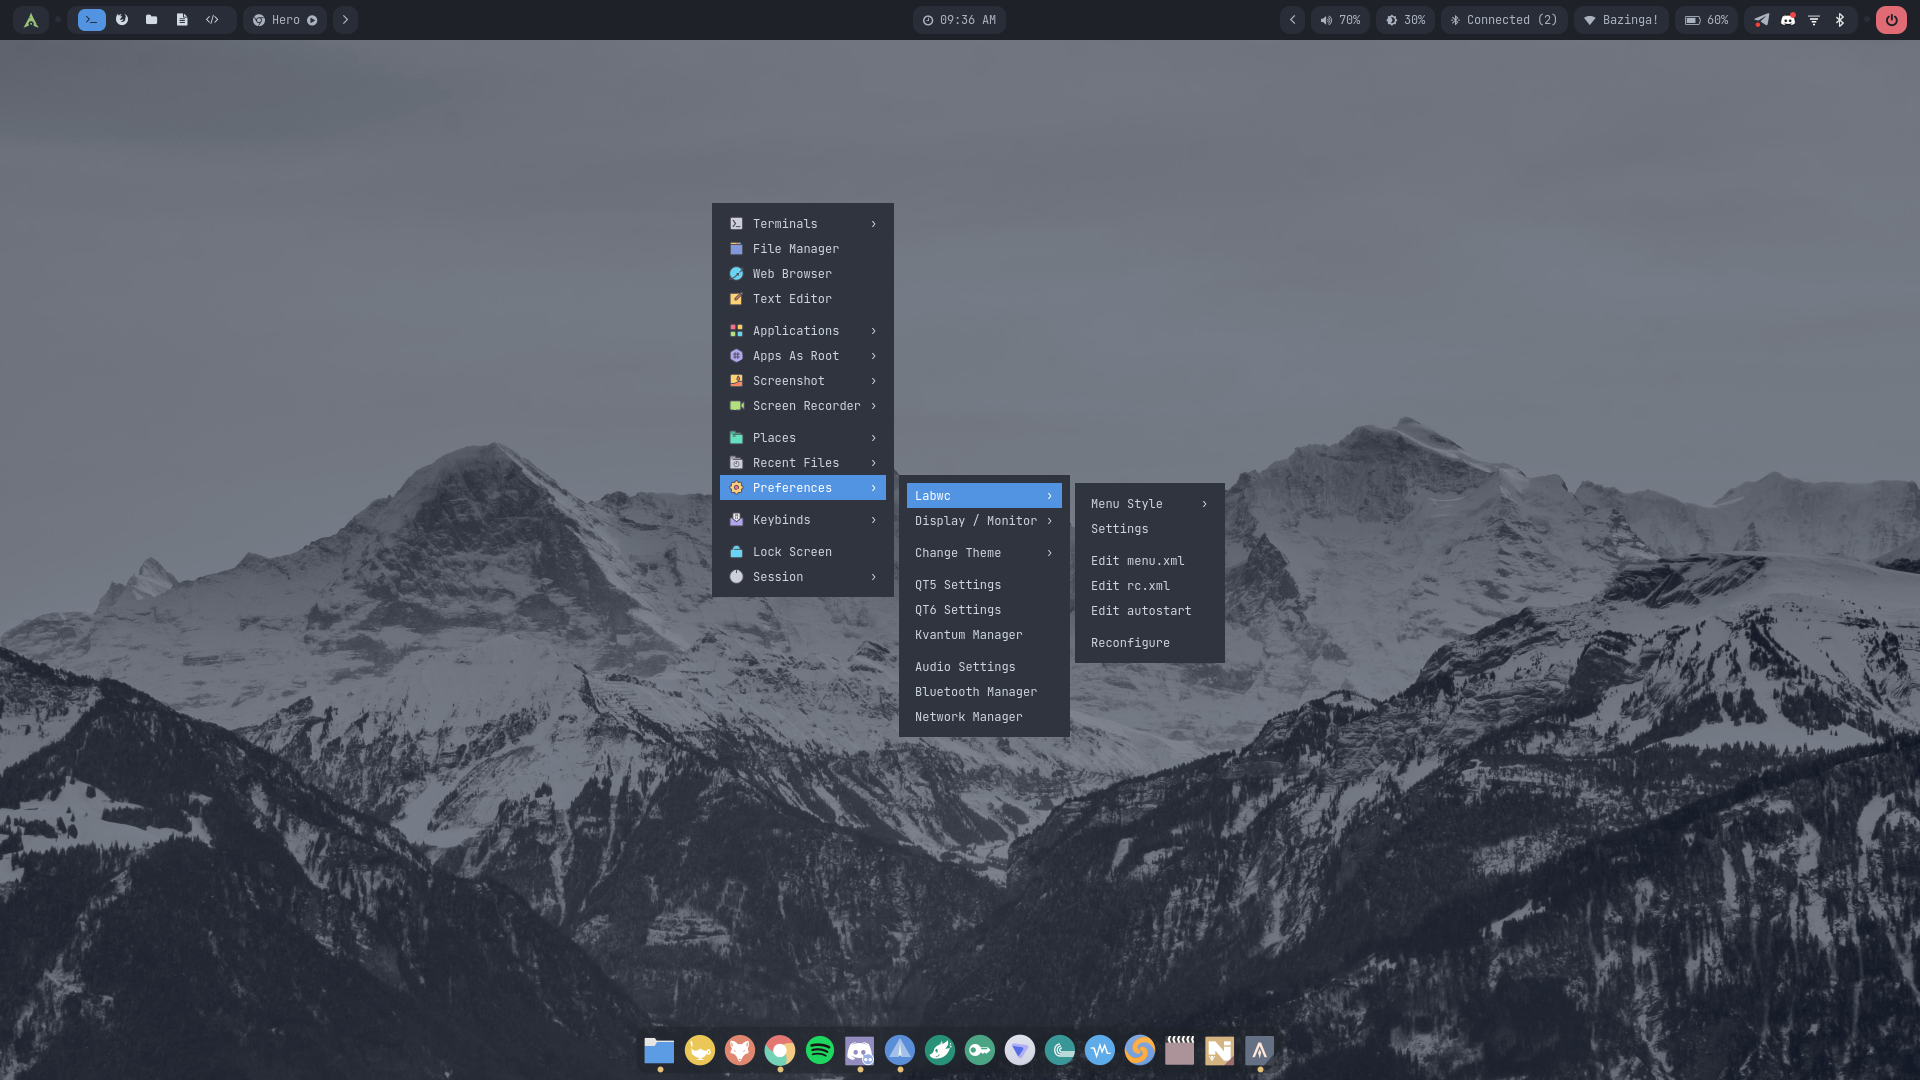
To change your wallpaper, launch the applet using Super + Z or navigate to Preferences > Change Wallpaper in the Labwc menu.
Desktop Interface
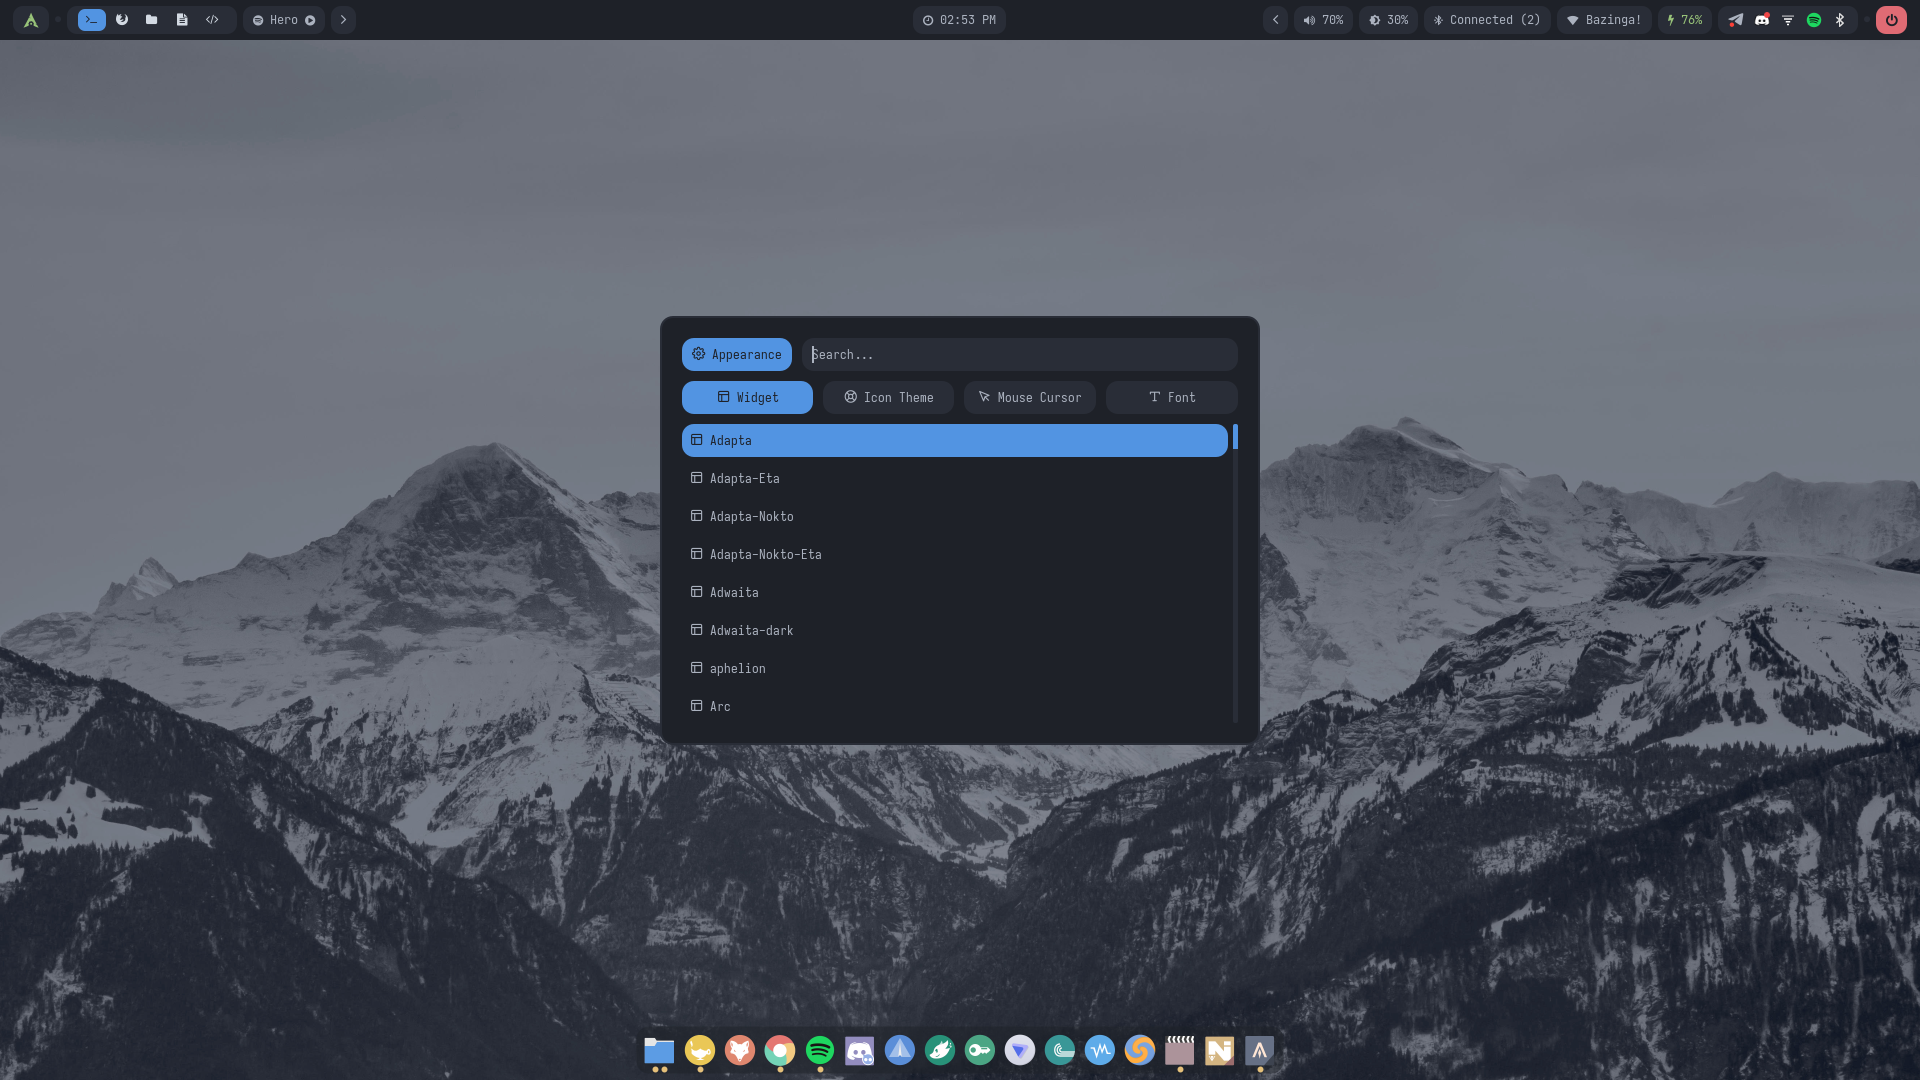
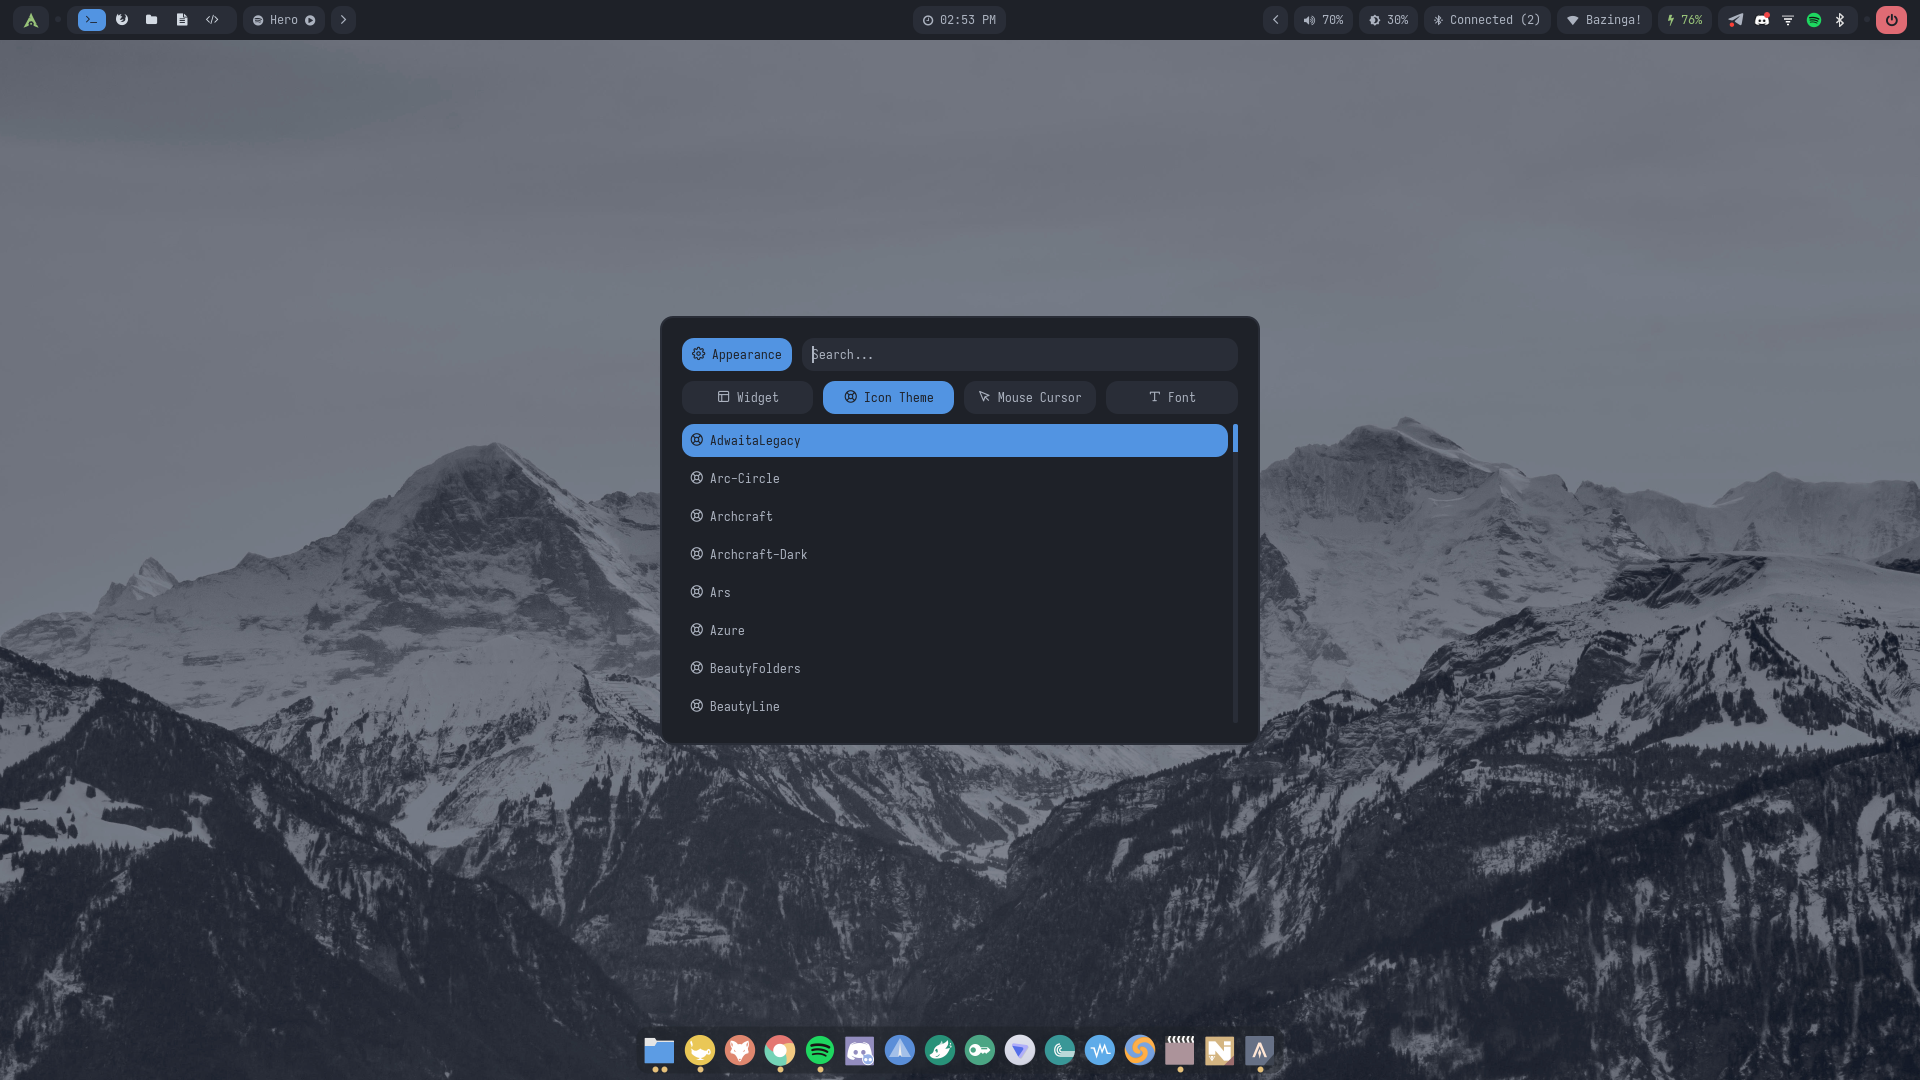
The rofi-appearance applet provides a convenient way to customize the desktop interface in your Labwc session.
You can use it to change the GTK theme, icon theme, cursor theme, and fonts. Your appearance preferences are saved and persist across sessions, so your selected settings are restored automatically.
To customize the desktop interface, launch the applet using Super + A or navigate to Preferences > Change Appearance in the Labwc menu.
Status Bar
Waybar is used as the desktop status bar, providing access to workspaces, system information, connectivity, audio controls, and other desktop utilities.
Its configuration is stored in ~/.config/labwc/waybar.
The configuration is divided into several files and directories:
| File / Directory | Description |
|---|---|
waybar/config | Main Waybar configuration |
waybar/modules/ | Individual module configurations |
waybar/menus/ | Menu configurations |
waybar/style.css | Main stylesheet |
waybar/colors.css | Color definitions |
You can modify the main configuration to add, remove, rearrange modules or switch layout. Use the CSS files to customize the appearance of the status bar.
For available modules and configuration options, refer to the Waybar documentation or run man waybar in a terminal.
Dock
Crystal Dock is used to provide an application dock for the desktop. Its configuration is stored in ~/.config/labwc/dock/labwc.
The dock configuration is divided into two files:
| File | Description |
|---|---|
appearance.conf | Controls the dock's appearance, including themes, colors, and icon size |
panel_1.conf | Controls panel settings, including visibility and screen position |
On-Screen Display (OSD)
The desktop includes a custom On-Screen Display (OSD) implemented in Python. It provides visual feedback for system controls such as volume, brightness, and other supported actions.
The OSD configuration is stored in ~/.config/labwc/osd.
| File / Directory | Description |
|---|---|
osd.py | Main OSD script |
osd.conf | Controls the OSD's appearance and positioning, including margins, padding, and colors |
icons/ | Icons used by the OSD |
Lock Screen
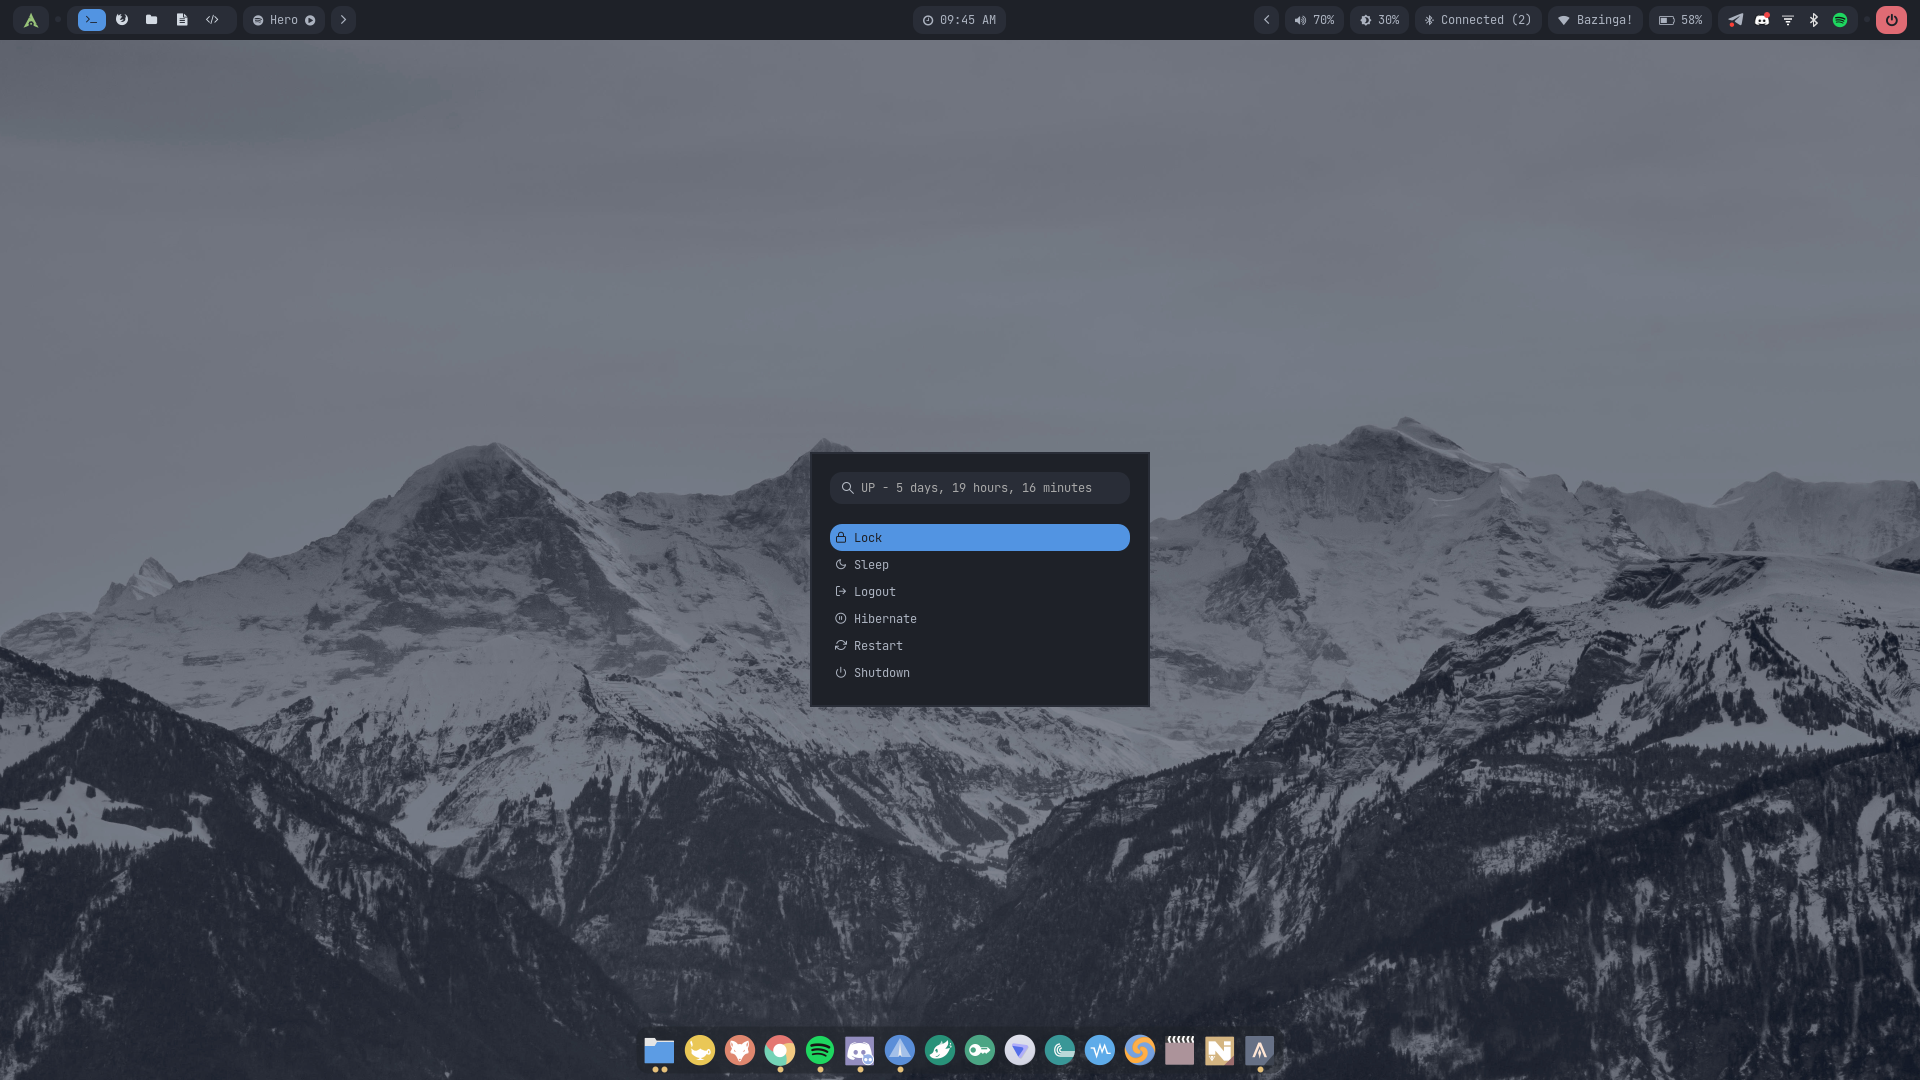
The desktop provides three lock screen implementations: Veila, Hyprlock and swaylock.
Veila is the primary lock screen, featuring its own configuration and theme system. Hyprlock is included as an alternative. Swaylock is used as fallback lockscreen.
- Veila
- Hyprlock
- Swaylock
Veila is the default lock screen. Its configuration is stored in:
~/.config/labwc/veila/
├── config.toml
└── themes/
| File / Directory | Description |
|---|---|
config.toml | Main Veila configuration |
themes/ | Veila theme files |
Hyprlock is provided as an alternative lock screen.
Its configuration is stored in:
~/.config/labwc/hyprlock.conf
You can edit this file to customize the Hyprlock lock screen.
Swaylock is provided as a fallback lock screen. Its launch and appearance settings are handled by:
~/.config/labwc/scripts/ac-swaylock
You can edit this script to customize how Swaylock is launched.
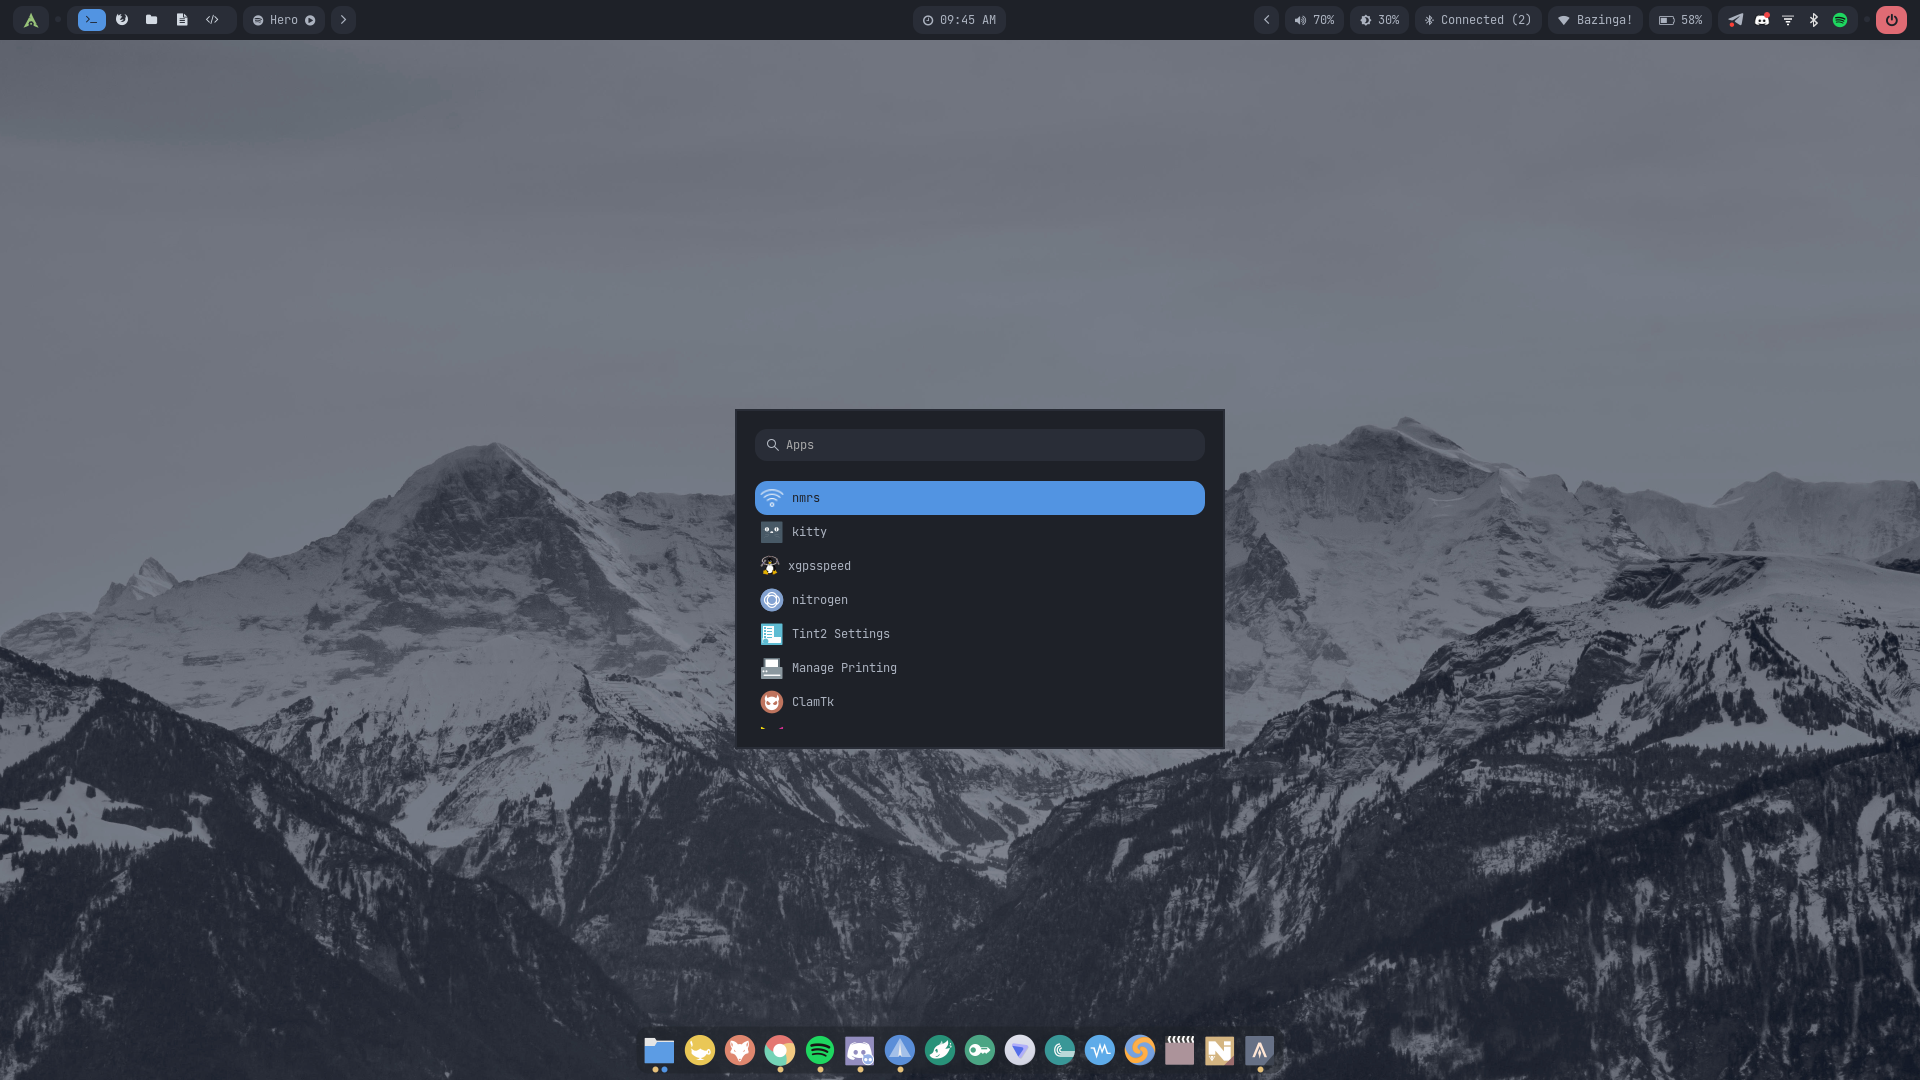
Launchers and Applets
The desktop provides several application launchers and utility menus for common tasks. These are primarily powered by Rofi, with Wofi and Wlogout available as alternatives for specific functions.
- Rofi
- Wofi
- Wlogout
Rofi is the primary application launcher and menu framework. It is used for launching applications, executing commands, managing clipboard history, controlling media playback, and accessing various system utilities.
The scripts responsible for these functions are located in:
~/.config/labwc/scripts/
The available launchers and applets include:
| Script | Description |
|---|---|
rofi-appearance | Browse and apply gtk, icon, cursor themes and fonts |
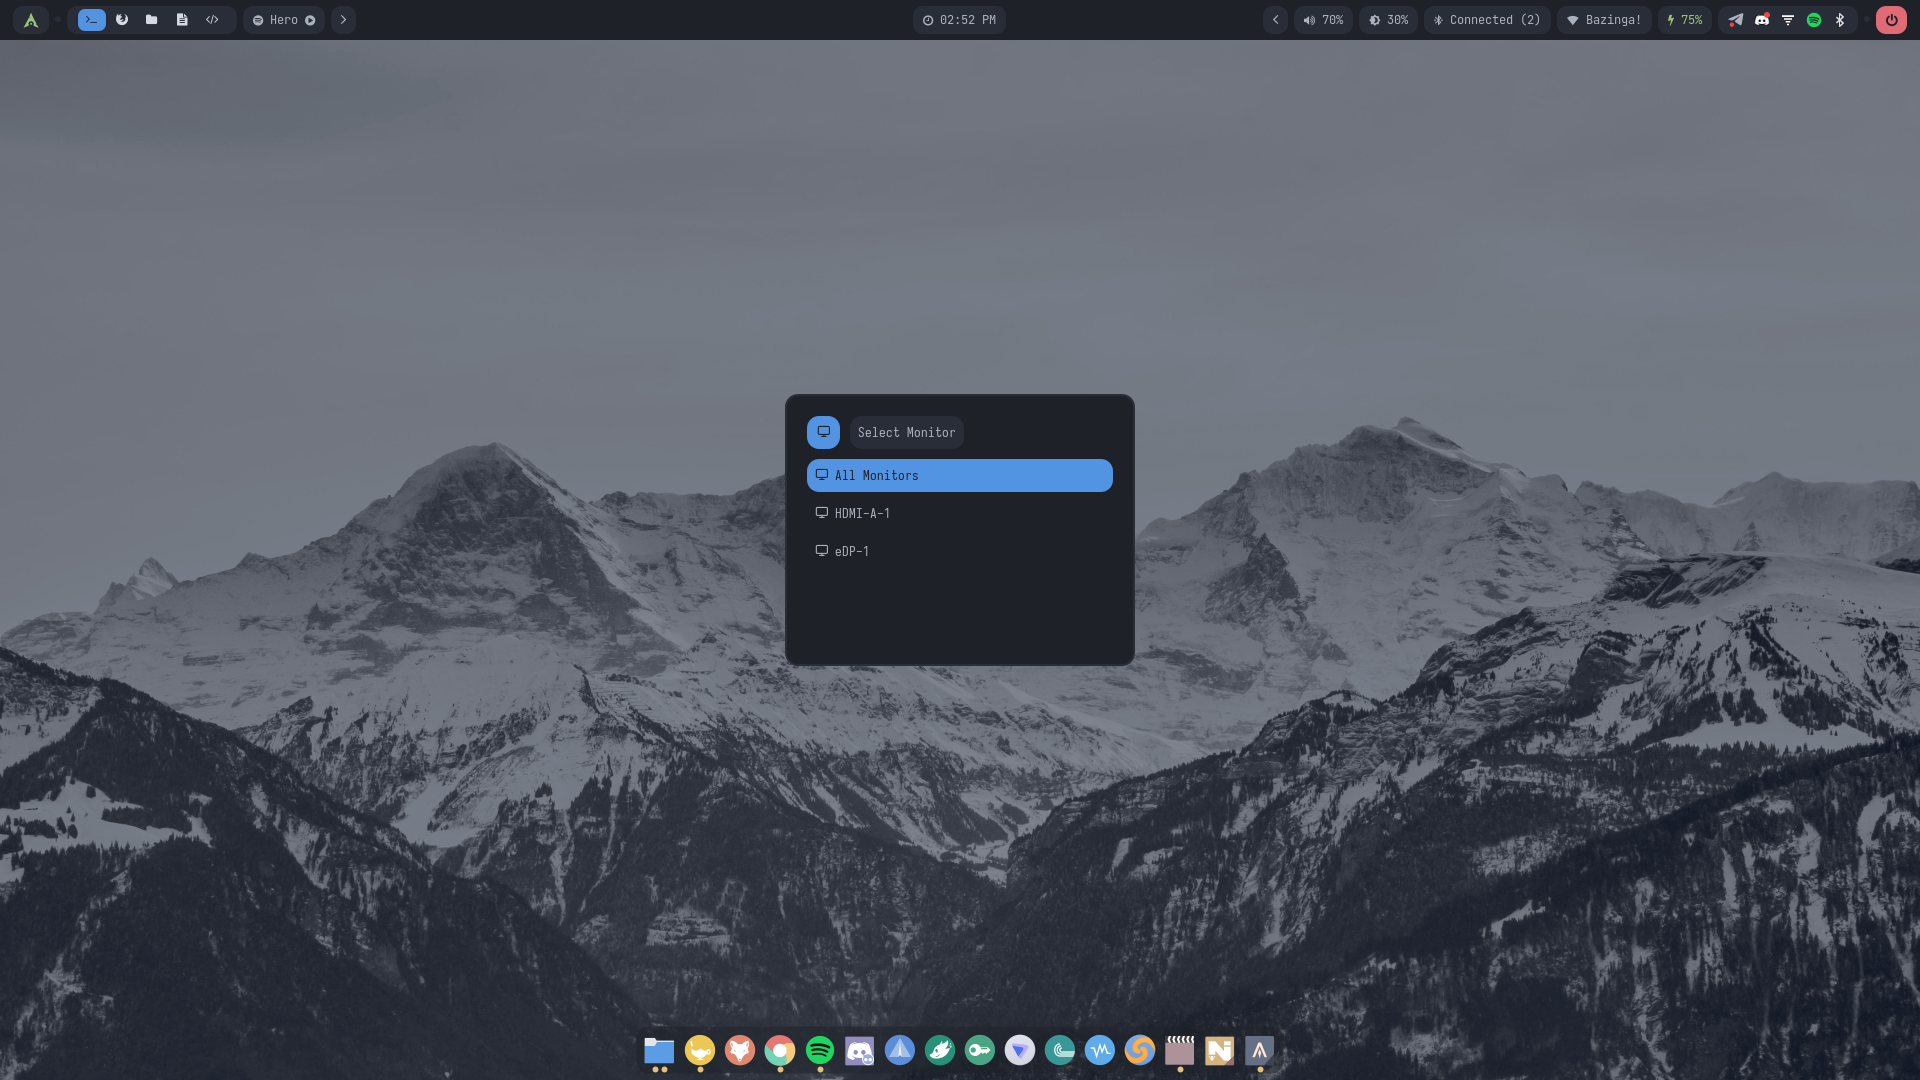
rofi-askpass | Password prompt frontend for sudo |
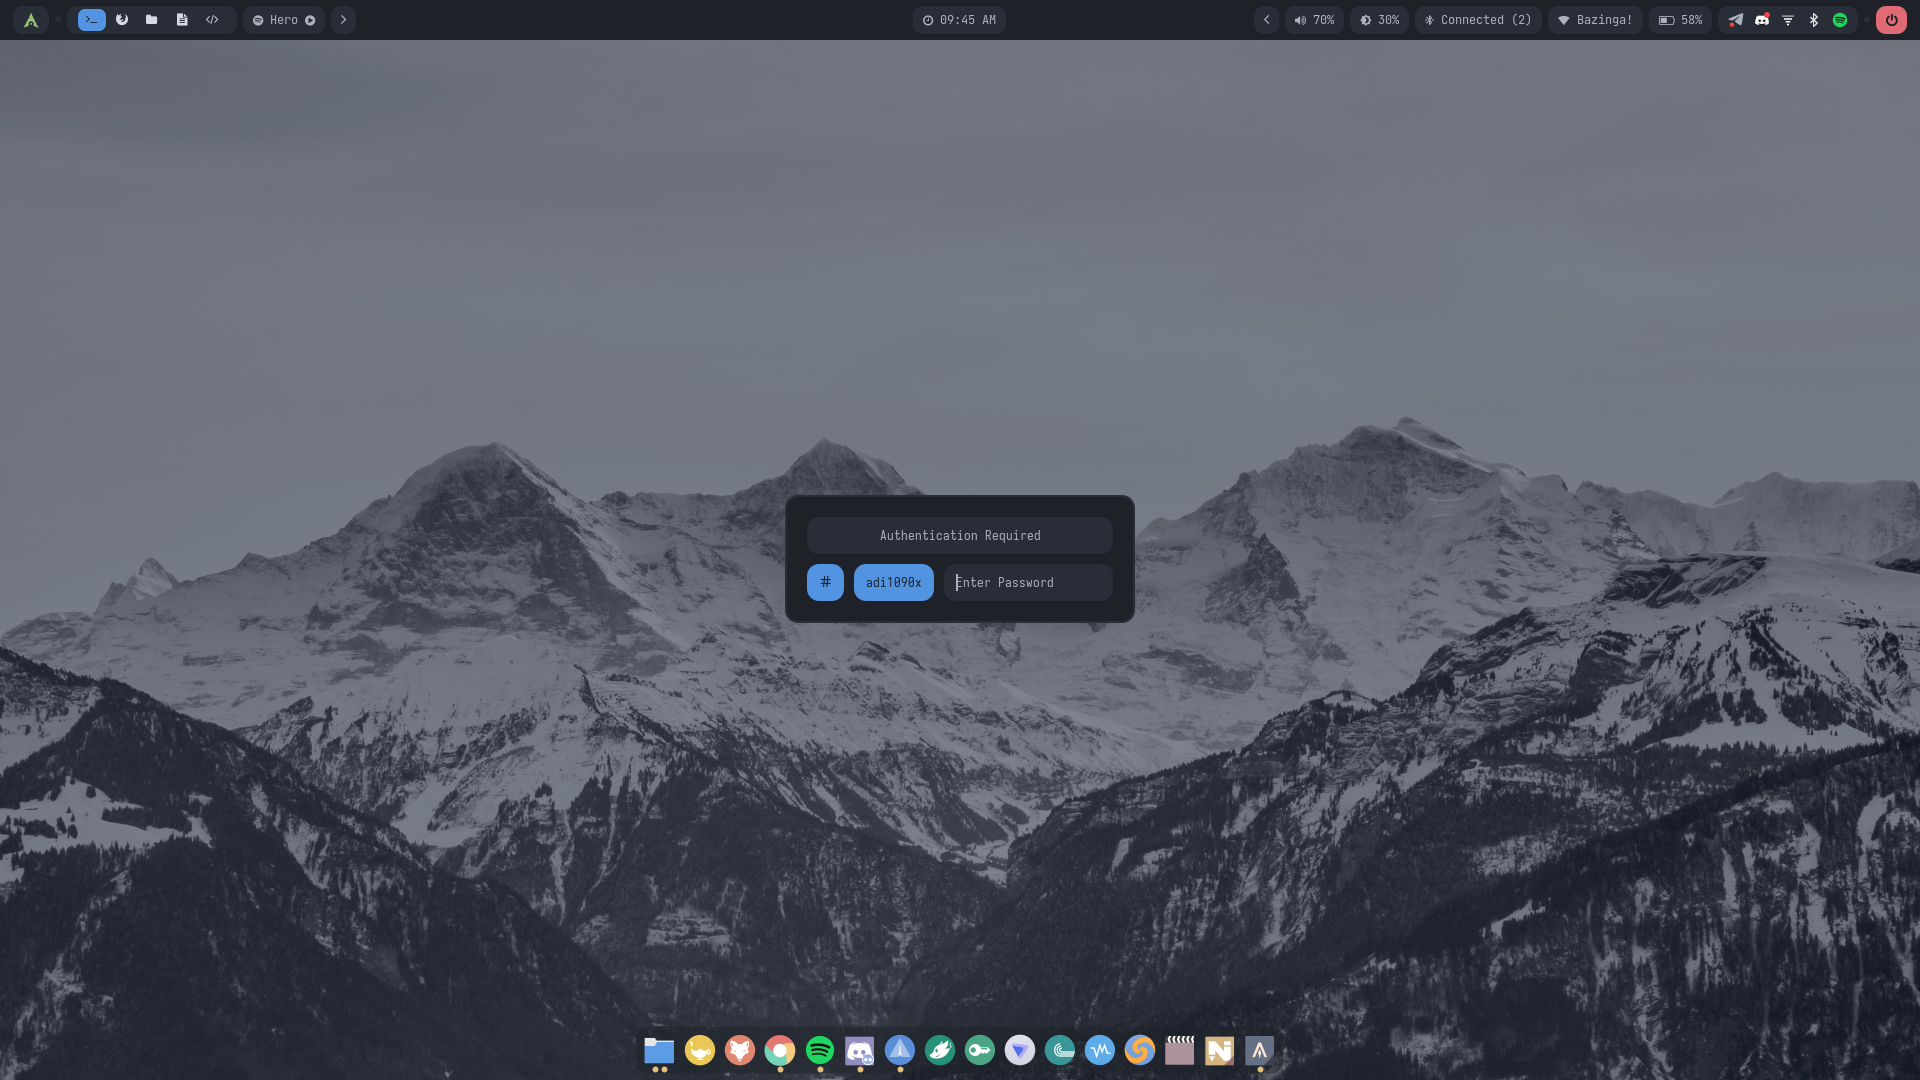
rofi-asroot | Launch applications with elevated privileges |
rofi-bluetooth | Discover and connect to Bluetooth devices |
rofi-clipboard | Browse and manage clipboard history |
rofi-launcher | Application launcher and task manager |
rofi-mpd | Control MPD music playback |
rofi-mpris | Control media players through MPRIS |
rofi-network | Manage network connections |
rofi-powermenu | Access power and session management options |
rofi-runner | Execute commands |
rofi-screenshot | Capture screenshots using Grim |
rofi-spotify | Control Spotify playback |
rofi-themes | Browse and switch desktop themes |
rofi-wallpapers | Browse and apply wallpapers |
Customizing Rofi
Rofi's appearance is controlled through configuration files stored in ~/.config/labwc/rofi.
Each launcher or applet has its own theme file. For example, to customize the application launcher, edit:
~/.config/labwc/rofi/launcher.rasi
Shared appearance, color and font definitions are maintained separately:
| File | Description |
|---|---|
rofi/shared/colors.rasi | Shared color definitions |
rofi/shared/fonts.rasi | Shared font definitions |
rofi/shared/window.rasi | Shared appearance definitions |
You can modify these files to customize the appearance of individual menus or adjust their shared styling.
For more information, refer to the Rofi documentation or run man rofi-theme in a terminal.
Wofi is an alternative launcher that provides application launching and power management functionality.
Its configuration files are stored in ~/.config/labwc/wofi, while the scripts that invoke its menus are located in ~/.config/labwc/scripts.
| Script | Description |
|---|---|
wofi-appmenu | Application launcher |
wofi-powermenu | Power and session management menu |
To customize its appearance, edit:
~/.config/labwc/wofi/style.css
For additional configuration options, refer to the Wofi documentation or run man 5 wofi in a terminal.
Wlogout is a Wayland logout menu configured for session management.
Its configuration files are stored in ~/.config/labwc/wlogout. The ac-wlogout script controls how the menu is launched:
~/.config/labwc/scripts/ac-wlogout
If you prefer Wlogout over the Rofi/Wofi power menu, edit ~/.config/labwc/rc.xml and enable the corresponding Wlogout keybindings.
For additional configuration options, refer to the Wlogout documentation or run man wlogout in a terminal.
Display Management
Kanshi is used to manage display configurations and automatically apply monitor profiles when displays are connected or disconnected.
The configuration is stored in:
~/.config/labwc/kanshi.conf
This file contains display profiles and their associated output settings. You can define different profiles for laptop-only, external-monitor, and multi-monitor setups.
To identify available display outputs and their supported modes, run:
wlr-randr
Use the output names and available display modes when defining your profiles in kanshi.conf.
For more information about supported profile options, refer to the Kanshi documentation.
labwc Compositor
The compositor itself is configured through a set of files stored in ~/.config/labwc. These files control session startup, environment variables, window management, menus, and window decorations.
| File | Description |
|---|---|
rc.xml | Main compositor configuration, including keybindings, window rules, and other settings |
autostart | Commands executed when the labwc session starts |
shutdown | Commands executed when the session ends |
environment | Environment variables for the session |
menu.xml | Desktop menu definition |
themerc-override | Window decoration theme overrides |
The configuration also includes menu templates (menu-*.xml.in) used to generate different desktop menu layouts.
For details about available settings and supported options, refer to the official labwc documentation.
Theme Management
The desktop includes a centralized theme management system that coordinates the appearance of its various components.
Rather than maintaining separate color configurations for every application, the theme engine uses shared functions and templates to generate and update component-specific configurations.
The theme engine is located in:
~/.config/labwc/themes/
├── apply-theme
├── functions/
├── templates/
└── themes/
| File / Directory | Description |
|---|---|
apply-theme | Main theme application script that executes the theme functions |
functions/ | Functions responsible for sourcing theme data, generating colors, and updating component configurations |
templates/ | Configuration templates used by the theme engine |
themes/ | Static theme definitions |
How It Works
The theme engine follows a centralized workflow:
- A theme is selected through the theme applet or desktop menu.
- The
apply-themescript is executed. - The corresponding theme functions are sourced and executed.
- Theme colors and other required settings are generated from the selected theme.
- The relevant component configurations are updated using the provided templates.
This keeps the appearance of the desktop components synchronized whenever a new theme is applied.
Static and Dynamic Themes
The configuration includes a collection of predefined static themes, each with its own color scheme and associated appearance settings.
Dynamic themes are also supported through pywal, which generates color schemes based on wallpaper colors.
A theme change updates the appearance of the entire desktop, including:
- Desktop: Wallpaper and labwc theme
- Terminals: Alacritty, Kitty, and Foot
- Panels and notifications: Waybar, Crystal Dock, Mako, and OSD
- Launchers and menus: Rofi, Wofi, and Wlogout
- Lockscreens: Veila and Hyprlock
- Applications: GTK theme, Geany color schemes, and Satty window colors
- Colors: Shared color palette used across the desktop components
For information about available themes and how to switch between them, see the Themes section.
The desktop's theme engine updates configuration files across multiple components to maintain a consistent appearance. This includes terminal emulators, Waybar, Rofi, Wofi, Mako, Wlogout, dock, OSD, and lock screen configurations.
Avoid changing the structure, filenames, or expected variables of theme-managed configuration files unless you also update the corresponding theme functions and templates. Otherwise, theme switching may fail or overwrite your customizations.
For persistent customizations, prefer modifying the appropriate theme functions rather than editing generated configuration files directly.
Keybindings
The labwc configuration includes keyboard shortcuts for launching applications, managing windows, navigating workspaces, controlling displays, and accessing desktop utilities.
Modifier Keys
| Key | Description |
|---|---|
W | Super / Windows key |
C | Control |
A | Alt |
S | Shift |
For example, W-Return means Super + Enter, while W-C-Right means Super + Control + Right Arrow.
Applications and Terminals
| Shortcut | Action |
|---|---|
W-Return | Open Alacritty terminal |
W-S-Return | Open Kitty terminal |
W-A-Return | Open Foot terminal |
W-C-Return | Open Foot terminal in selected geometry |
W-f | Open file manager (Thunar) |
W-w | Open web browser (Firefox) |
W-e | Open text editor (Geany) |
Application Launcher and Applets
| Shortcut | Action |
|---|---|
Super | Open application launcher |
W-d | Open application launcher |
A-F1 | Open application launcher |
A-F2 | Open command runner |
W-n | Open network manager |
W-b | Open Bluetooth manager |
W-m | Open media player controls |
W-x | Open power menu |
W-s | Open screenshot menu |
W-r | Open application as root |
W-v | Open clipboard manager |
W-t | Open theme selector |
W-a | Open appearance selector |
W-z | Open wallpaper selector |
Menus
| Shortcut | Action |
|---|---|
W-Space | Open desktop menu at the cursor |
A-Space | Open focused window's menu |
A-S-Space | Open combined window list |
C-S-Space | Open window workspace menu |
C-A-Space | Open application menu |
Window Switching
| Shortcut | Action |
|---|---|
W-Tab | Cycle through windows across all workspaces and outputs |
A-Tab | Cycle through windows on the current workspace and output |
Workspace Navigation
| Shortcut | Action |
|---|---|
W-1 to W-5 | Switch to workspace 1–5 |
W-0 | Switch to the last workspace |
C-A-Right | Move to the next workspace |
C-A-Left | Move to the previous workspace |
C-A-S-Right | Move to the next occupied workspace |
C-A-S-Left | Move to the previous occupied workspace |
W-S-1 to W-S-5 | Send focused window to workspace 1–5 |
W-S-0 | Send focused window to the last workspace |
W-S-Right | Send focused window to the next workspace |
W-S-Left | Send focused window to the previous workspace |
W-A-S-Right | Send focused window to the next occupied workspace |
W-A-S-Left | Send focused window to the previous occupied workspace |
Display and Monitor Management
| Shortcut | Action |
|---|---|
W-C-1 | Focus display eDP-1 |
W-C-2 | Focus display HDMI-A-1 |
W-Comma | Focus the display to the left |
W-Period | Focus the display to the right |
W-C-S-1 | Move focused window to eDP-1 |
W-C-S-2 | Move focused window to HDMI-A-1 |
W-S-Comma | Move focused window to the display on the left |
W-S-Period | Move focused window to the display on the right |
W-S-Equal | Create the ScreenCasting virtual output |
W-S-Minus | Remove the ScreenCasting virtual output |
Note: The numbered display shortcuts use the output names
eDP-1andHDMI-A-1. If your displays use different names, update the corresponding bindings inrc.xml. The virtual output shortcut also contains display-specific resolution and scaling commands.
Window Positioning and Resizing
| Shortcut | Action |
|---|---|
W-Left | Snap window to the left edge |
W-Right | Snap window to the right edge |
W-Up | Maximize window |
W-Down | Snap window to the center |
W-S-Up | Snap window to the top edge |
W-S-Down | Snap window to the bottom edge |
W-A-Up | Move window upward |
W-A-Down | Move window downward |
W-A-Left | Move window left |
W-A-Right | Move window right |
W-C-Right | Increase window width |
W-C-Left | Decrease window width |
W-C-Down | Increase window height |
W-C-Up | Decrease window height |
The following shortcuts position windows in the four corners:
| Shortcut | Action |
|---|---|
W-h | Move window to the top-left corner |
W-k | Move window to the top-right corner |
W-j | Move window to the bottom-left corner |
W-l | Move window to the bottom-right corner |
W-S-h | Snap window to the top-left corner |
W-S-k | Snap window to the top-right corner |
W-S-j | Snap window to the bottom-left corner |
W-S-l | Snap window to the bottom-right corner |
Window Actions
| Shortcut | Action |
|---|---|
W-c | Close focused window |
W-q | Forcefully terminate focused window |
A-F4 | Close focused window |
A-F5 | Minimize focused window |
A-F6 | Toggle maximize |
A-F7 | Toggle window shading |
A-F8 | Toggle window decorations |
A-F9 | Toggle window visibility across all workspaces |
A-F10 | Toggle fullscreen |
A-F11 | Toggle always on top |
A-F12 | Toggle always on bottom |
W-S-d | Toggle desktop visibility |
W-Escape | Enable or disable keyboard shortcuts |
W-S-t | Toggle tearing |
Screenshots
| Shortcut | Action |
|---|---|
Print | Capture screenshot immediately |
A-Print | Capture screenshot after 5 seconds |
S-Print | Capture screenshot after 10 seconds |
C-Print | Capture the focused window |
W-Print | Capture a selected area |
Hardware Controls
| Shortcut | Action |
|---|---|
XF86MonBrightnessUp | Increase screen brightness |
XF86MonBrightnessDown | Decrease screen brightness |
XF86AudioRaiseVolume | Increase audio volume |
XF86AudioLowerVolume | Decrease audio volume |
XF86AudioMute | Toggle audio mute |
XF86AudioMicMute | Toggle microphone mute |
XF86AudioPlay | Play or pause media |
XF86AudioStop | Stop media playback |
XF86AudioPrev | Play previous track |
XF86AudioNext | Play next track |
Command-line Utilities
| Shortcut | Action |
|---|---|
C-A-t | Open Alacritty in fullscreen |
C-A-v | Open Vim in Alacritty |
C-A-h | Open htop in Alacritty |
C-A-r | Open Ranger in Alacritty |
Session and Desktop Utilities
| Shortcut | Action |
|---|---|
C-A-l | Lock the screen using Veila |
C-A-Delete | Exit labwc after confirmation |
C-S-r | Reload labwc configuration |
W-p | Open color picker |
W-Slash | Dismiss all notifications |
W-Equal | Zoom in |
W-Minus | Zoom out |
W-Backslash | Toggle screen magnification |
Mouse Bindings
Mouse bindings provide additional ways to move, resize, and control windows without relying on keyboard shortcuts.
Window Movement and Resizing
| Mouse Action | Result |
|---|---|
W + Left-click on window frame | Focus and raise window |
W + Left-drag on window frame | Move window |
W + Right-click on window frame | Focus and raise window |
W + Right-drag on window frame | Resize window |
| Left-click on window border | Focus and raise window |
| Left-drag on window border | Resize window |
| Left-drag on window title | Move window |
| Double-click on window title | Toggle maximize |
Window Edges and Corners
| Mouse Action | Result |
|---|---|
| Double-click top or bottom edge | Toggle vertical maximize |
| Double-click left or right edge | Toggle horizontal maximize |
W + Left-click top-left corner | Move window to top-left |
W + Left-click top-right corner | Move window to top-right |
W + Left-click bottom-left corner | Move window to bottom-left |
W + Left-click bottom-right corner | Move window to bottom-right |
Title Bar and Window Controls
| Mouse Action | Result |
|---|---|
| Left-click title bar | Focus and raise window |
| Right-click title bar | Focus and raise window |
| Scroll up on title bar | Unshade and focus window |
| Scroll down on title bar | Unfocus and shade window |
| Right-click window title | Open window menu |
| Middle-click window title | Open send-to-workspace menu |
| Left-click maximize button | Toggle maximize |
| Right-click maximize button | Toggle horizontal maximize |
| Middle-click maximize button | Toggle vertical maximize |
| Left-click shade button | Toggle window shading |
| Left-click all-desktops button | Toggle visibility across workspaces |
| Left-click minimize button | Minimize window |
| Left-click close button | Close window |
| Right-click close button | Forcefully terminate window |
Window Menus and Icons
| Mouse Action | Result |
|---|---|
| Left-click window menu button | Open window menu |
| Right-click window menu button | Open send-to-workspace menu |
| Left-click window icon | Open window menu |
| Right-click window icon | Open send-to-workspace menu |
Window Switching
| Mouse Action | Result |
|---|---|
| Side mouse button | Focus next window |
| Extra mouse button | Focus previous window |
Desktop Menu and Workspace Navigation
| Mouse Action | Result |
|---|---|
| Left-click on desktop | Open desktop menu |
| Right-click on desktop | Open desktop menu |
| Middle-click on desktop | Open combined window list |
| Scroll up on desktop | Switch to previous workspace |
| Scroll down on desktop | Switch to next workspace |
NVIDIA
Labwc uses Wayland, which requires NVIDIA's DRM kernel mode setting (KMS) support to be enabled when using the proprietary NVIDIA driver.
Archcraft
If you're using Archcraft and installed the provided Labwc package, no additional NVIDIA configuration should be necessary. Archcraft handles the required setup automatically.
Other Arch-based distributions
If you're installing this configuration manually on Arch Linux or an Arch-based distribution, make sure the proprietary NVIDIA driver is installed and configured correctly.
1. Install the NVIDIA driver
Install the appropriate NVIDIA driver package for your GPU and kernel.
Refer to the ArchWiki NVIDIA guide for driver selection and installation instructions.
2. Verify DRM kernel mode setting
Wayland compositors require NVIDIA DRM modesetting. On current NVIDIA driver packages, this is generally enabled by default.
Check its current status:
$ cat /sys/module/nvidia_drm/parameters/modeset
The expected output is:
Y
If the output is N, or the parameter is not enabled, consult the NVIDIA documentation for your driver version.
For NVIDIA drivers older than version 560, you may need to enable modesetting manually by adding the following kernel parameter:
nvidia_drm.modeset=1
Add it to your bootloader's kernel command line and regenerate the bootloader configuration if required.
For GRUB, edit /etc/default/grub and append the parameter to GRUB_CMDLINE_LINUX_DEFAULT:
GRUB_CMDLINE_LINUX_DEFAULT="quiet splash nvidia_drm.modeset=1"
Then regenerate the GRUB configuration:
$ sudo grub-mkconfig -o /boot/grub/grub.cfg
3. Enable early module loading (Optional)
If you experience display initialization issues or need the NVIDIA modules loaded during the initramfs stage, you can configure early module loading.
For systems using mkinitcpio, edit /etc/mkinitcpio.conf and add the NVIDIA modules to the MODULES array:
MODULES=(nvidia nvidia_modeset nvidia_uvm nvidia_drm)
Preserve any existing modules in the array rather than replacing them.
Regenerate the initramfs:
$ sudo mkinitcpio -P
This step is not required for every NVIDIA installation. Use it when early loading is needed.
4. Reboot and verify
Reboot your system and start the Labwc session. You can verify that DRM modesetting is enabled by checking:
$ cat /sys/module/nvidia_drm/parameters/modeset
The expected result is Y.
Other distributions
The instructions above are specific to Arch Linux and systems using mkinitcpio and GRUB. Other distributions may use different driver packages, initramfs generators, and bootloaders.
Install the appropriate NVIDIA driver and follow your distribution's documentation to enable DRM kernel mode setting and, if necessary, early module loading.
Further Reading
Screenshots & Themes
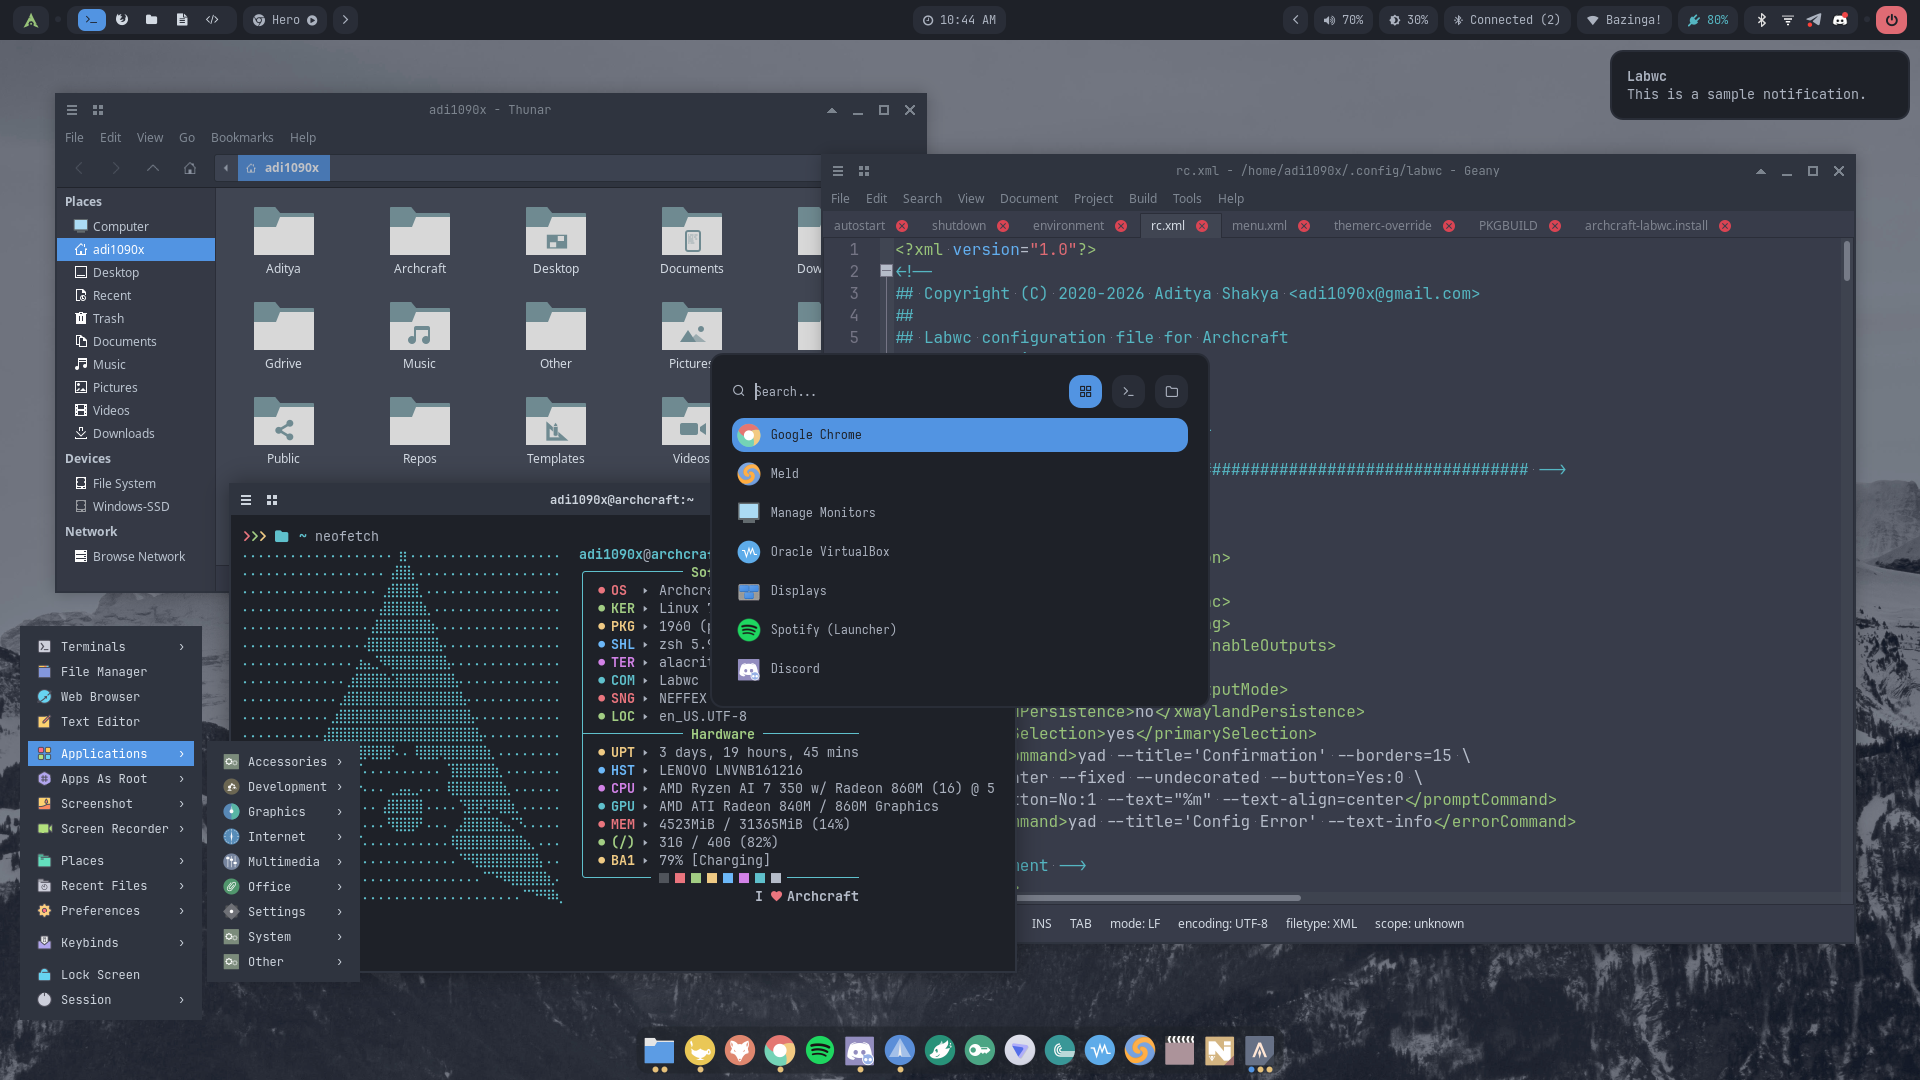
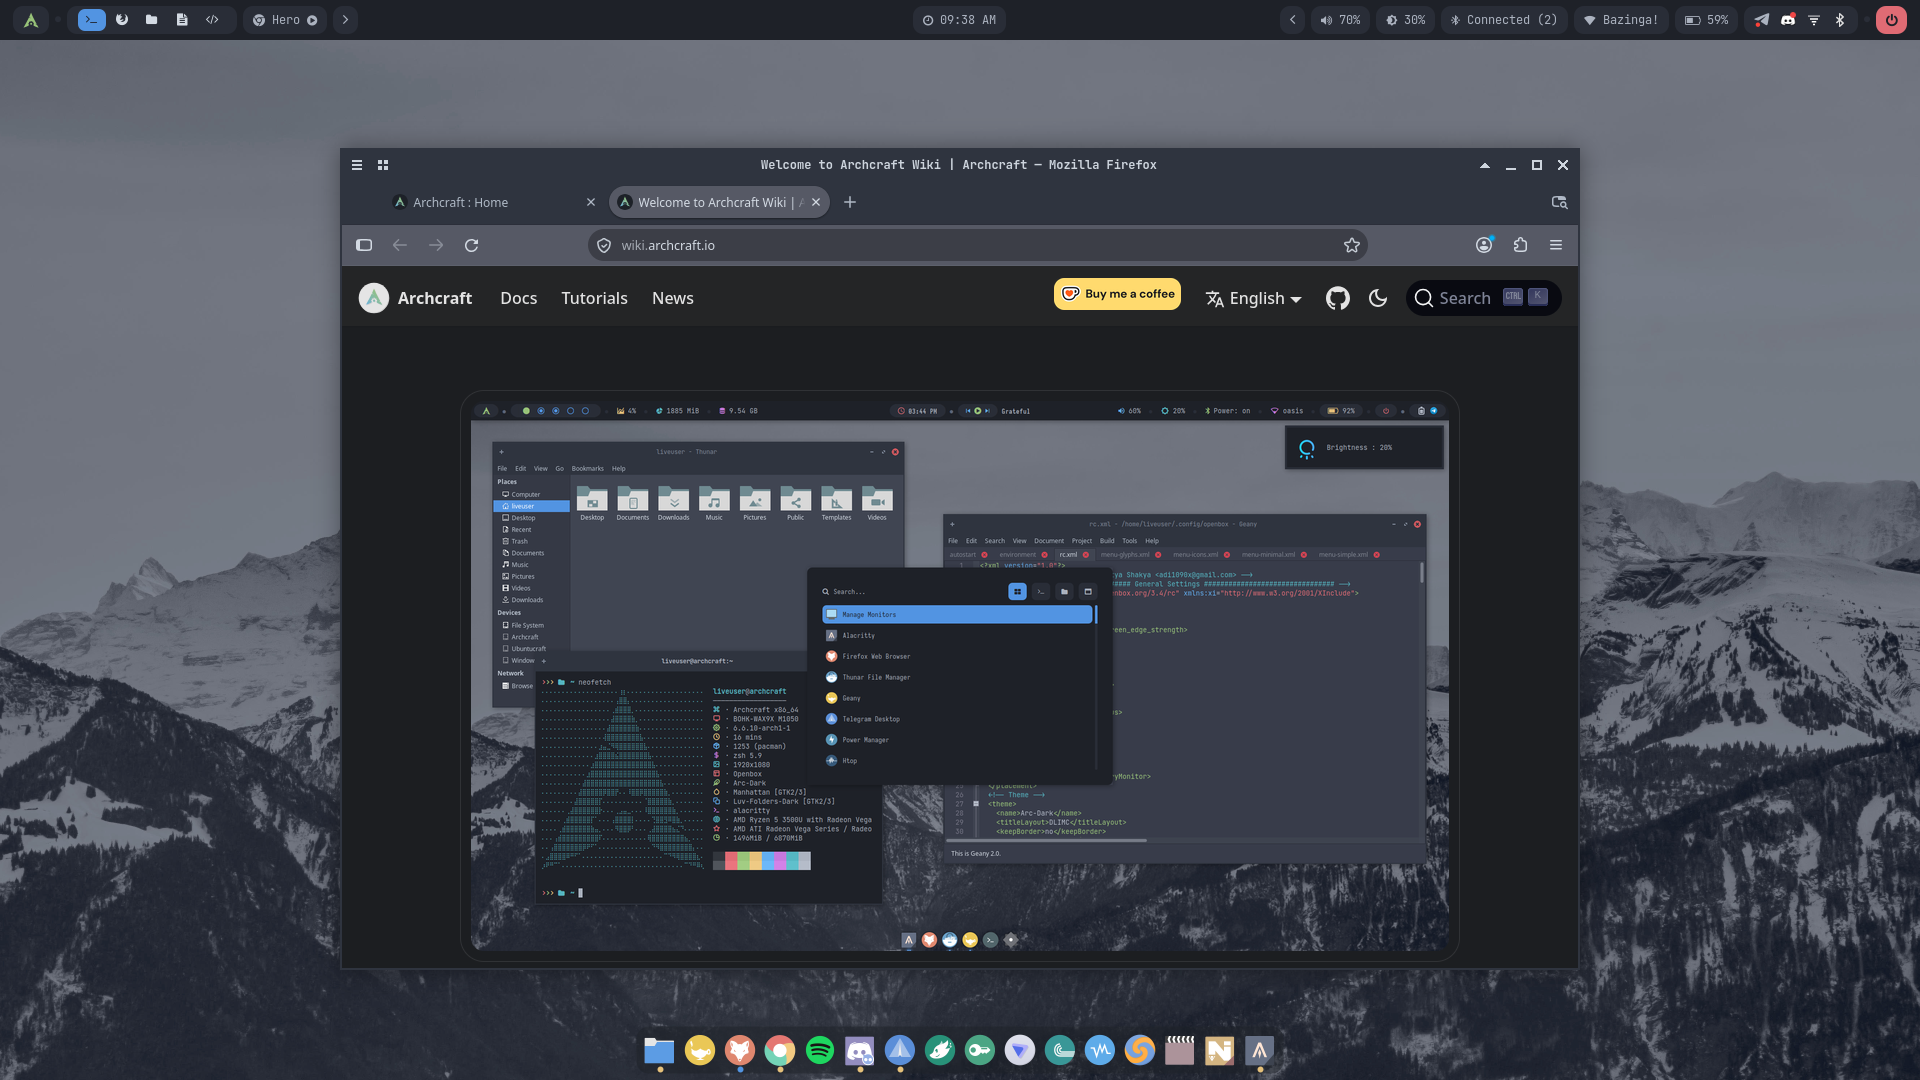
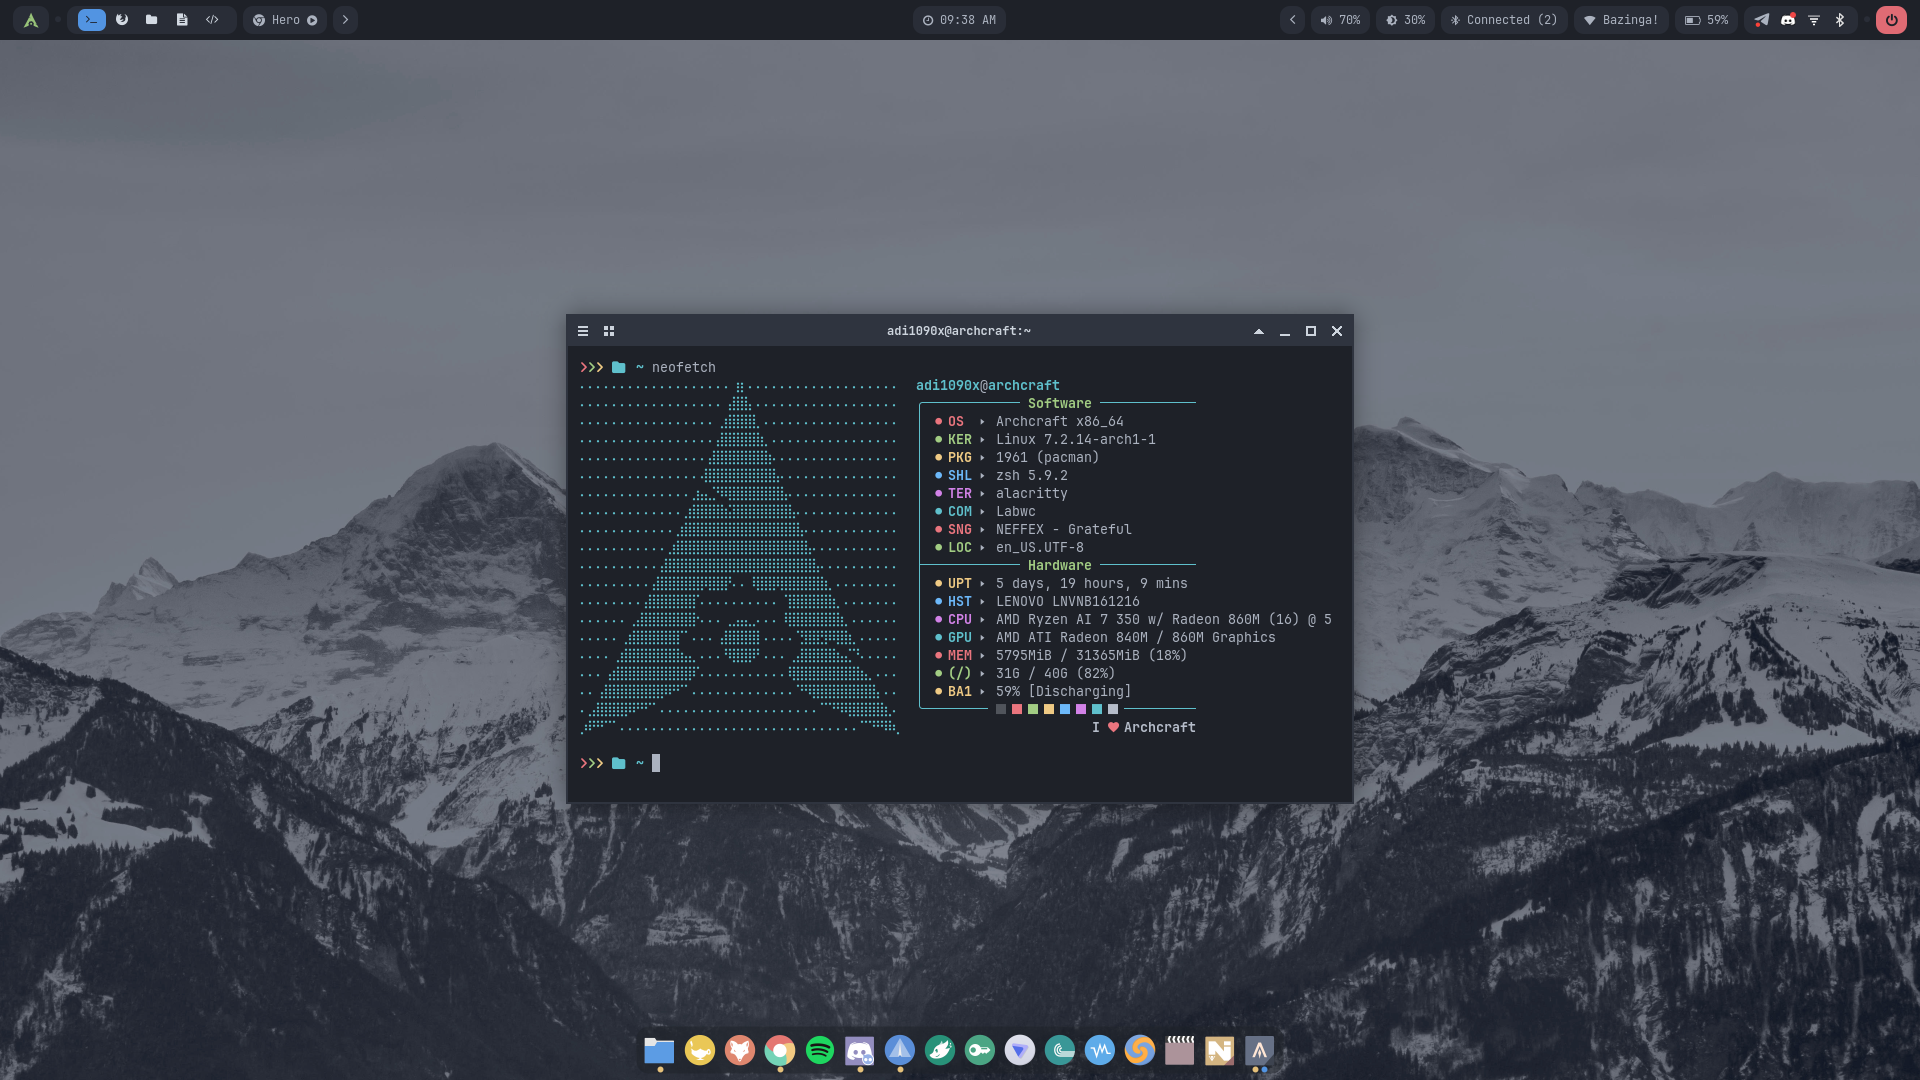
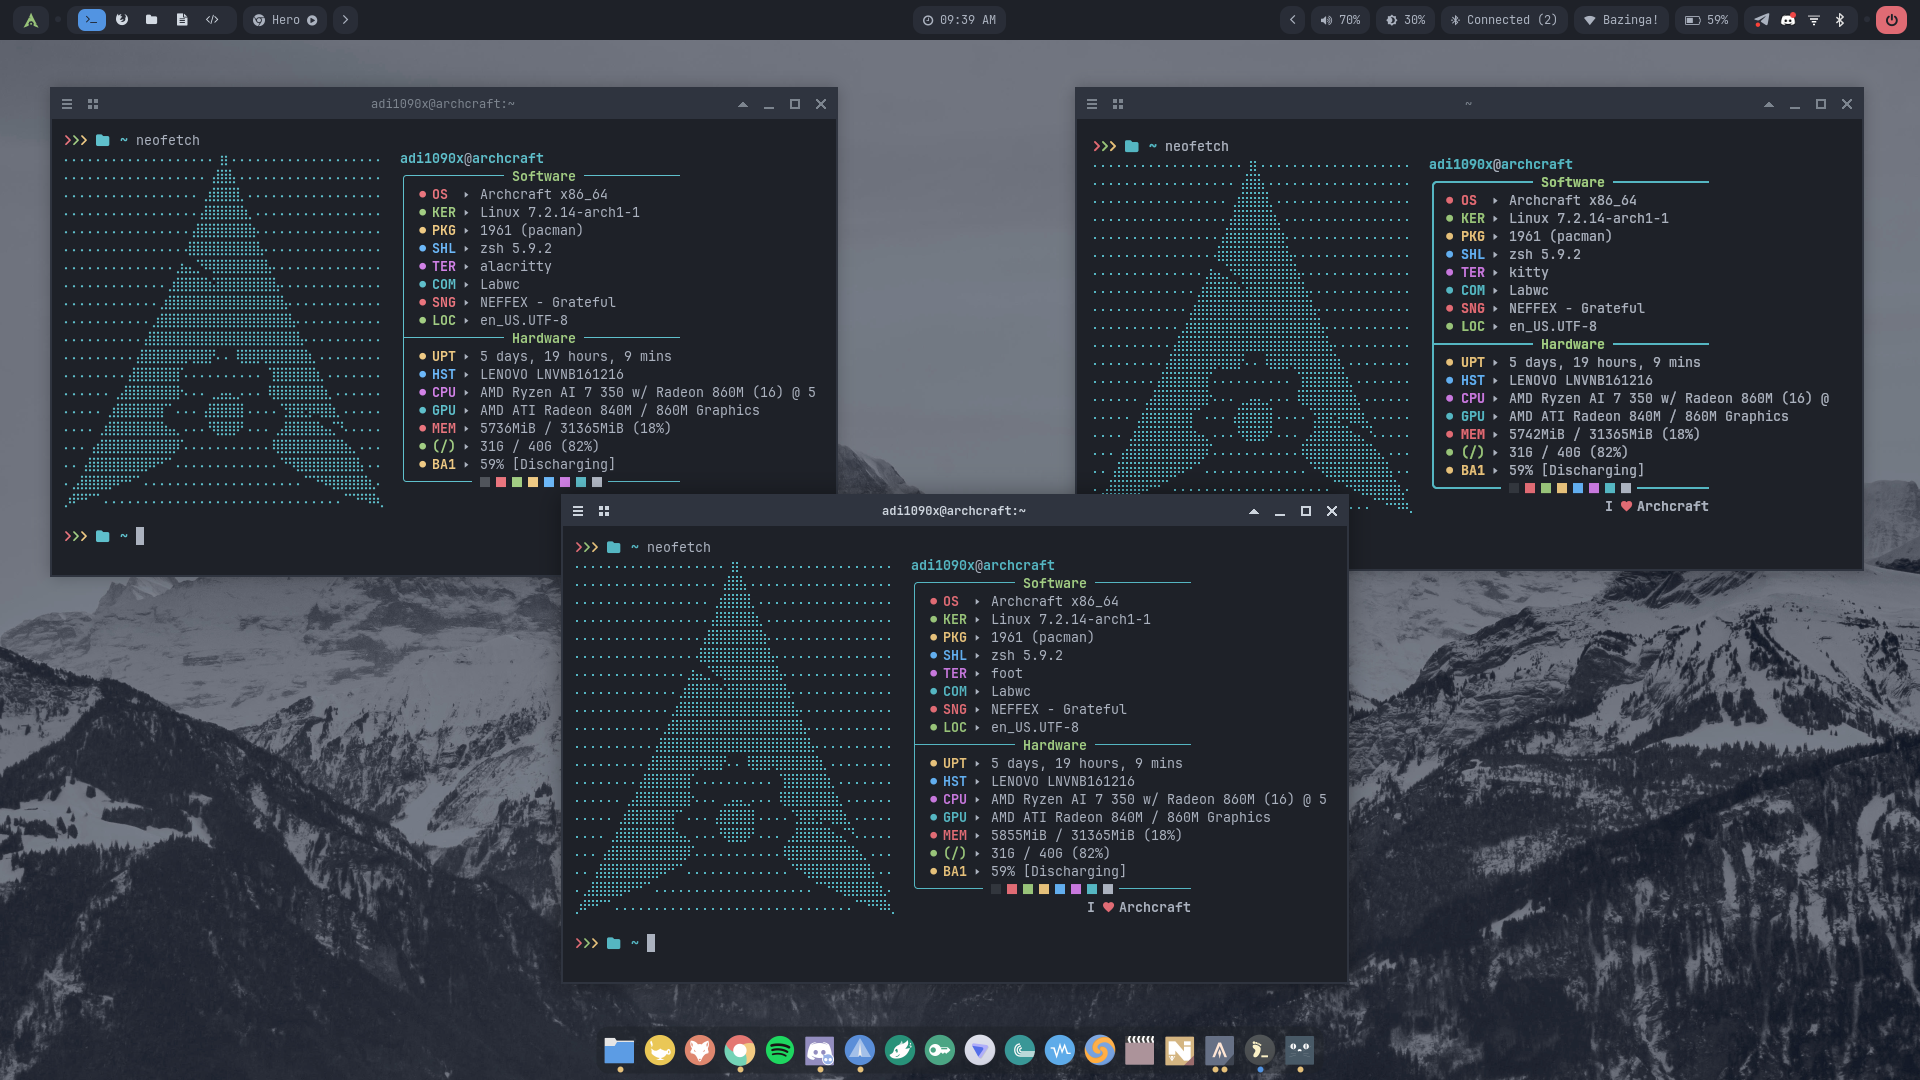
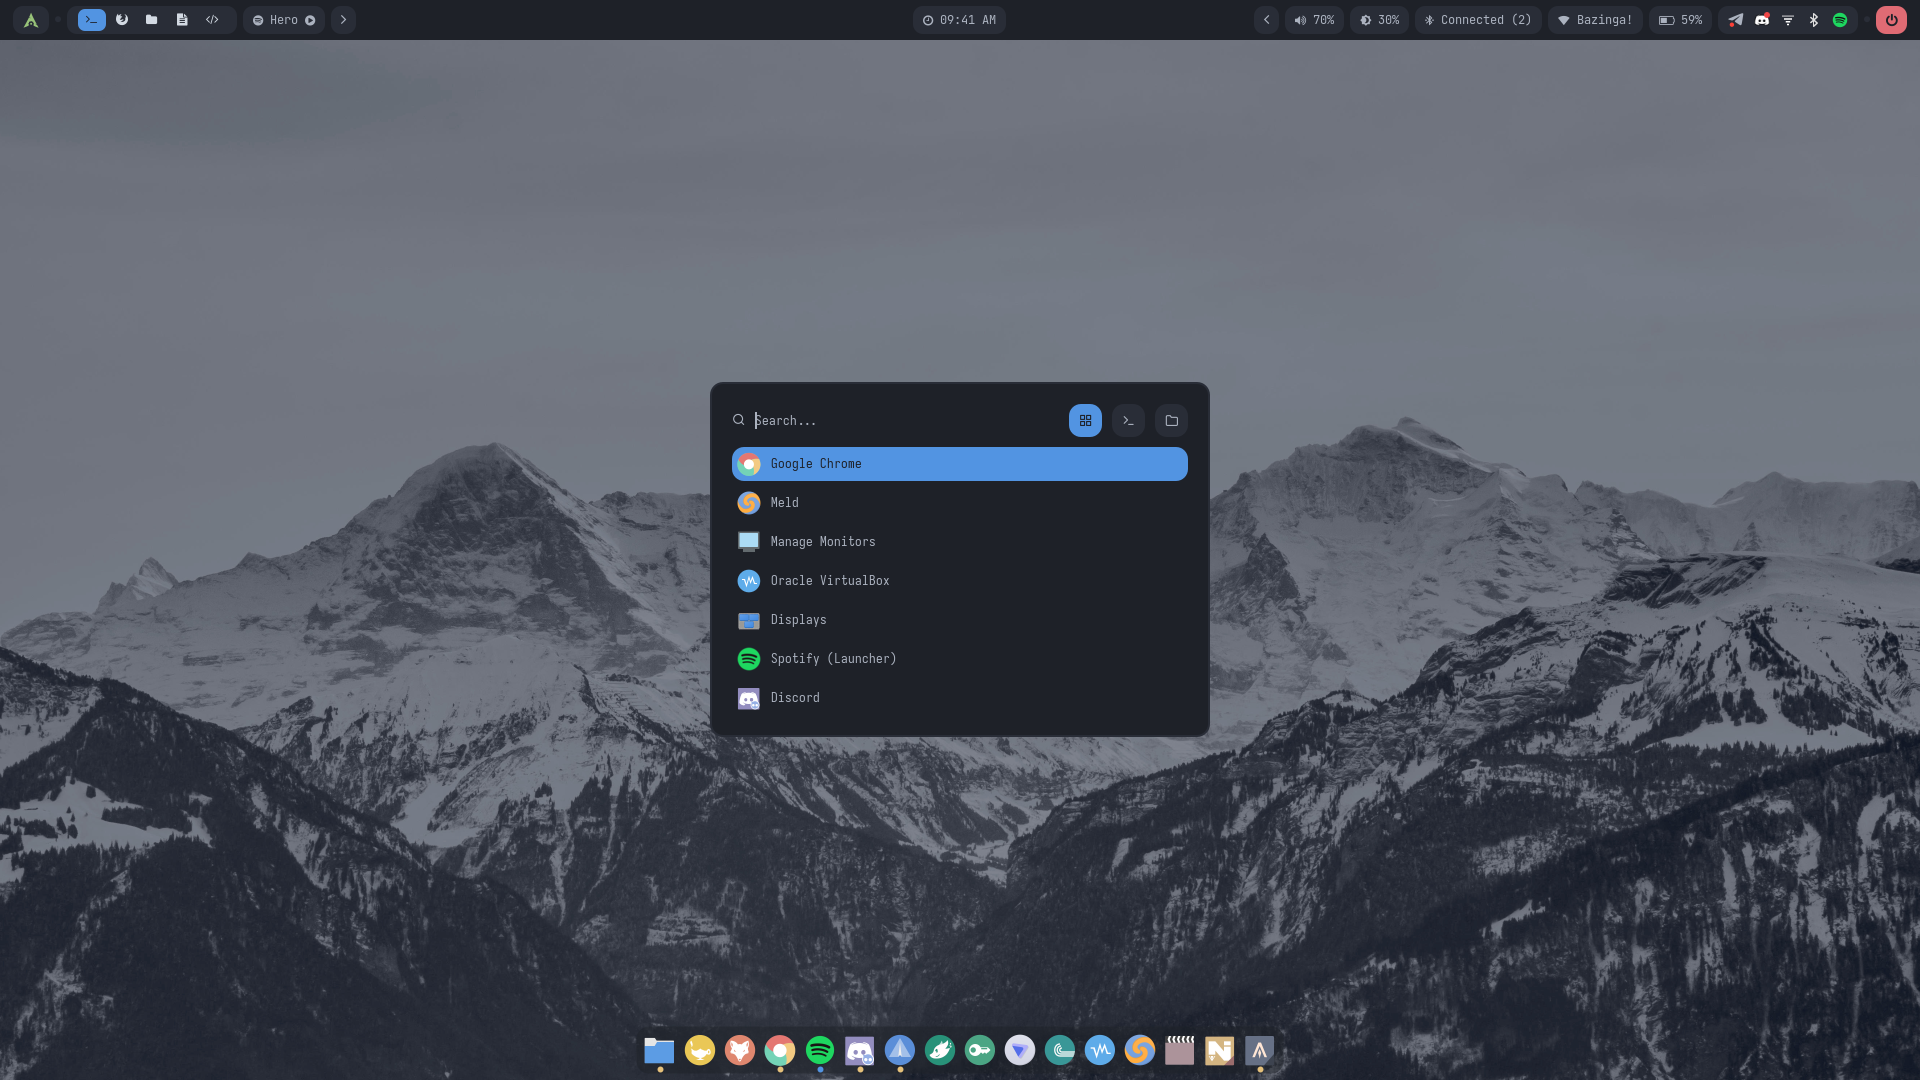
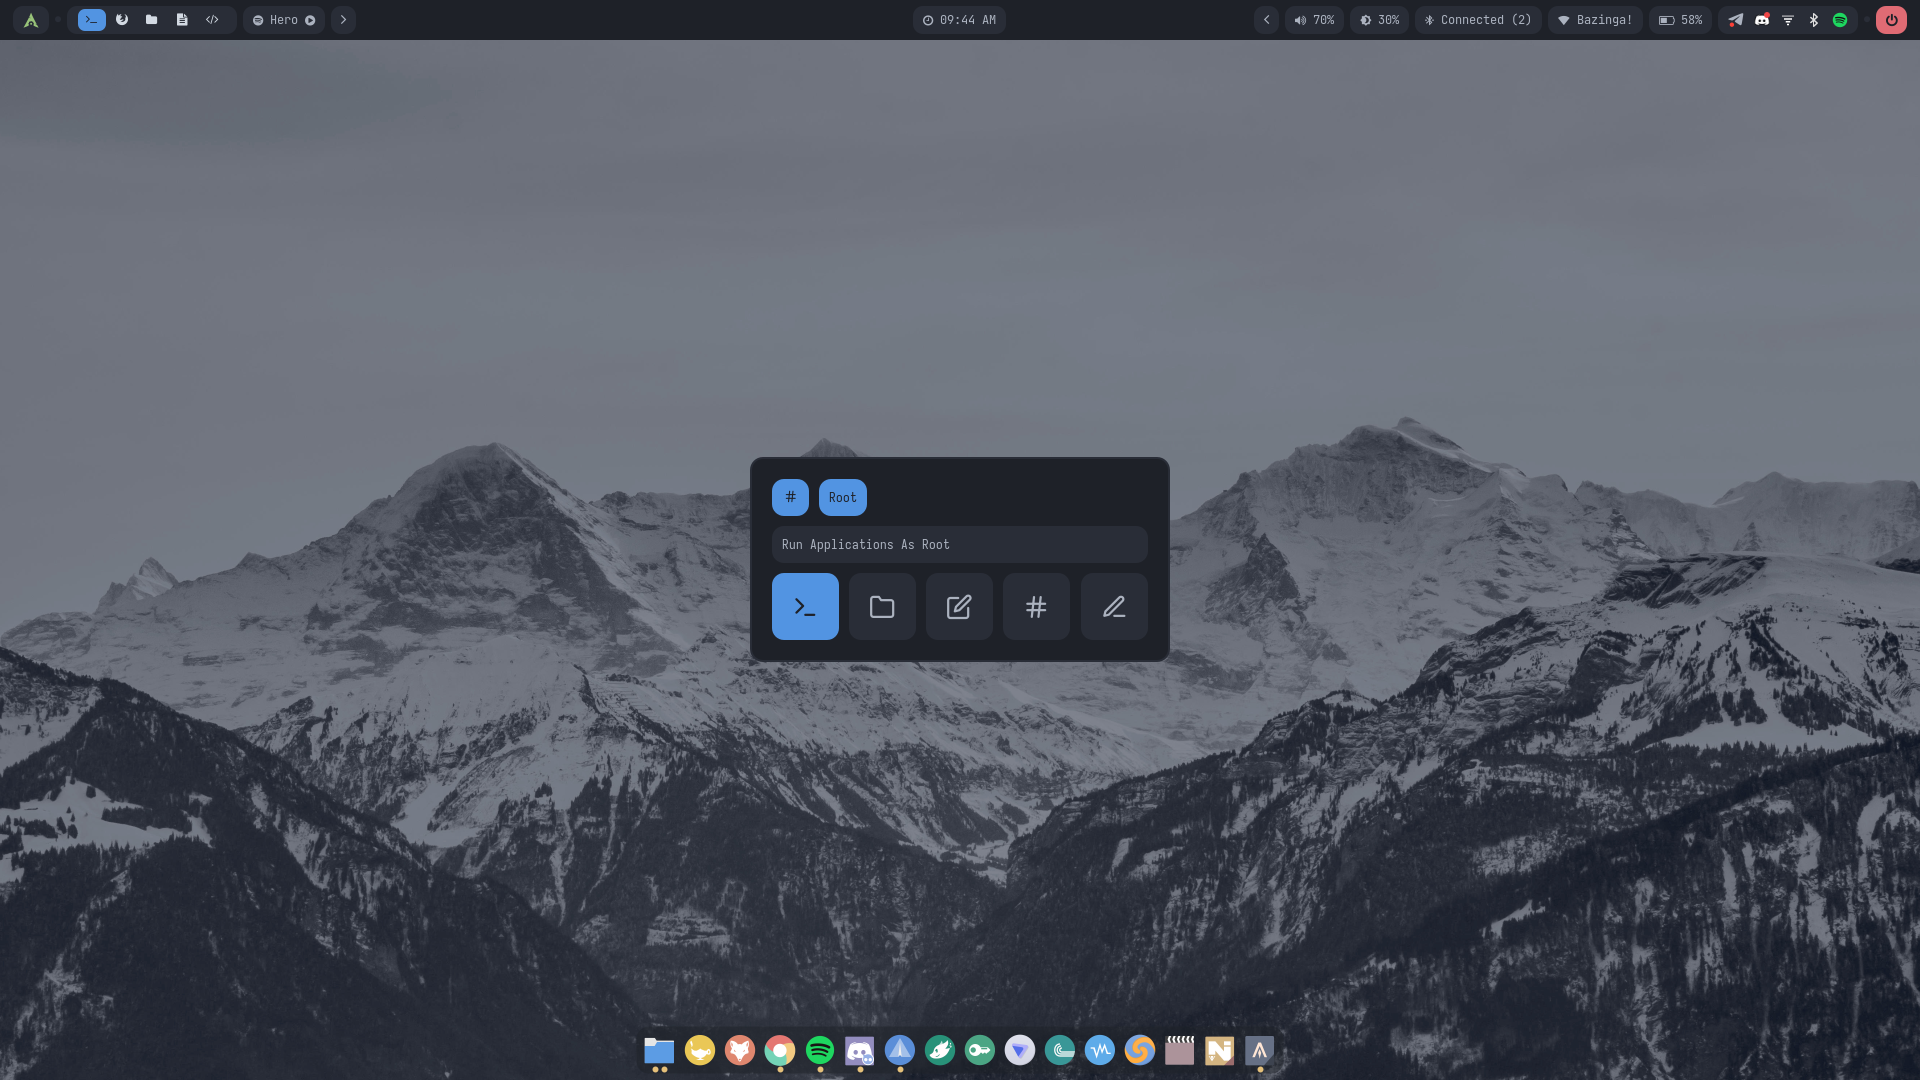
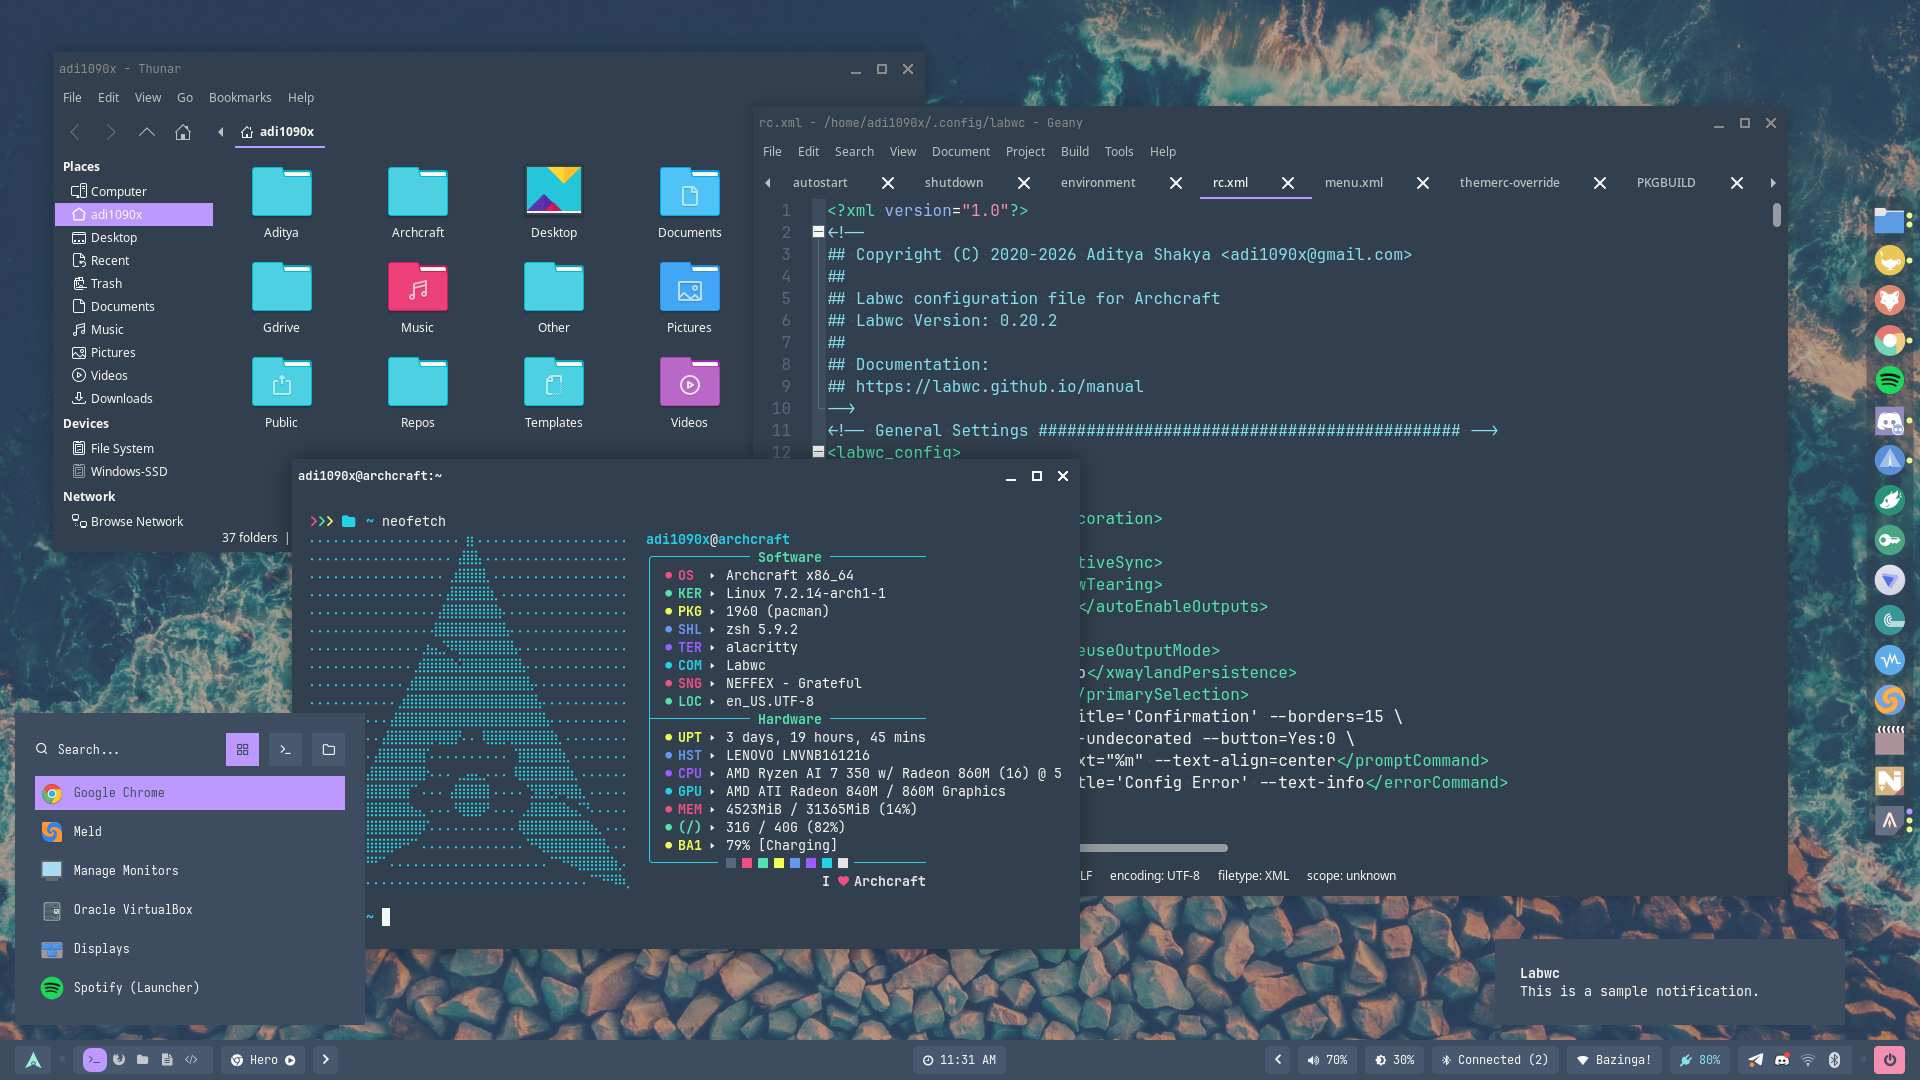
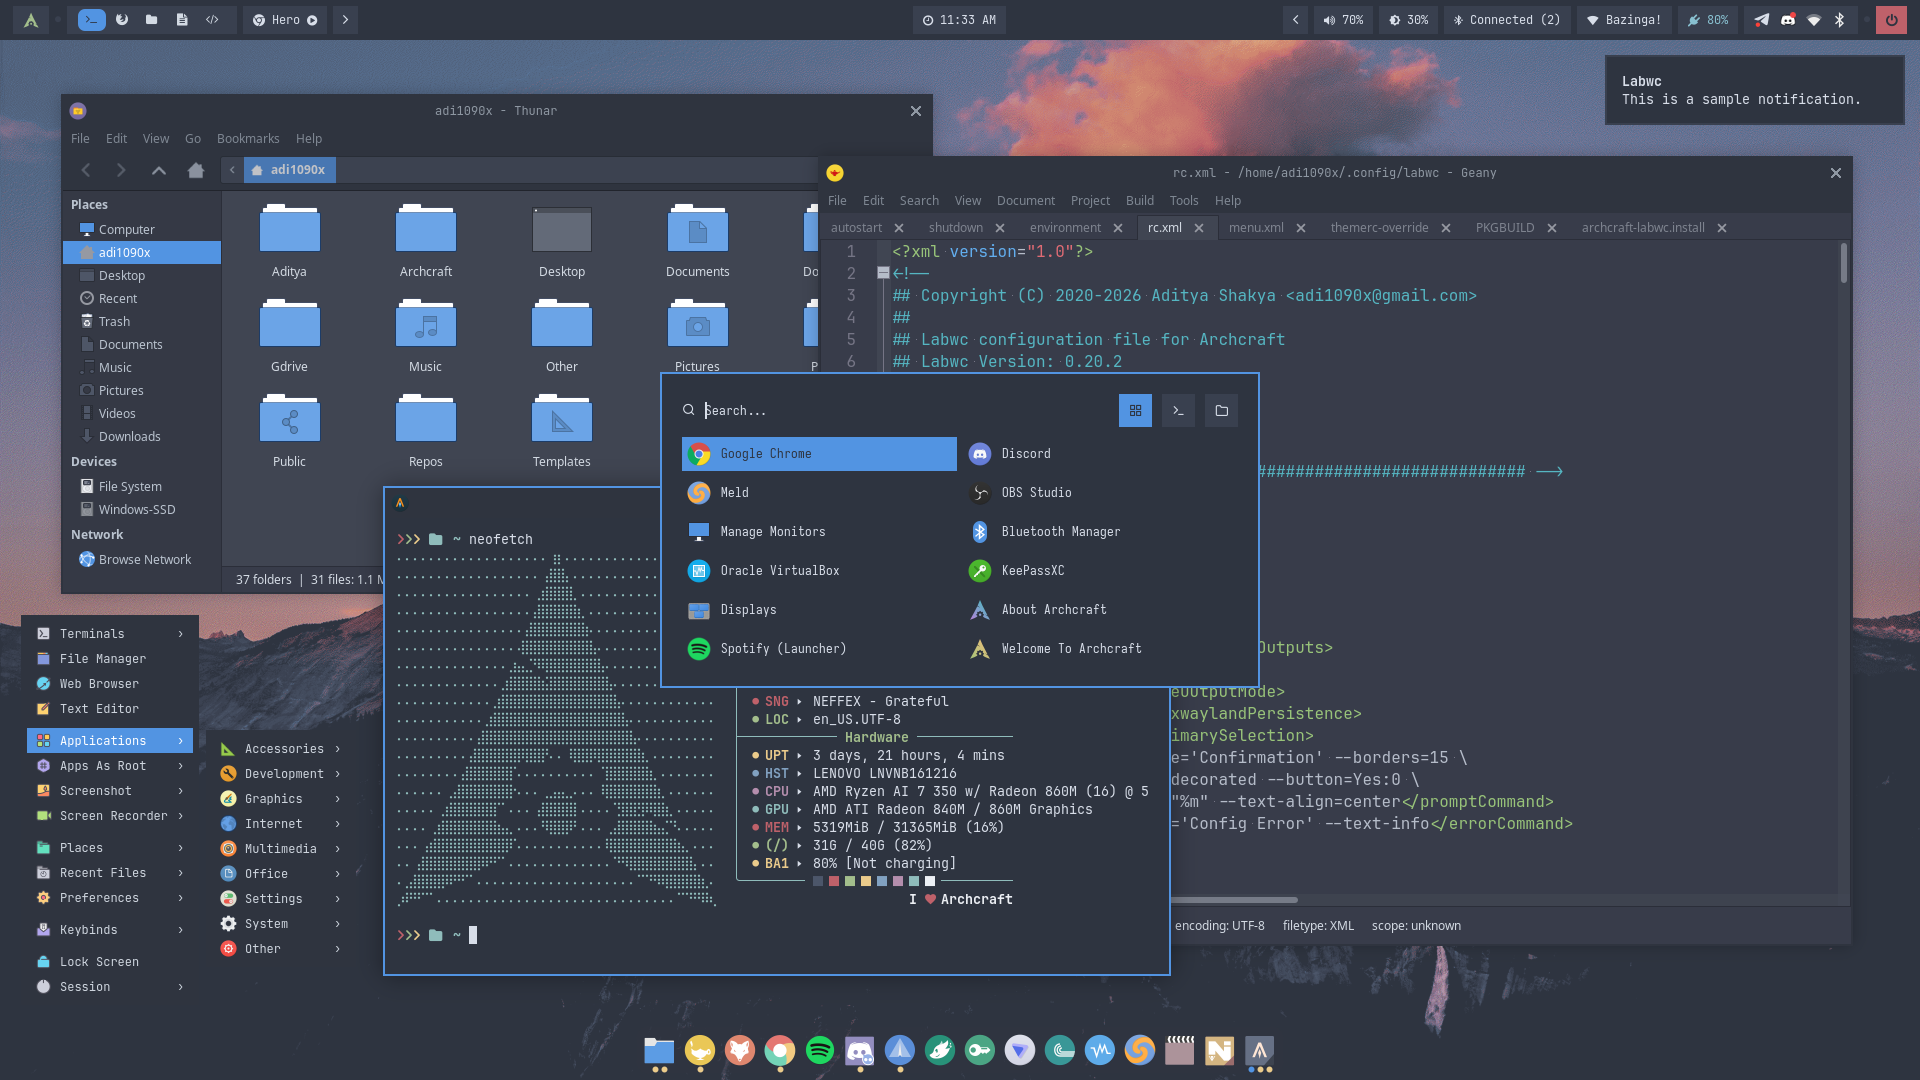
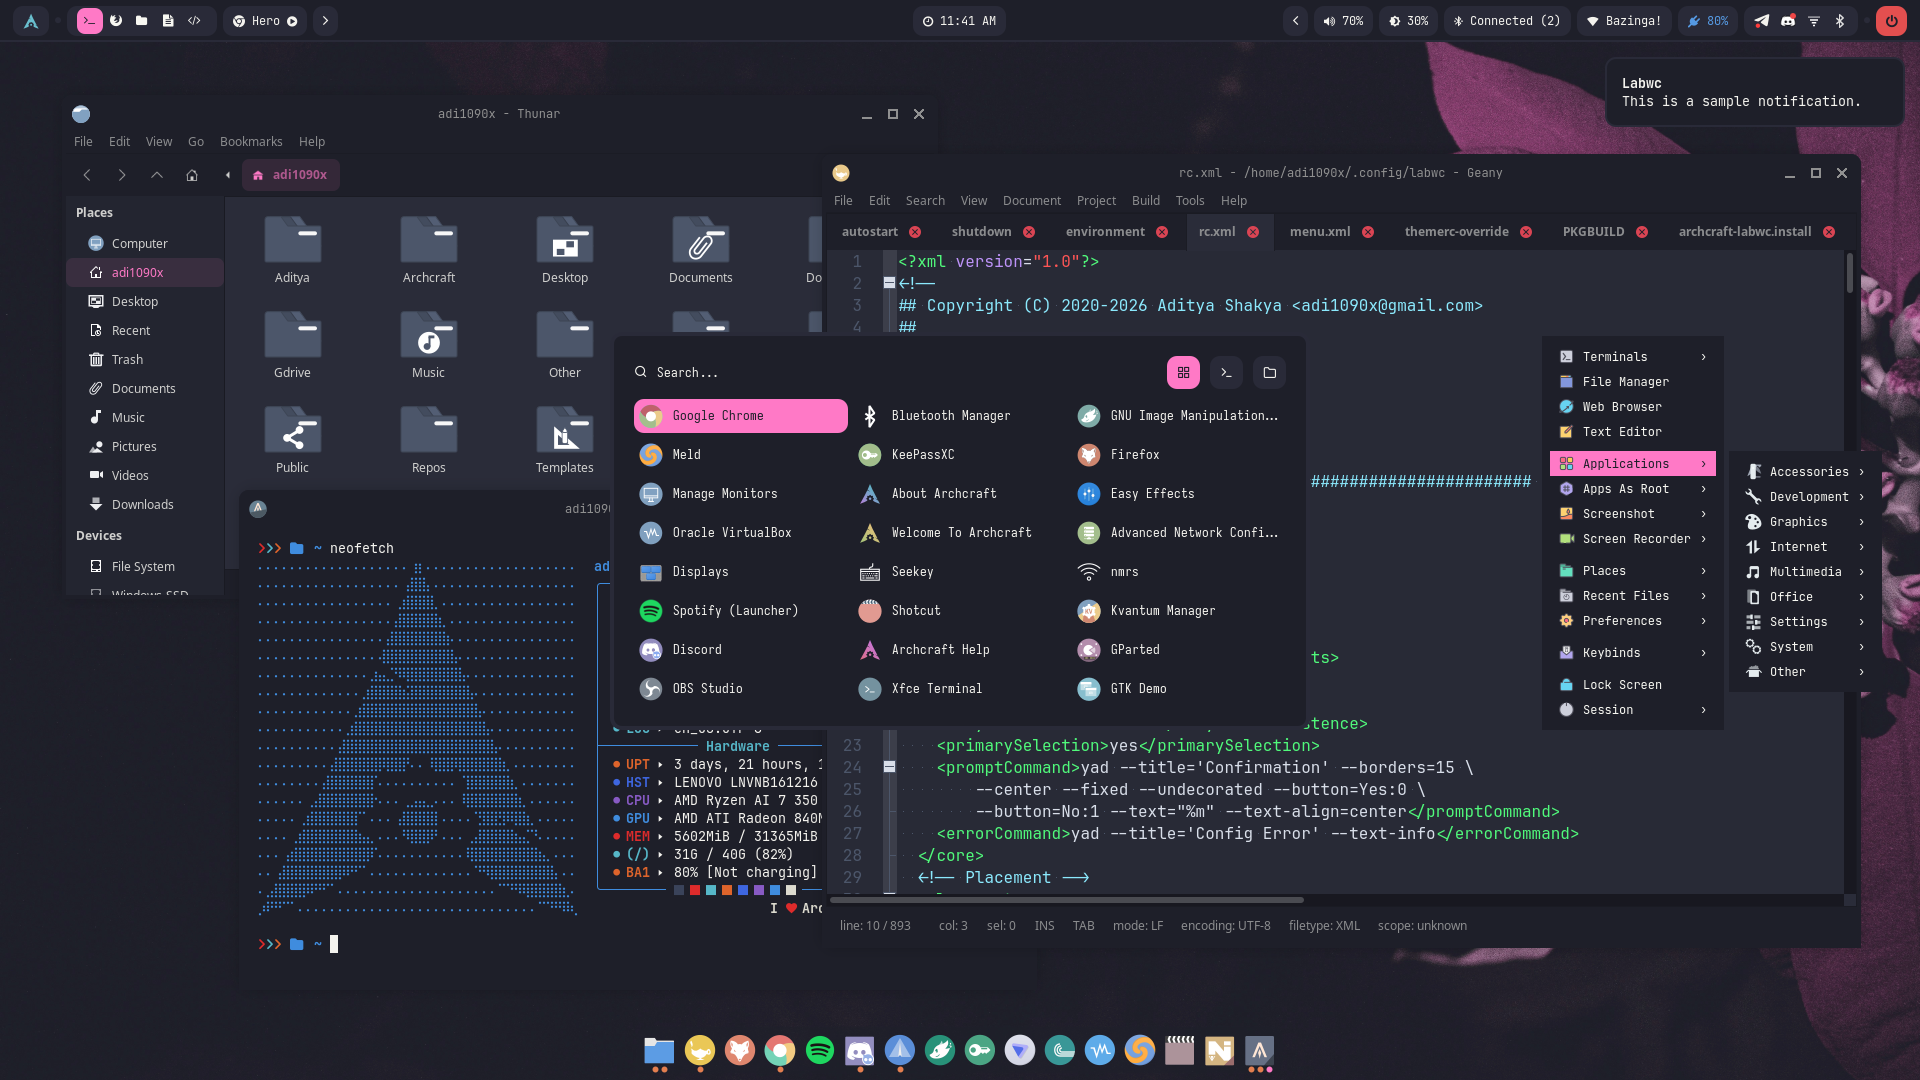
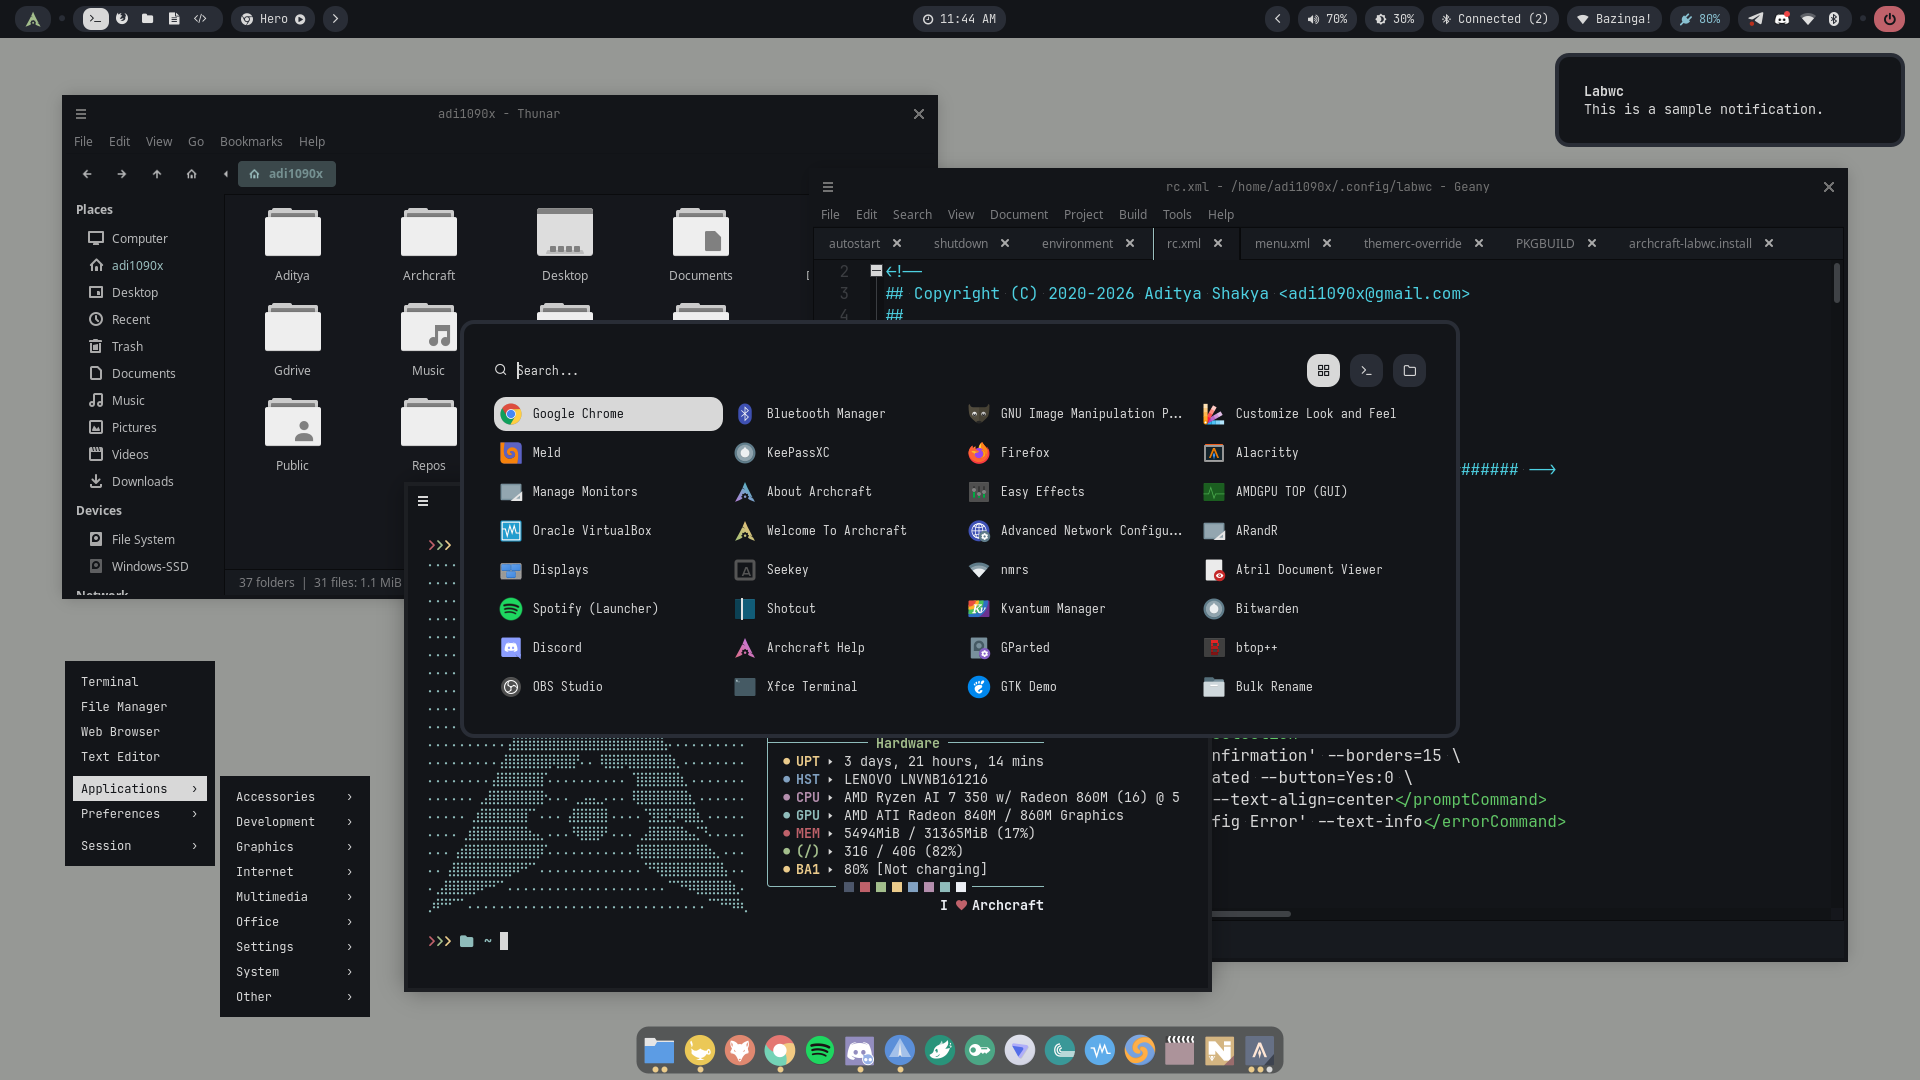
Explore the Labwc desktop, its collection of themes, dynamic color schemes, and lock screen designs. The screenshots below showcase the different visual styles and customization options available with this setup.
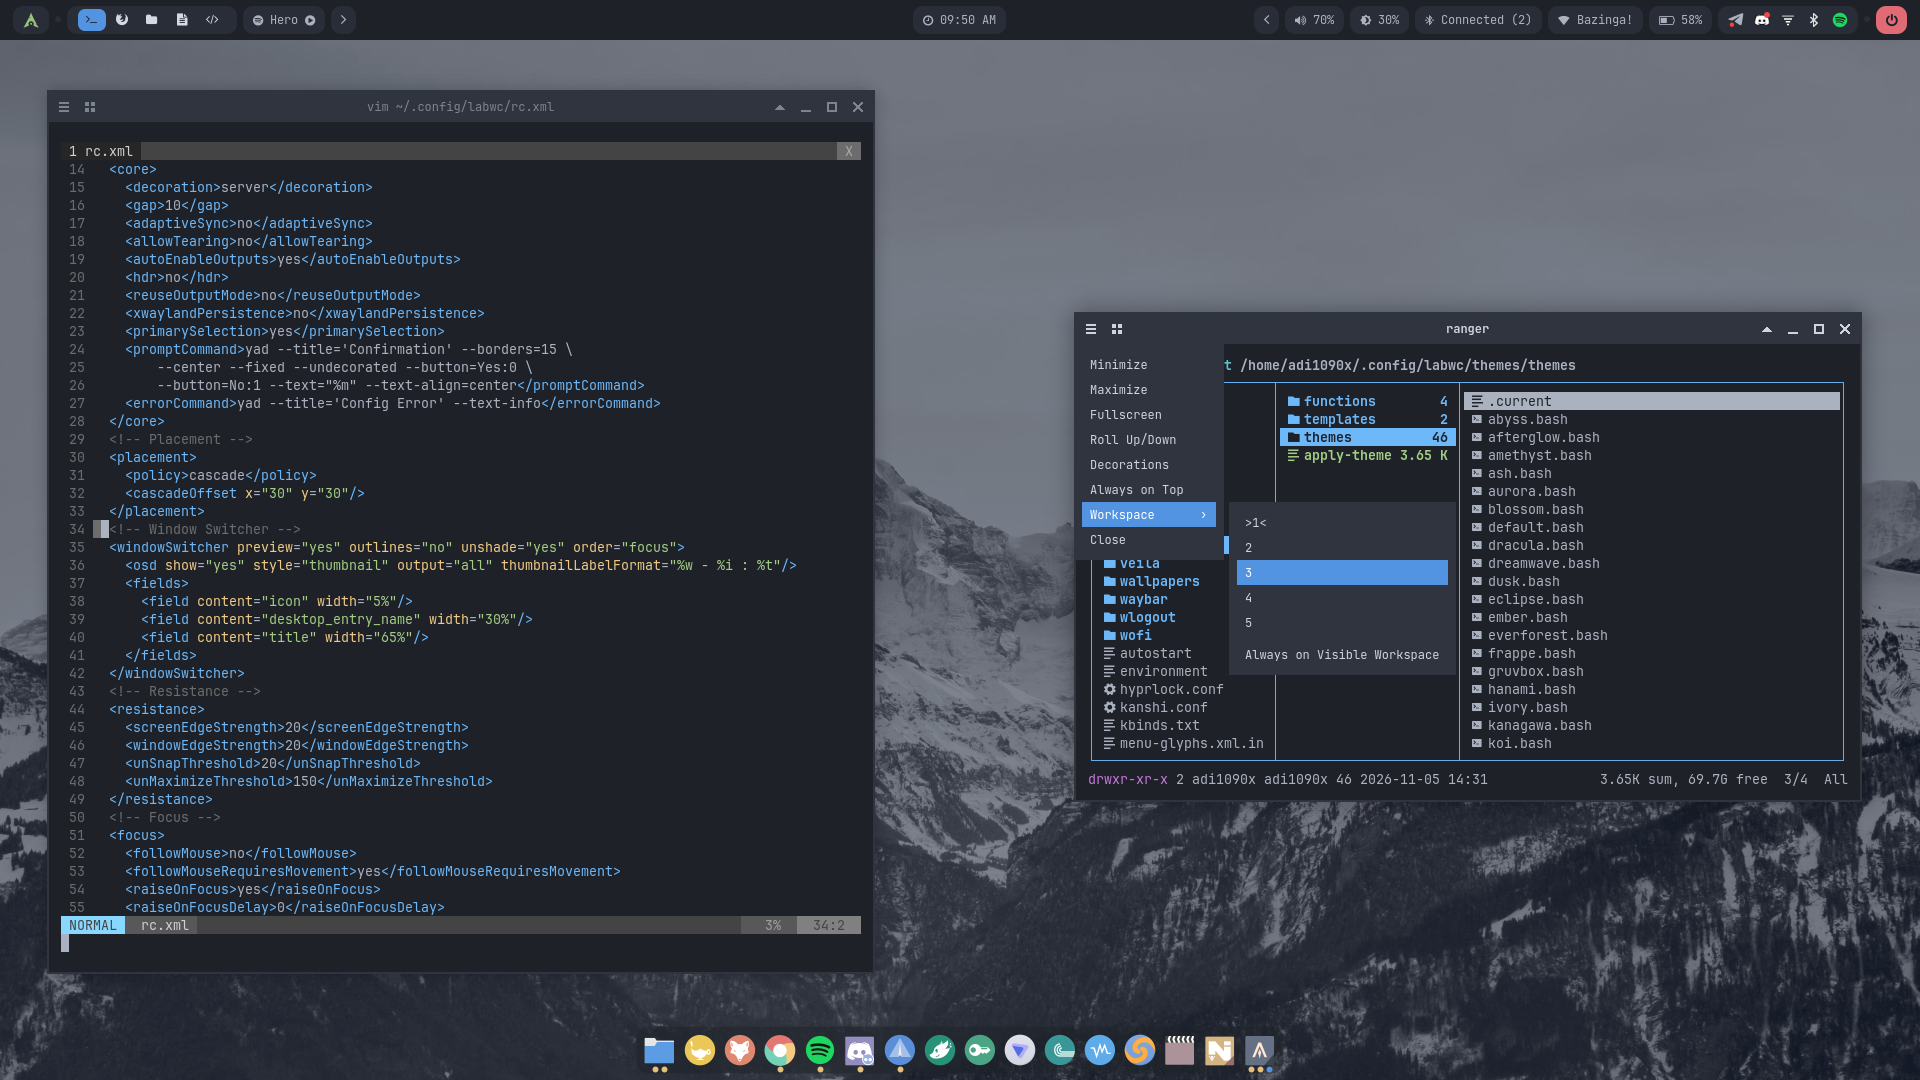
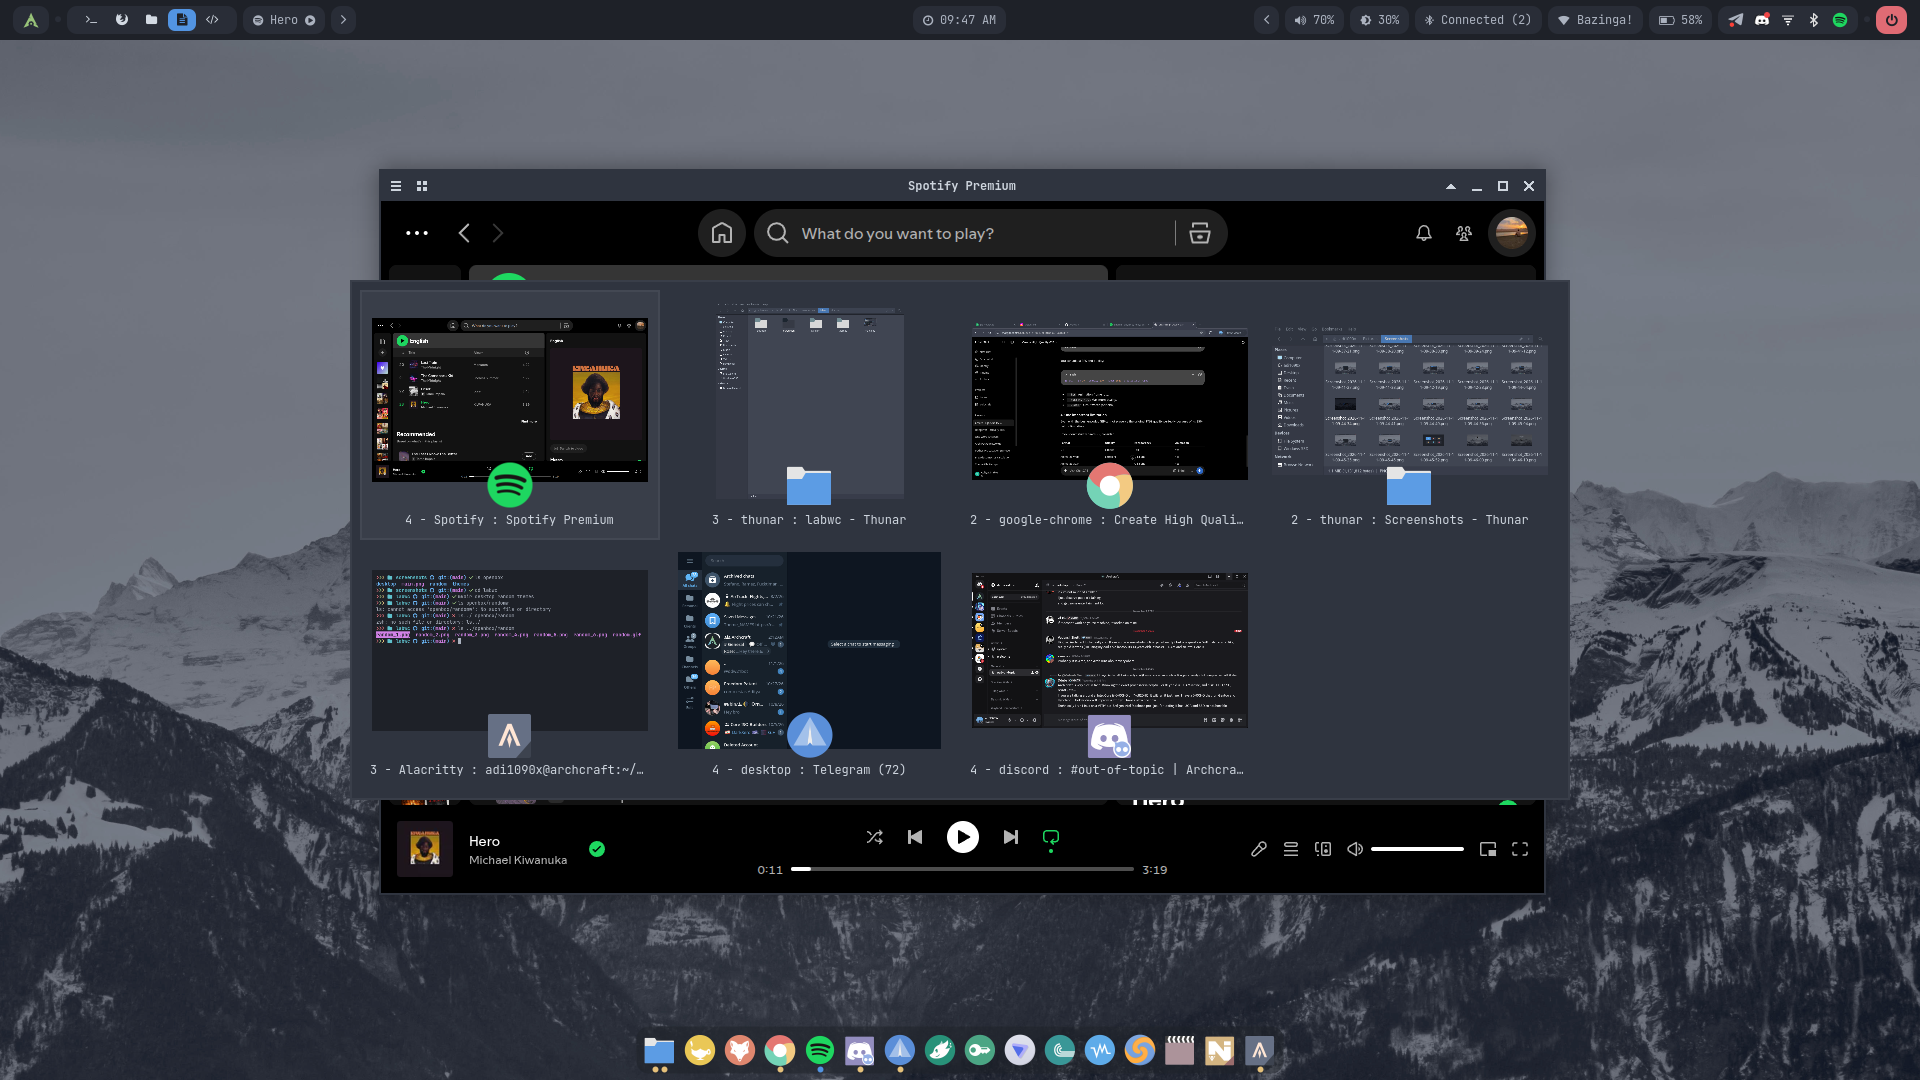
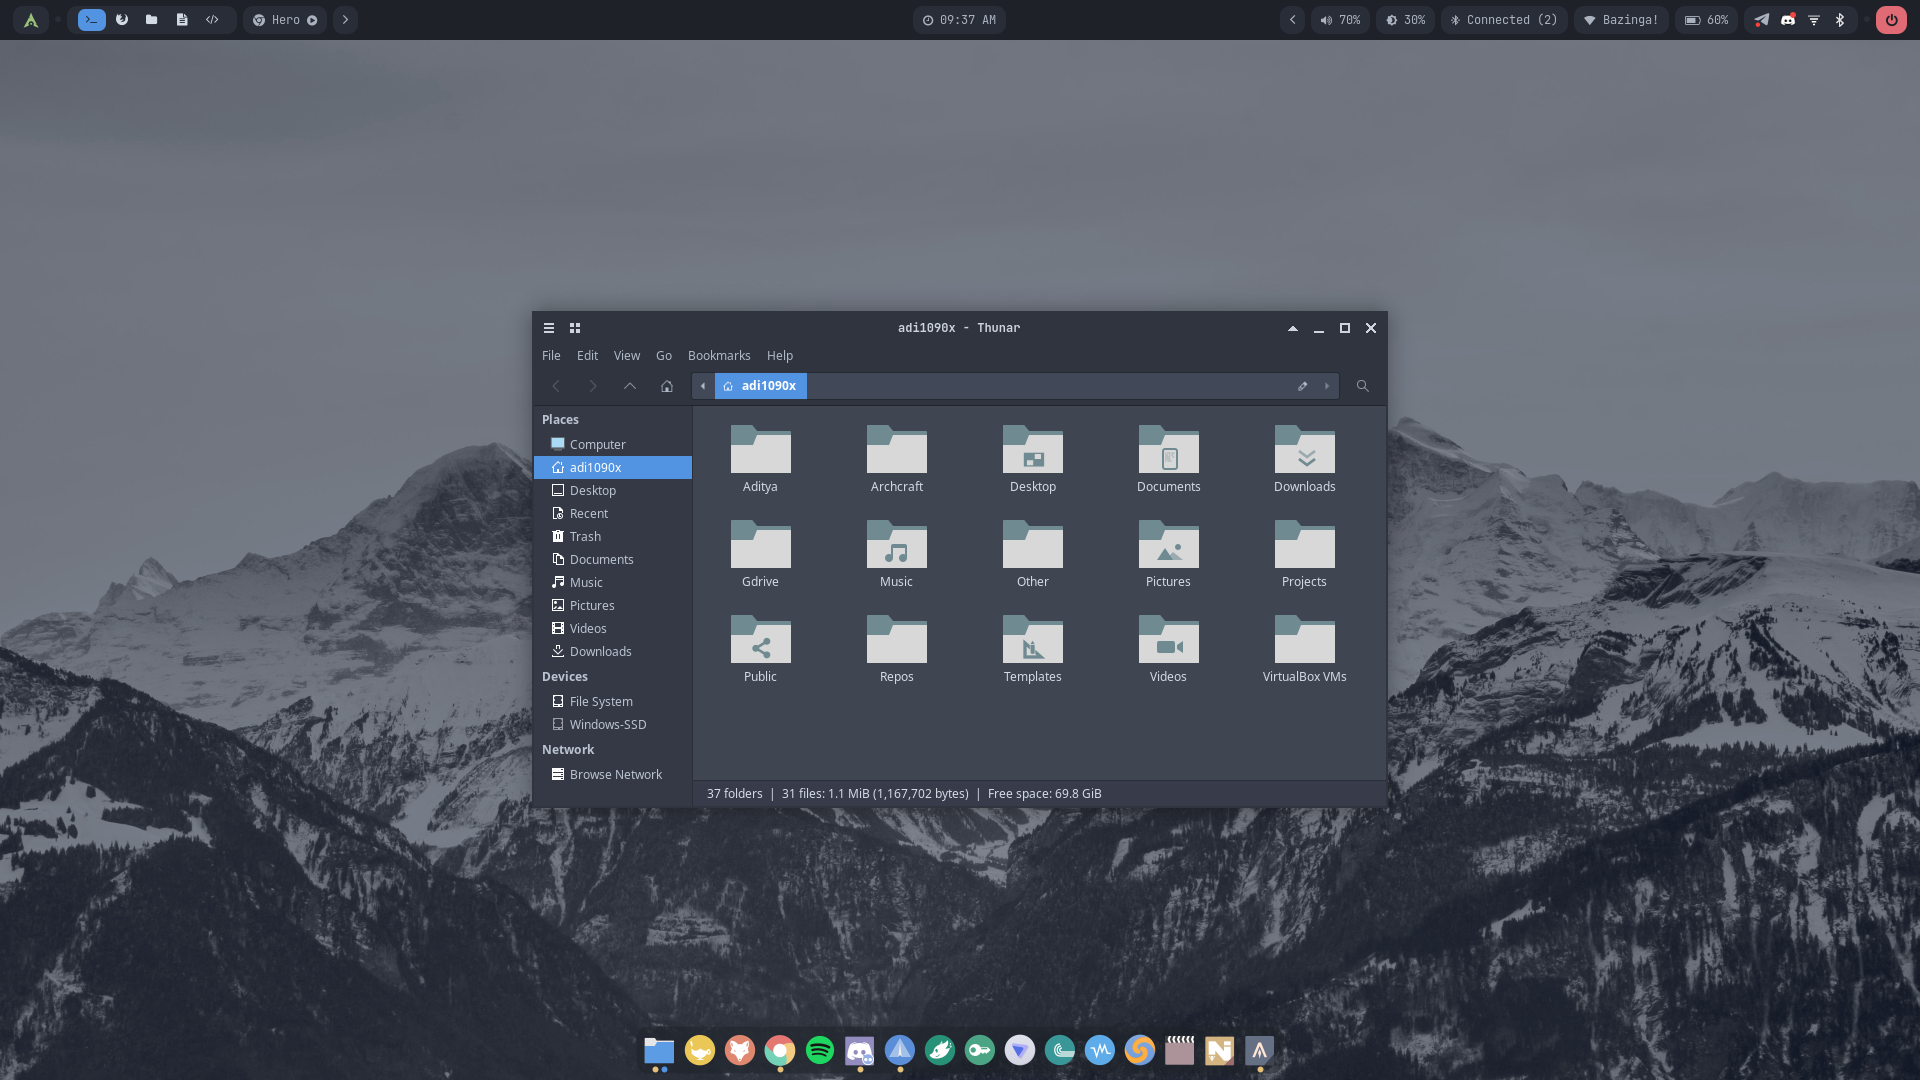
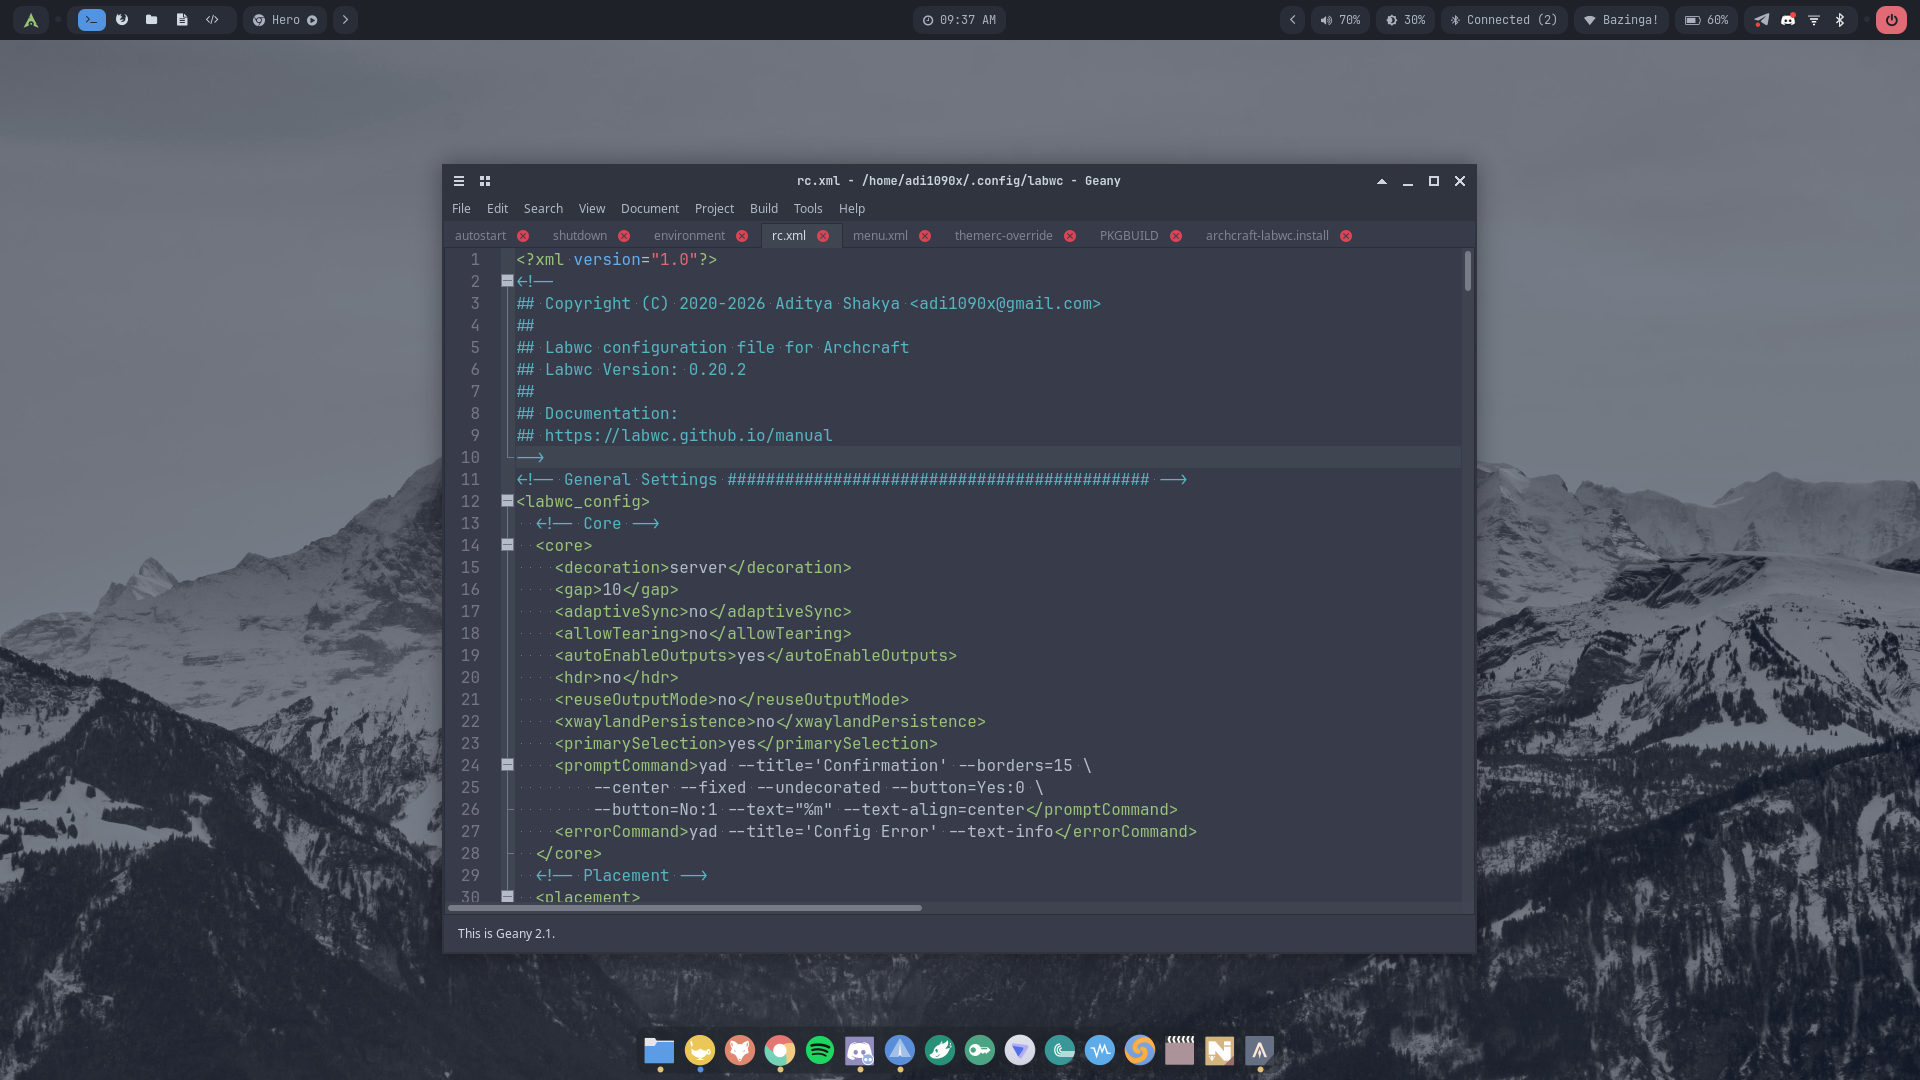
Desktop
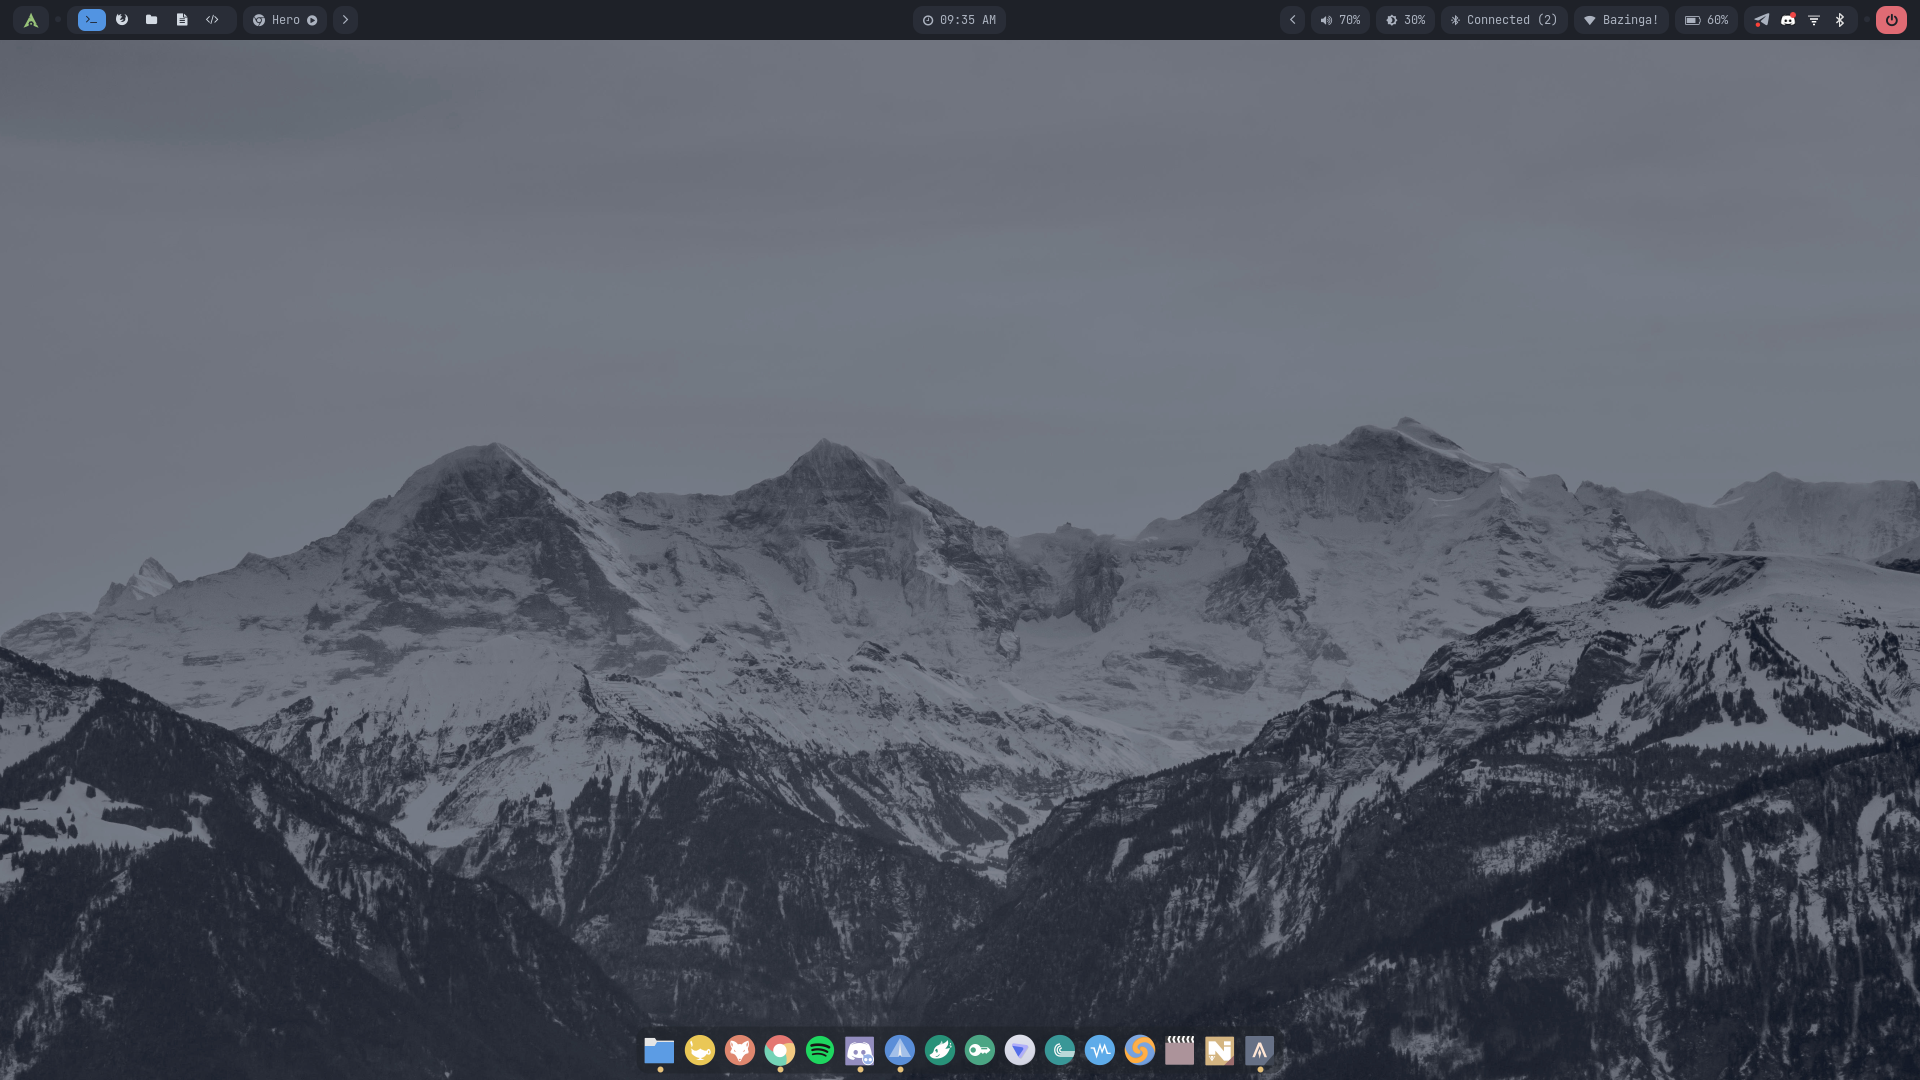
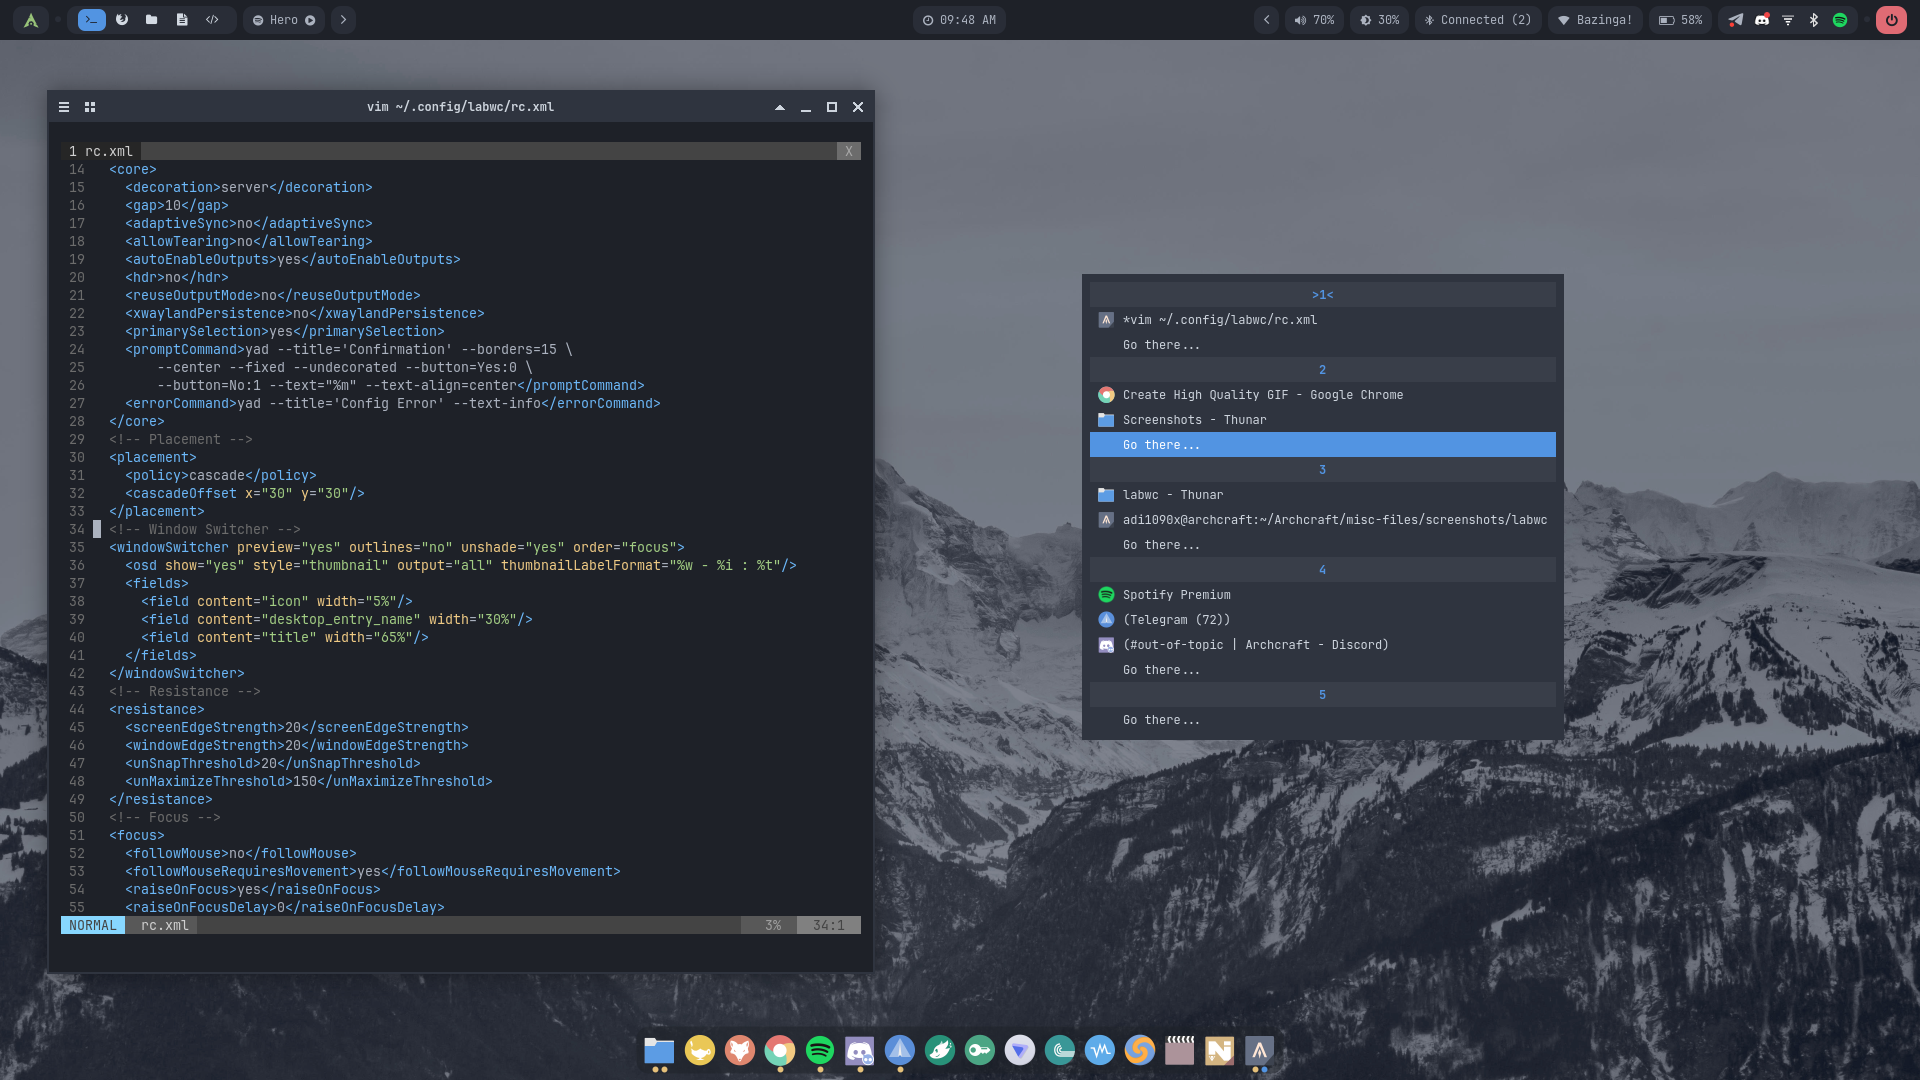
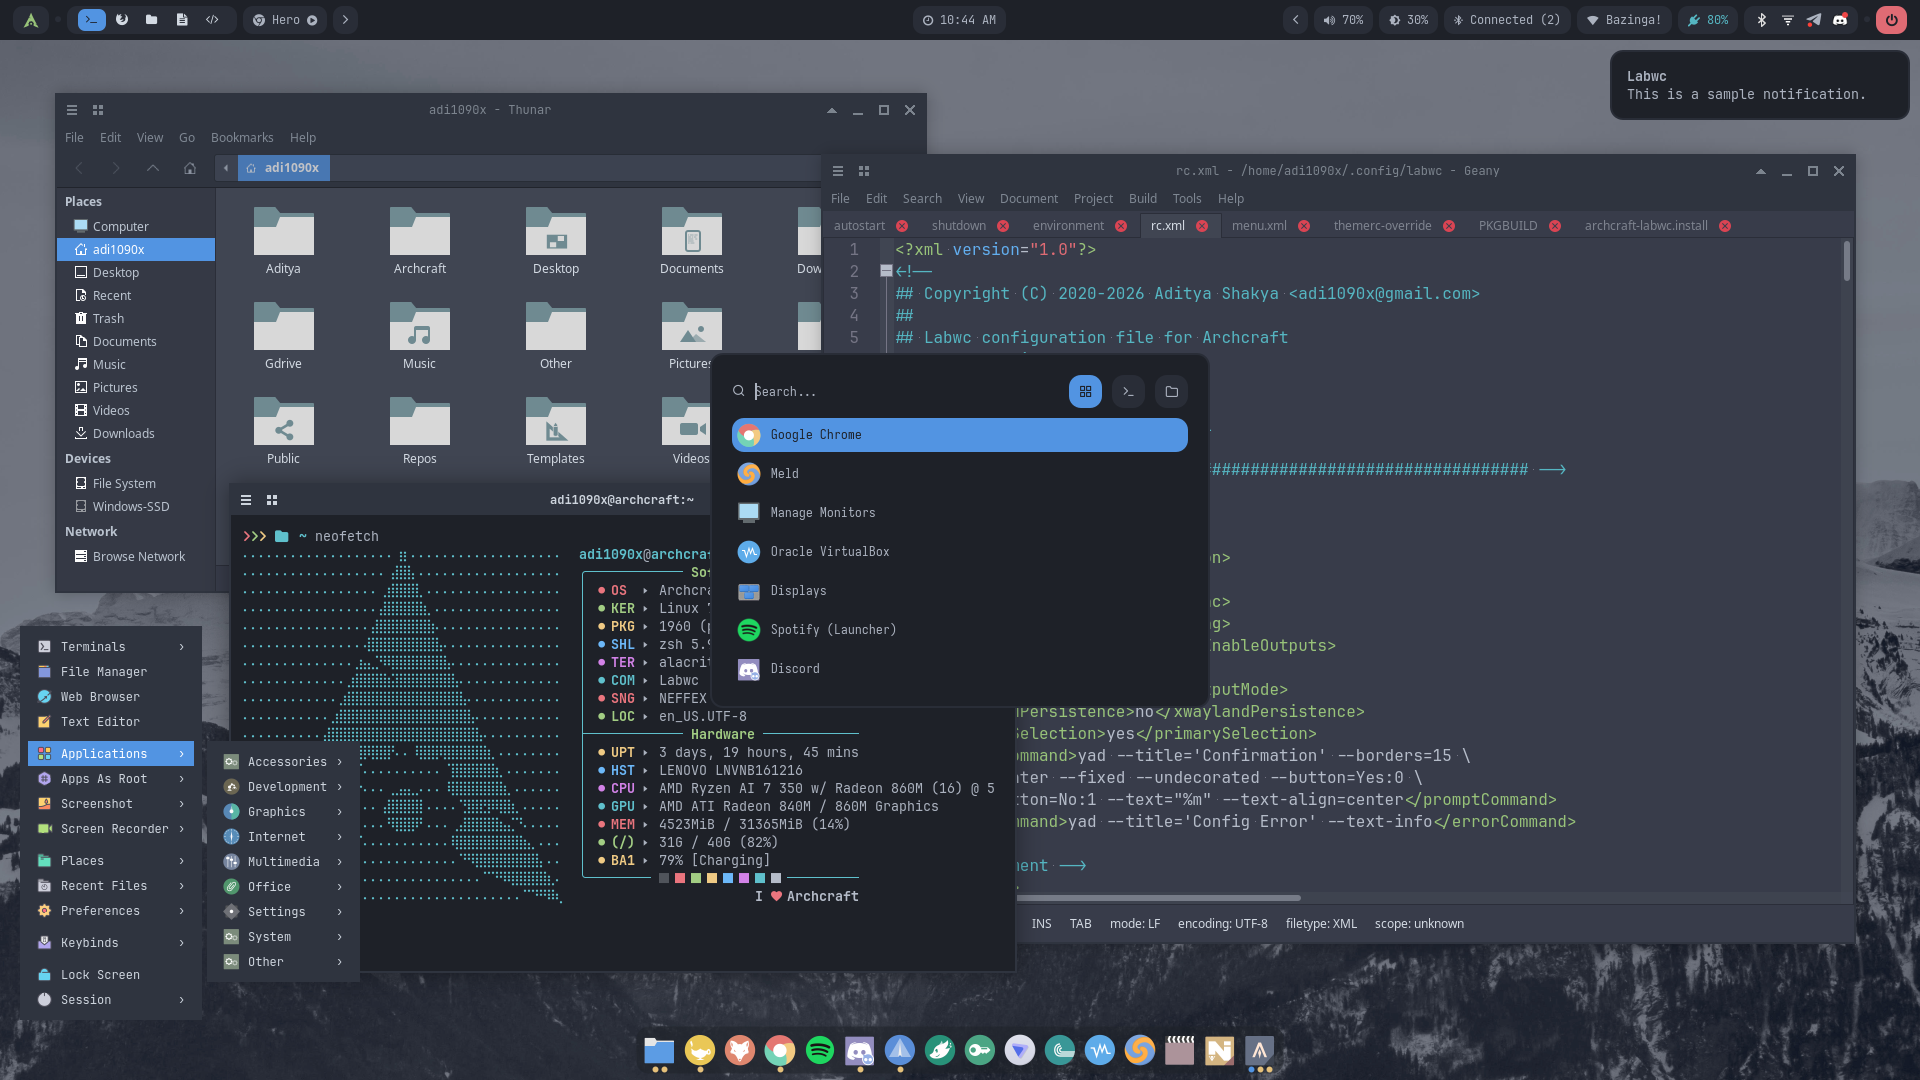
A look at the labwc desktop, showcasing its layout, components, and overall appearance.
| Desktop 1 | Desktop 2 | Desktop 3 | Desktop 4 | Desktop 5 |
|---|---|---|---|---|
 |  |  |  |  |
| Desktop 6 | Desktop 7 | Desktop 8 | Desktop 9 | Desktop 10 |
|---|---|---|---|---|
 |  |  |  |  |
| Desktop 11 | Desktop 12 | Desktop 13 | Desktop 14 | Desktop 15 |
|---|---|---|---|---|
 |  |  |  |  |
| Desktop 16 | Desktop 17 | Desktop 18 | Desktop 19 | Desktop 20 |
|---|---|---|---|---|
 |  |  |  |  |
| Desktop 21 | Desktop 22 | Desktop 23 | Desktop 24 | Desktop 25 |
|---|---|---|---|---|
 |  |  |  |  |
| Desktop 26 | Desktop 27 | Desktop 28 | Desktop 29 | Desktop 30 |
|---|---|---|---|---|
 |  |  |  |  |
Themes
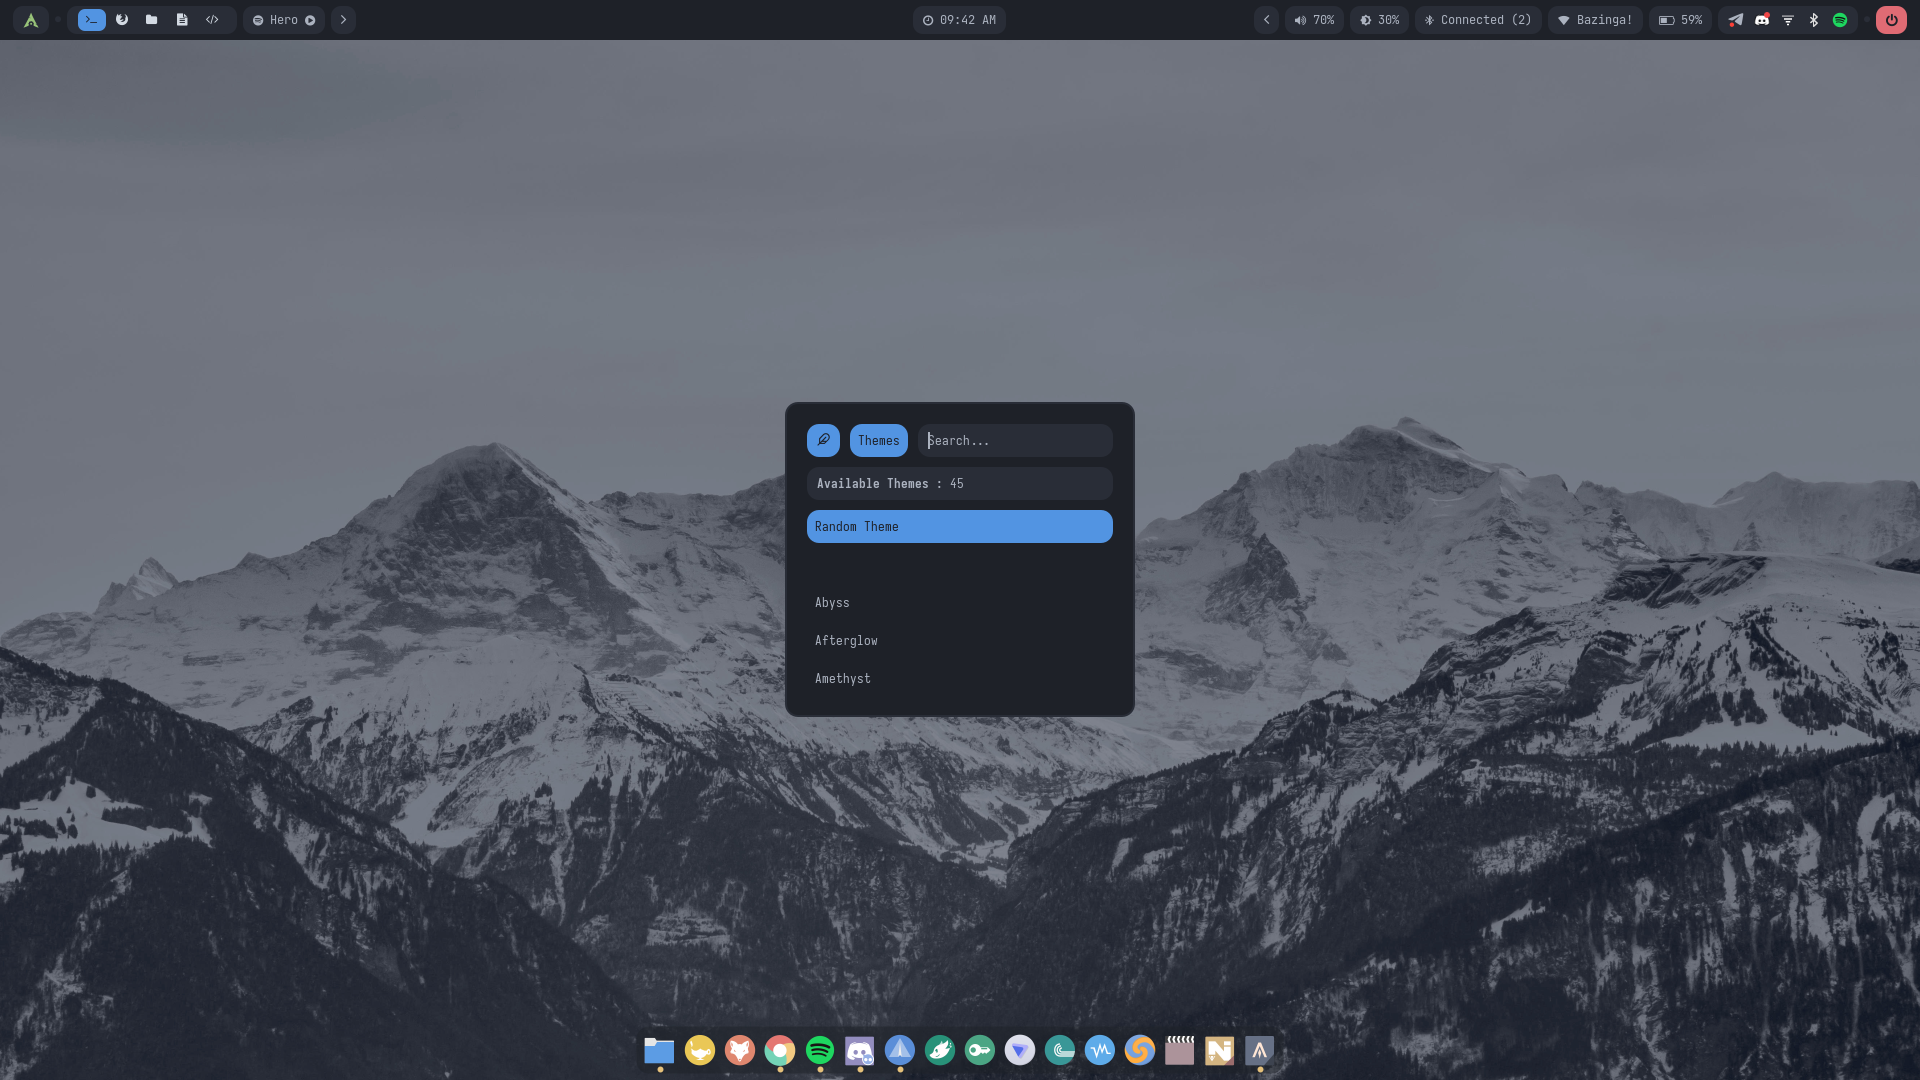
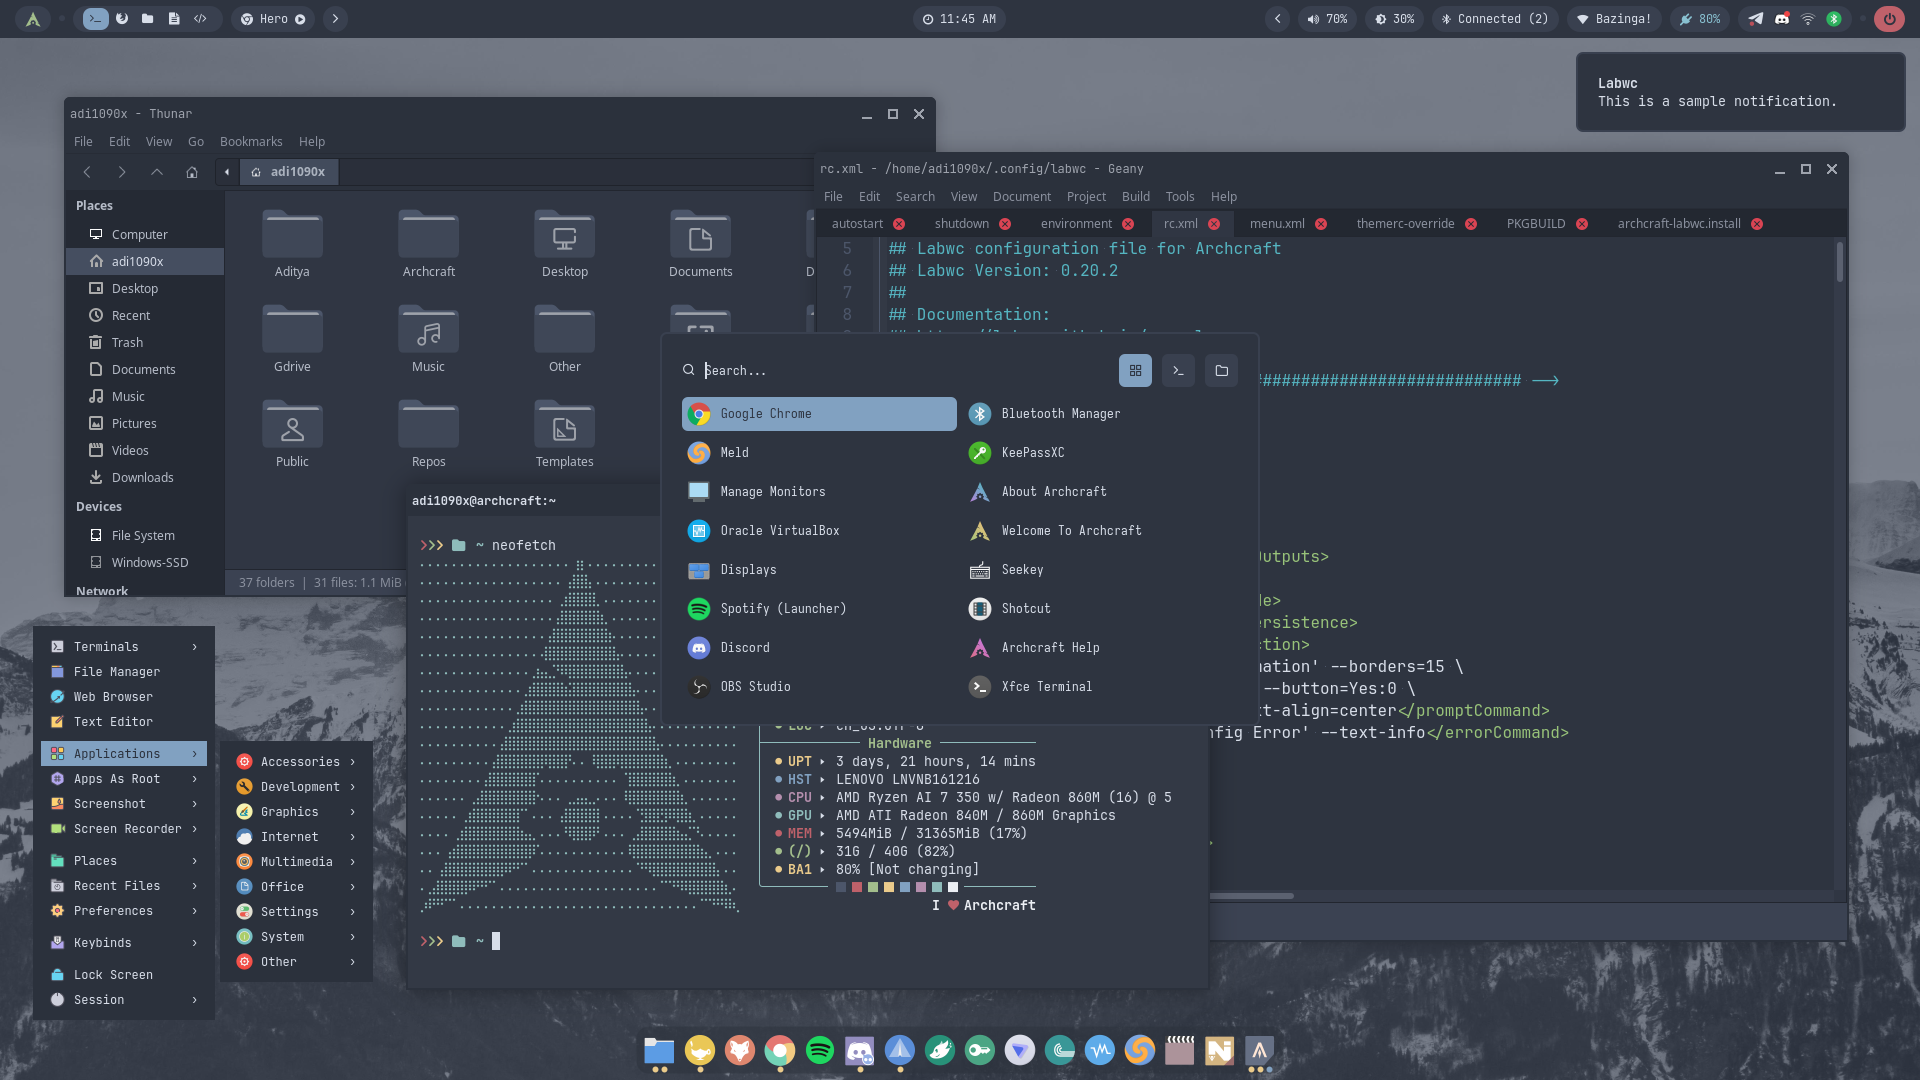
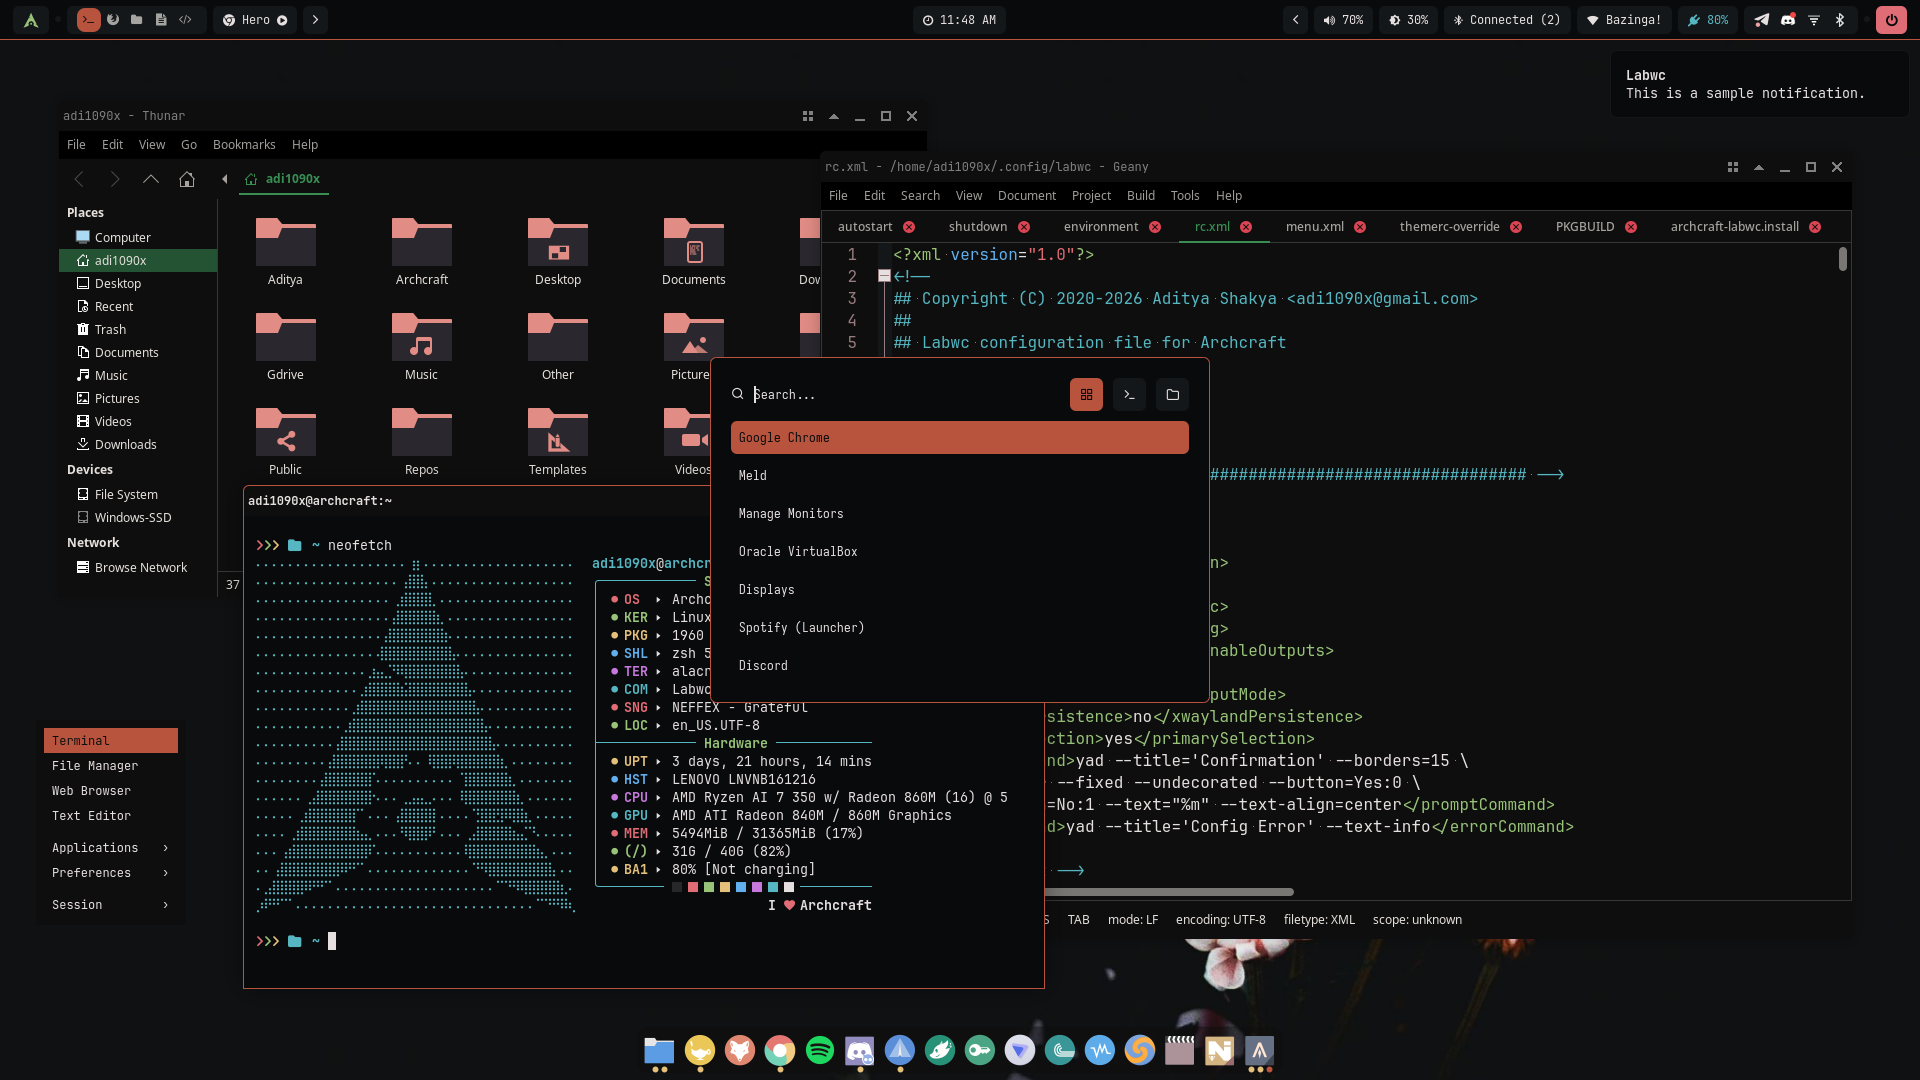
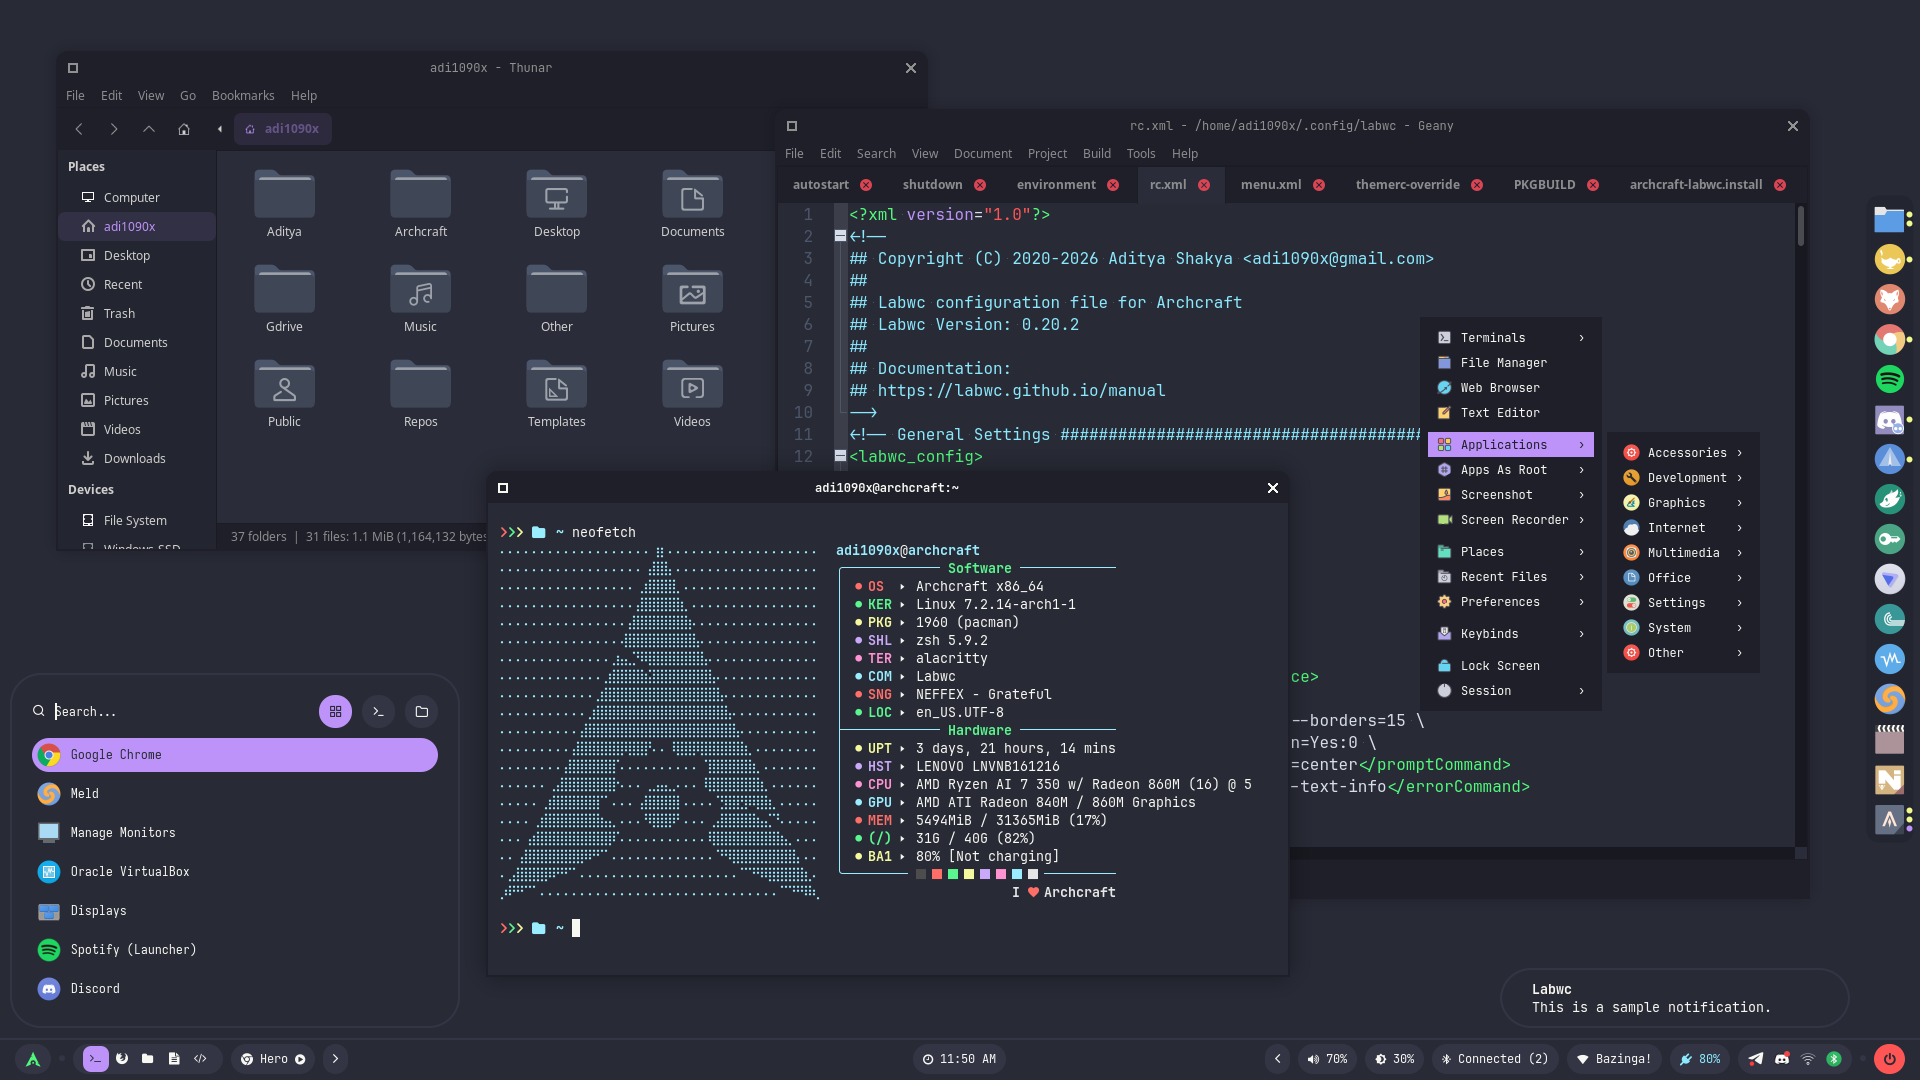
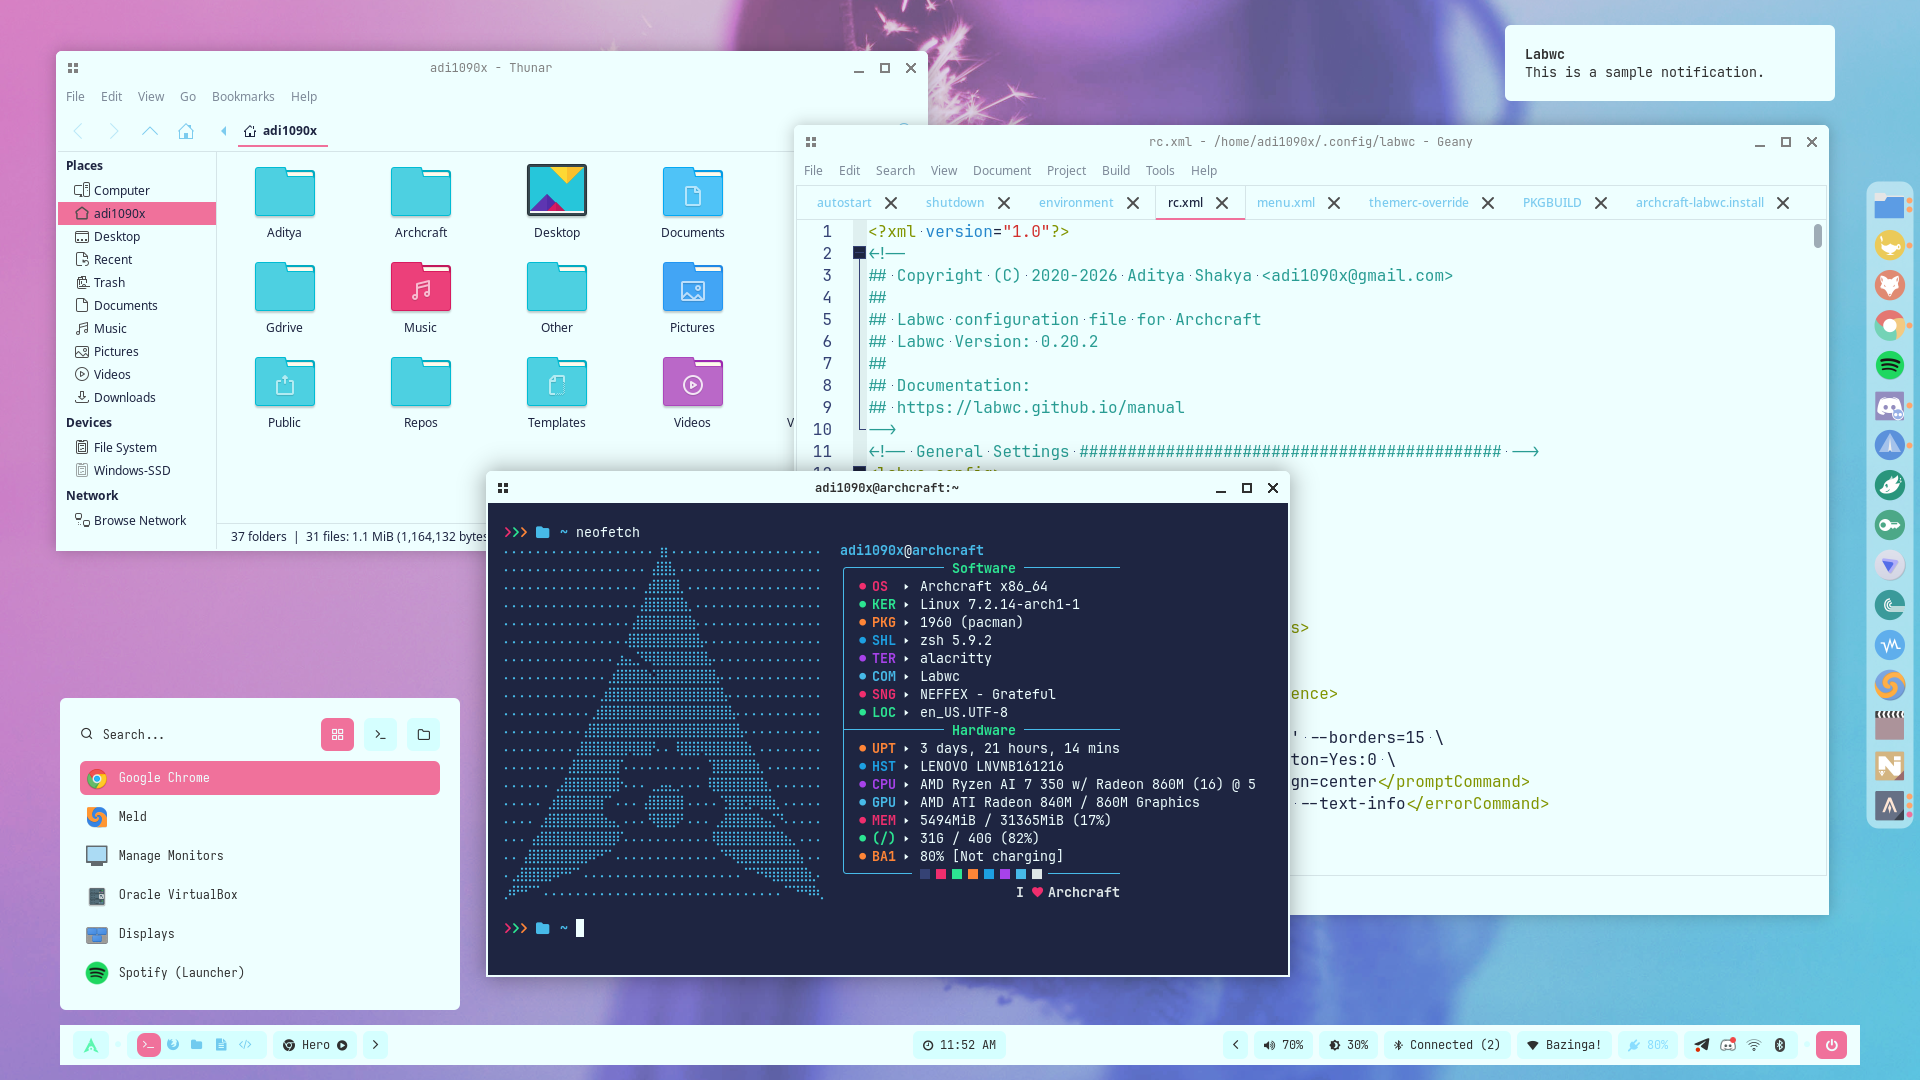
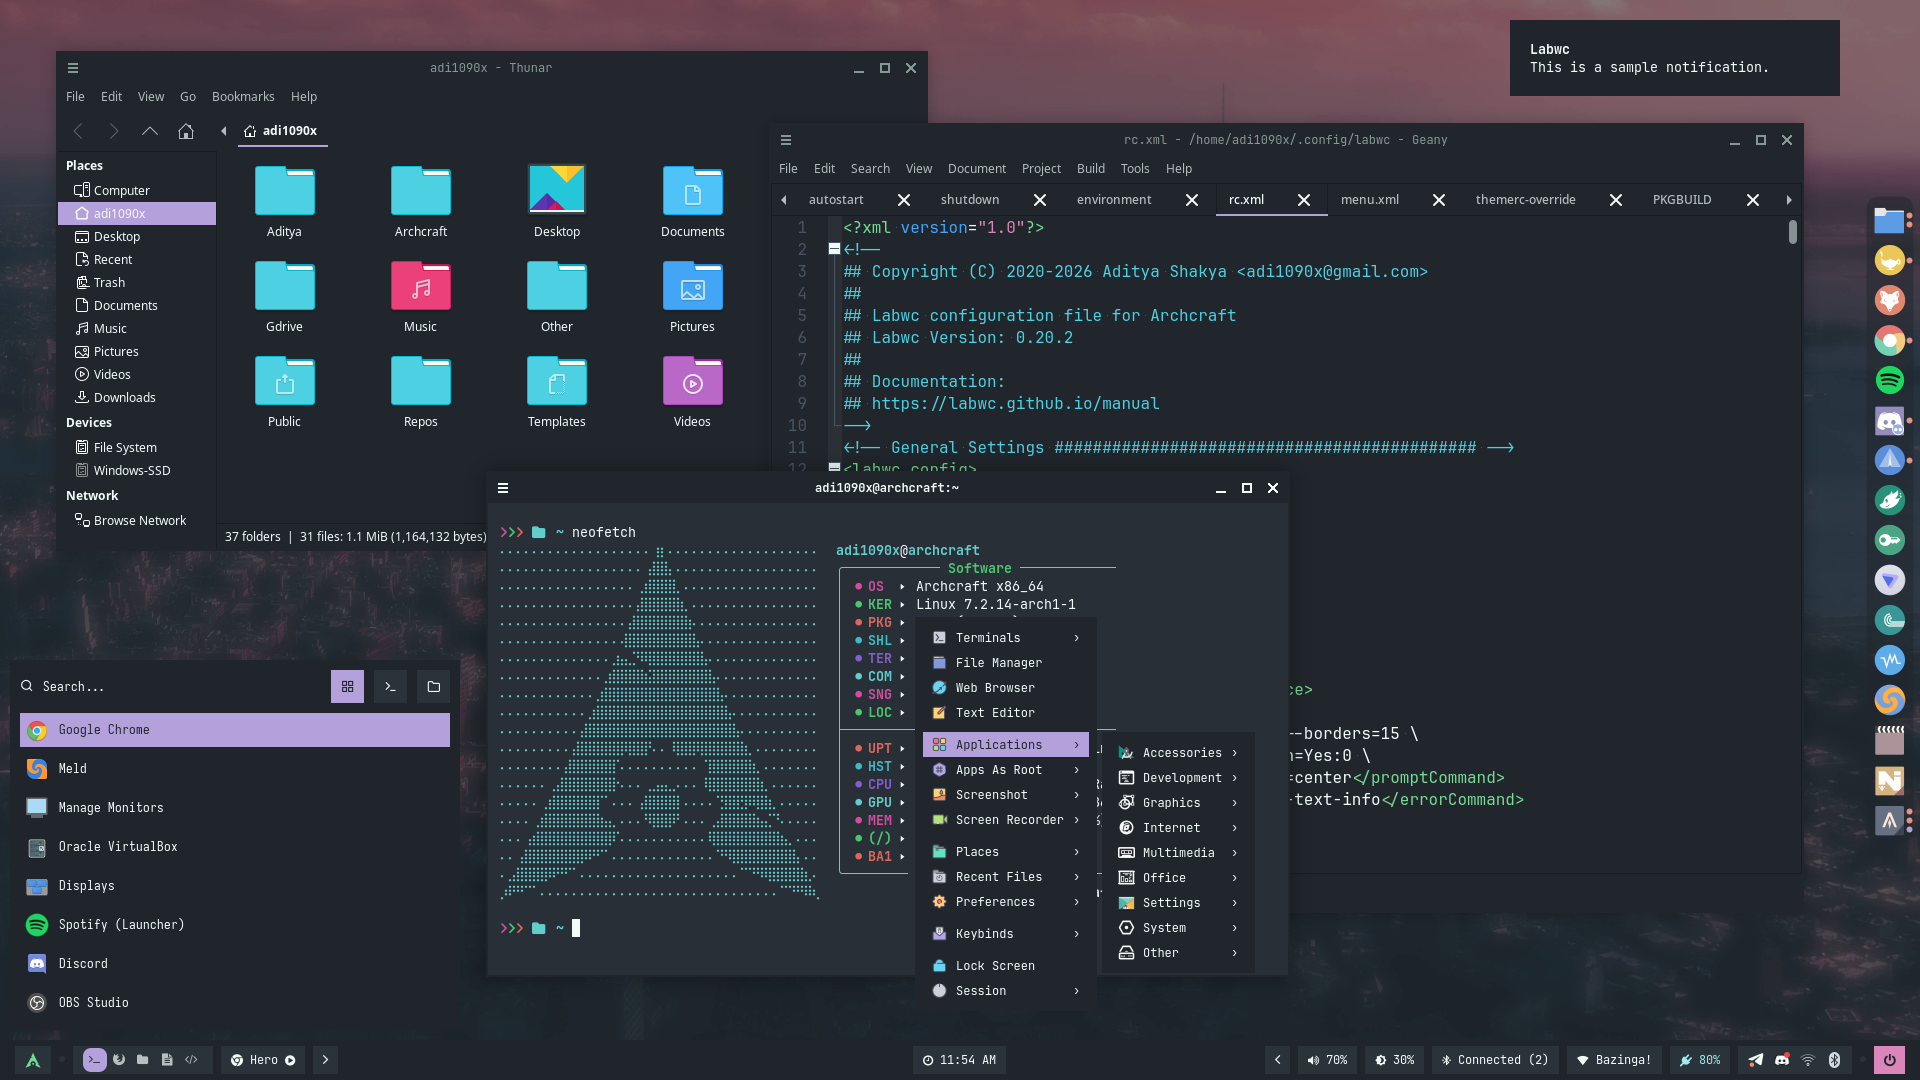
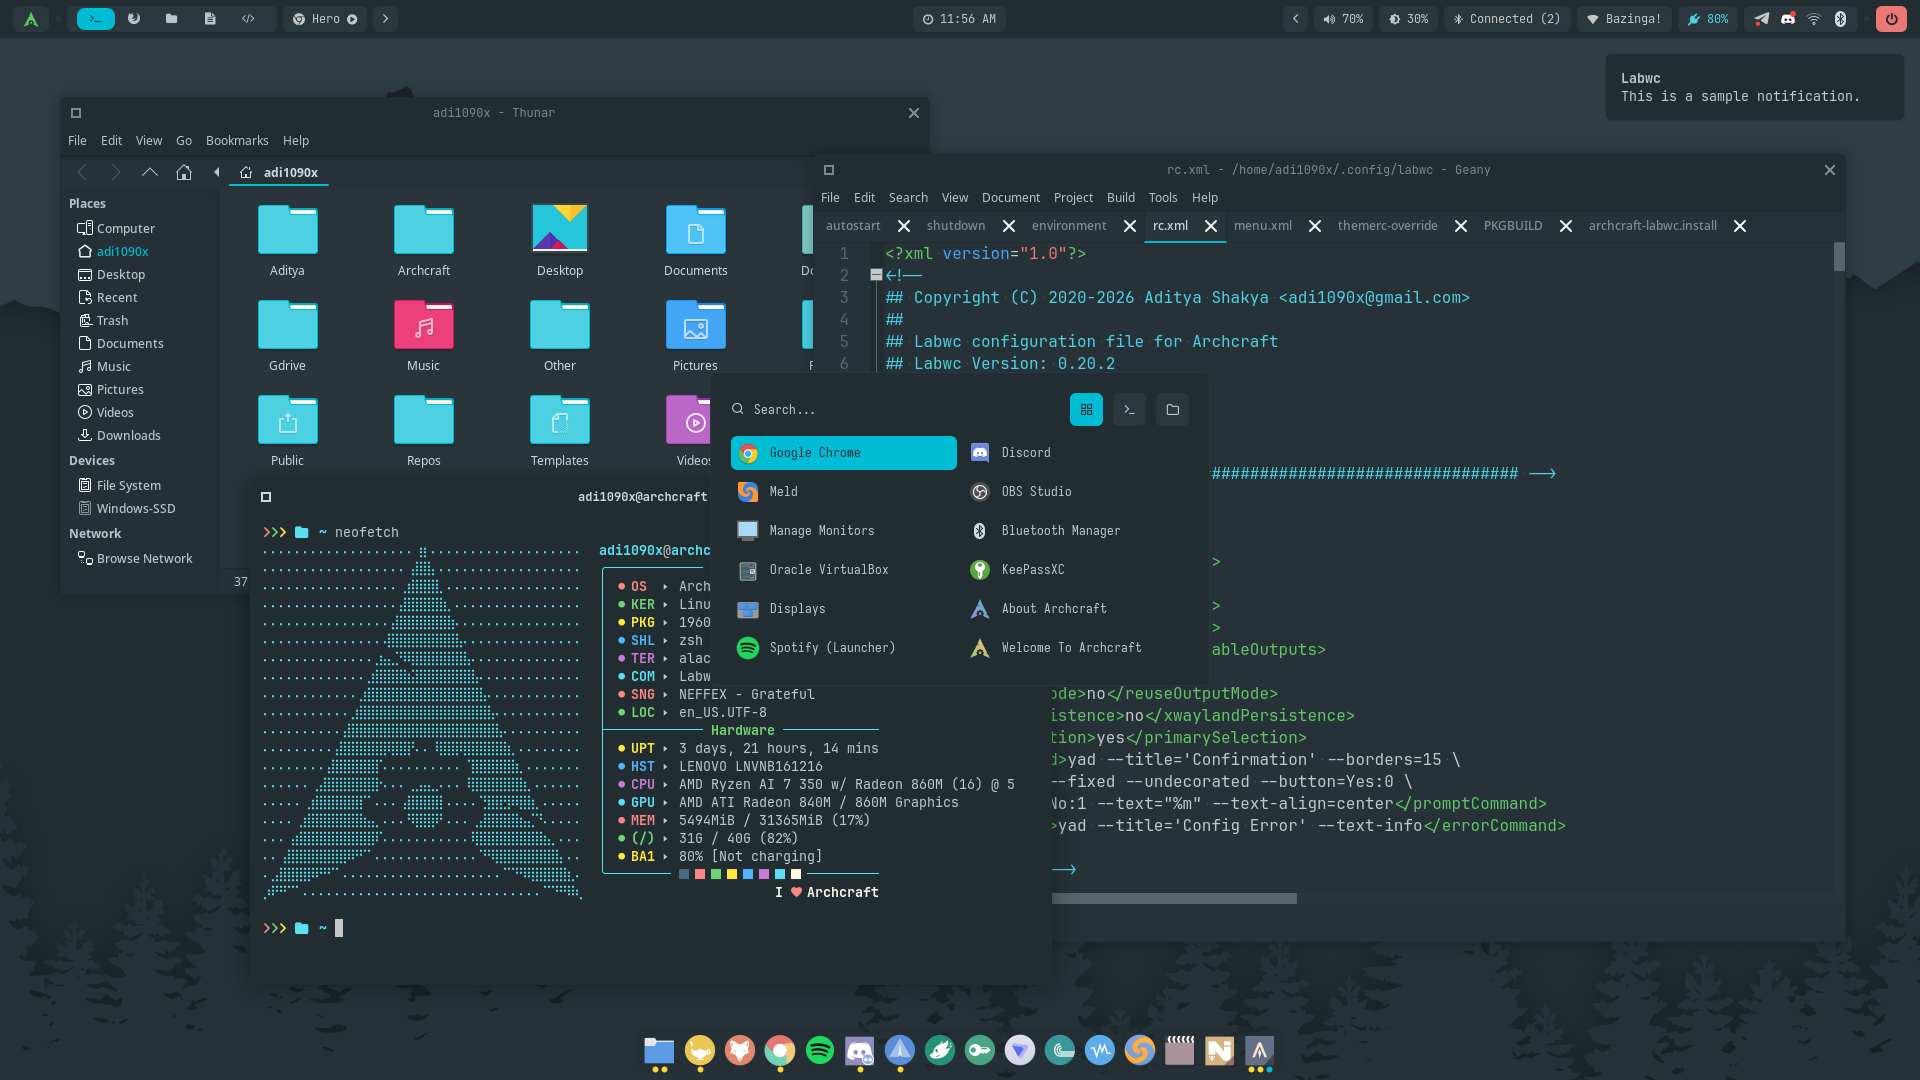
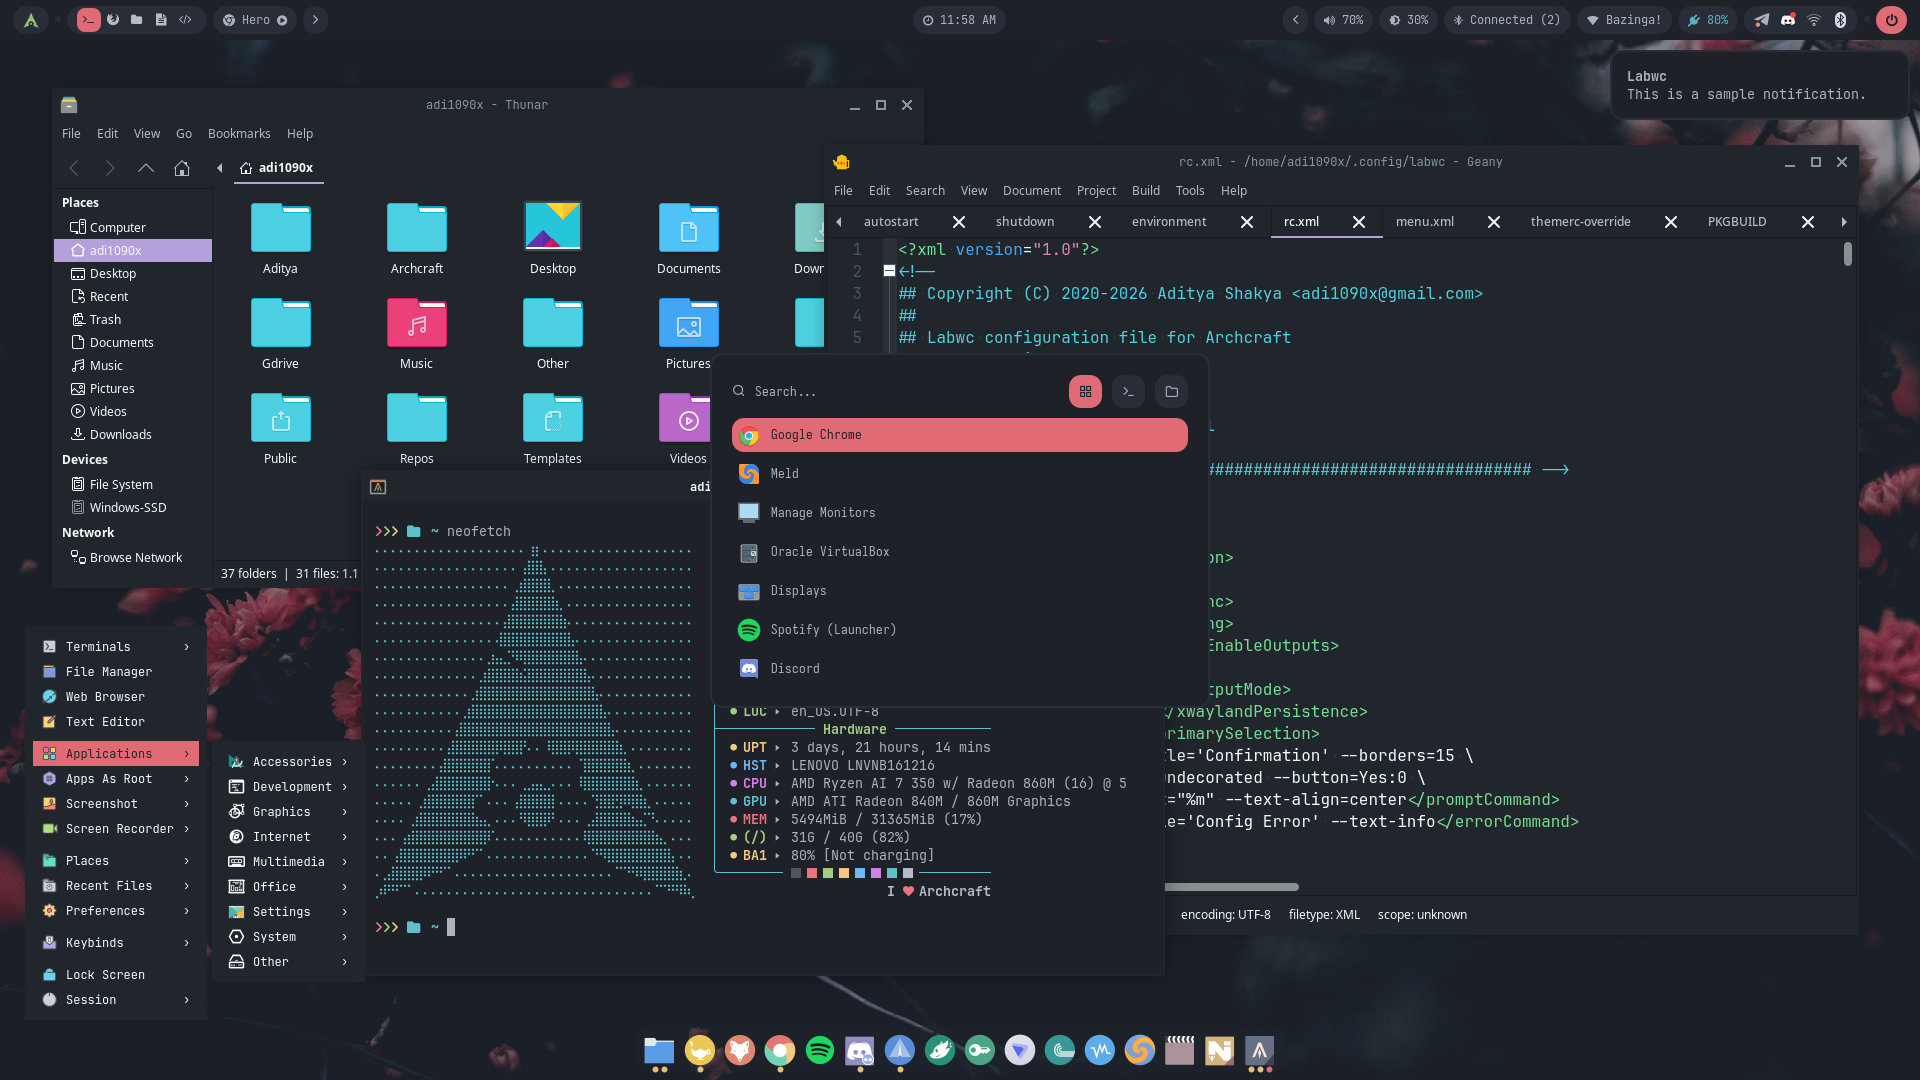
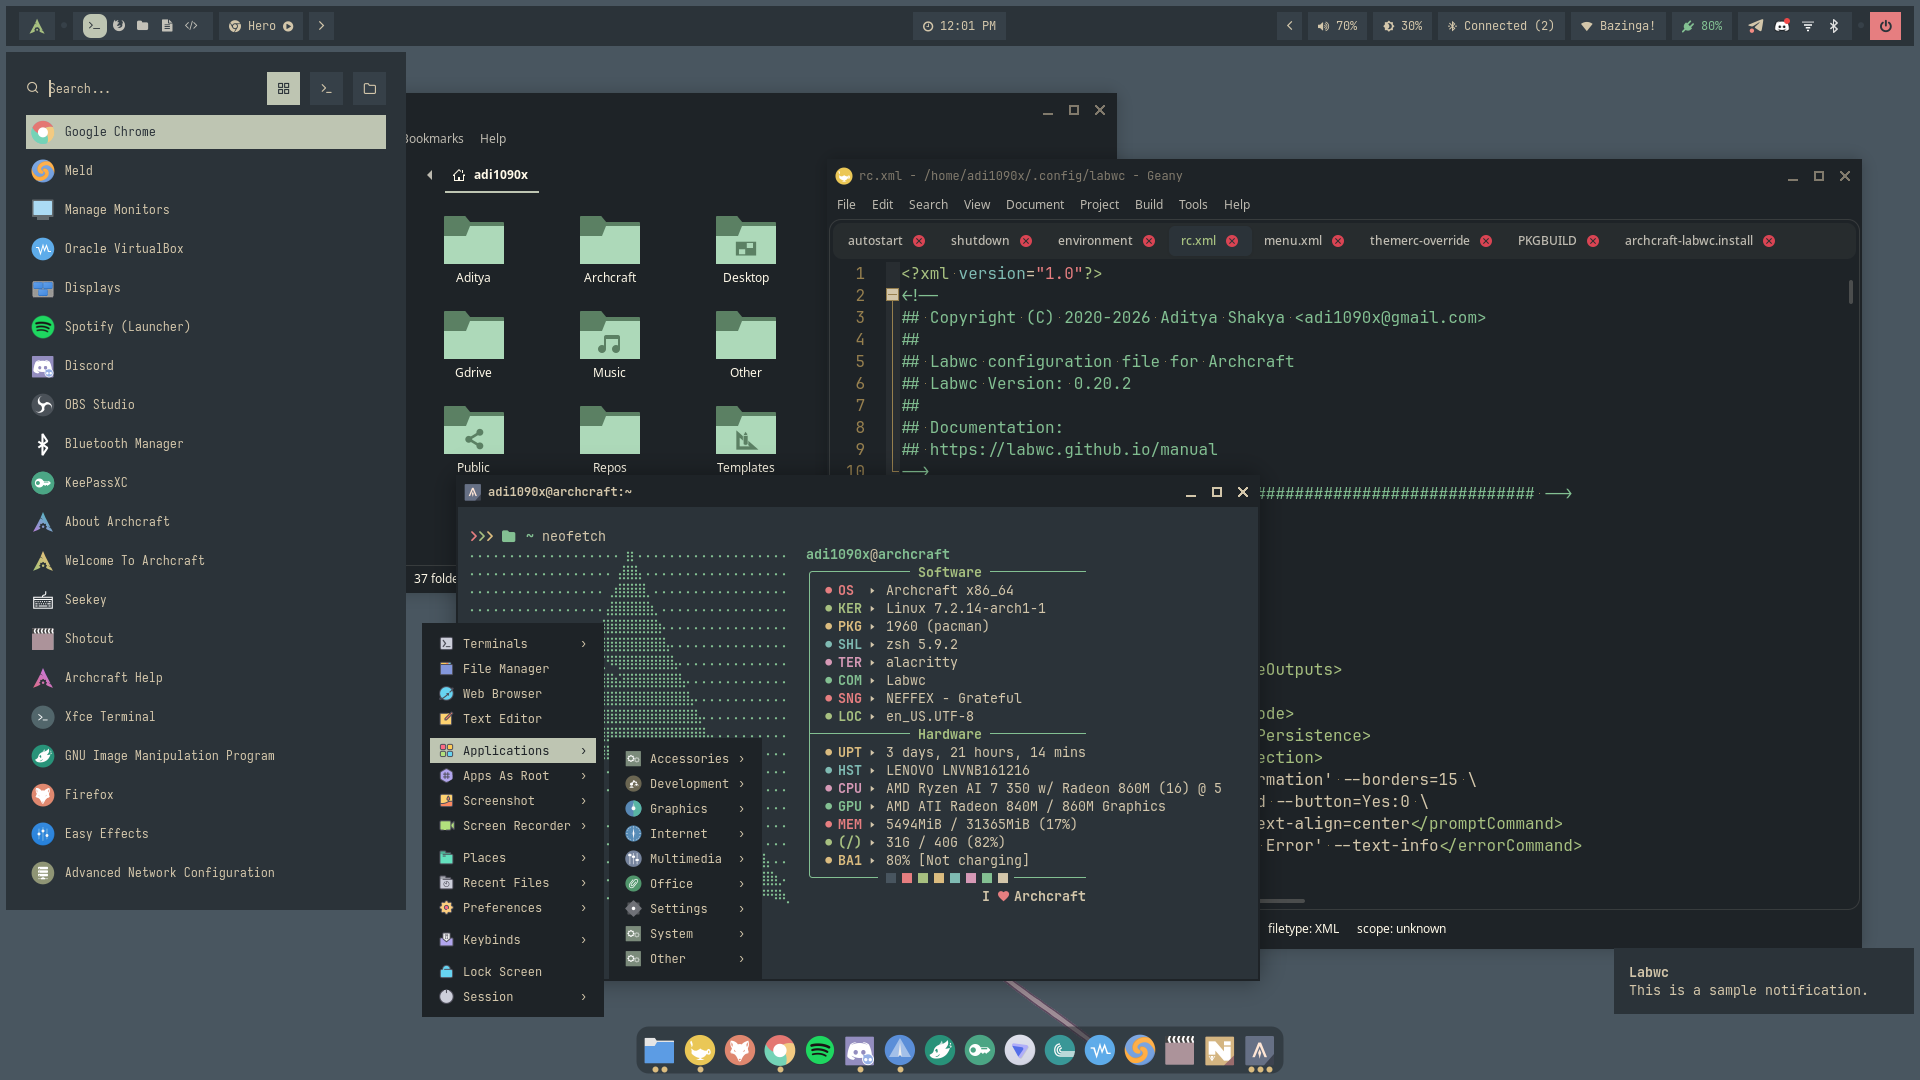
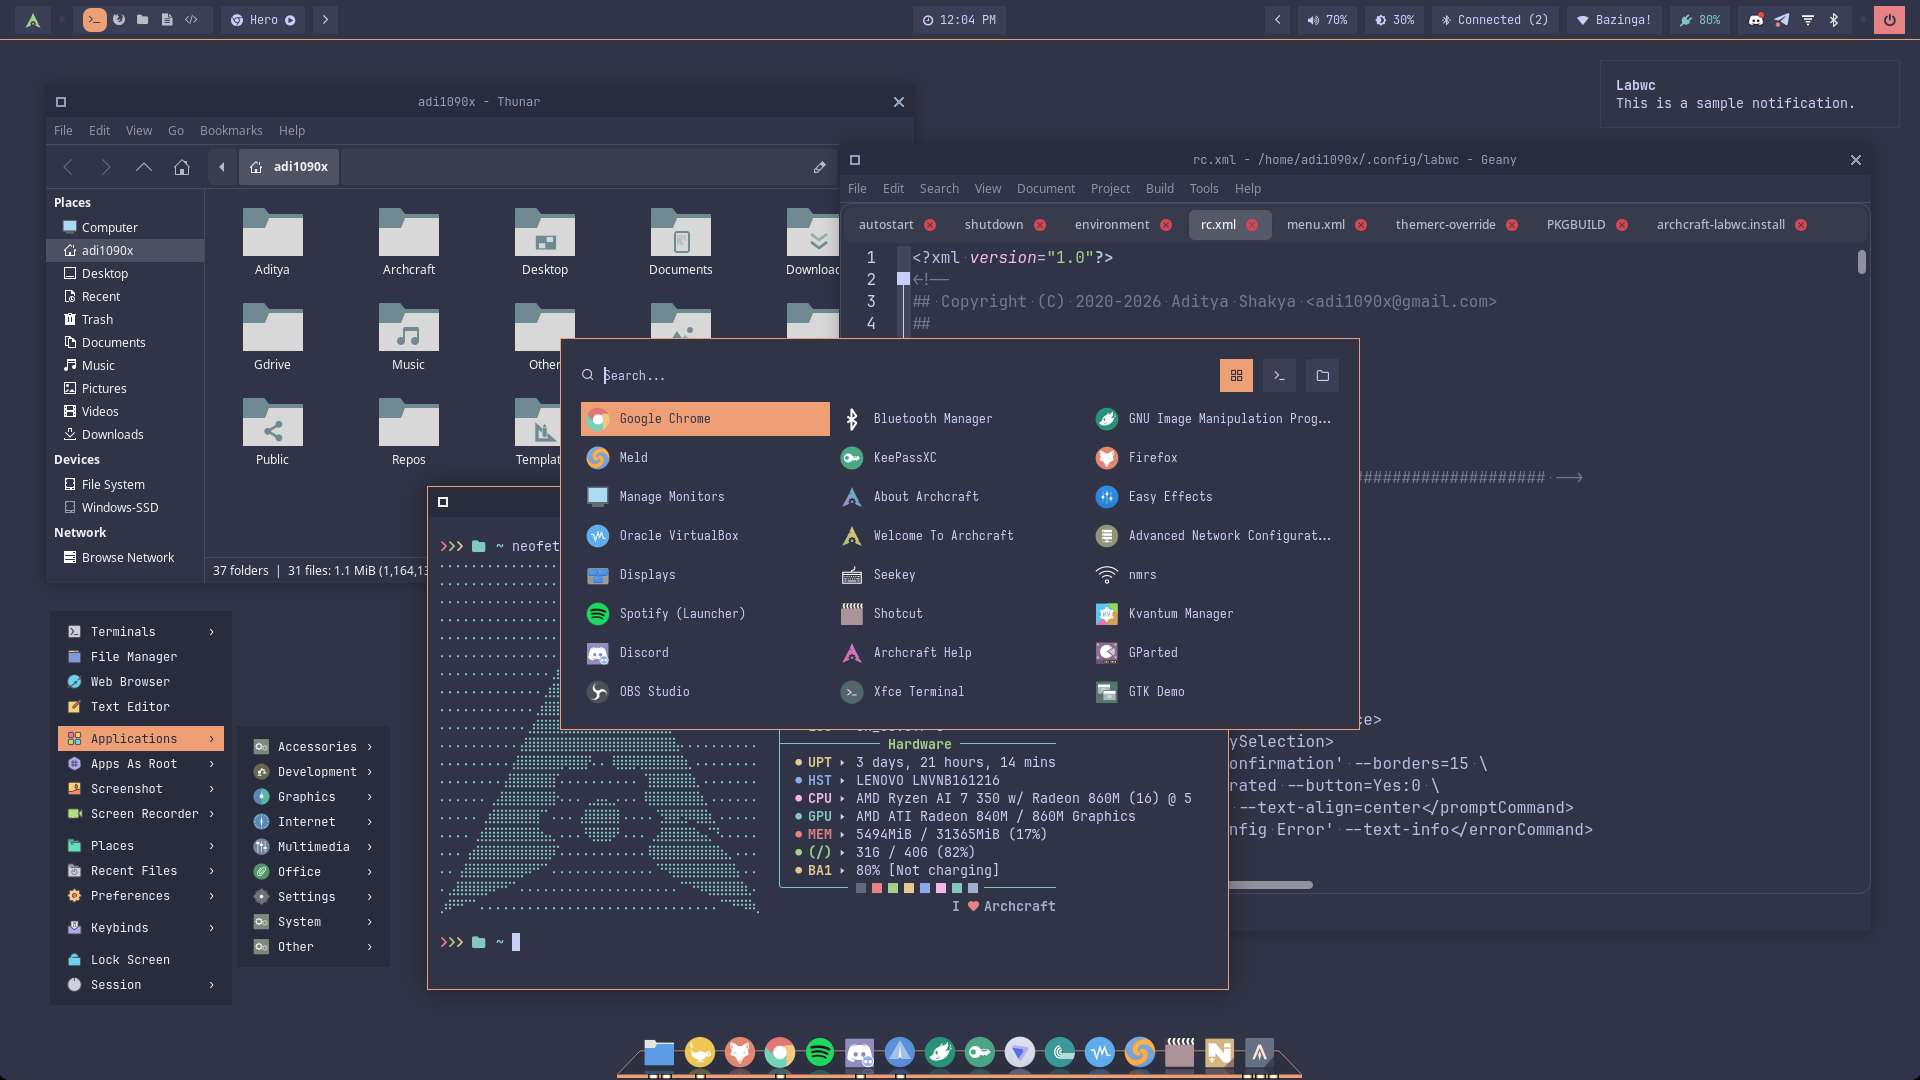
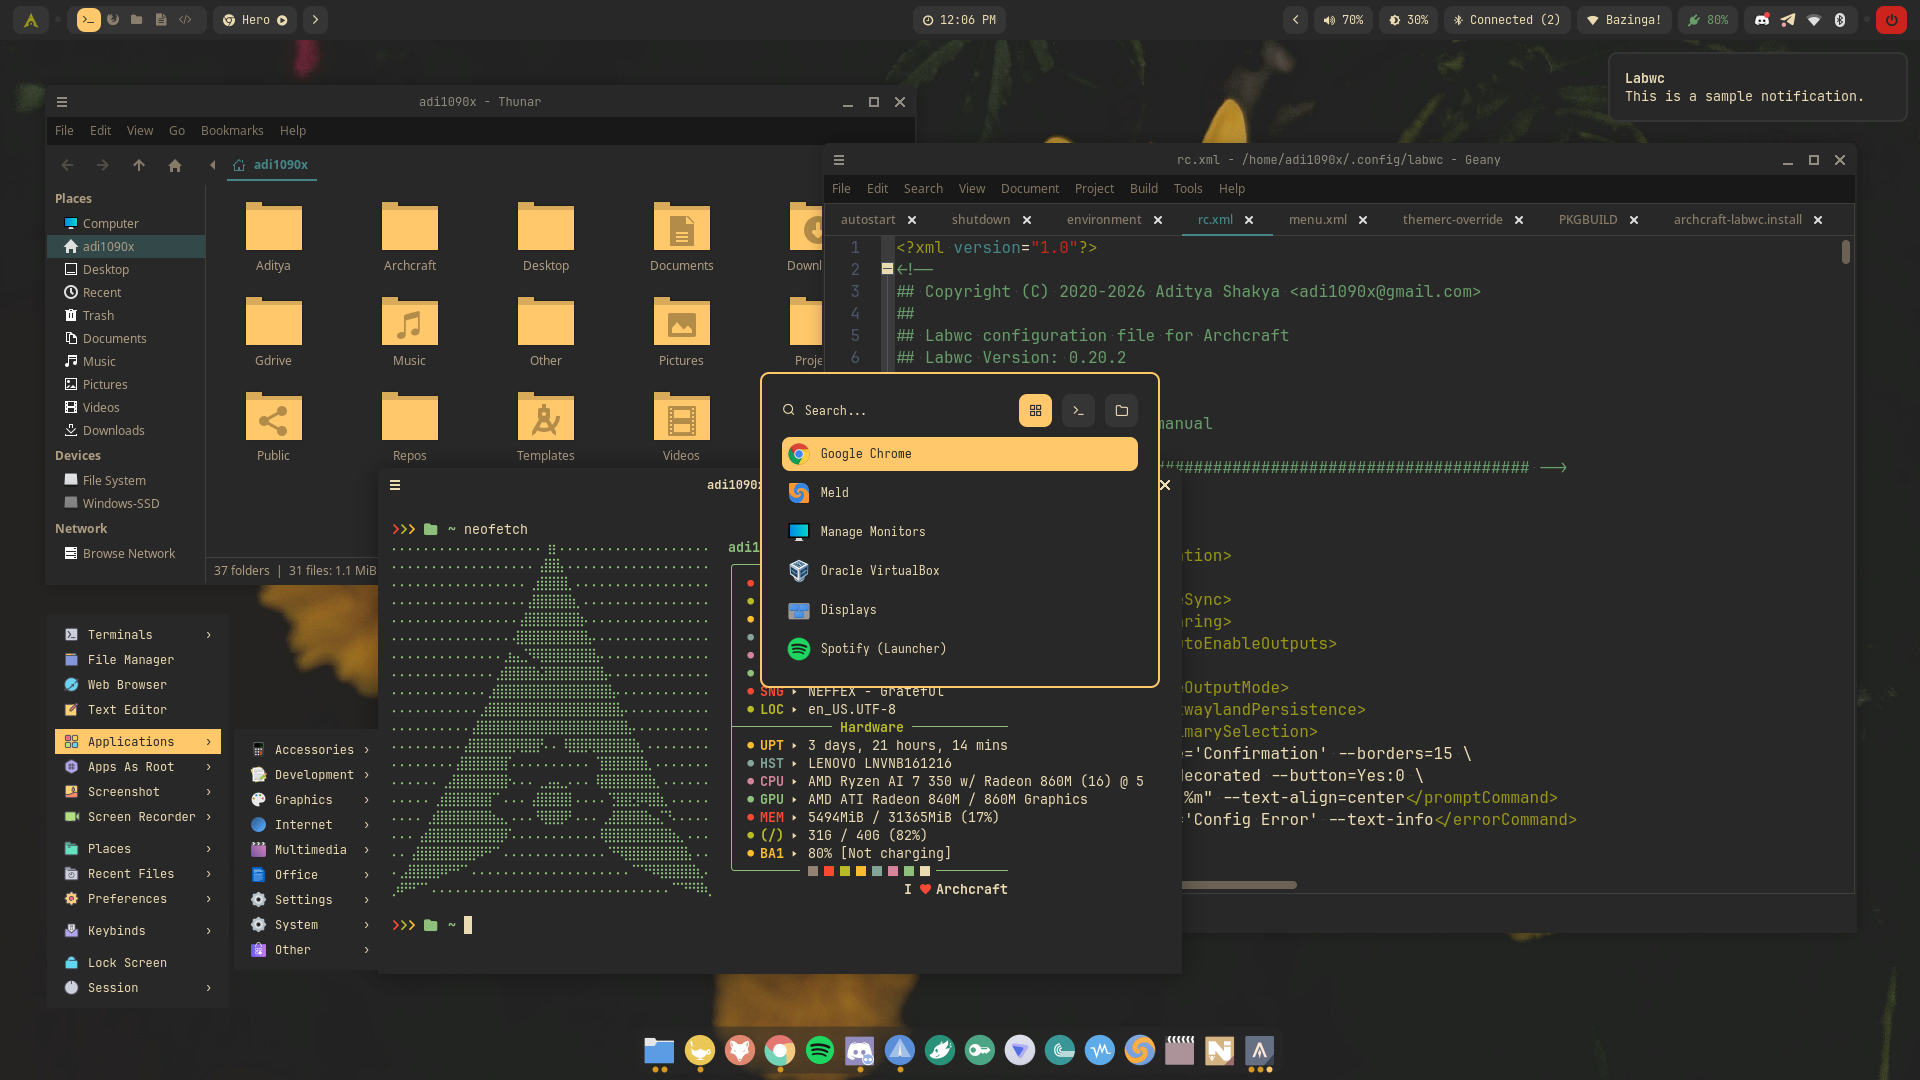
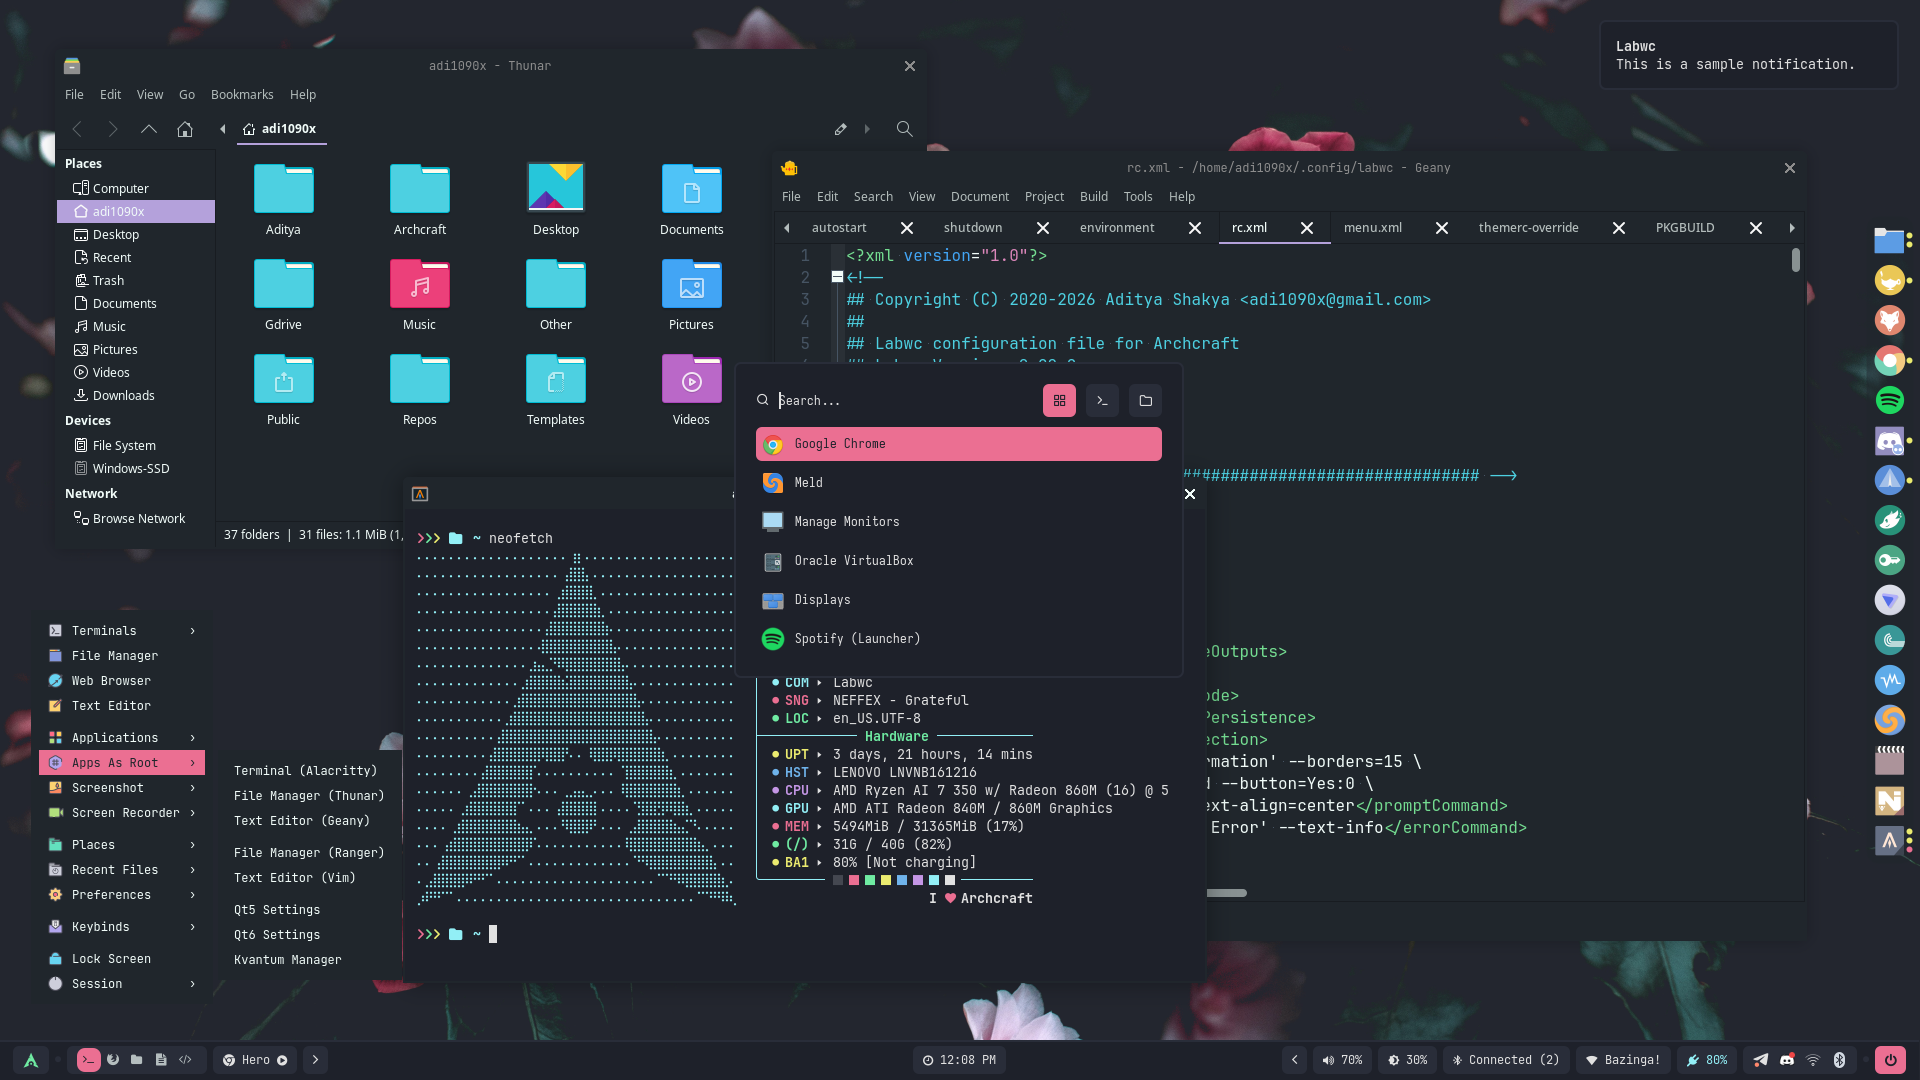
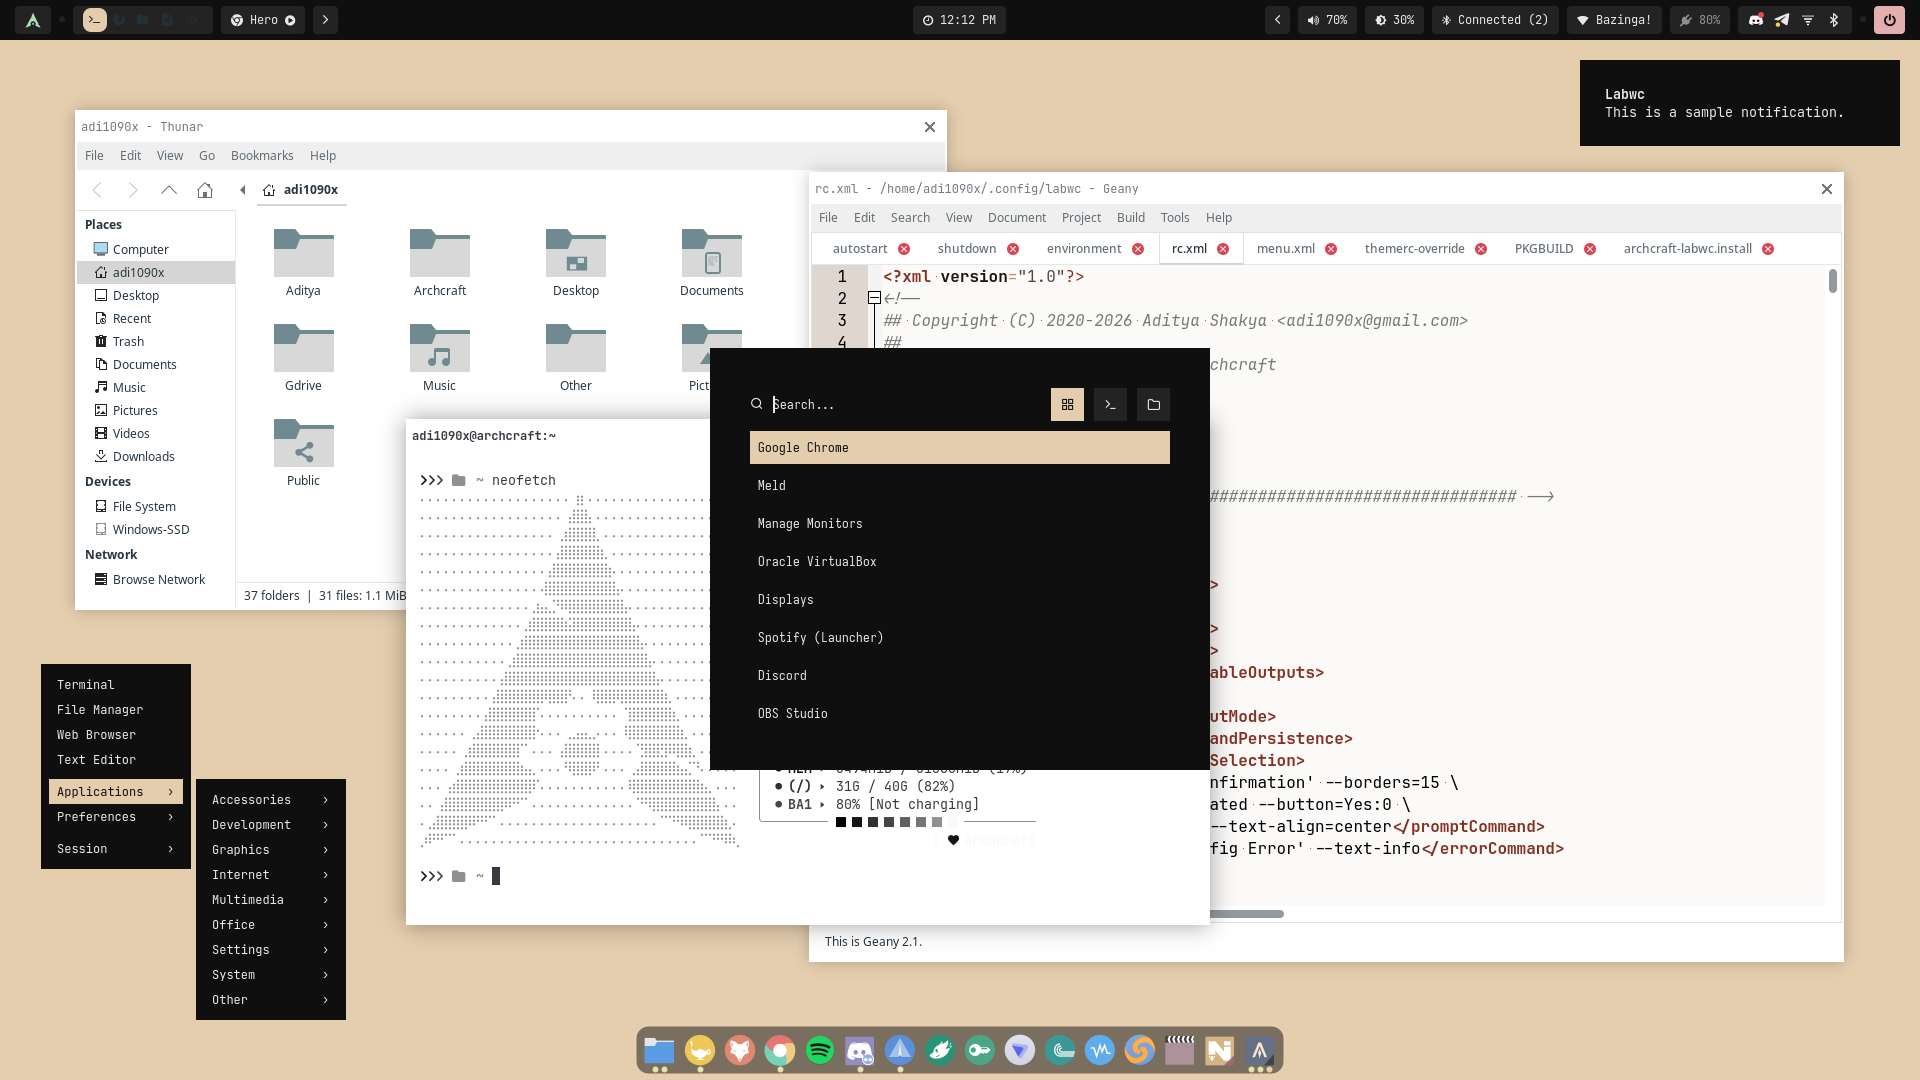
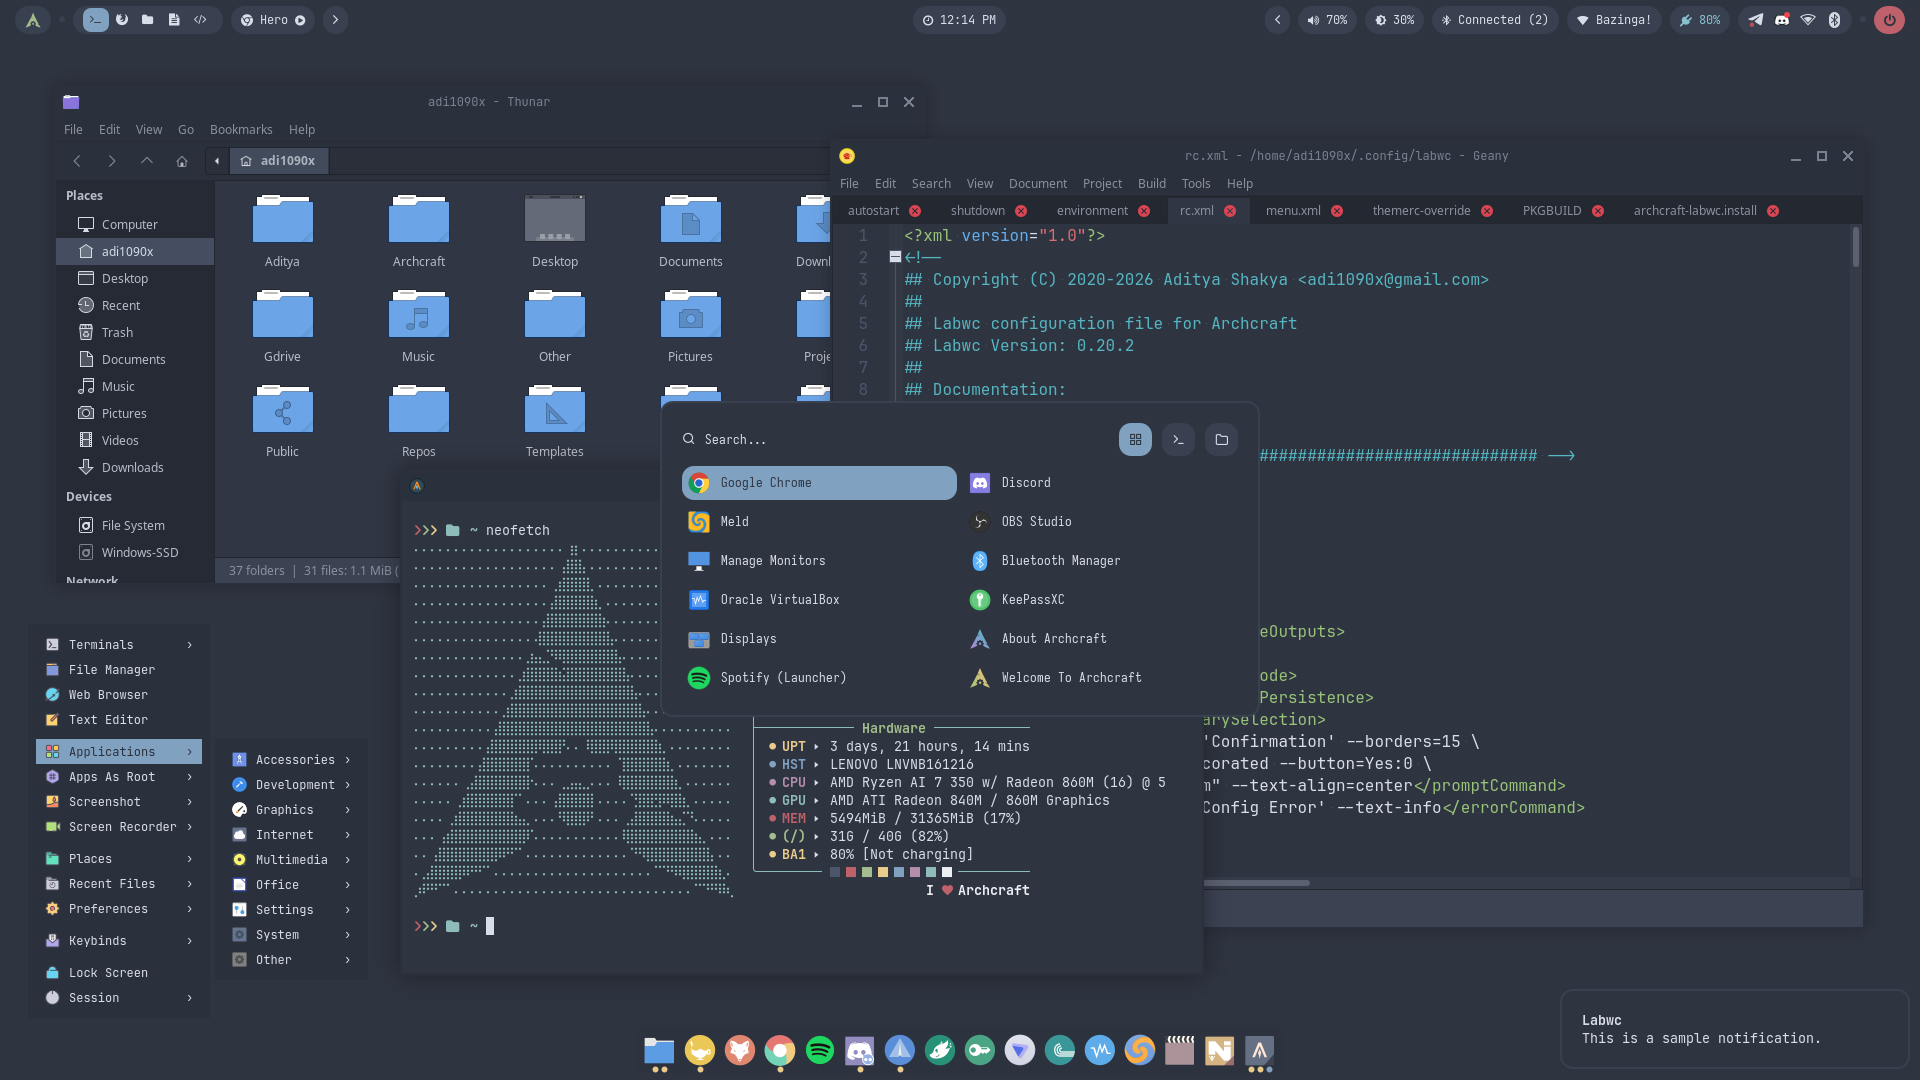
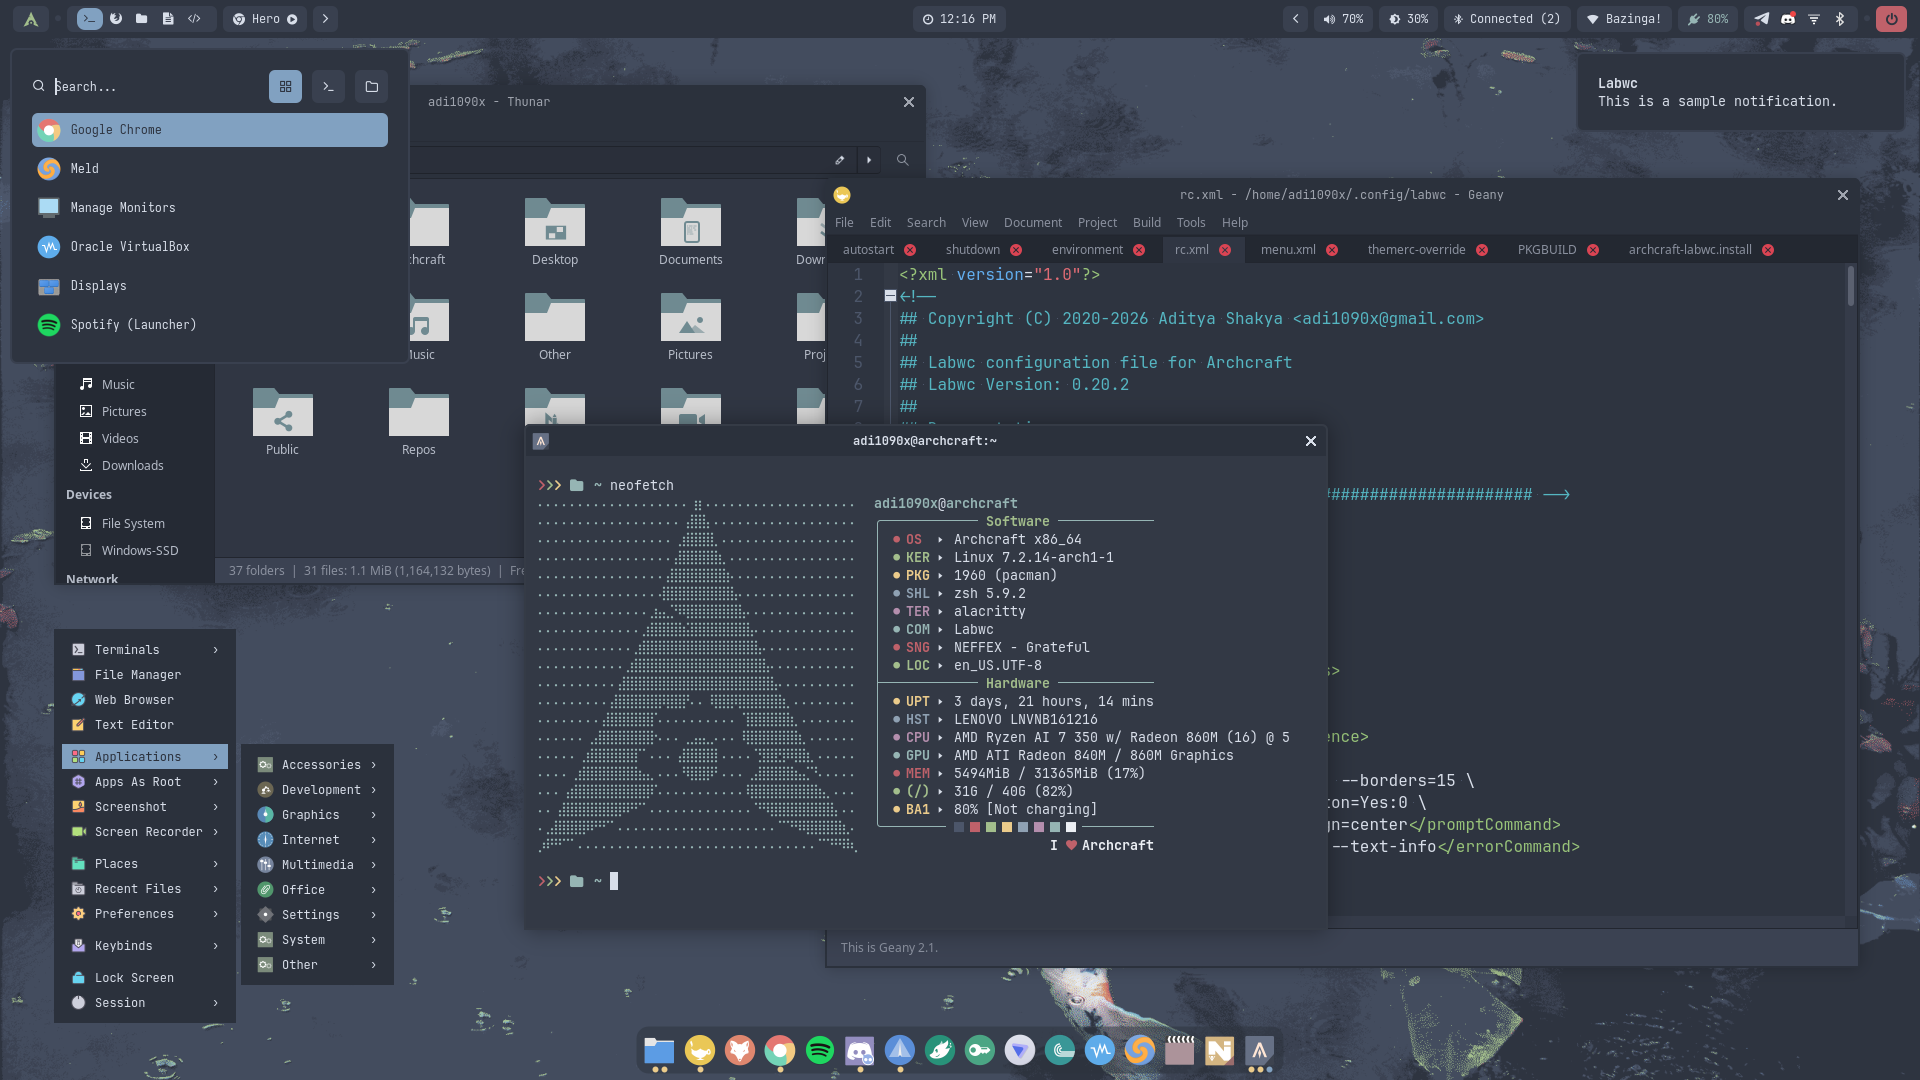
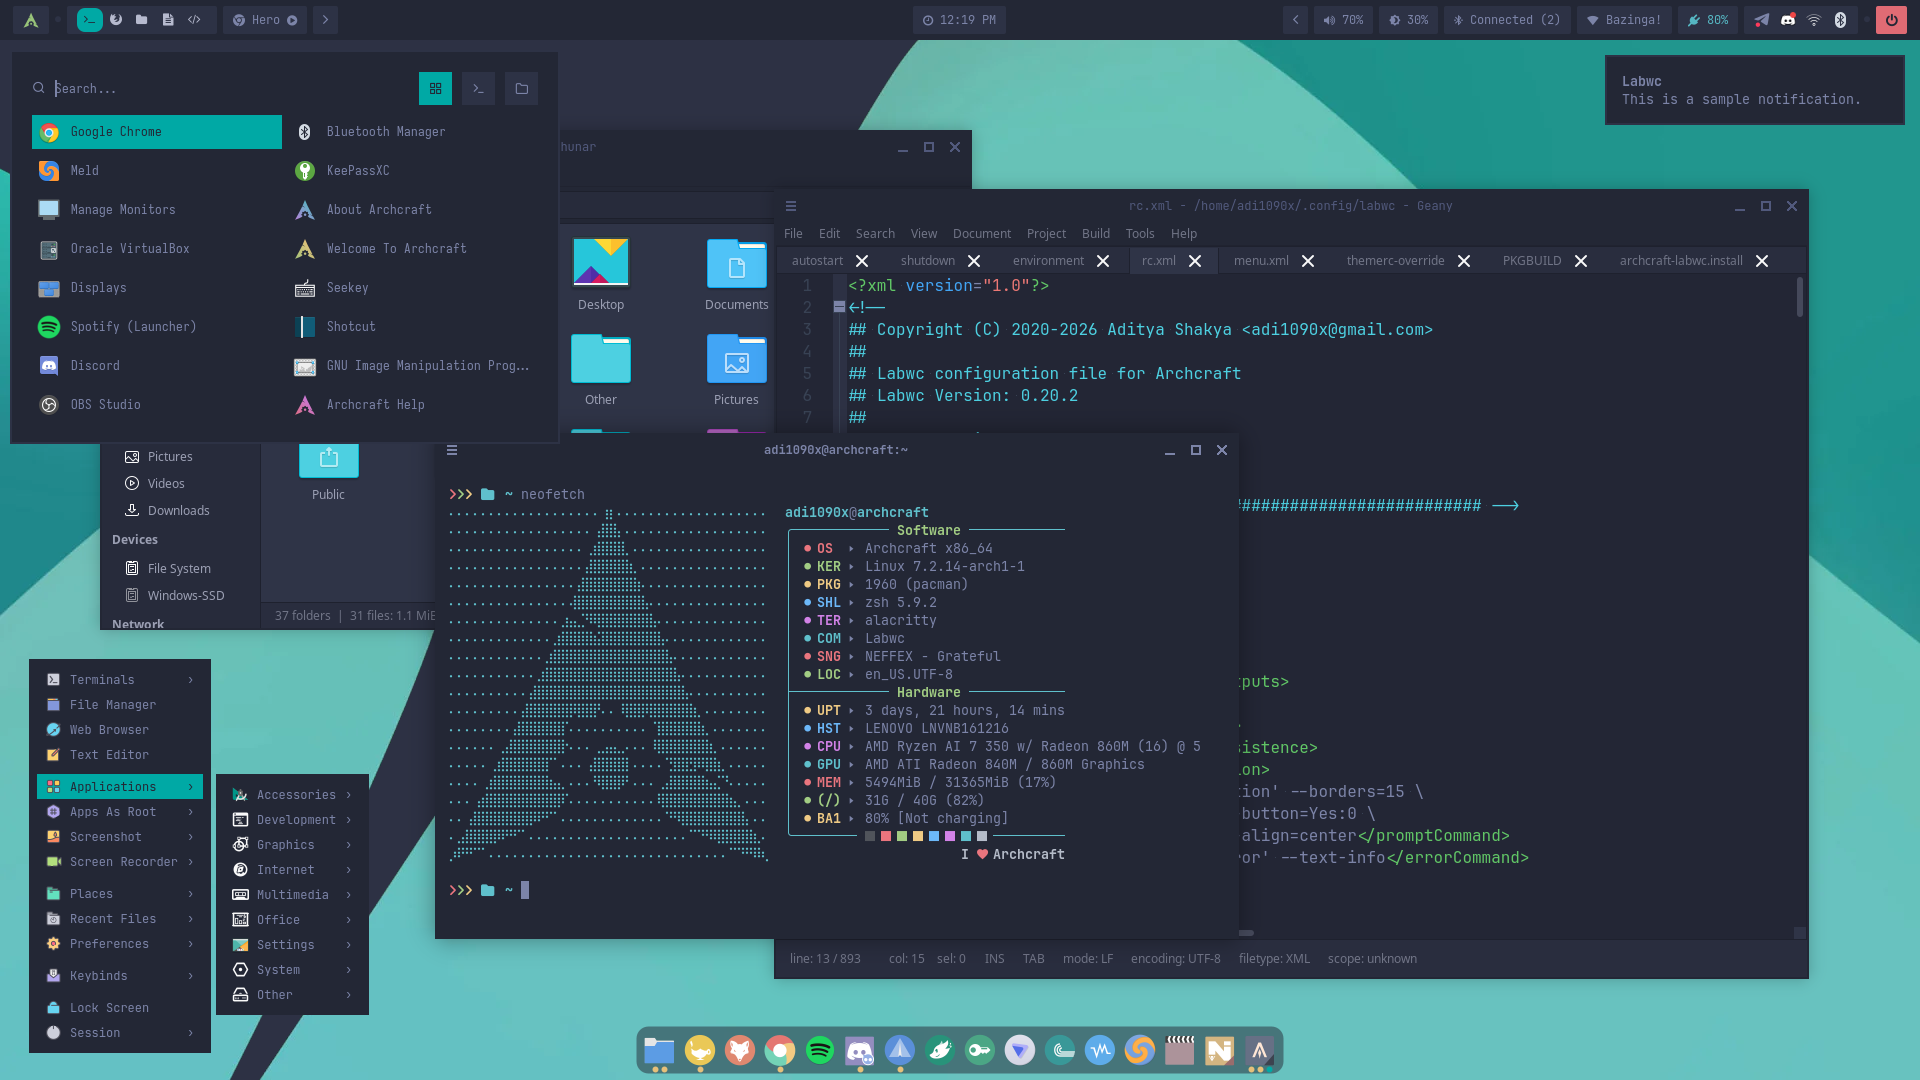
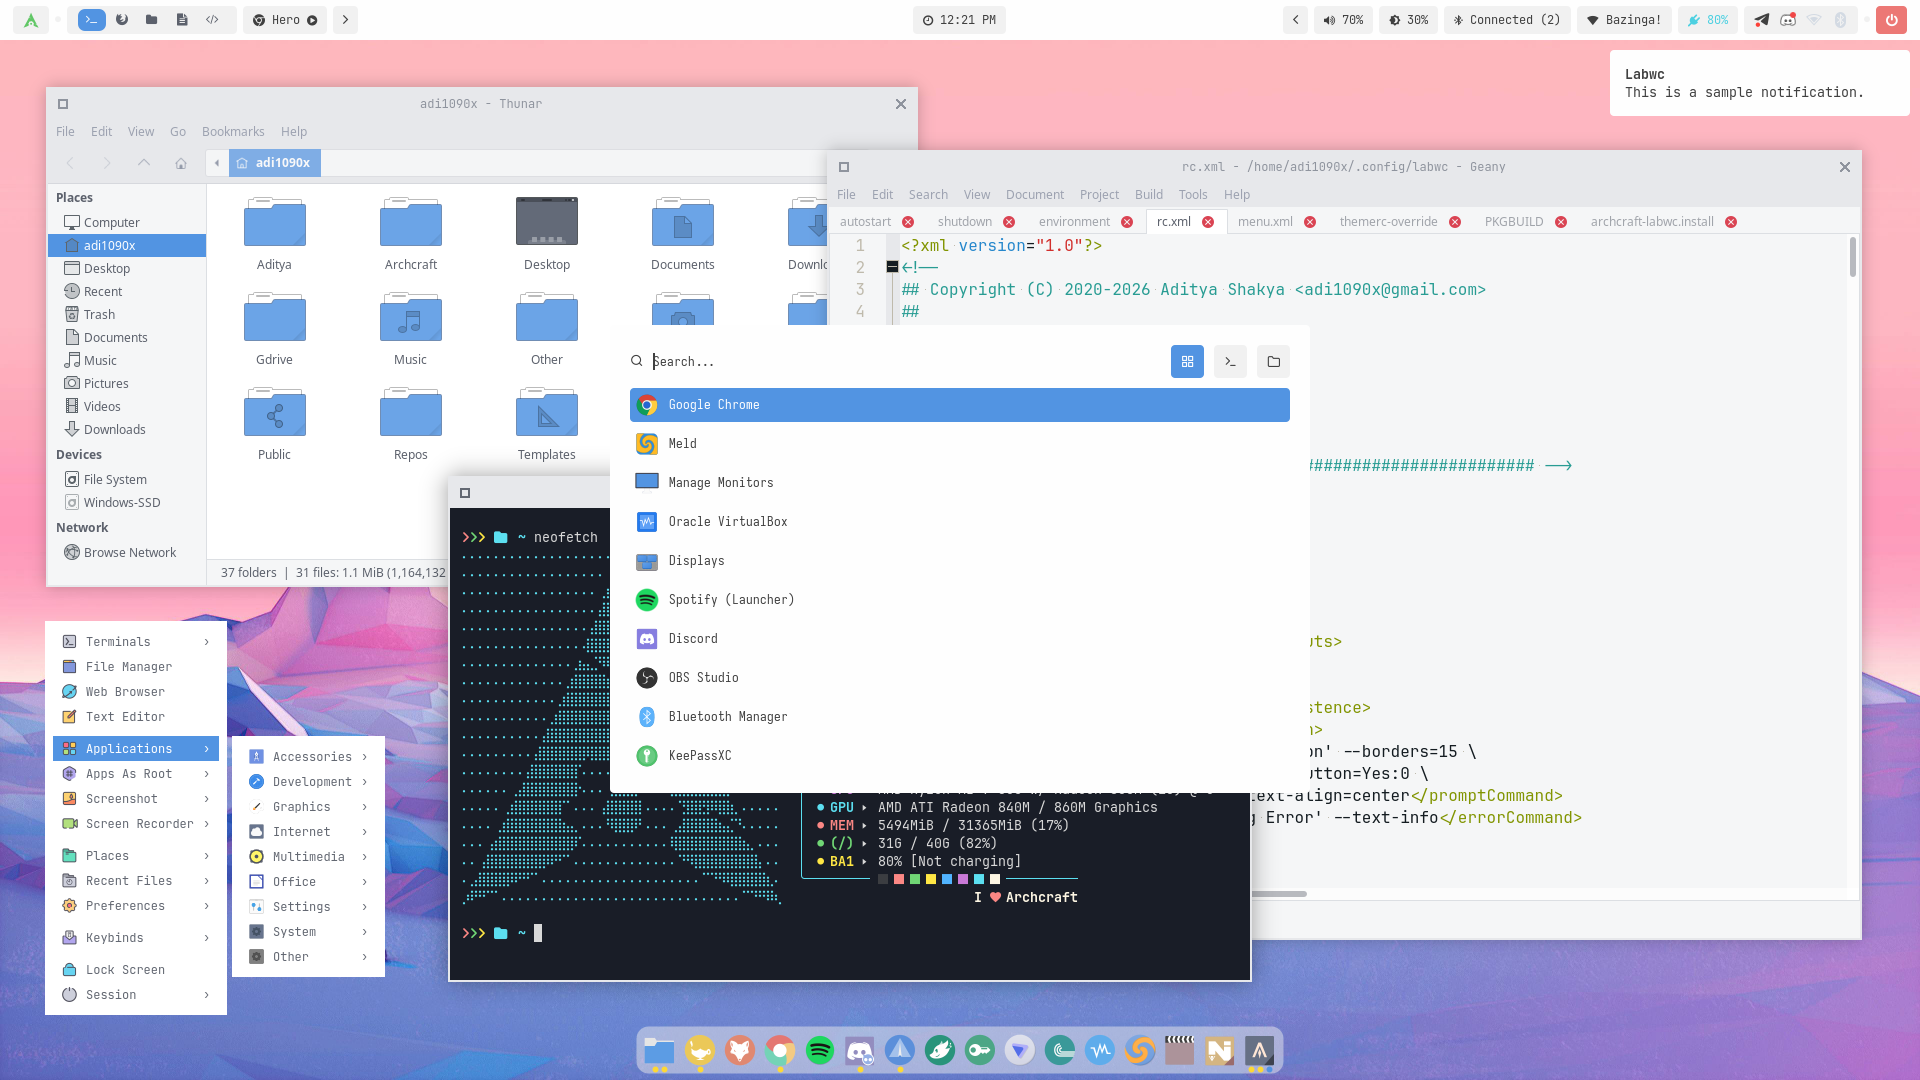
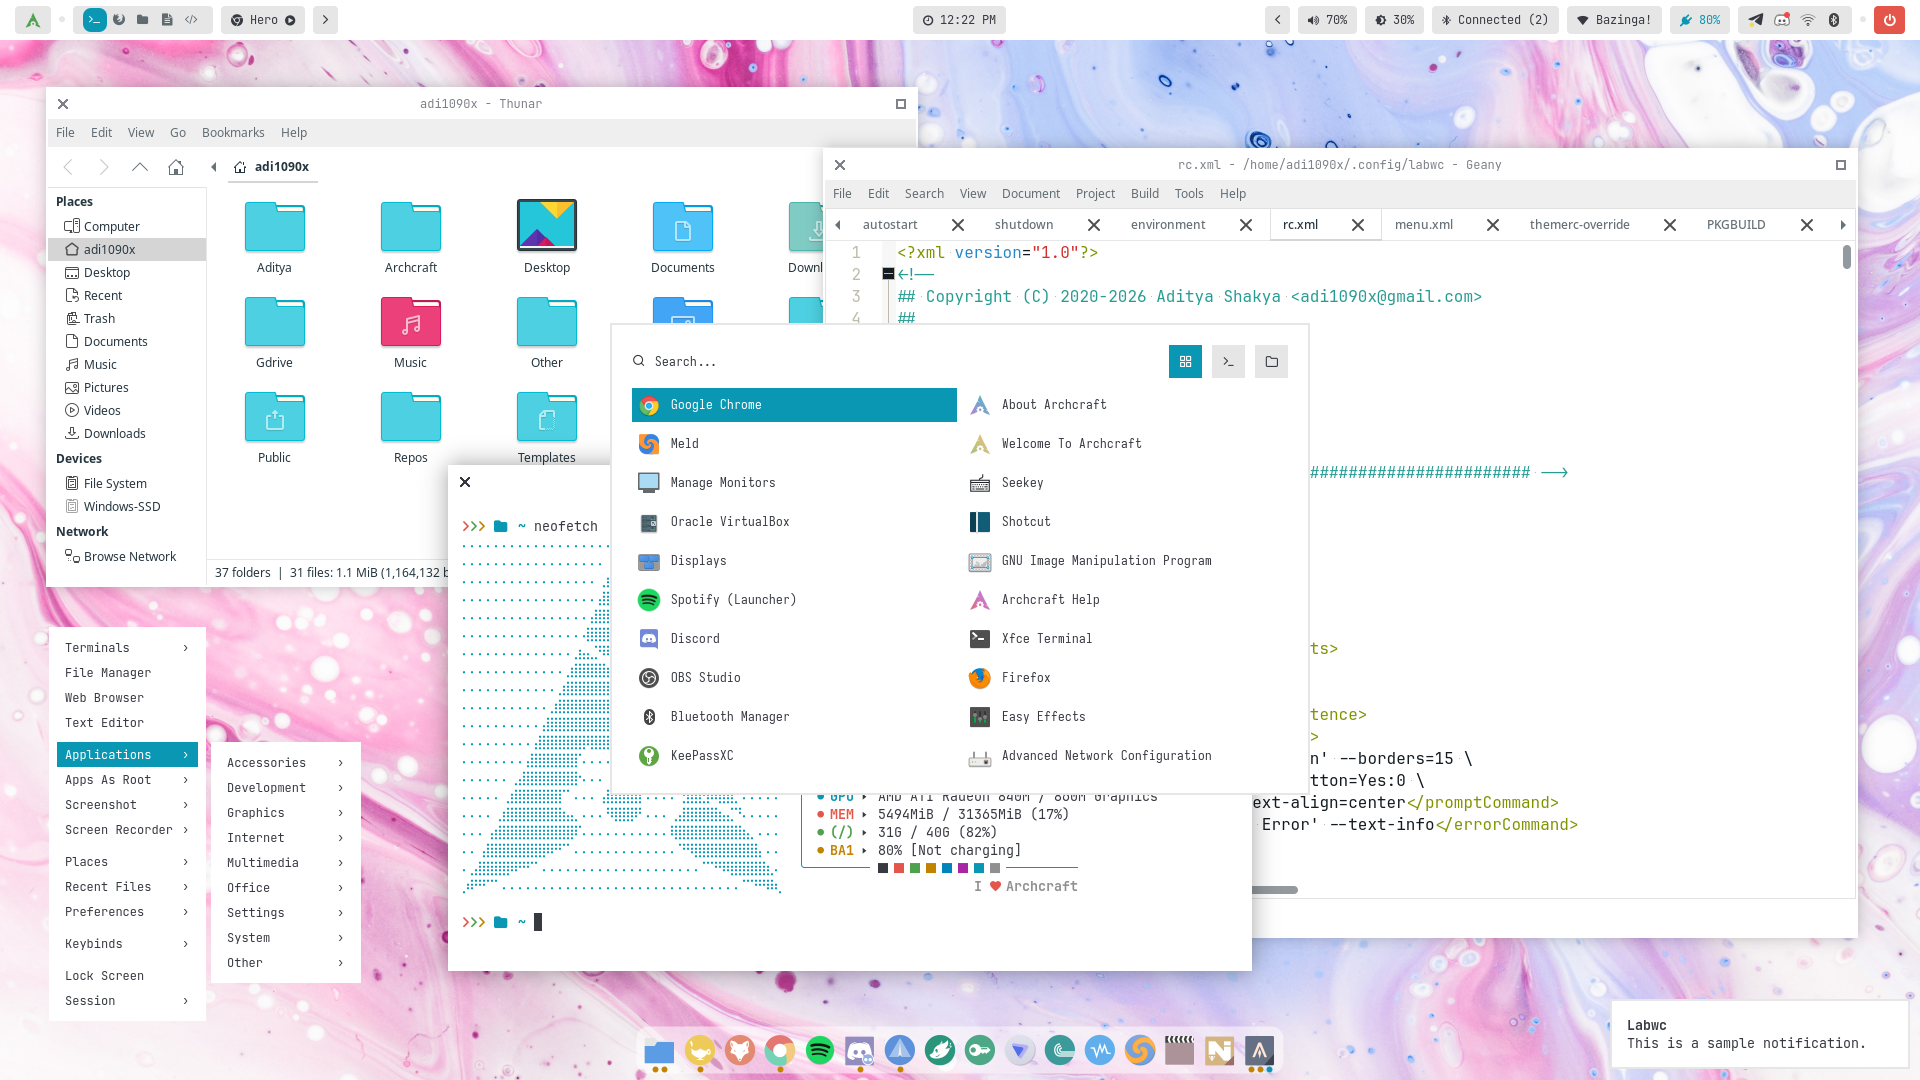
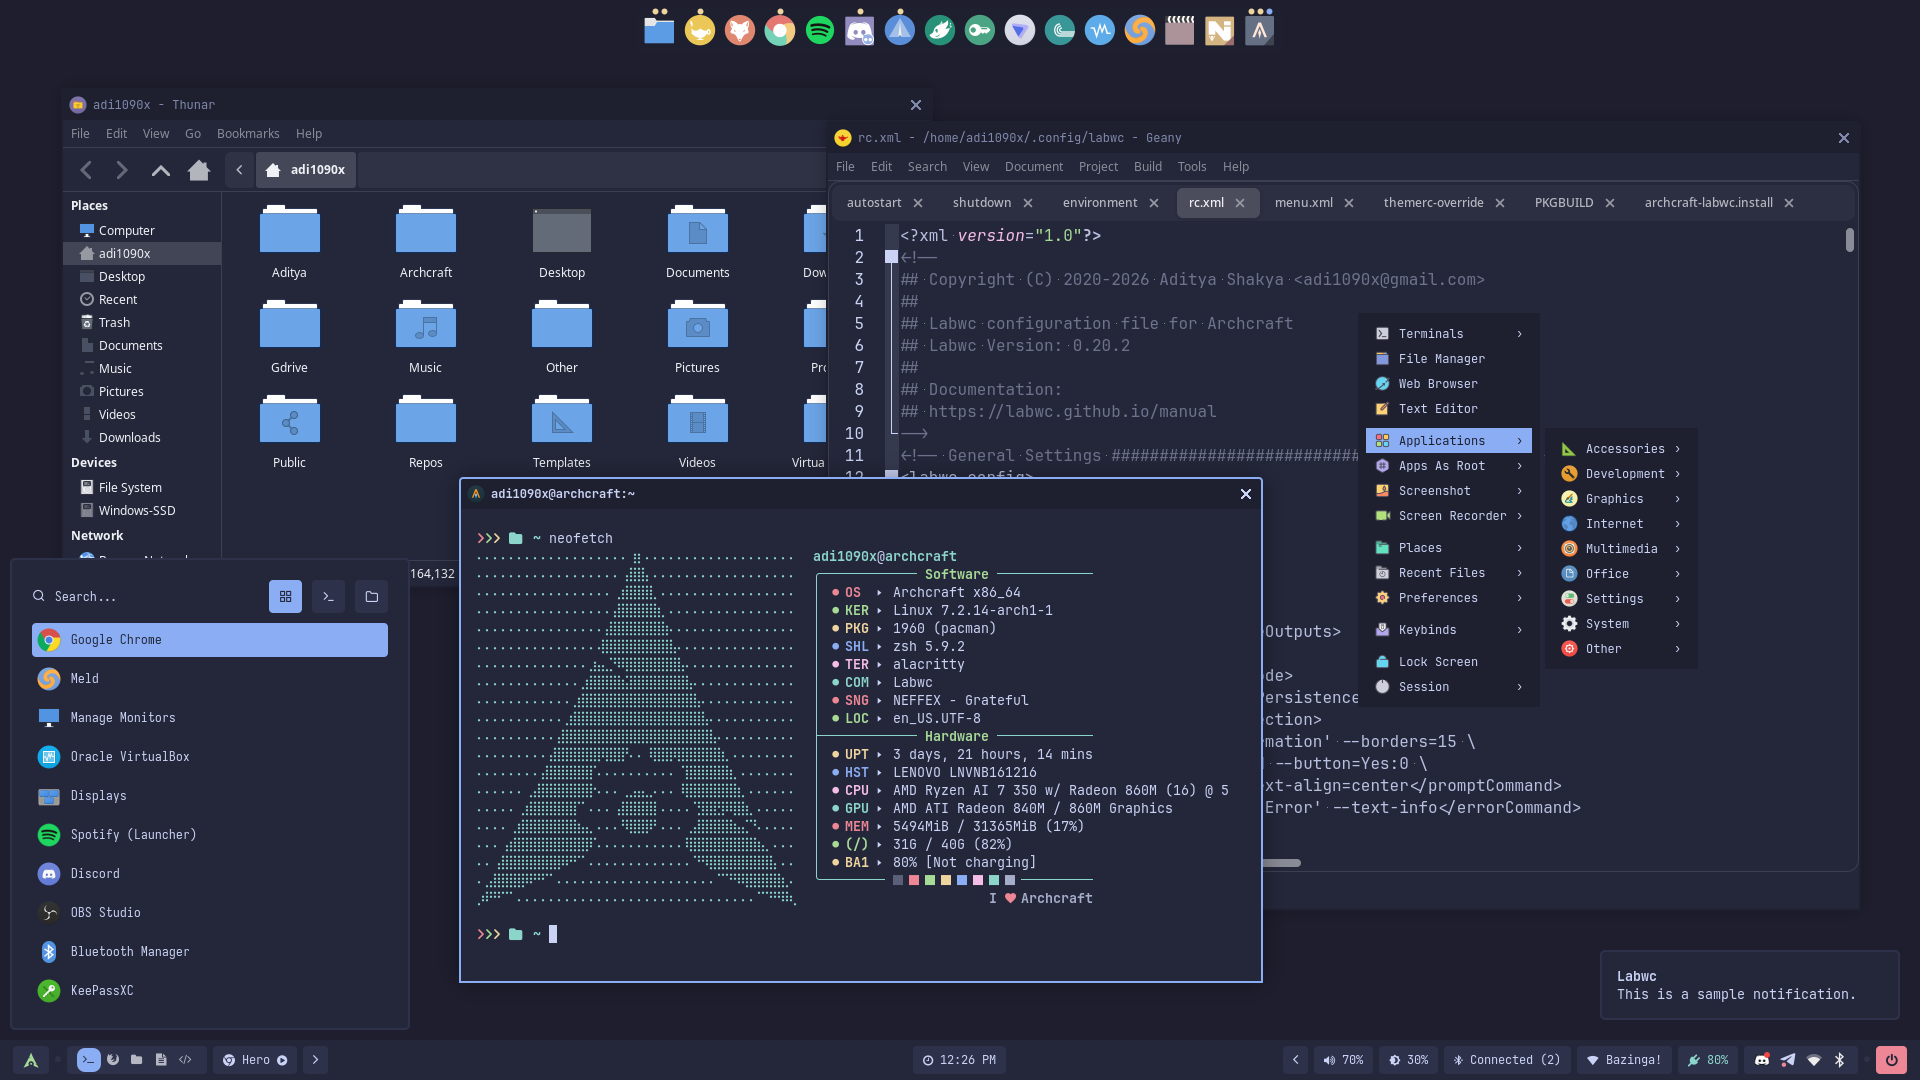
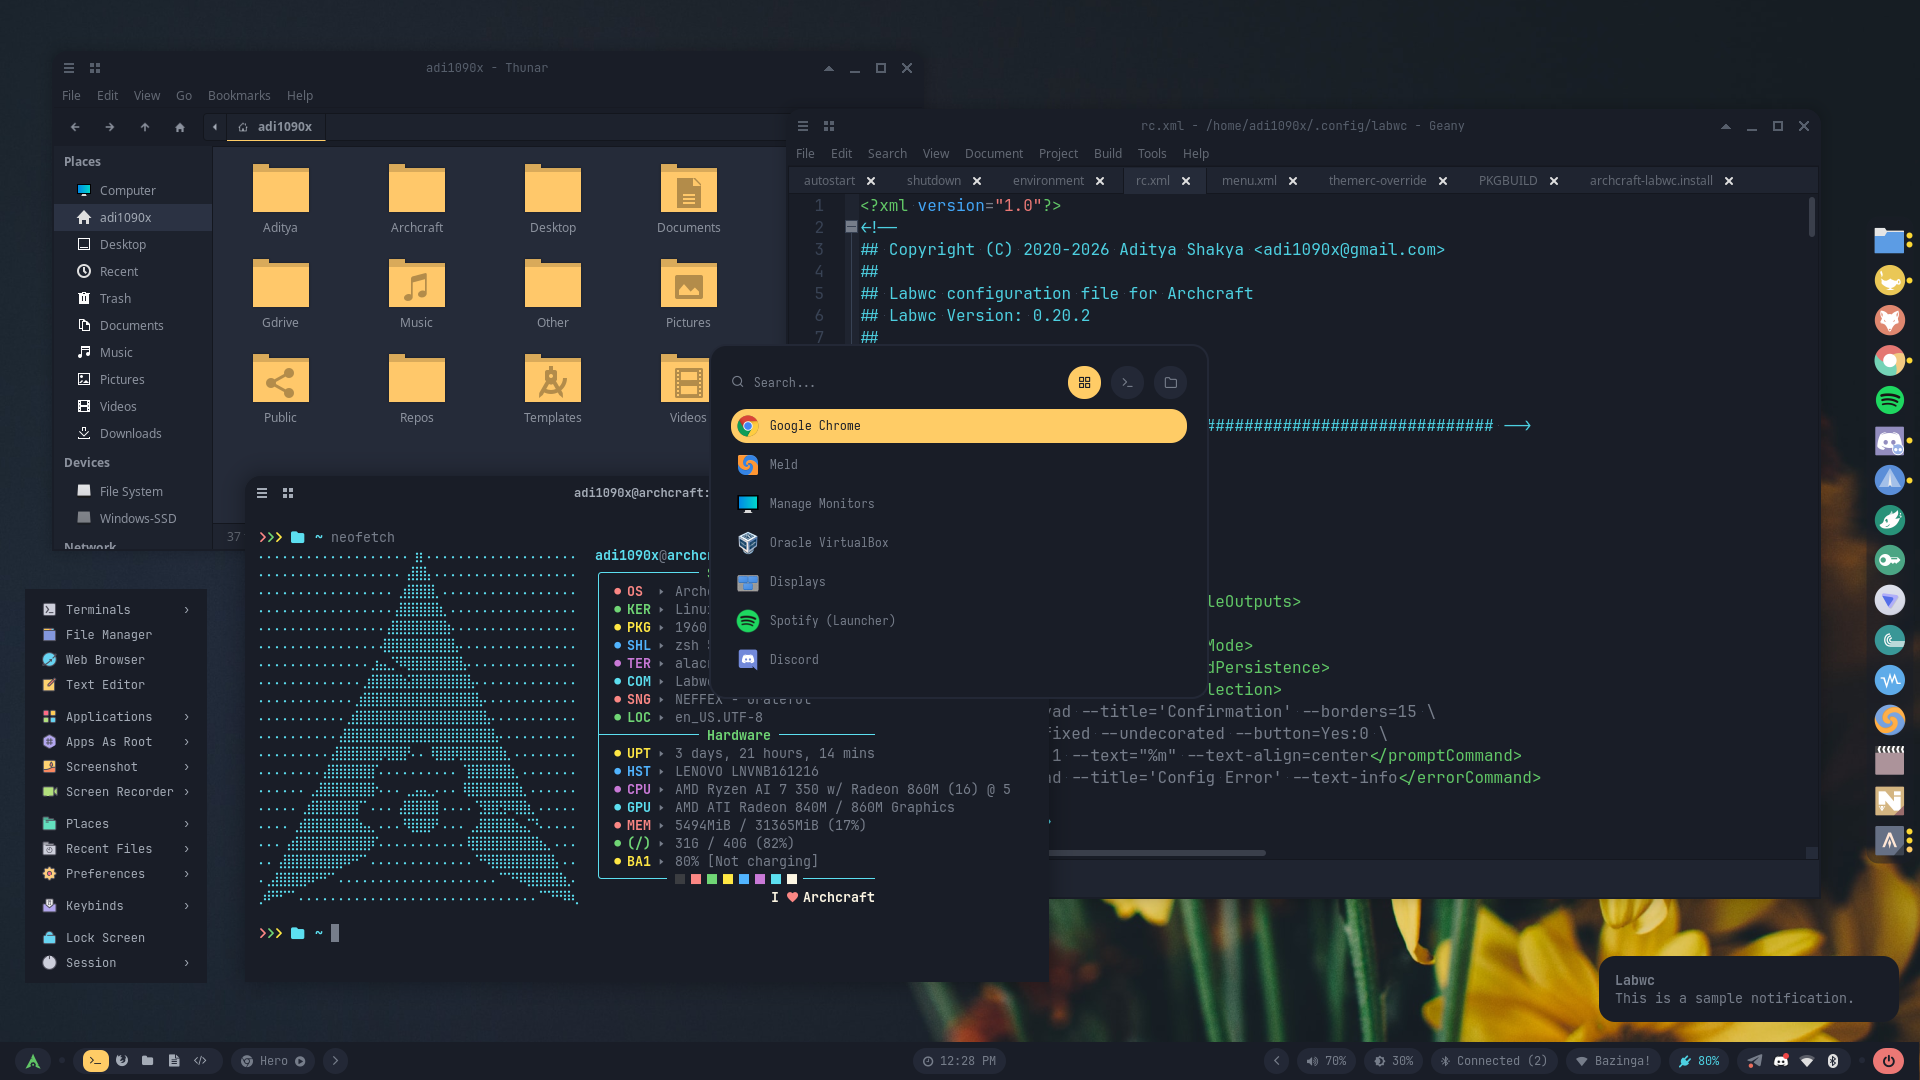
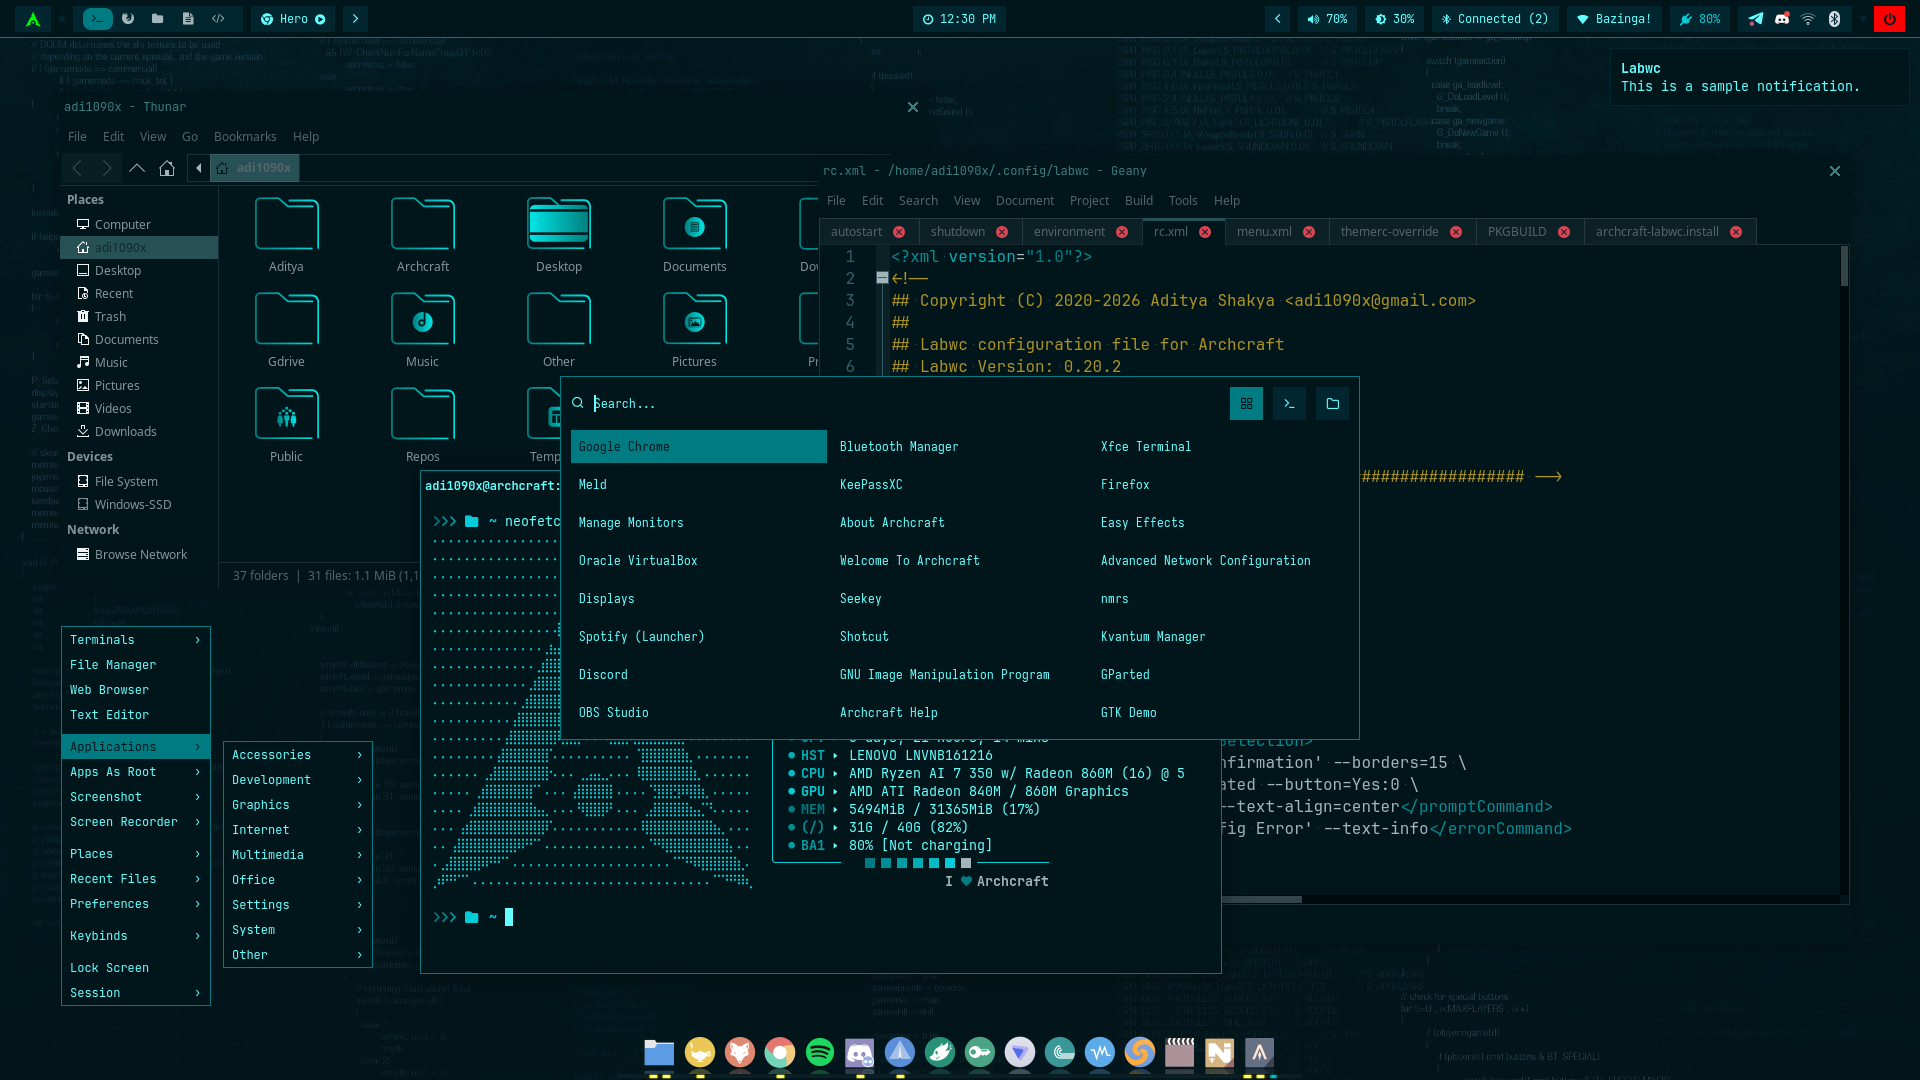
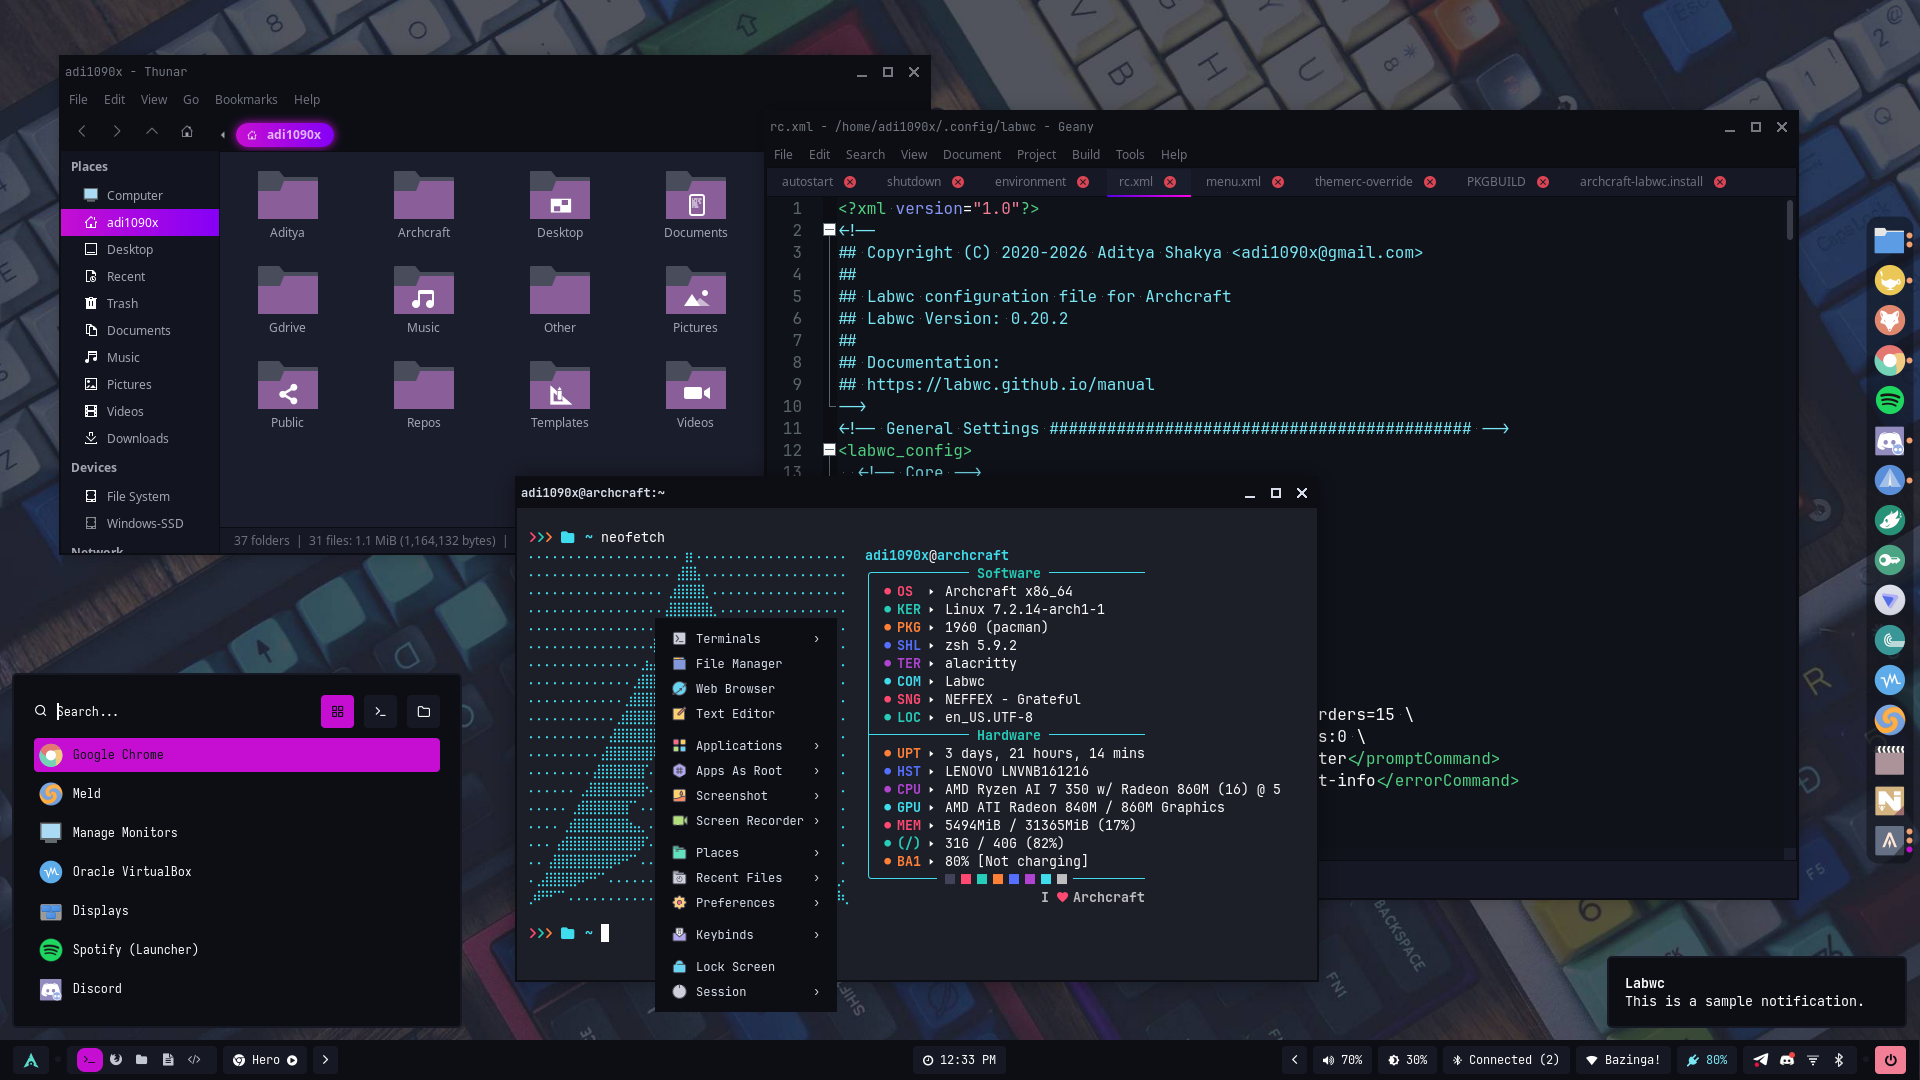
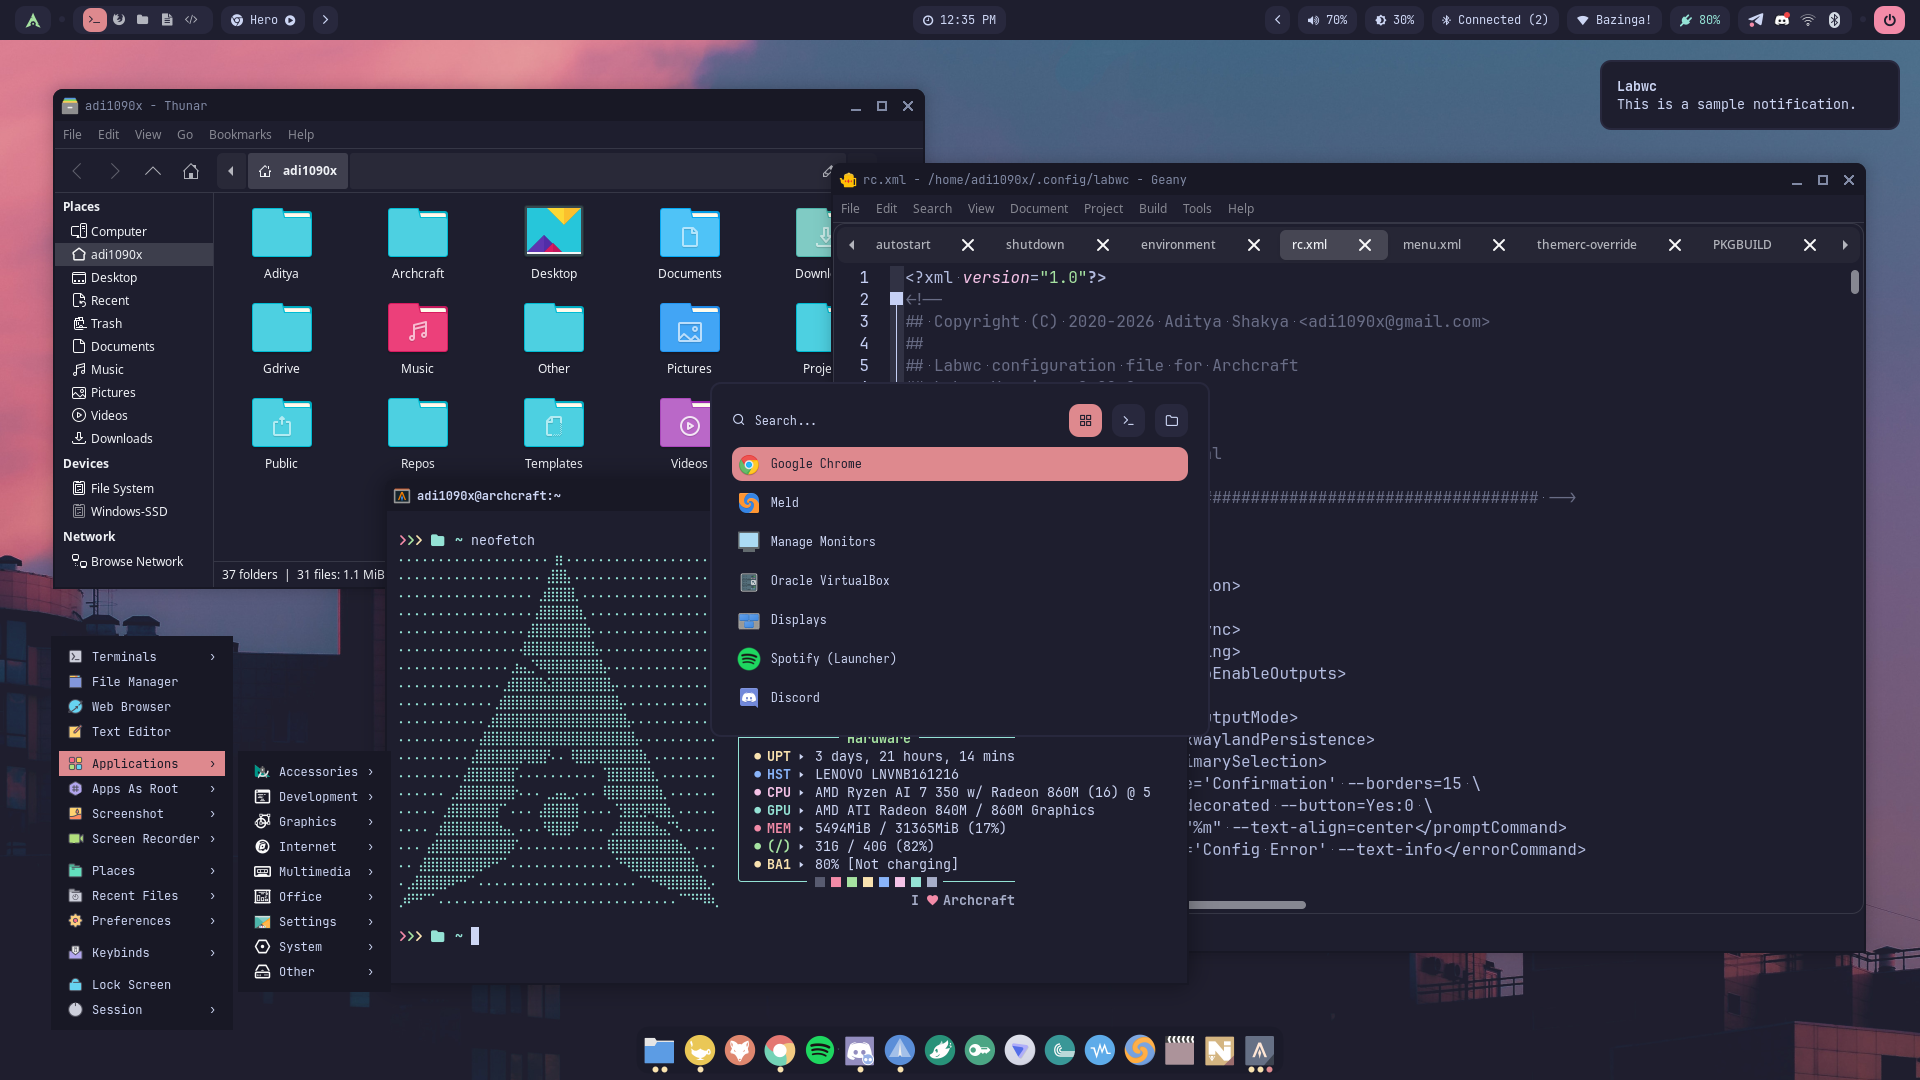
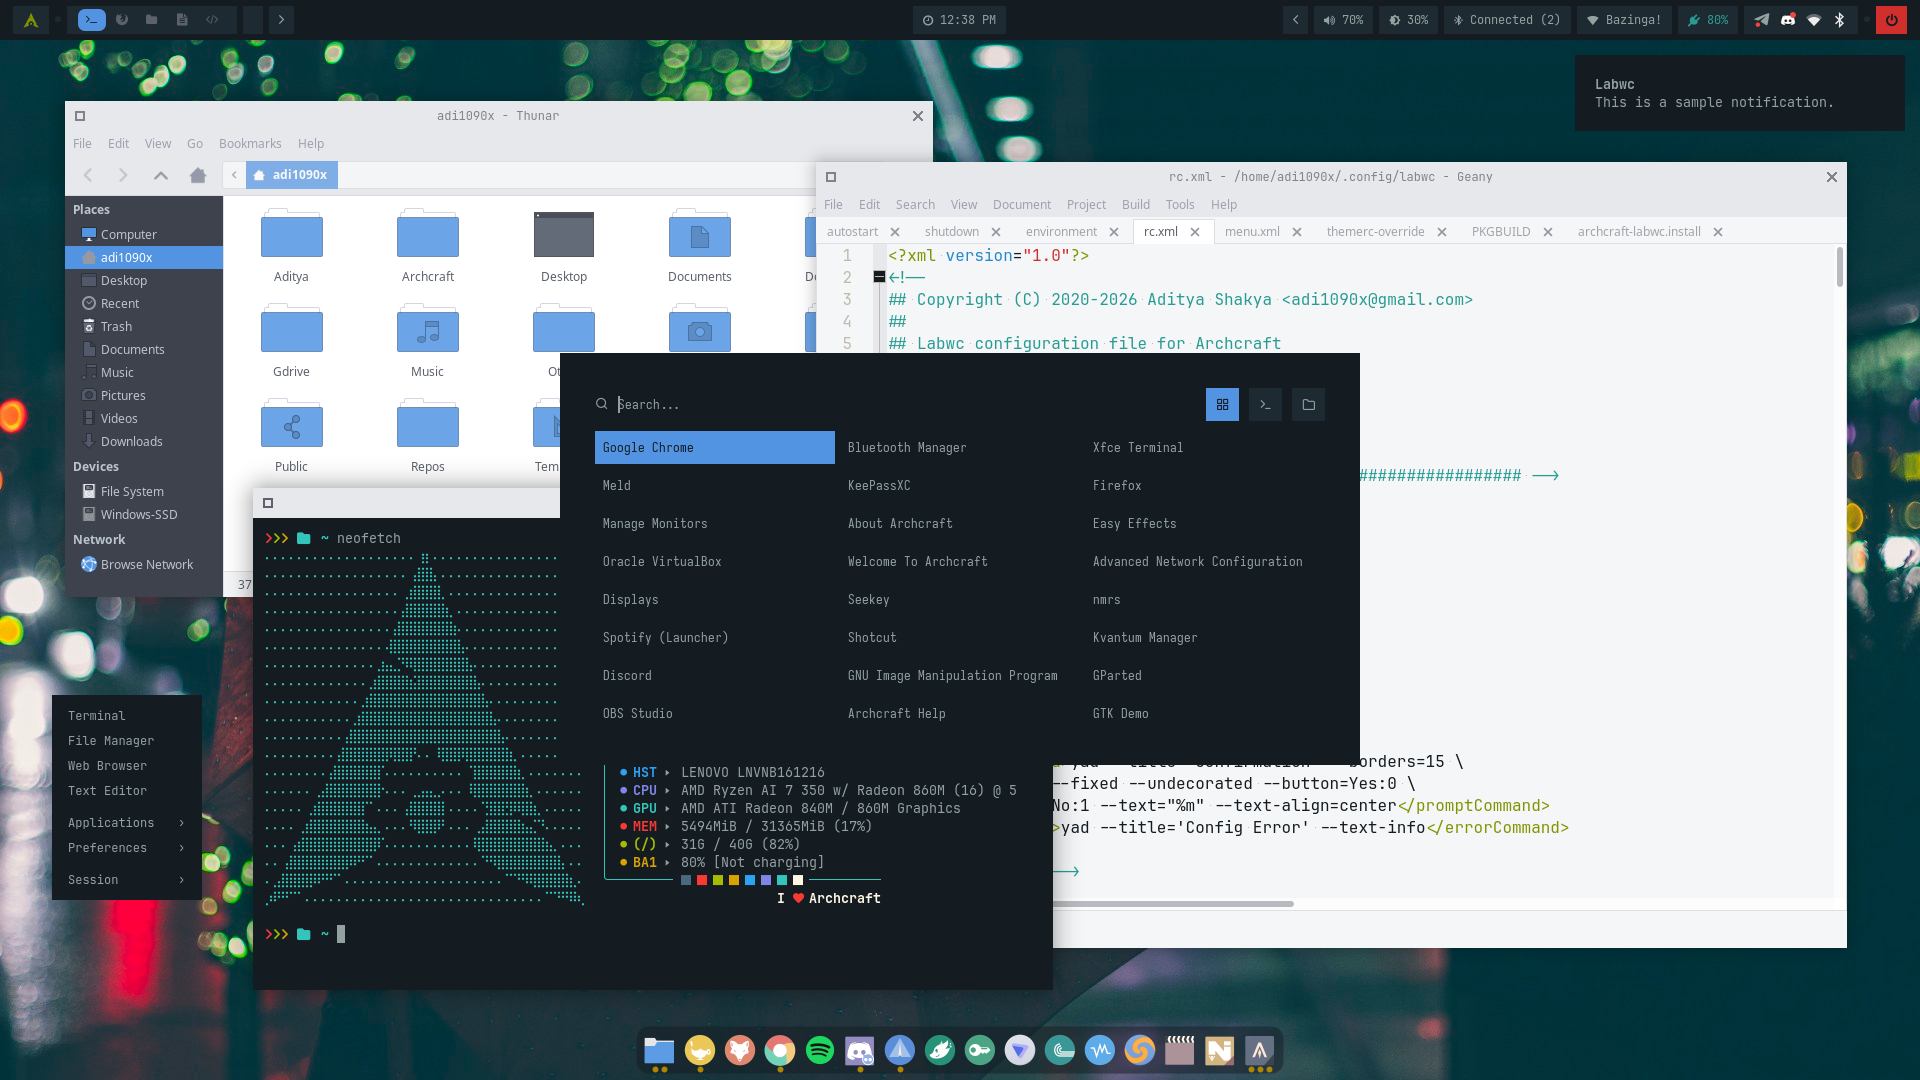
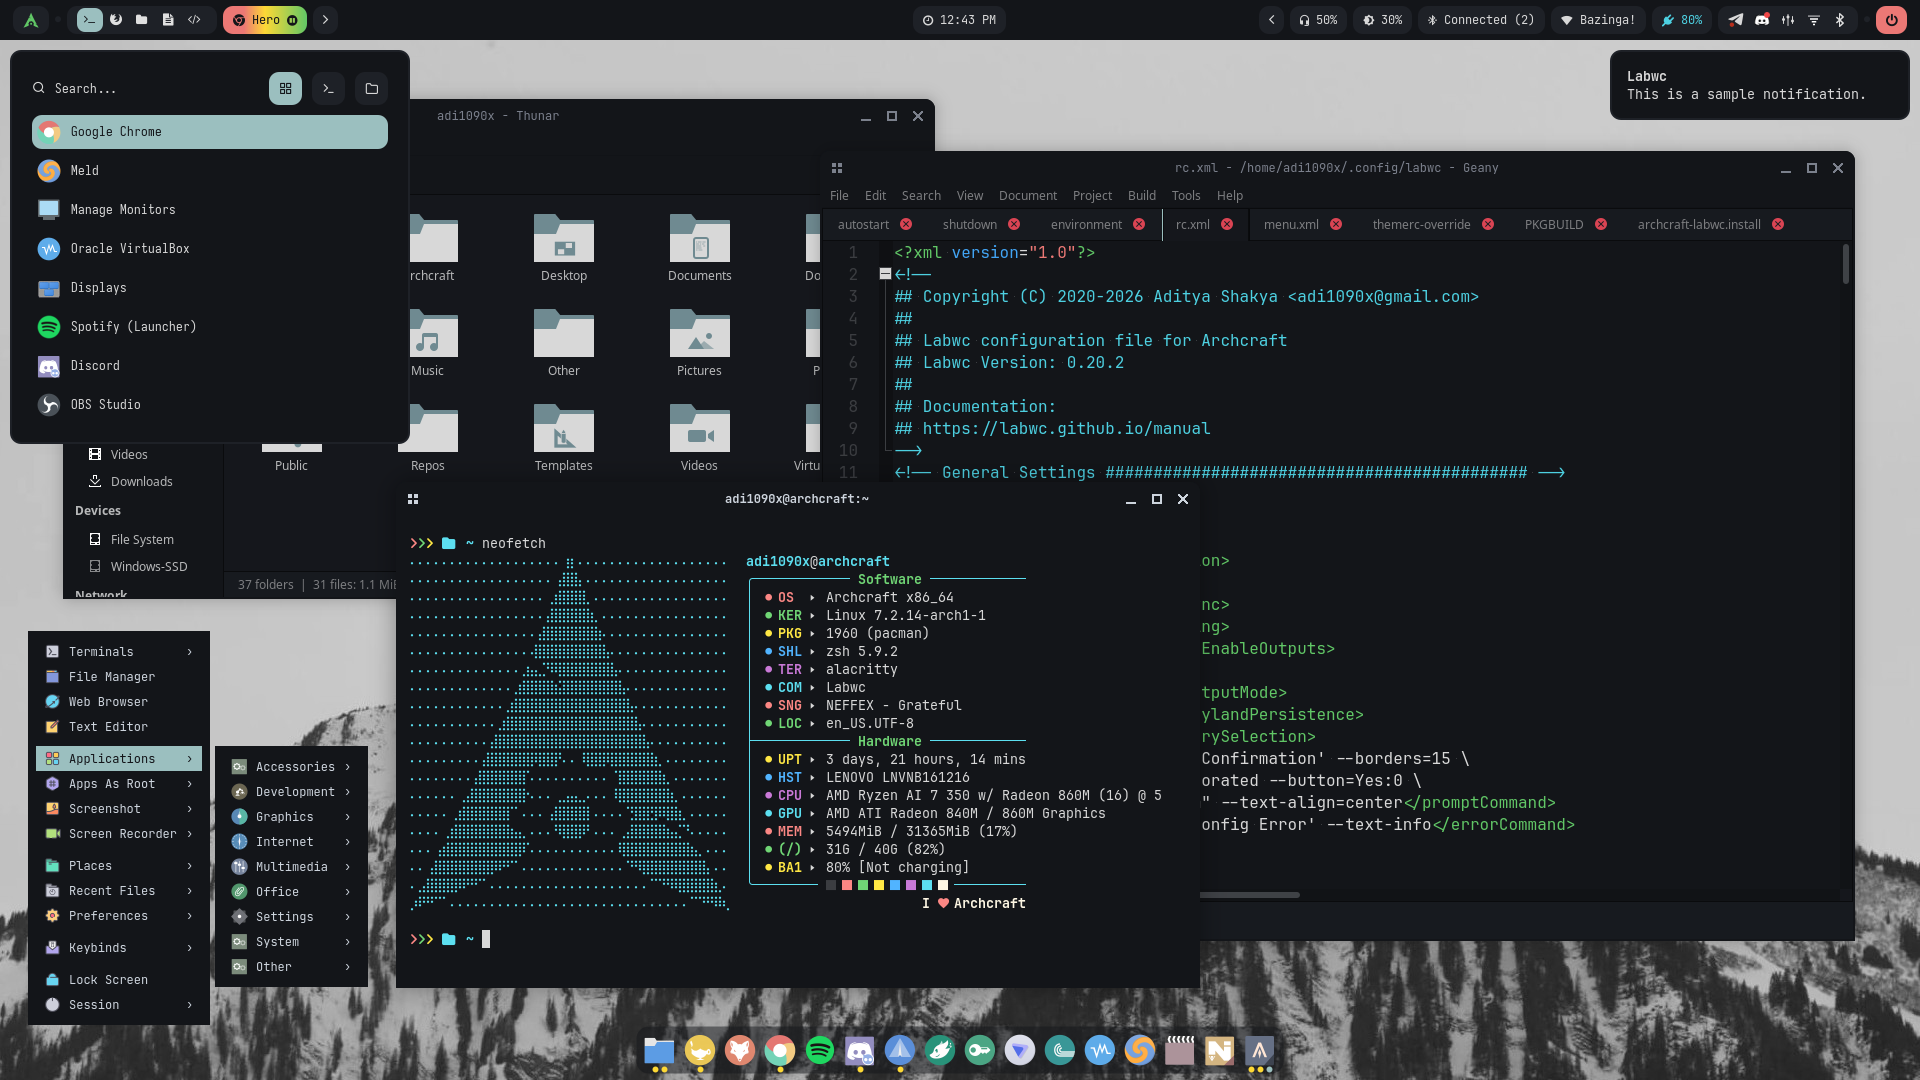
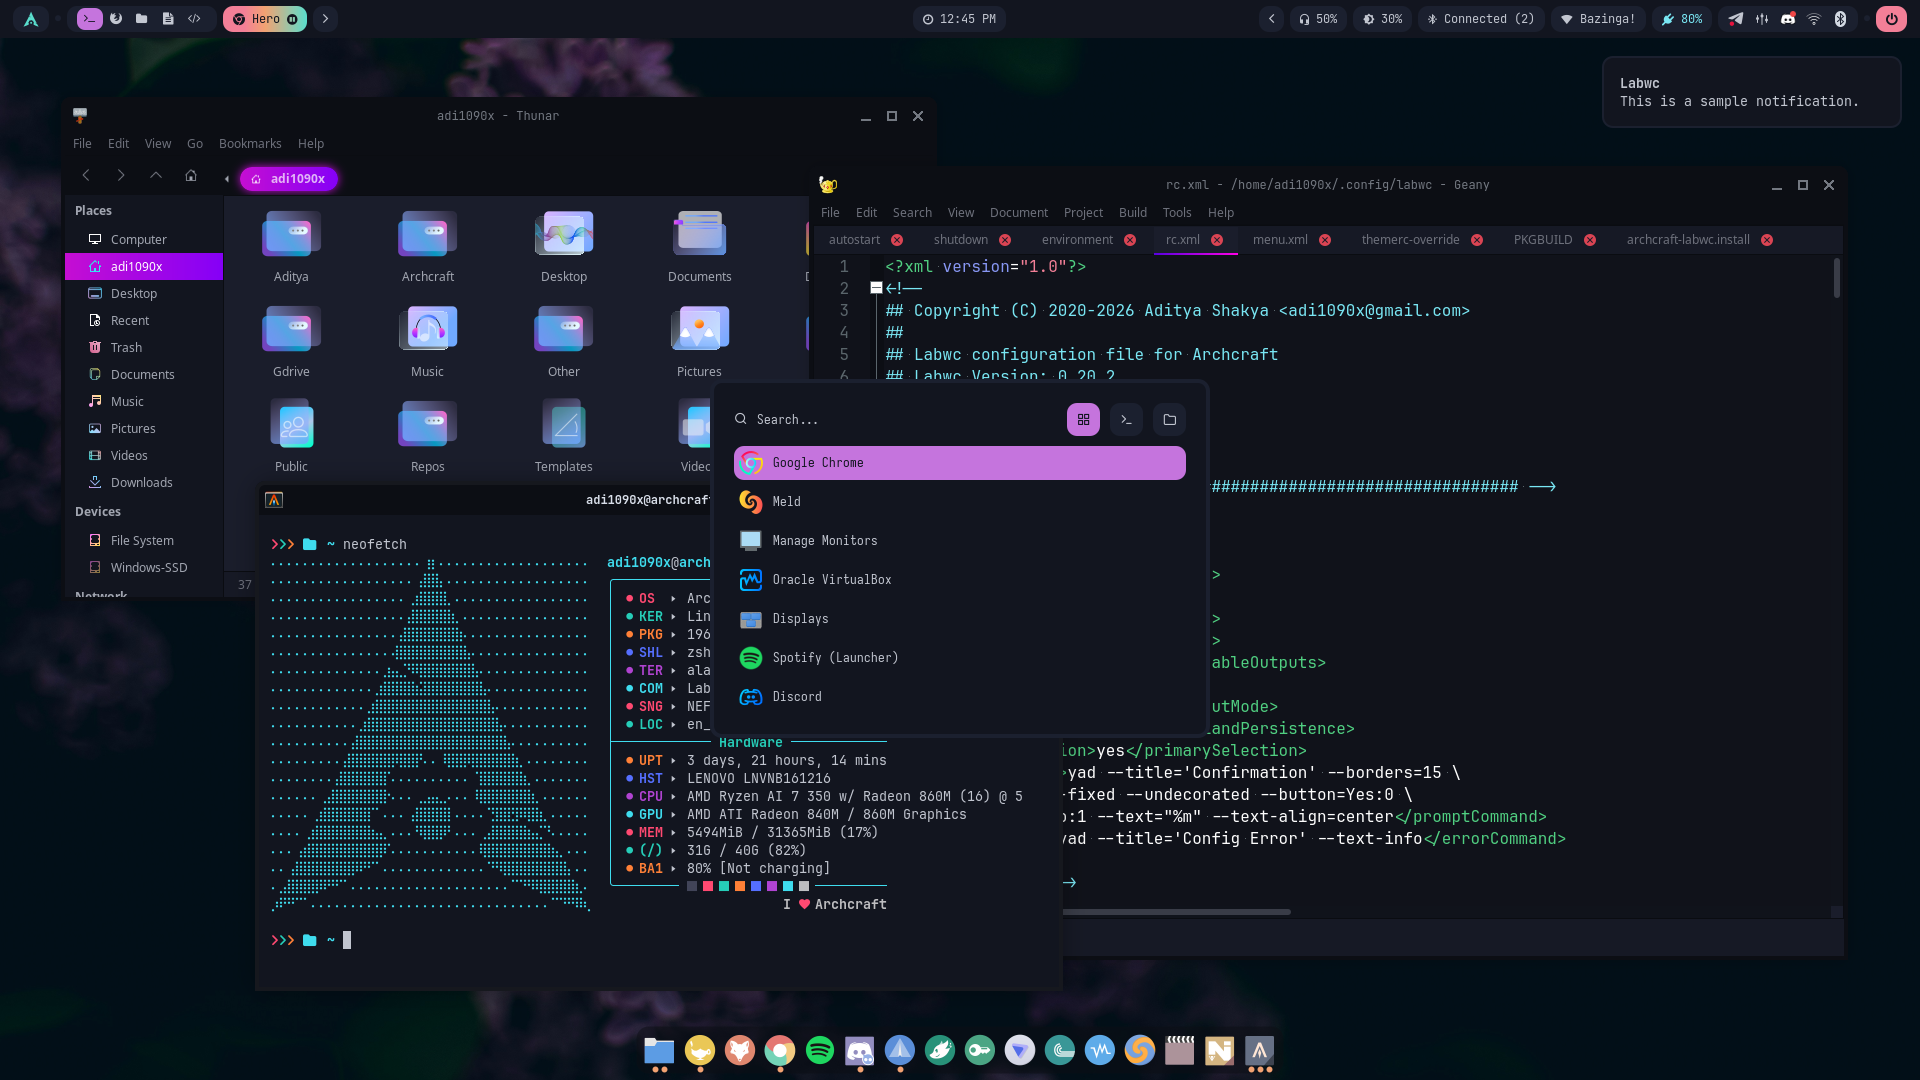
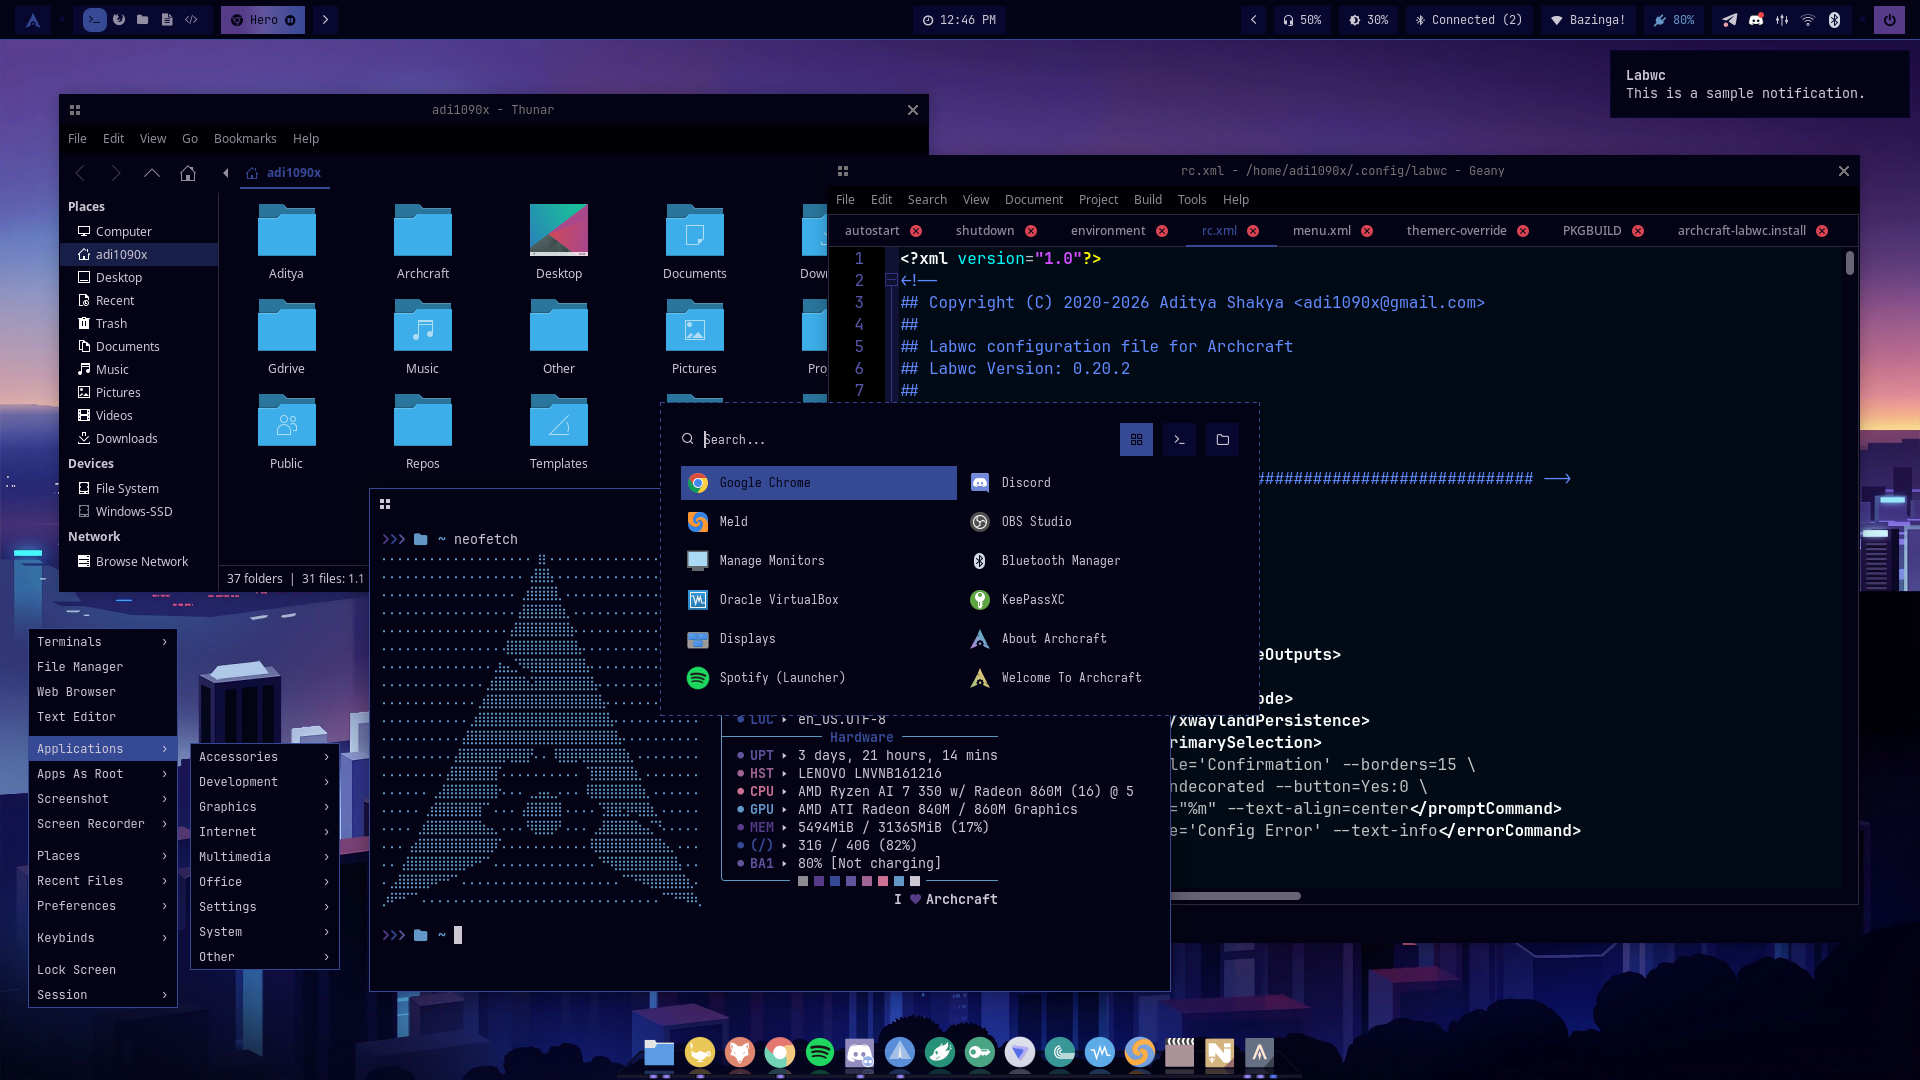
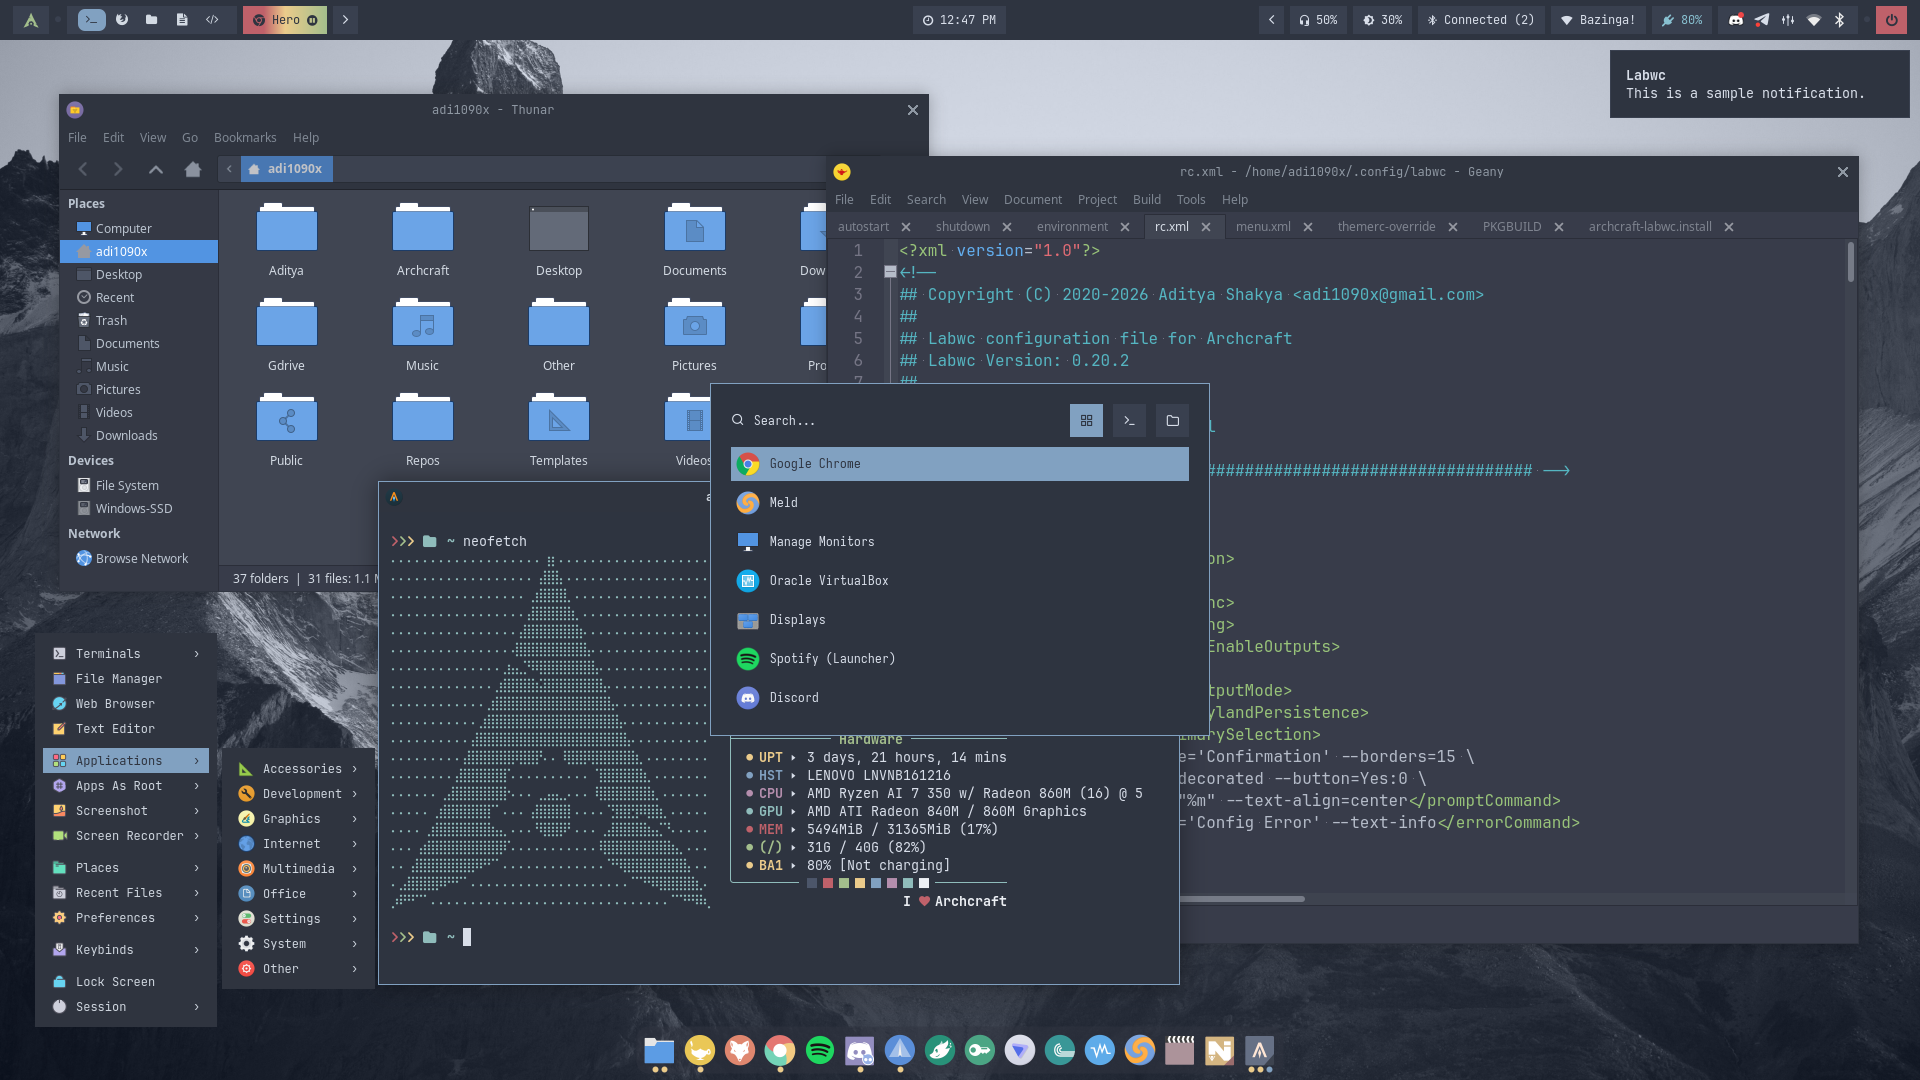
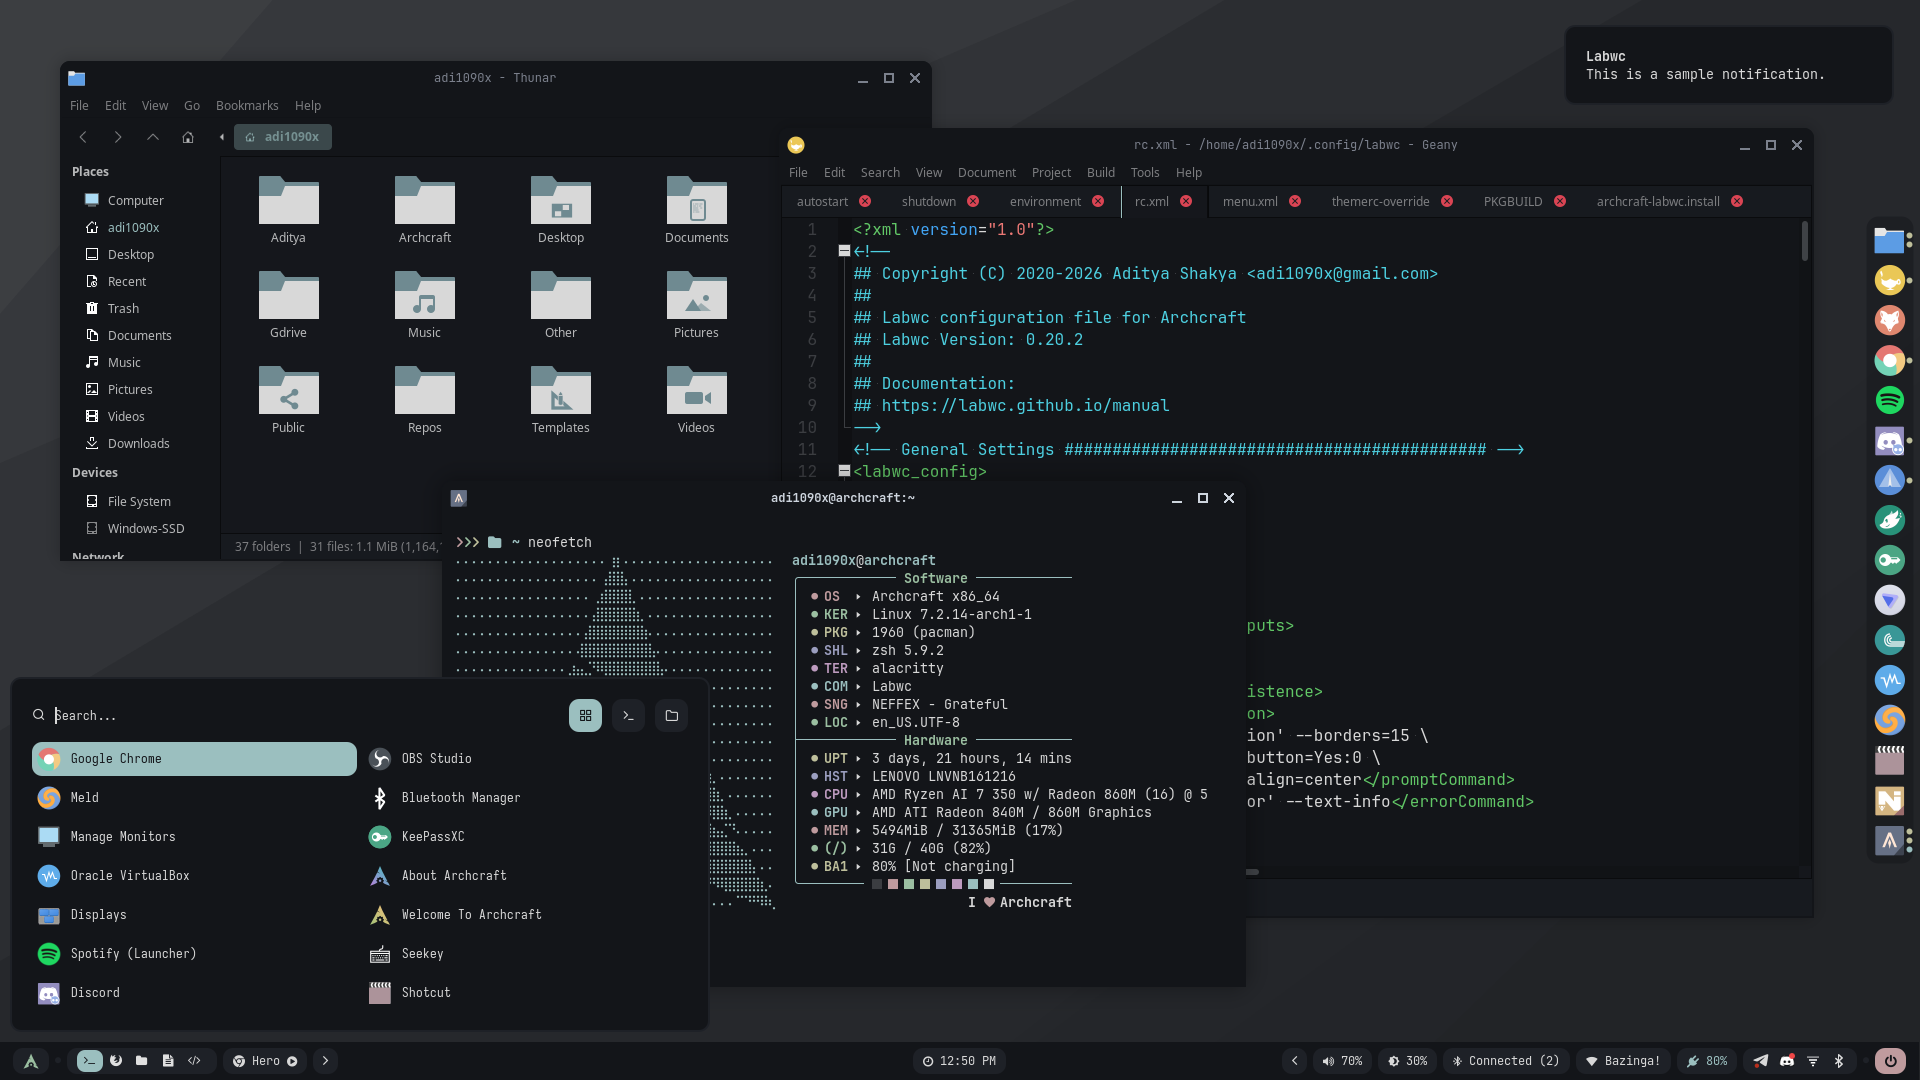
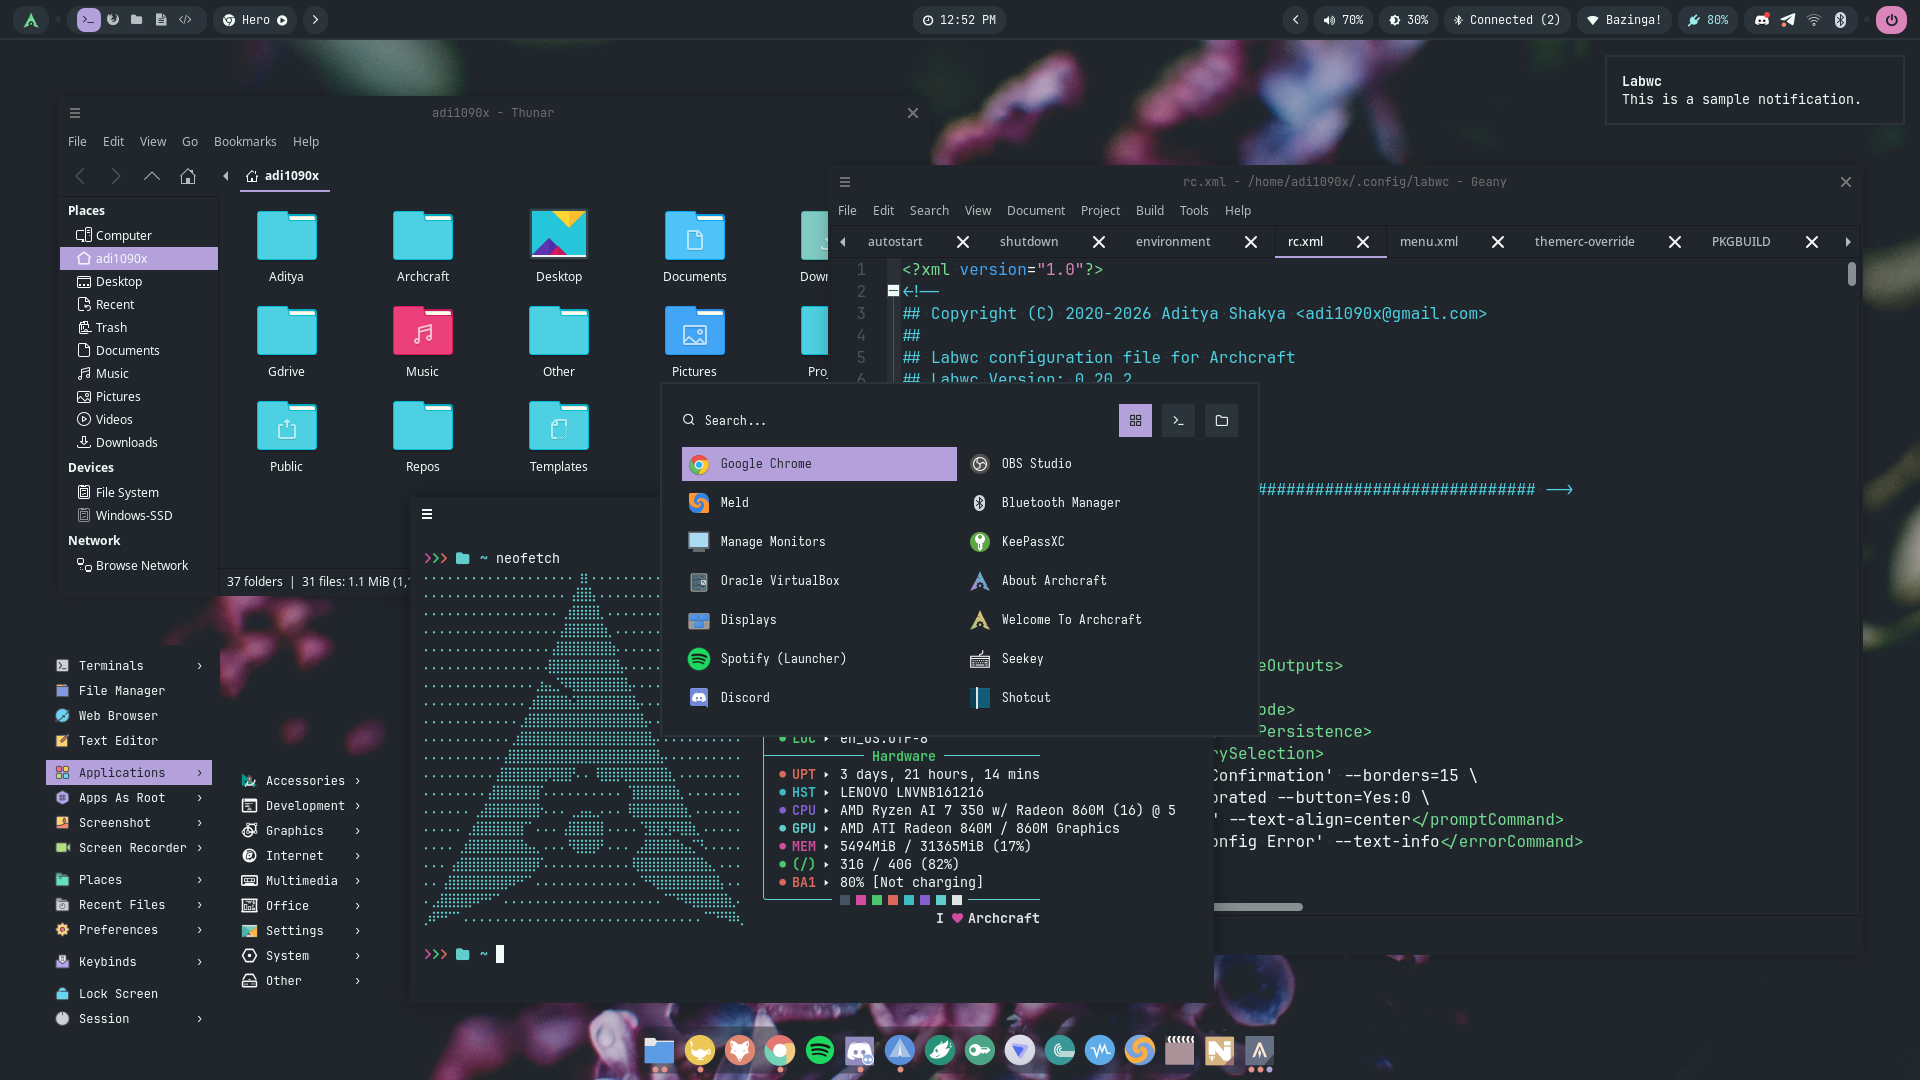
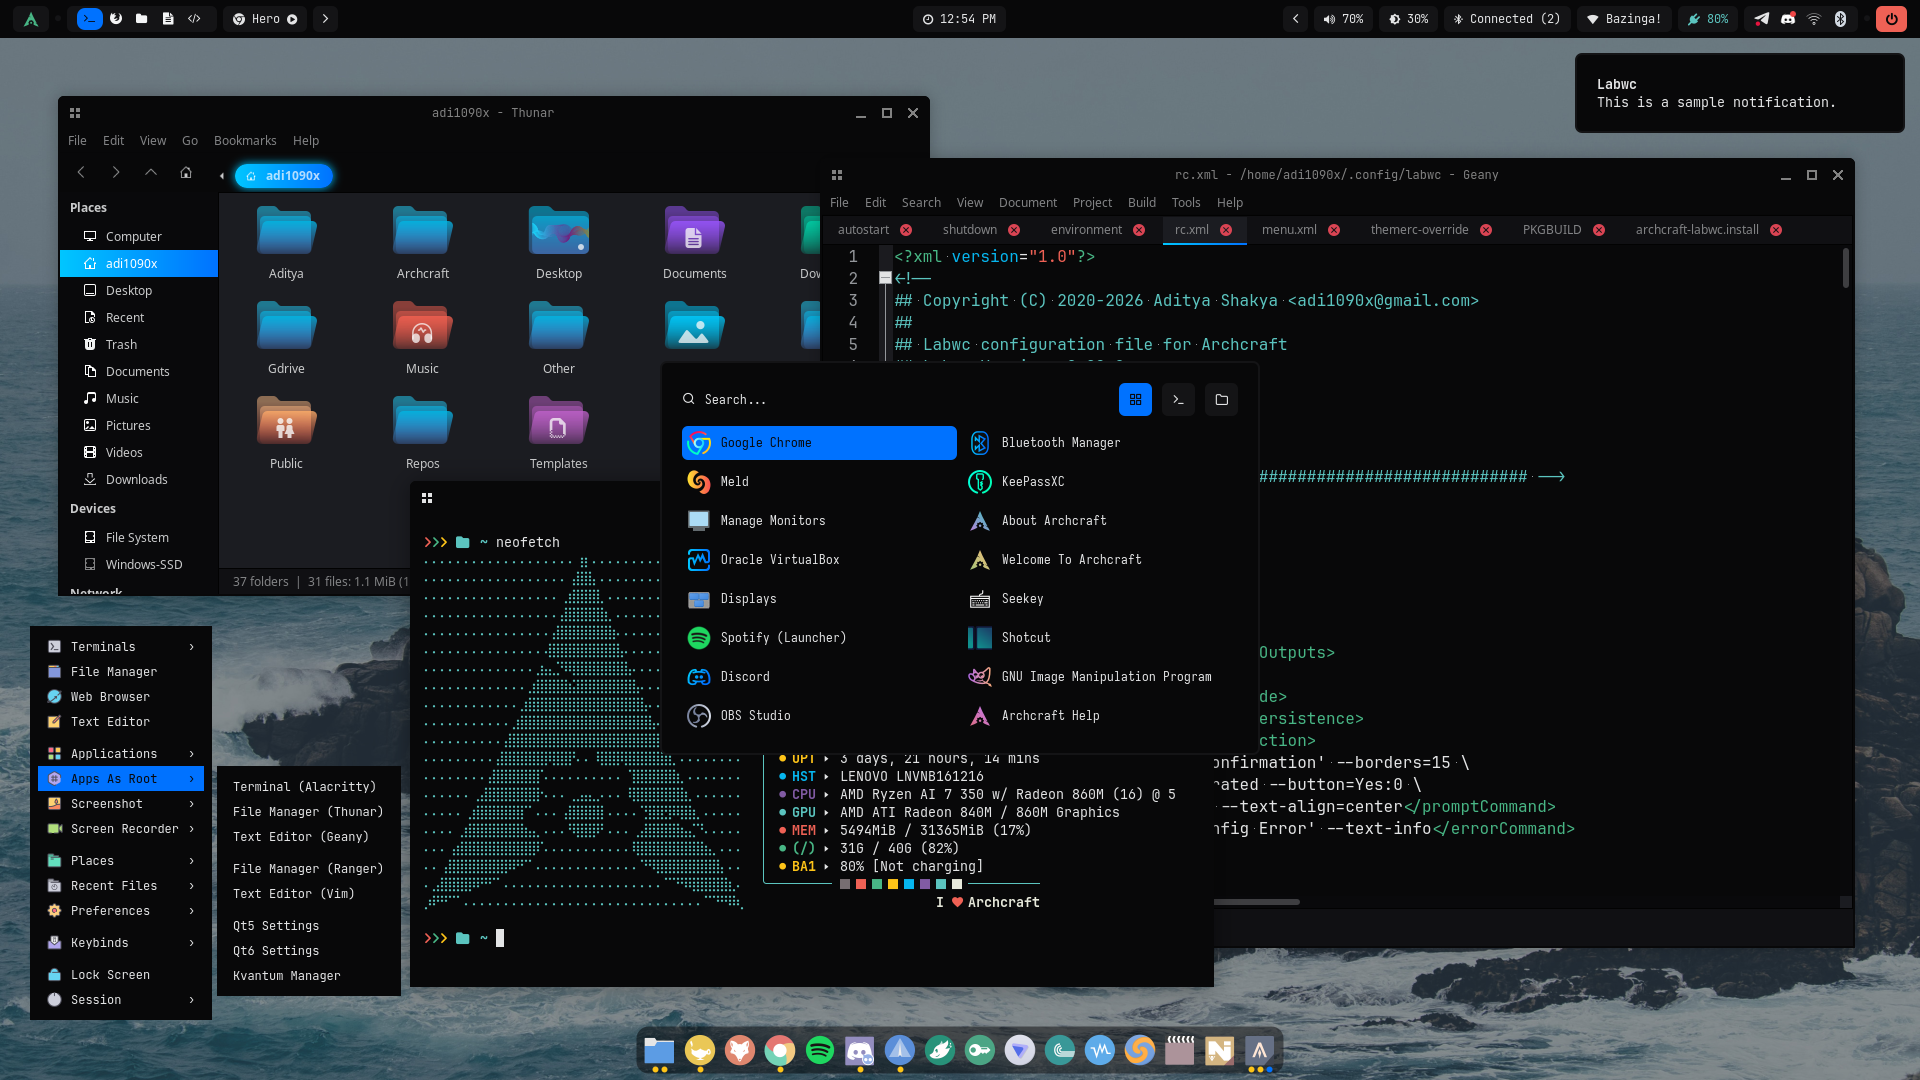
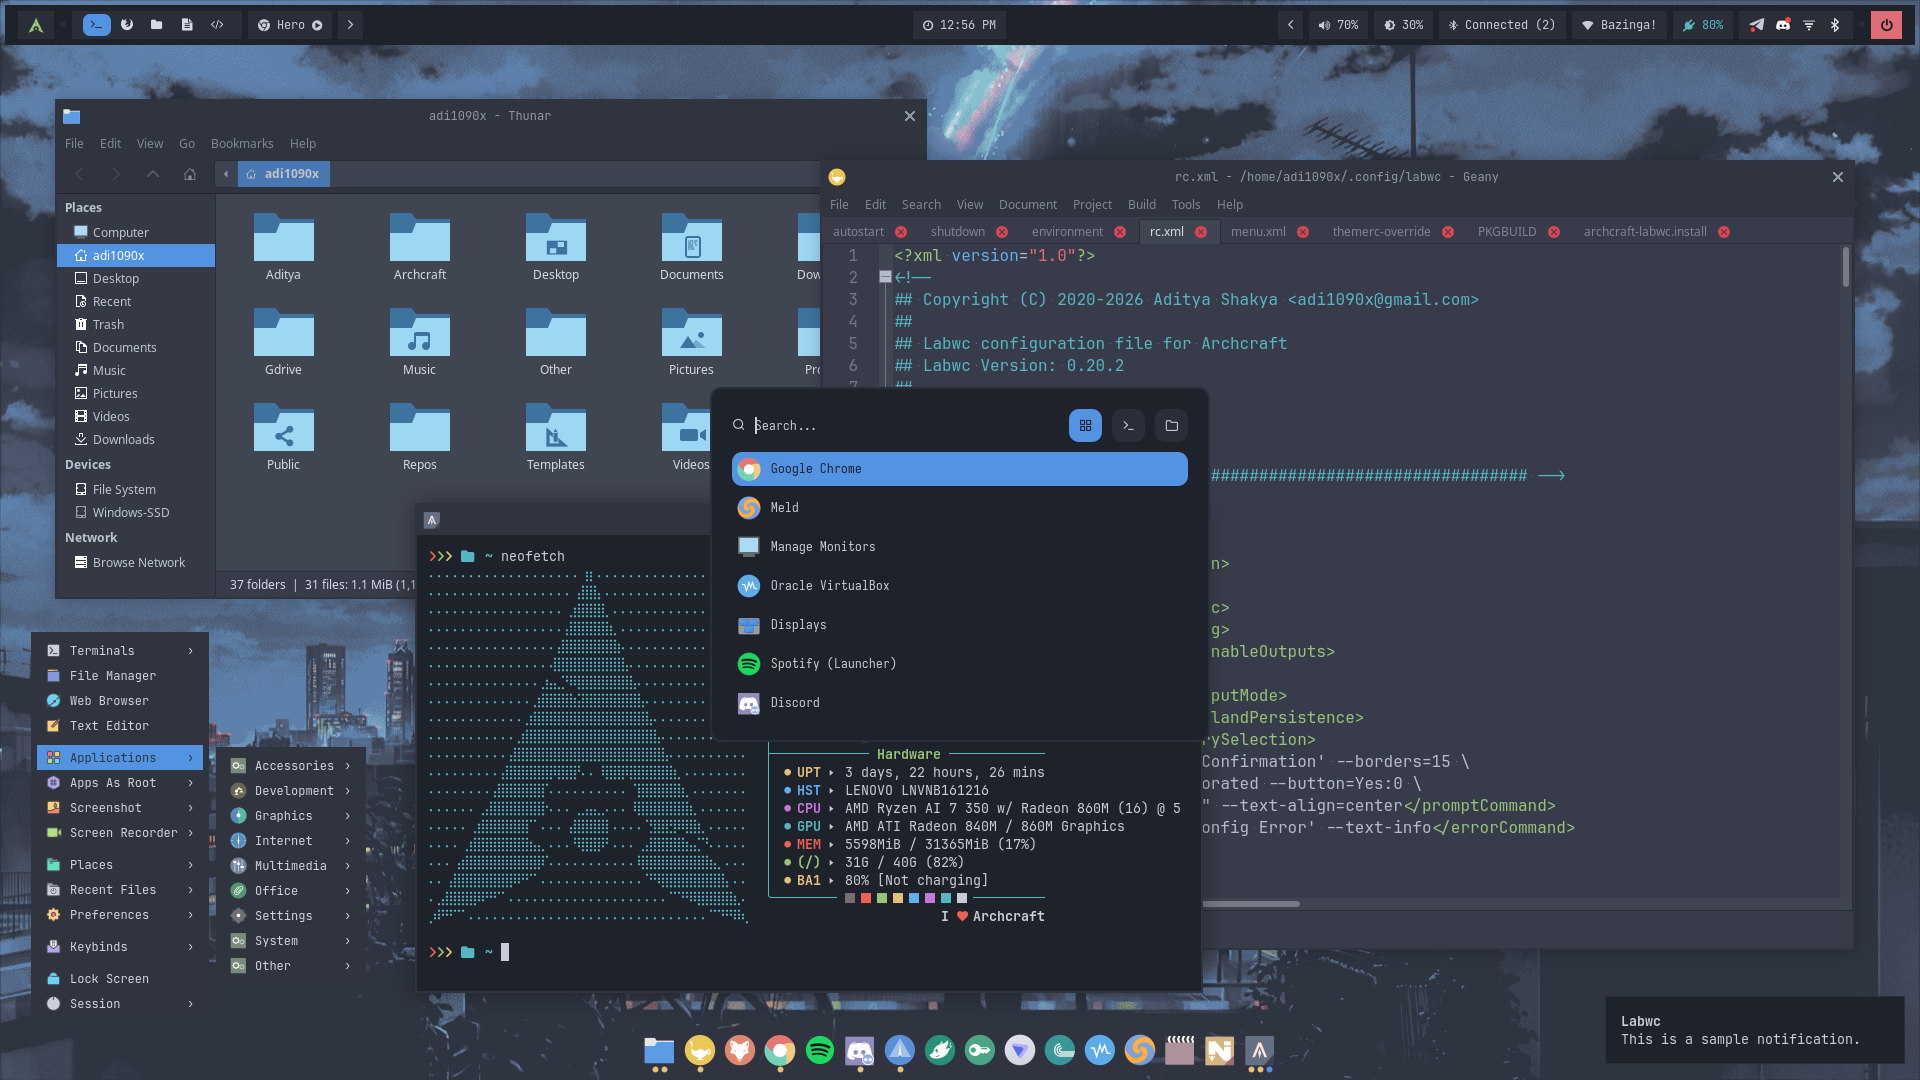
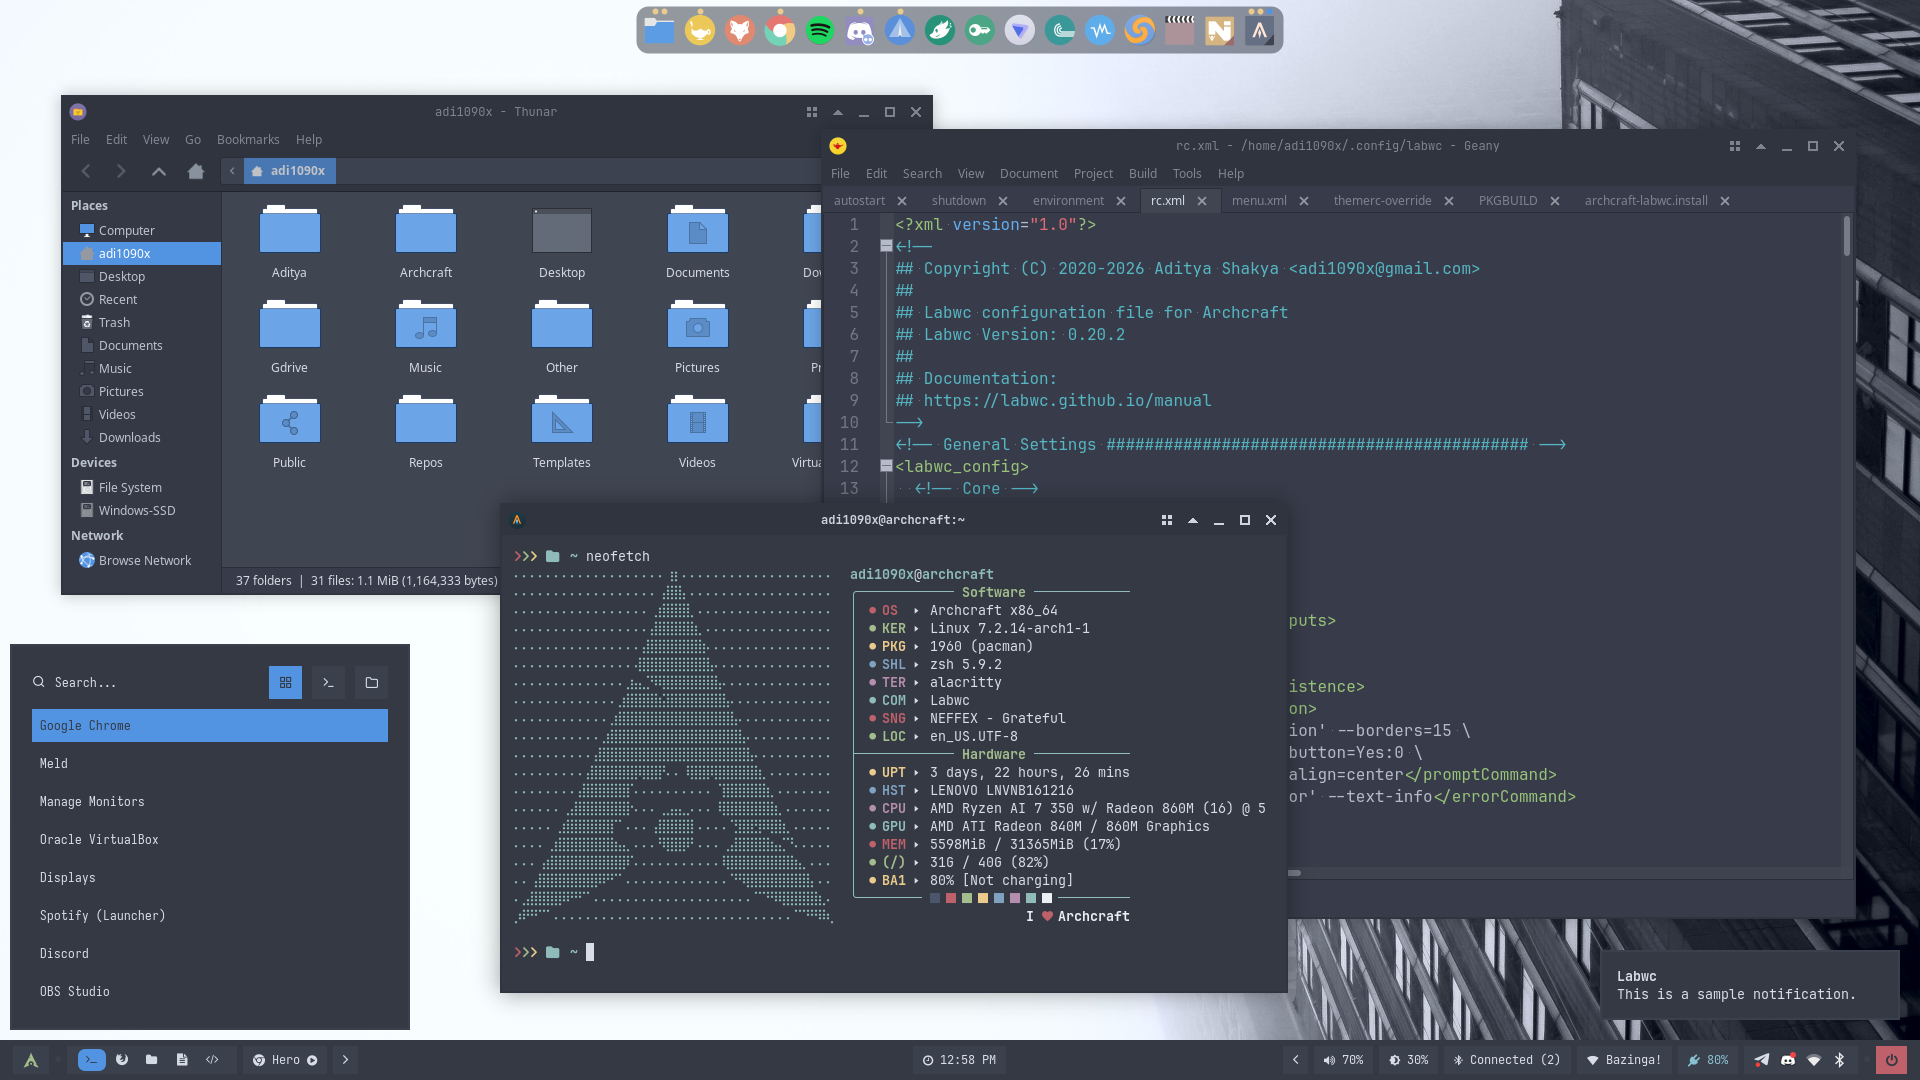
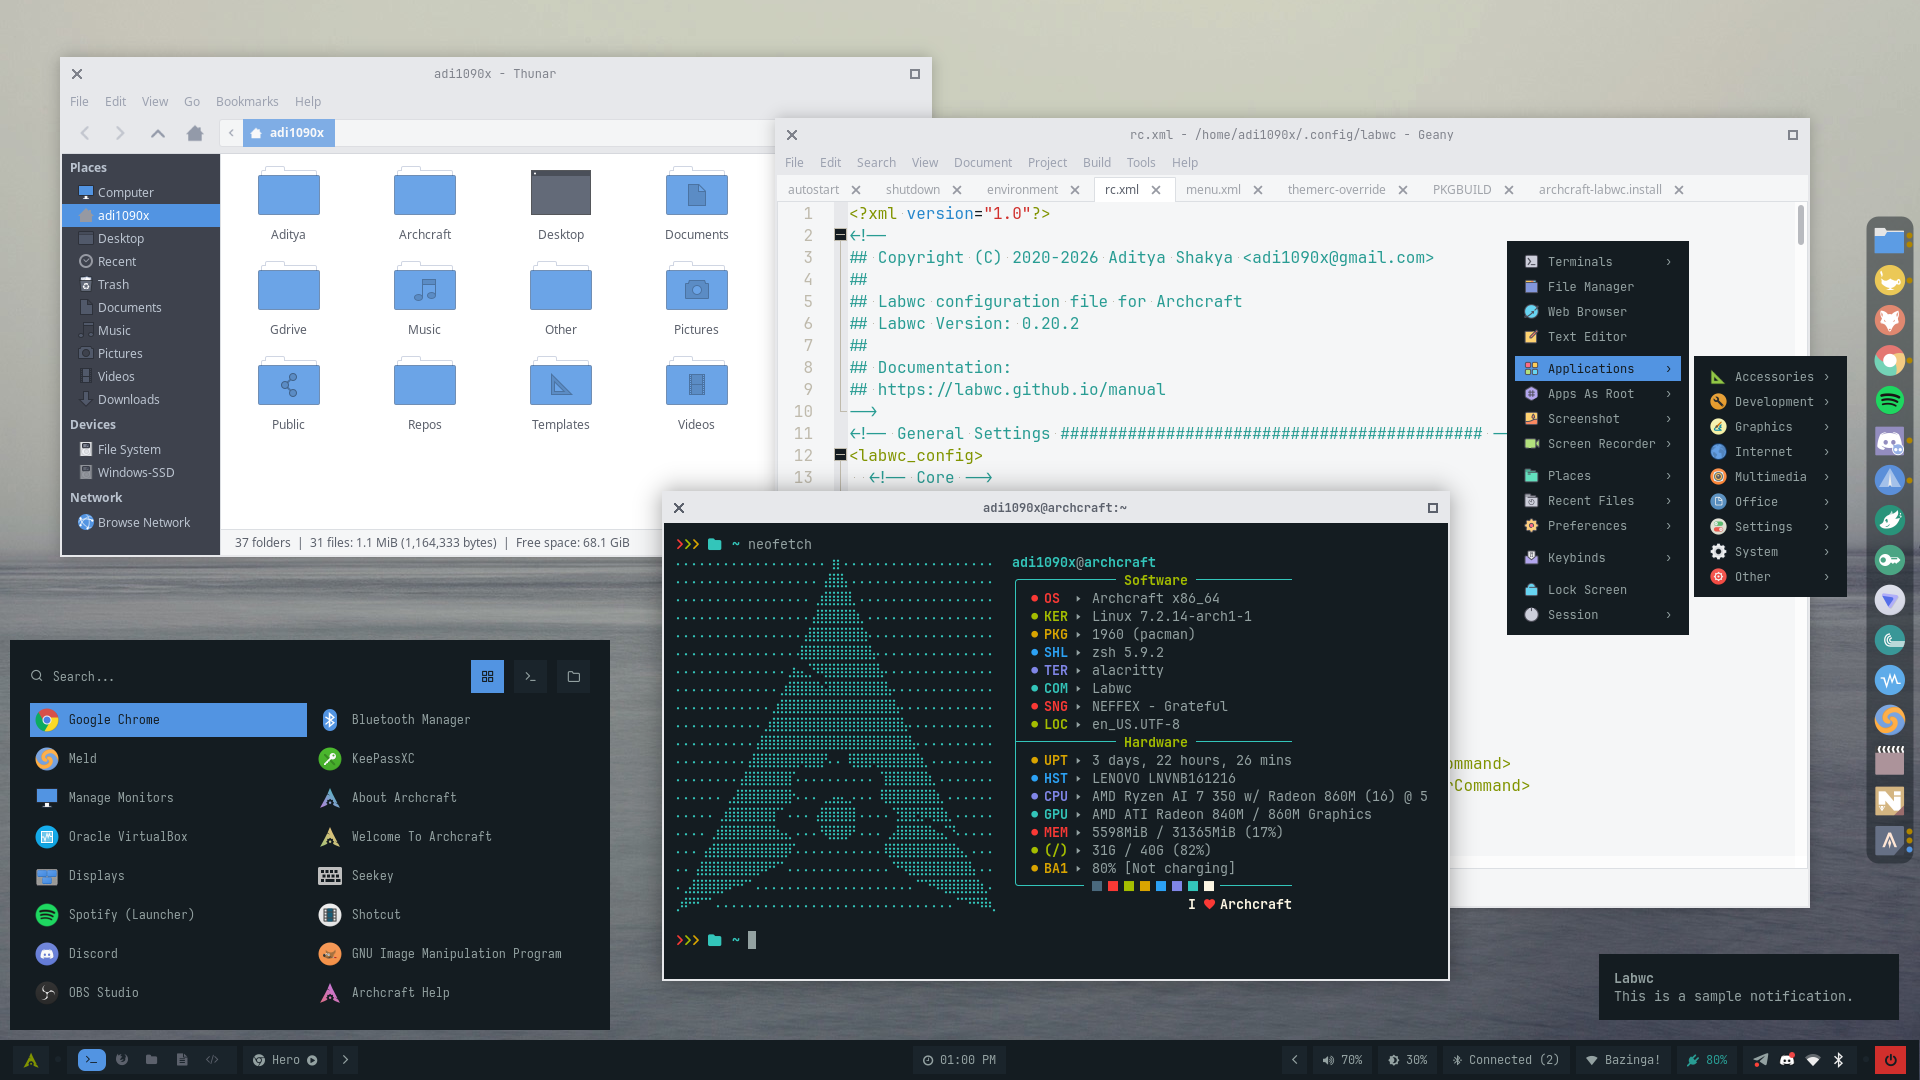
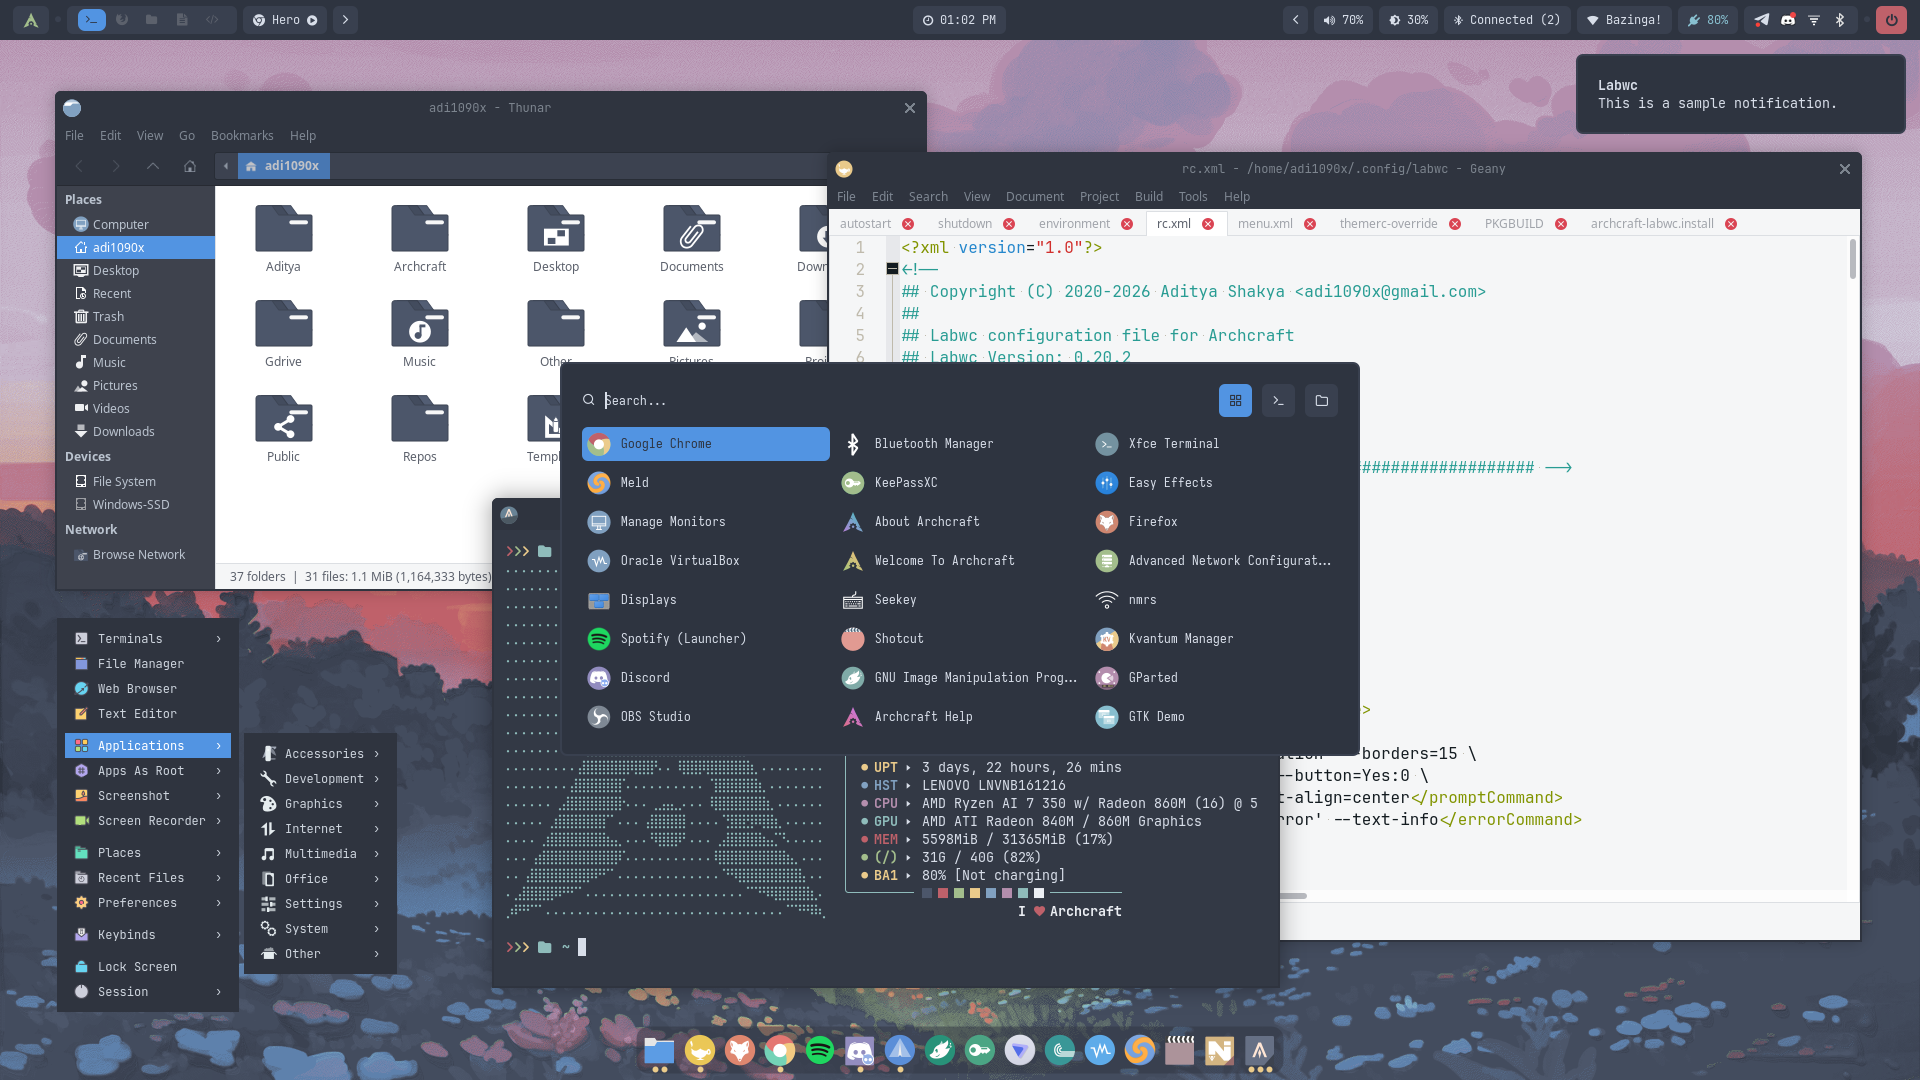
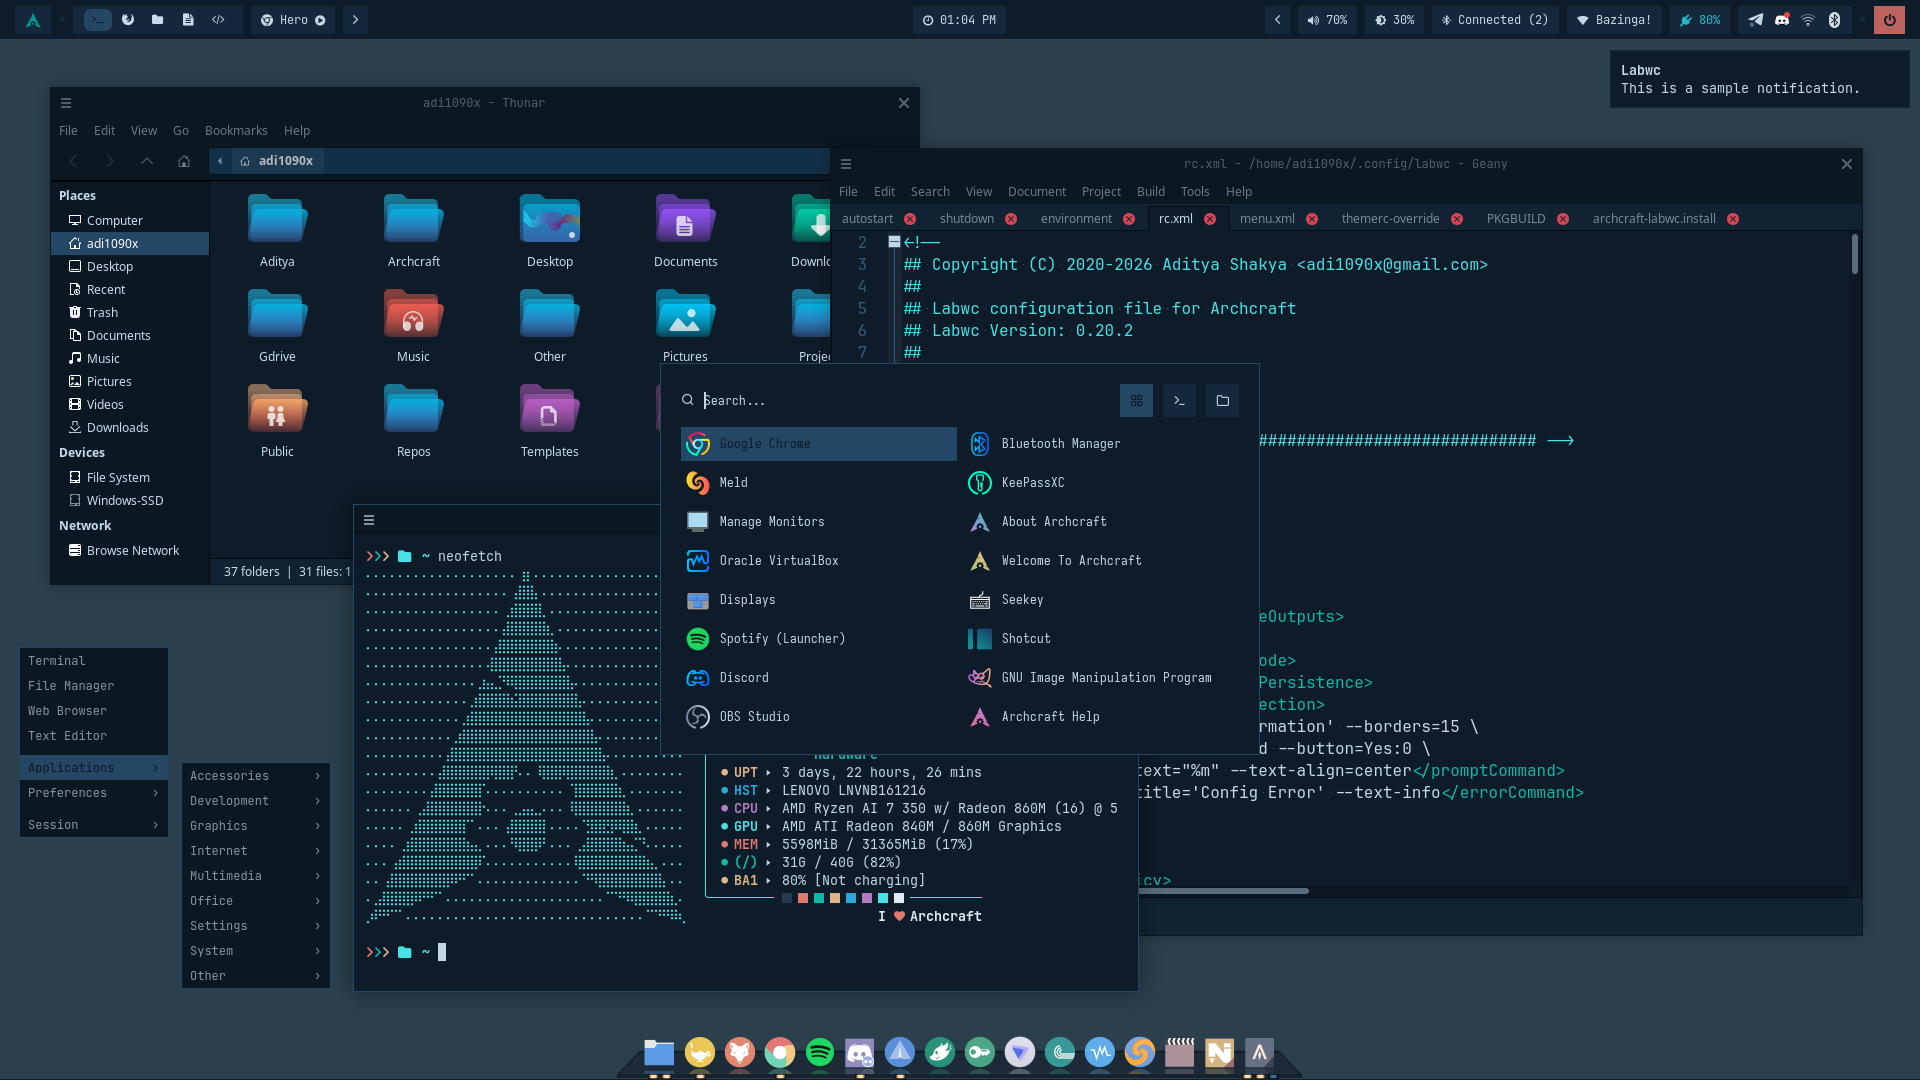
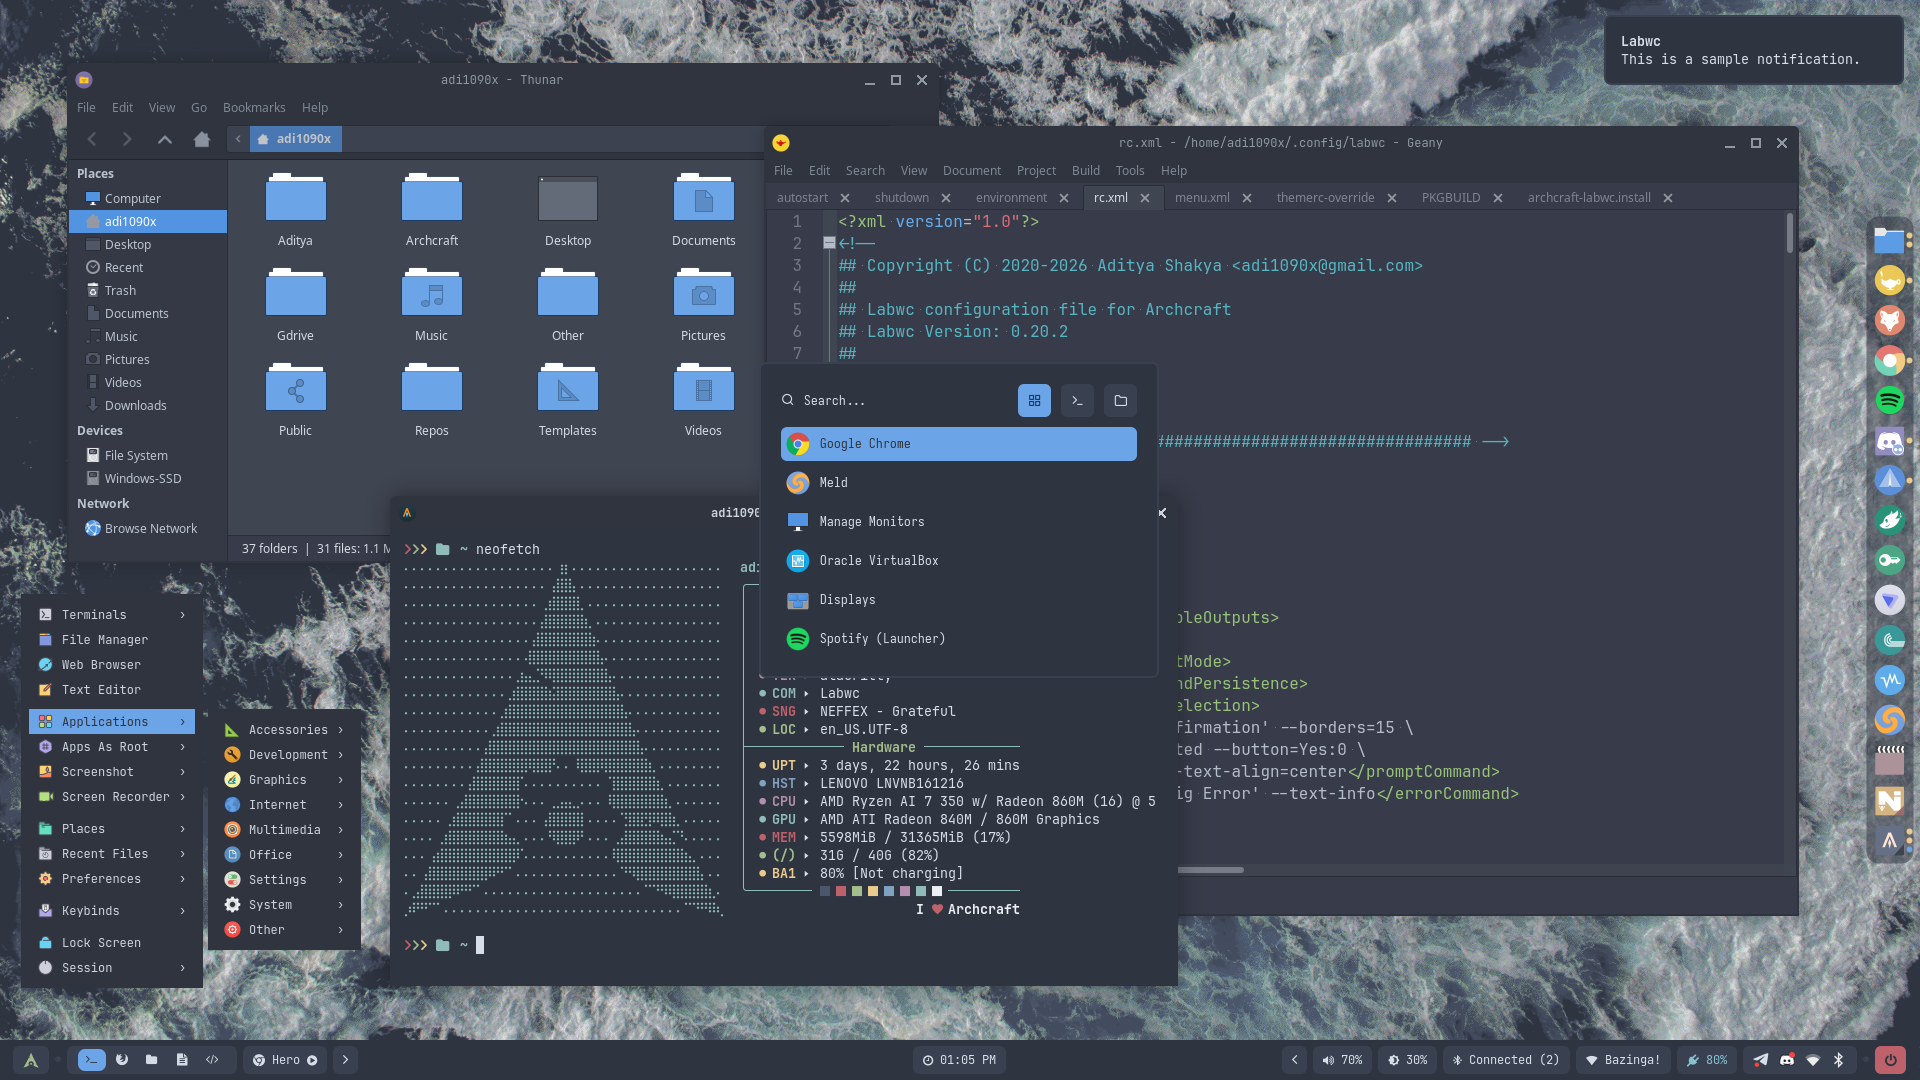
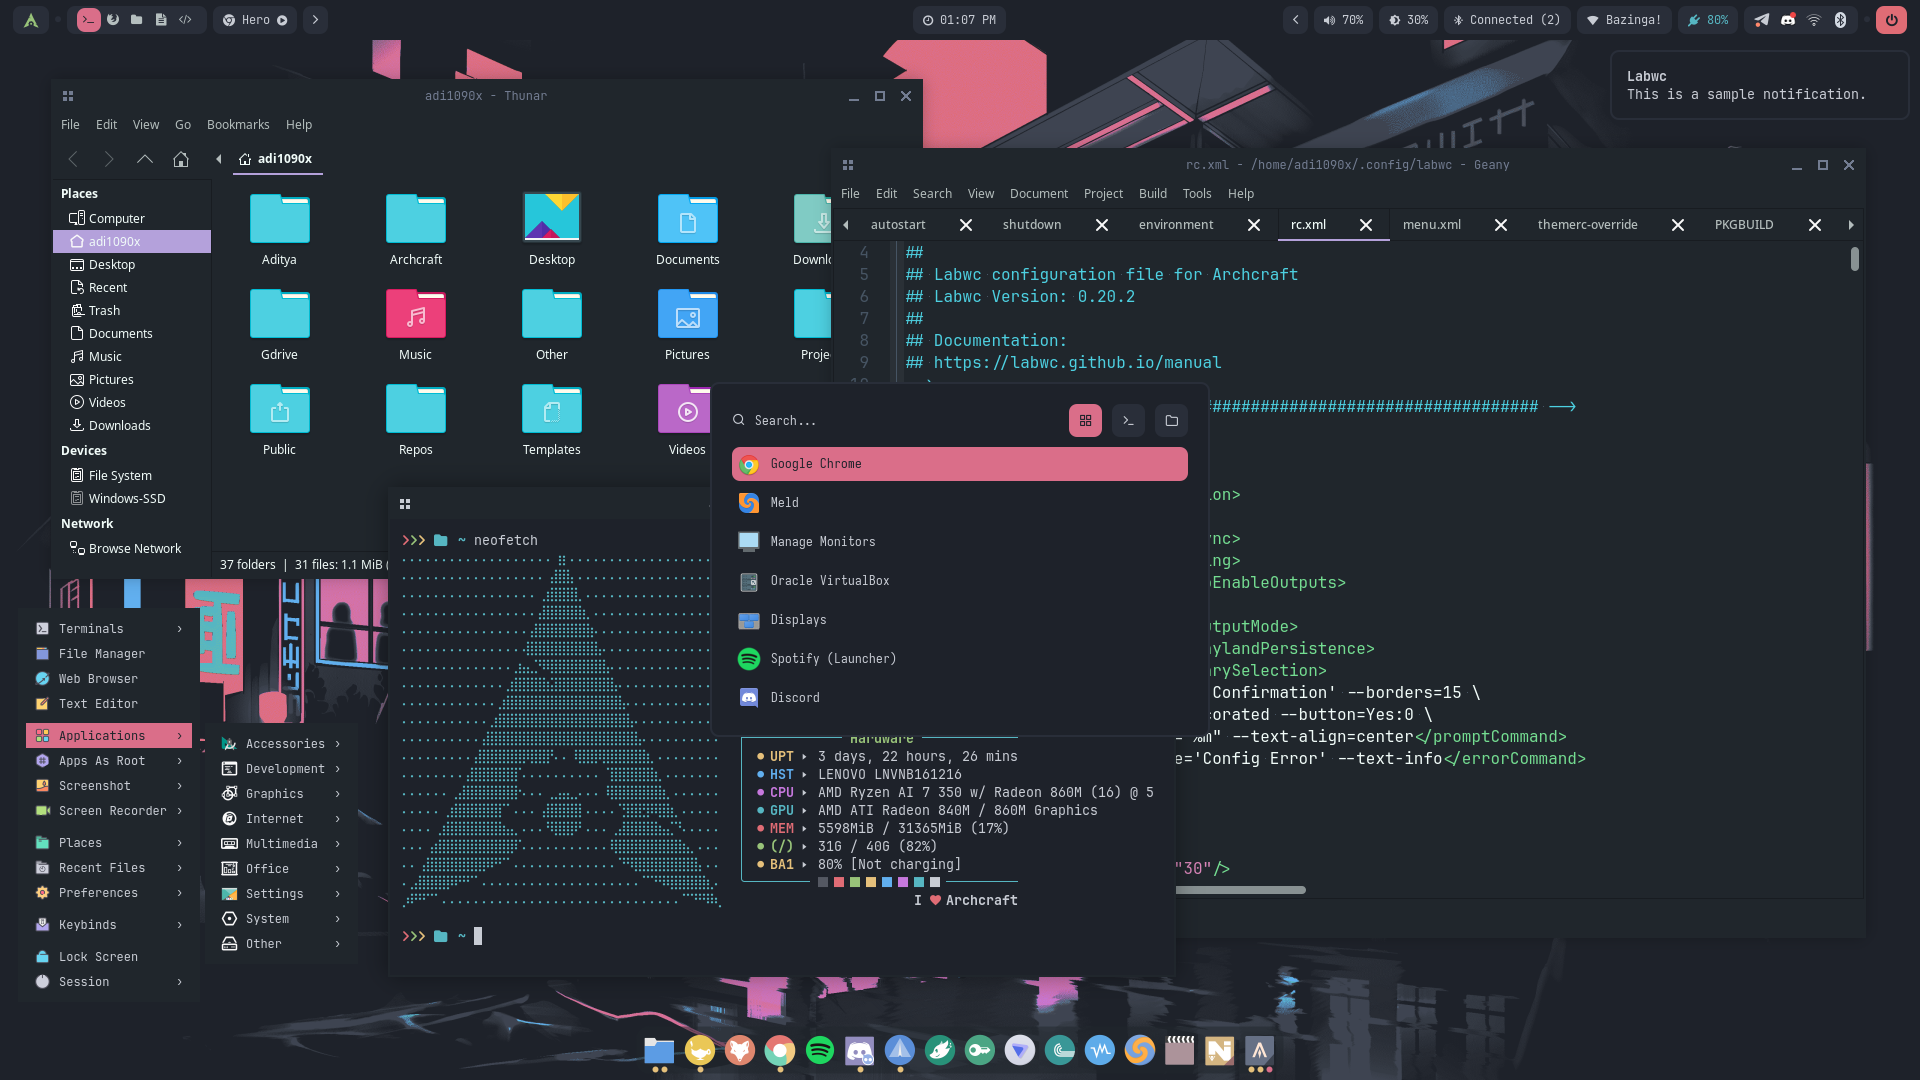
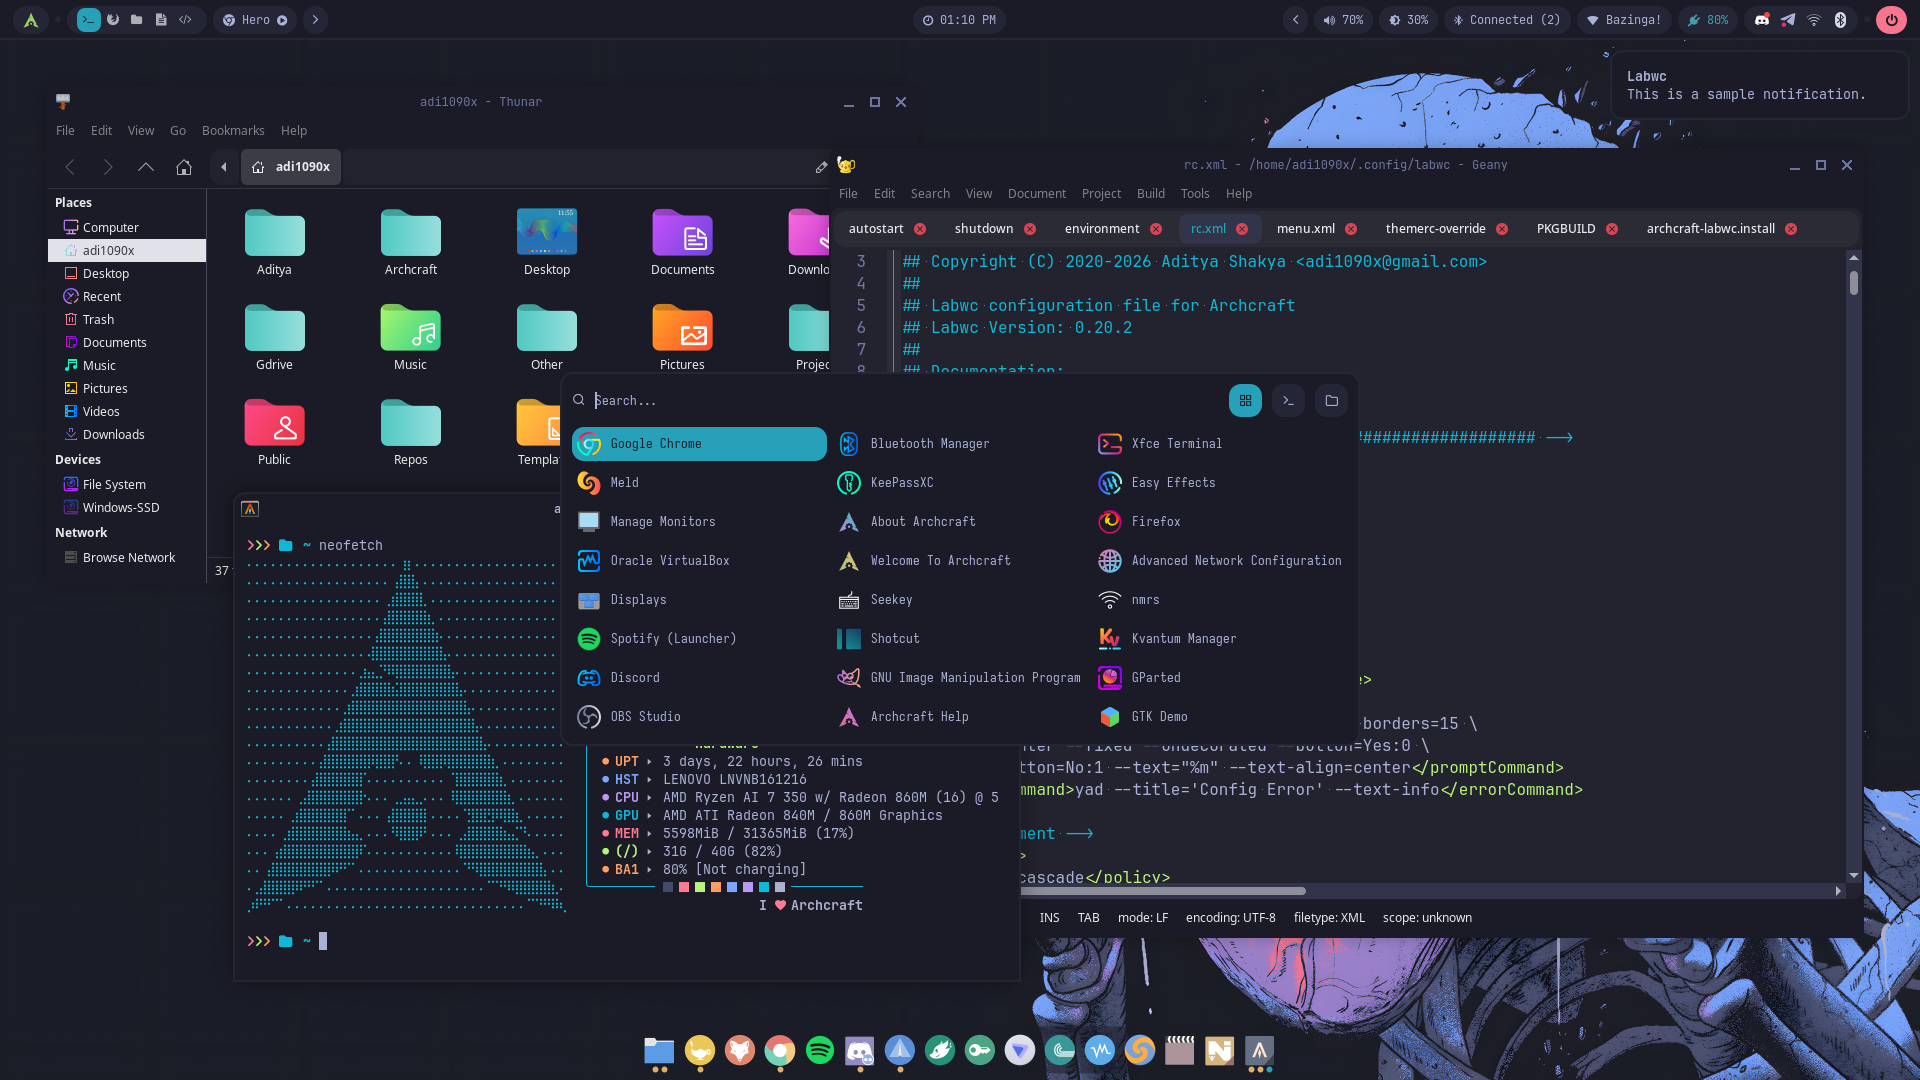
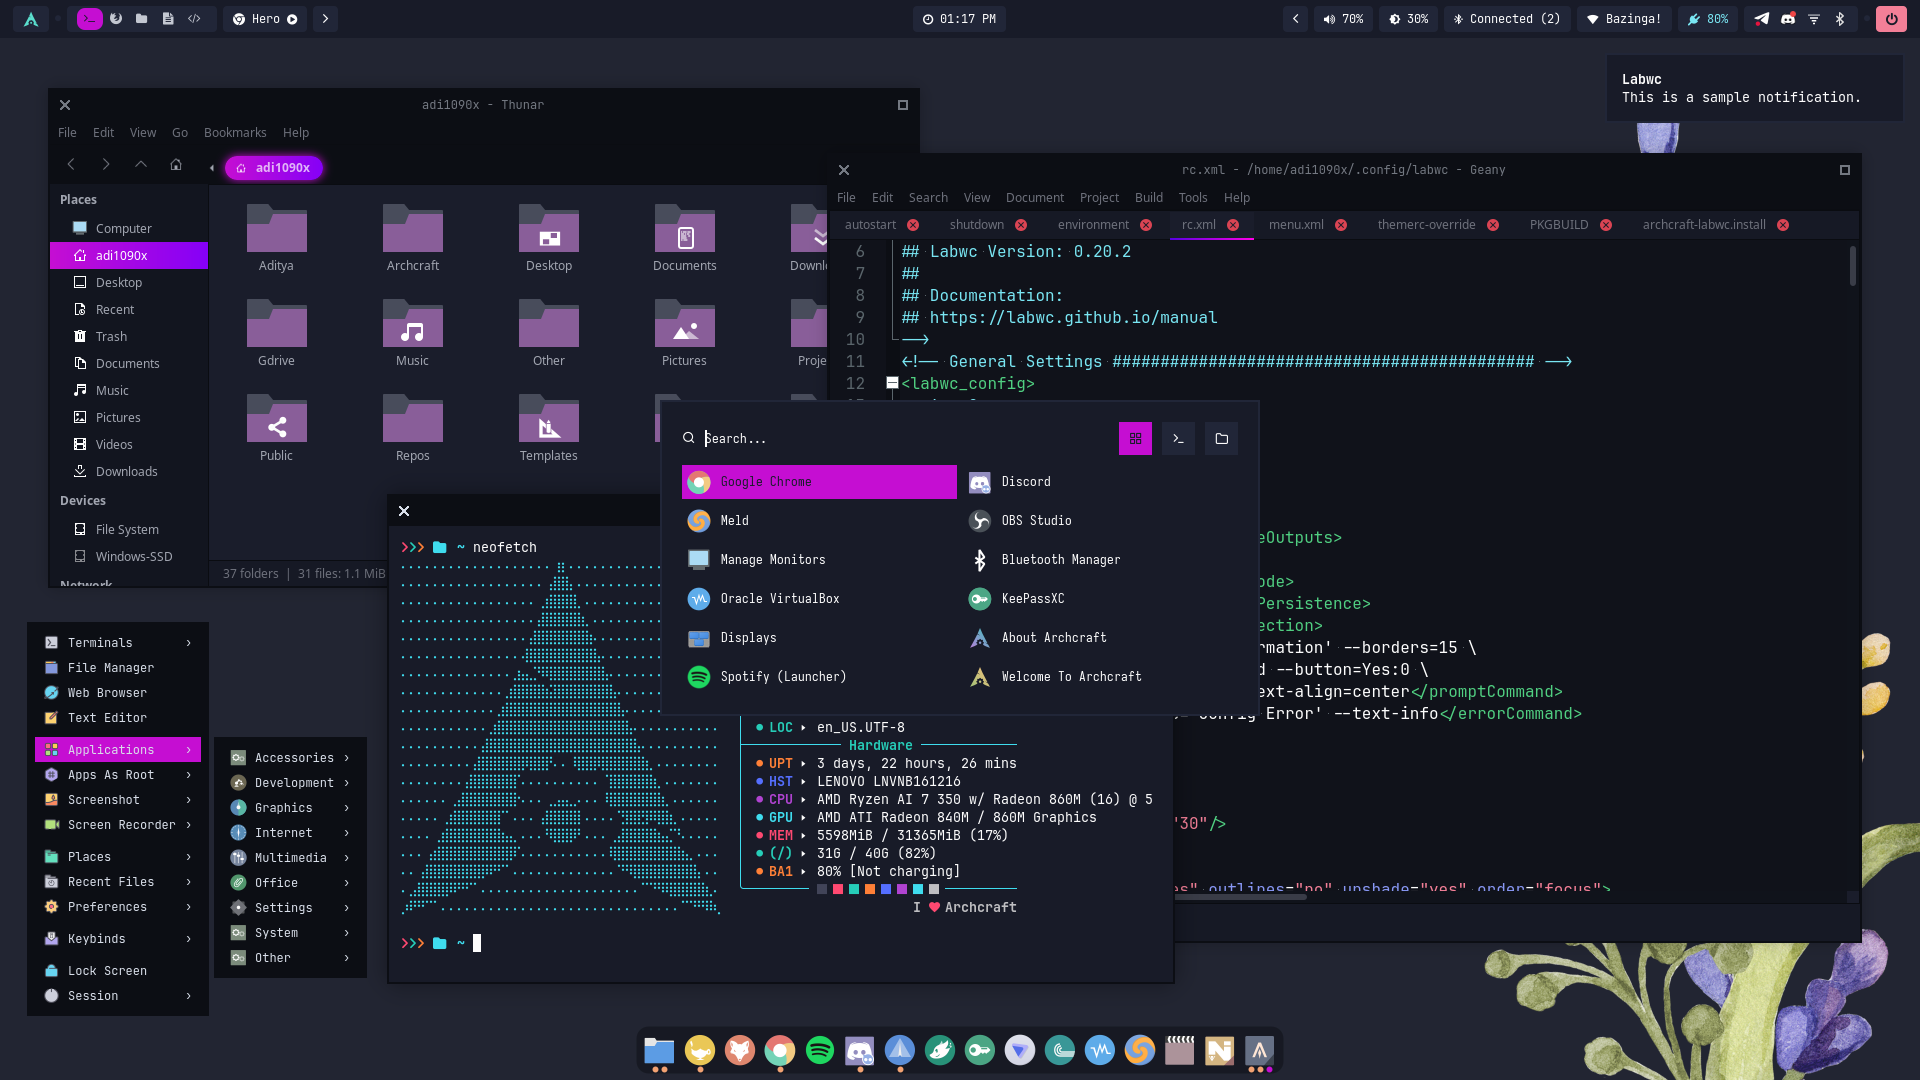
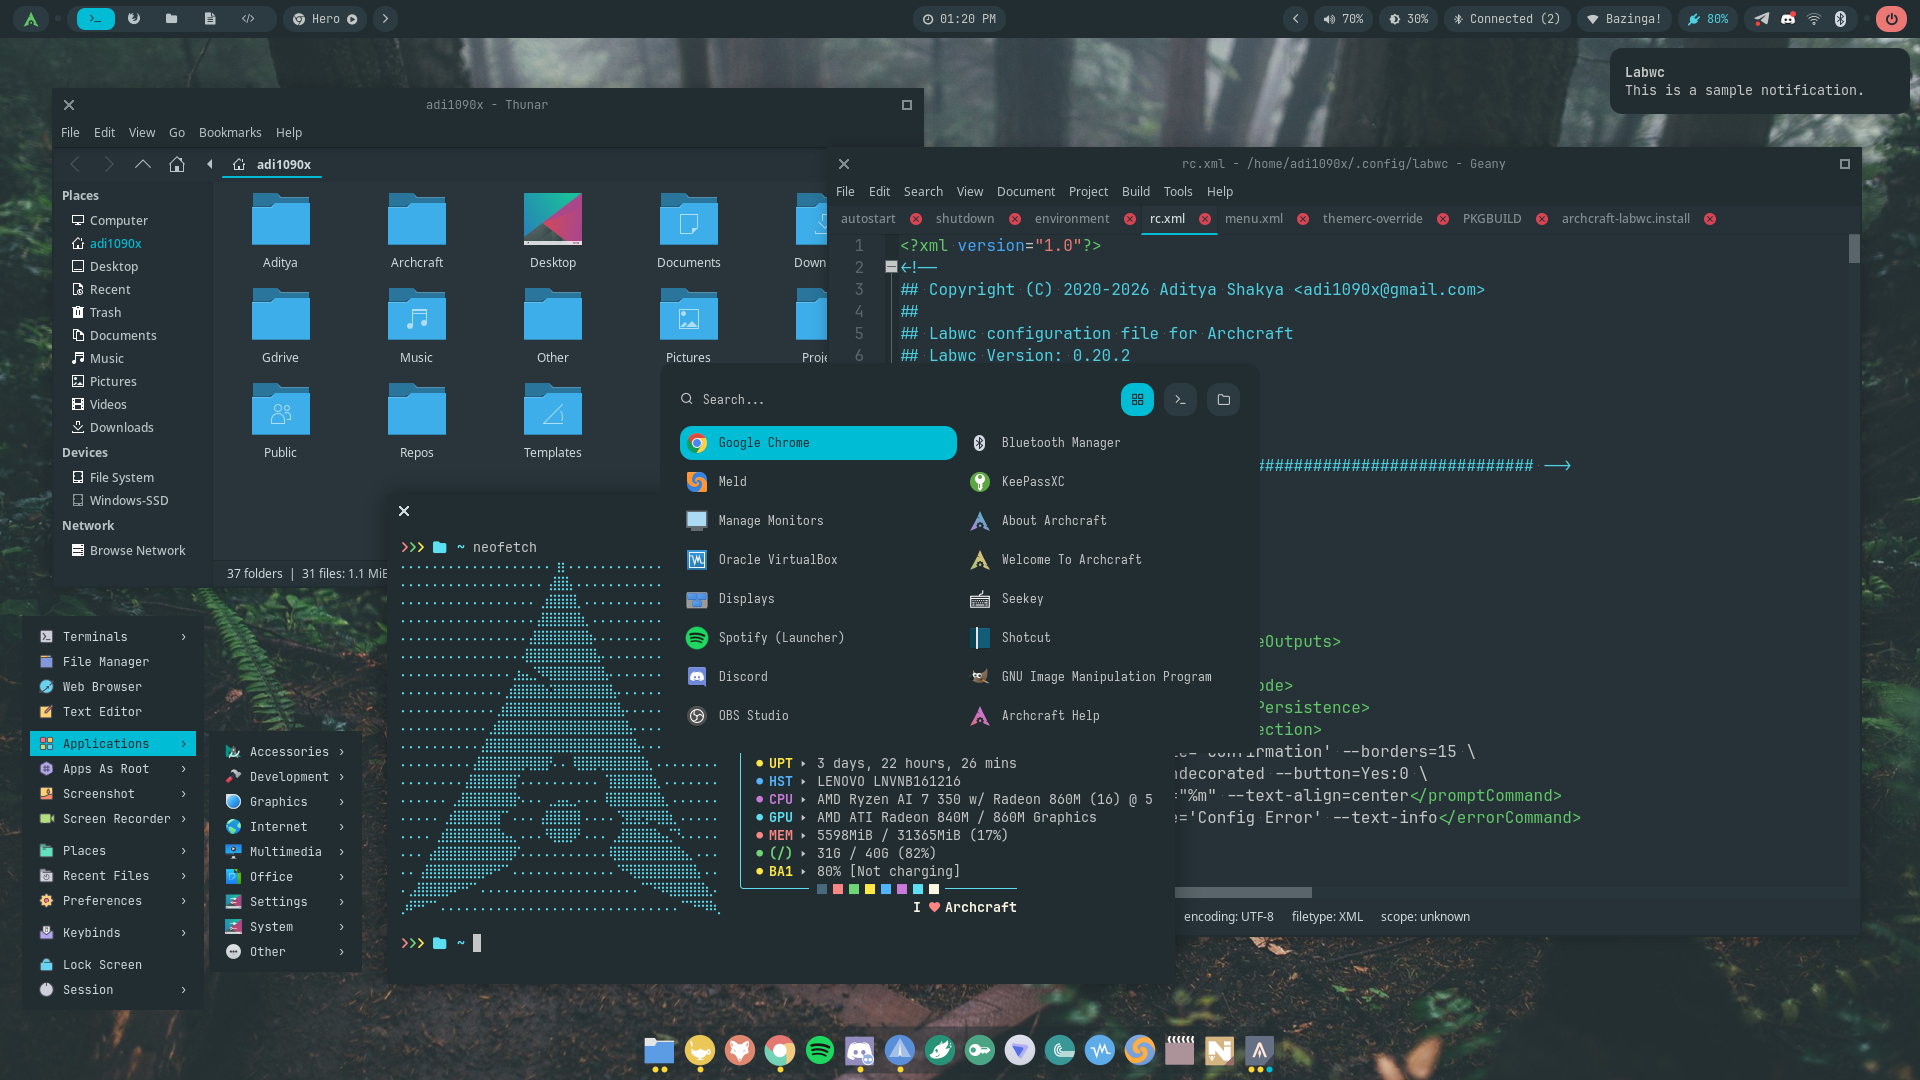
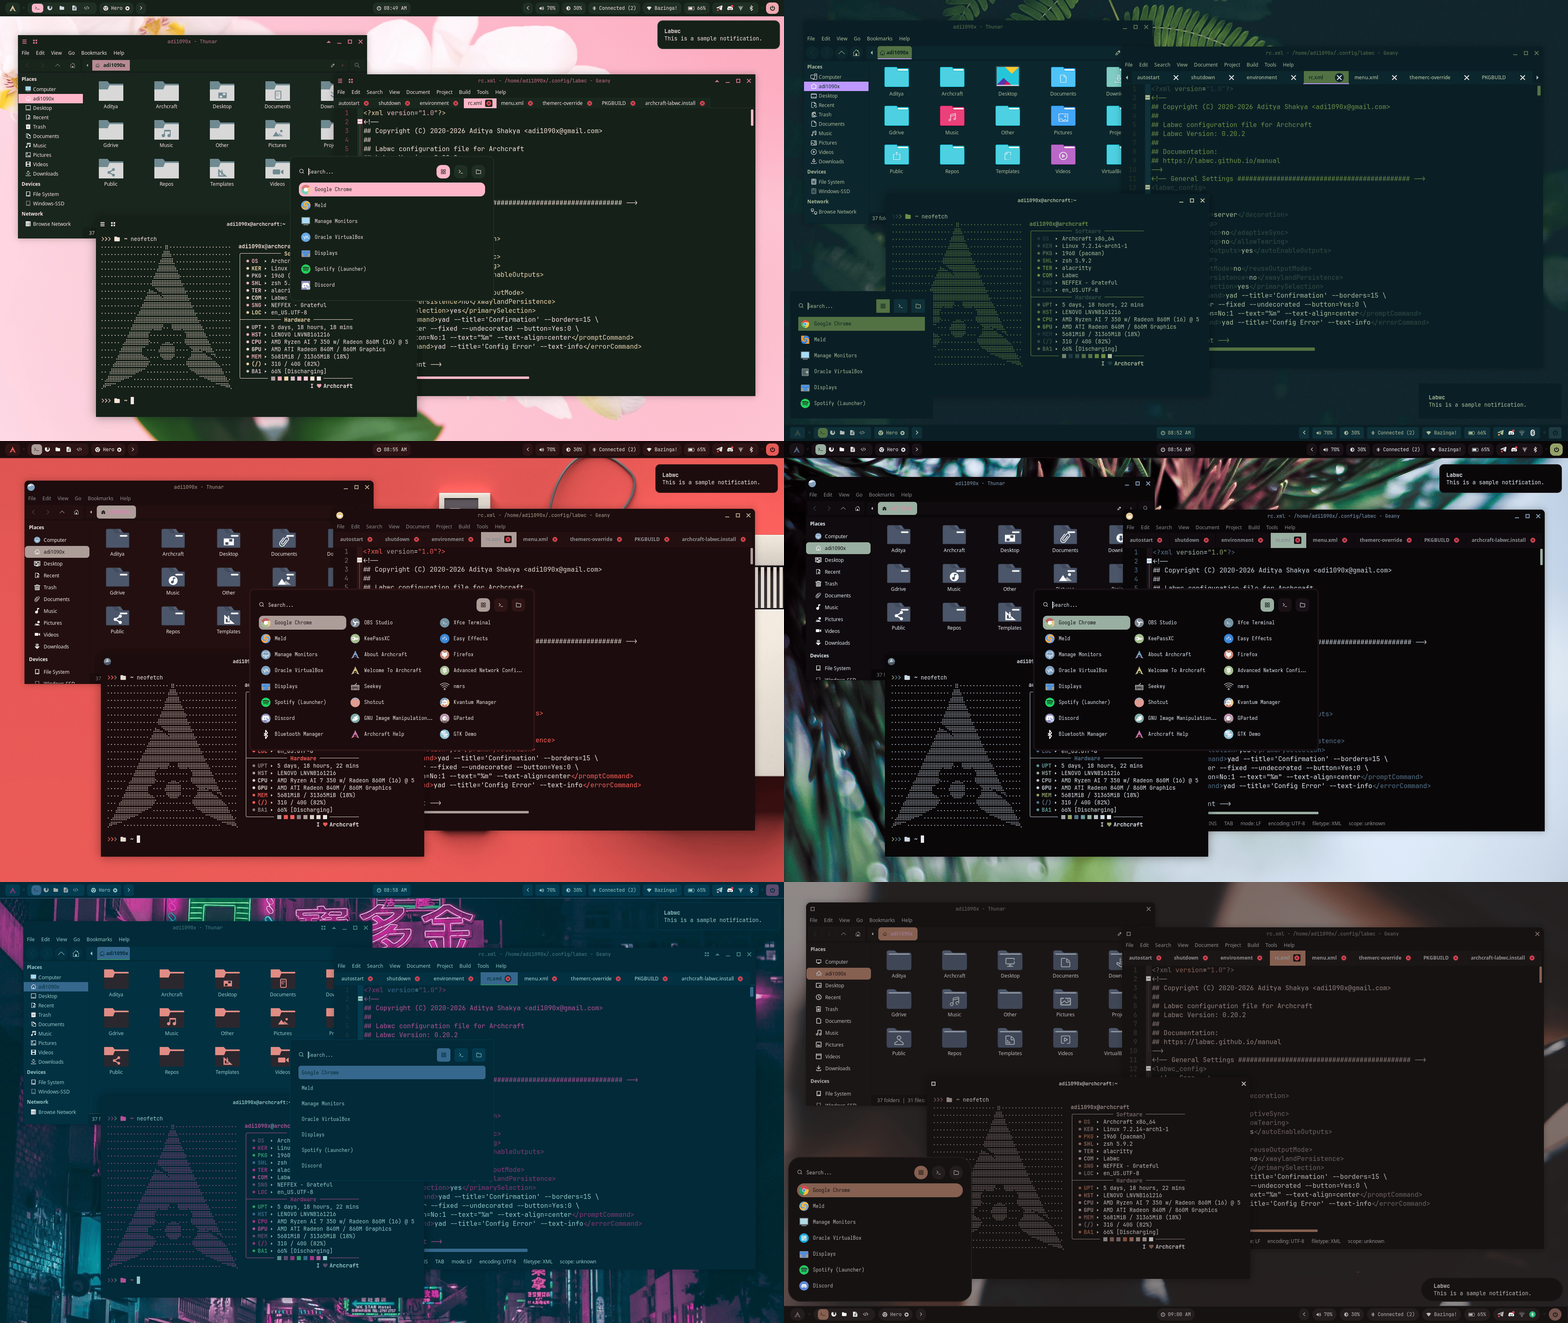
The desktop includes 45 handcrafted static themes, each with its own color palette and visual identity, with support for dynamically generated color schemes using pywal. Browse the available themes via Theme applet or in the labwc menu under Preferences → Change Theme.
The theme menu lists all available static themes, along with a Random Theme option at the top. Selecting any theme applies it across the desktop.
Static Themes
Browse the collection of available themes below.
| Default | Abyss | Afterglow | Amethyst | Ash |
|---|---|---|---|---|
 |  |  |  |  |
| Aurora | Blossom | Dracula | Dreamwave | Dusk |
|---|---|---|---|---|
 |  |  |  |  |
| Eclipse | Ember | Everforest | Frappe | Gruvbox |
|---|---|---|---|---|
 |  |  |  |  |
| Hanami | Ivory | Kanagawa | Koi | Lagoon |
|---|---|---|---|---|
 |  |  |  |  |
| Landscape | Liquid | Macchiato | Marigold | Matrix |
|---|---|---|---|---|
 |  |  |  |  |
| Mech | Mocha | Monsoon | Mountain | Nightbloom |
|---|---|---|---|---|
 |  |  |  |  |
| Nightcity | Nord | Obsidian | Orchid | Pelagic |
|---|---|---|---|---|
 |  |  |  |  |
| Shinkai | Skyscraper | Solitude | Solstice | Steel |
|---|---|---|---|---|
 |  |  |  |  |
| Tide | Tokyo | Tokyonight | Wisteria | Woodland |
|---|---|---|---|---|
 |  |  |  |  |
Dynamic Themes
Dynamic themes use pywal to generate a color palette from a randomly selected wallpaper from ~/Pictures/wallpapers, then applies the resulting theme across the desktop.
You can generate and apply a random dynamic theme using either of these methods:
- Open the theme applet with
Super + Tand select Random Theme. - Right-click on the desktop and navigate to Preferences → Change Theme, then select Random Theme.
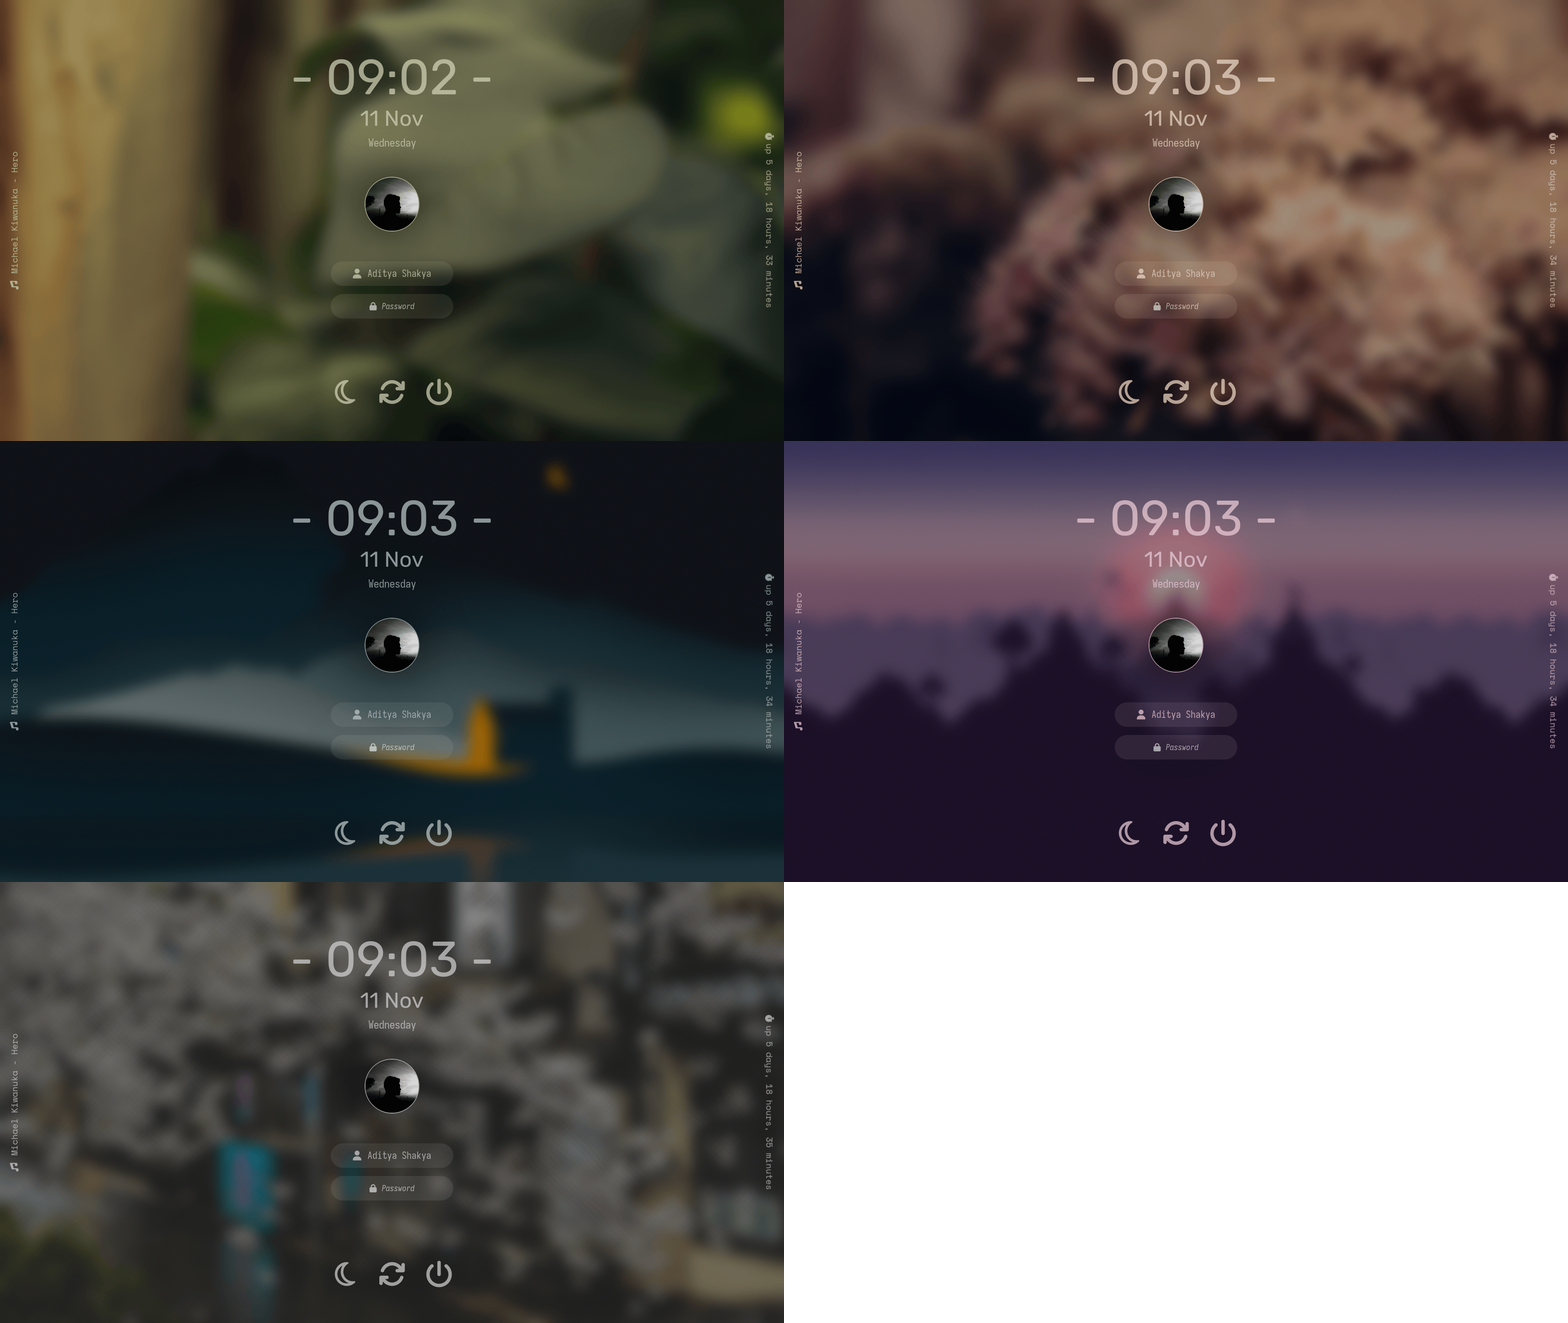
Lock Screens
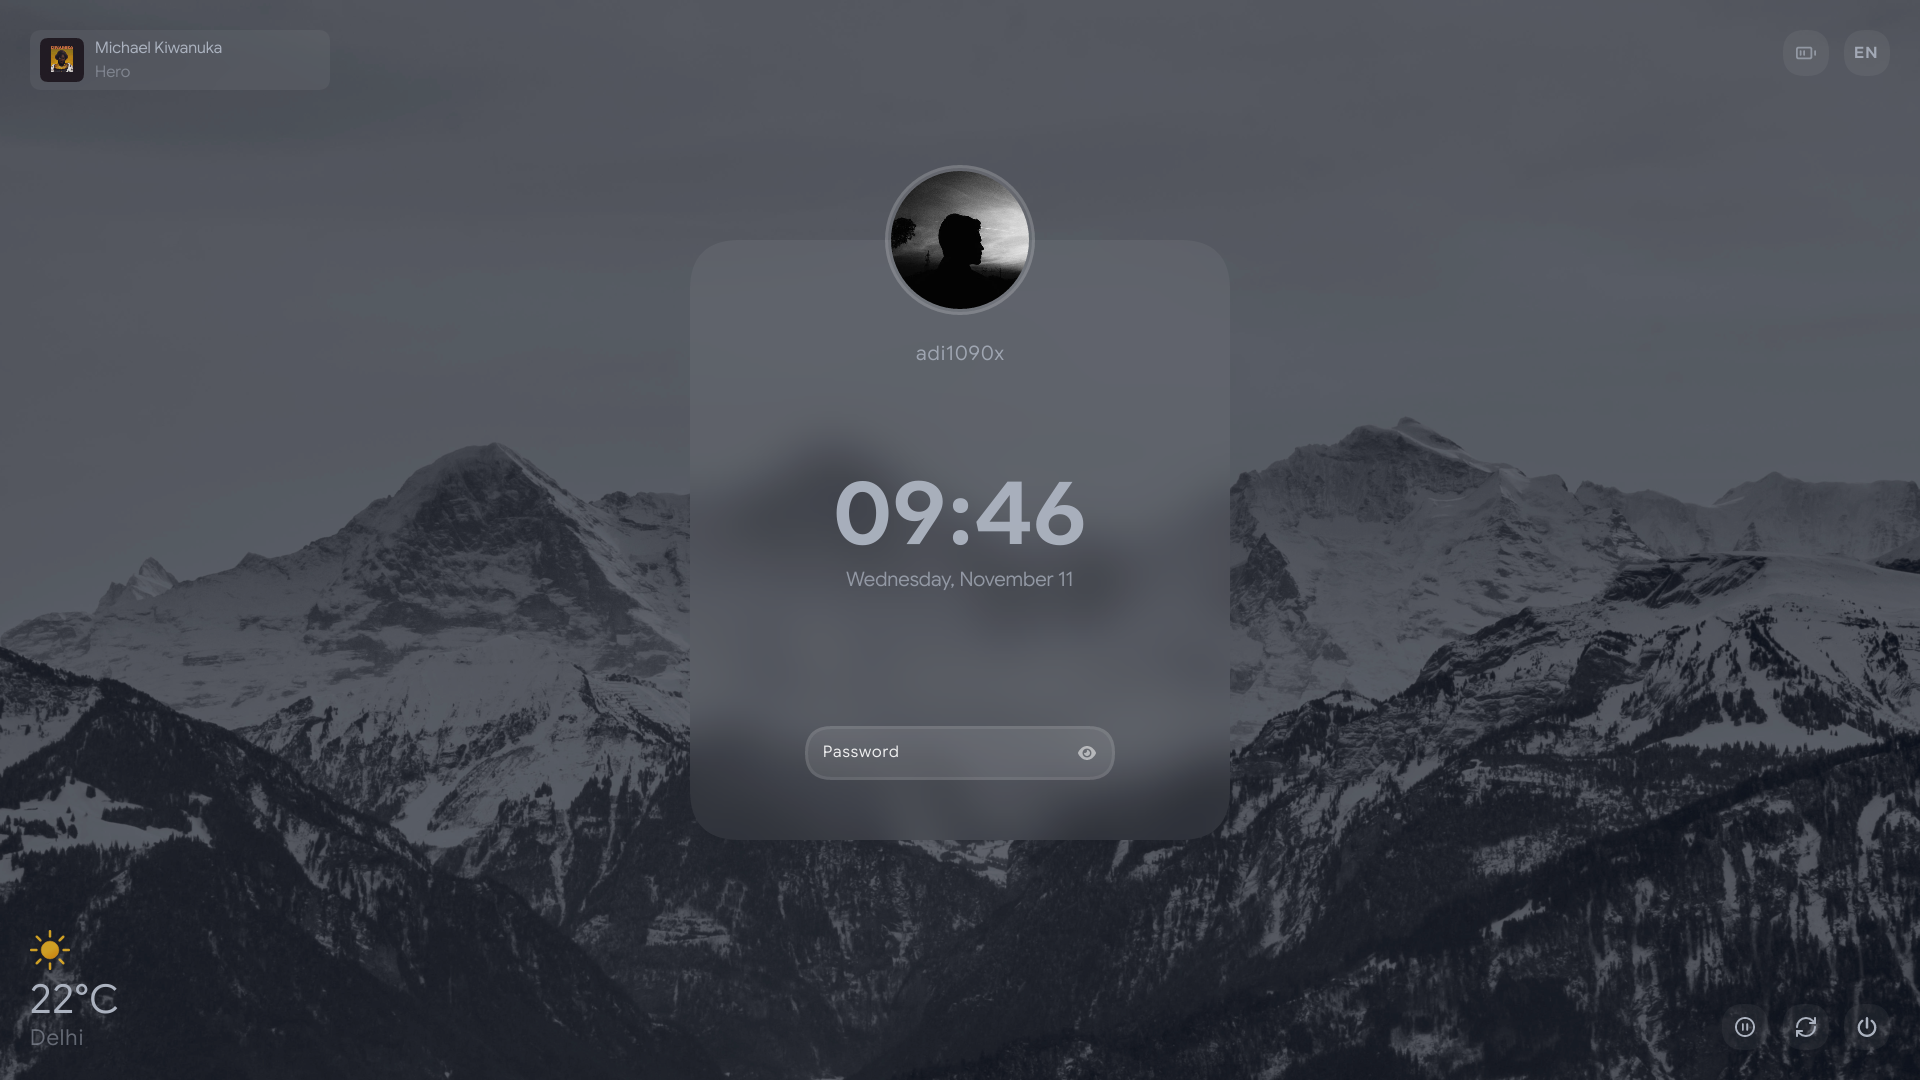
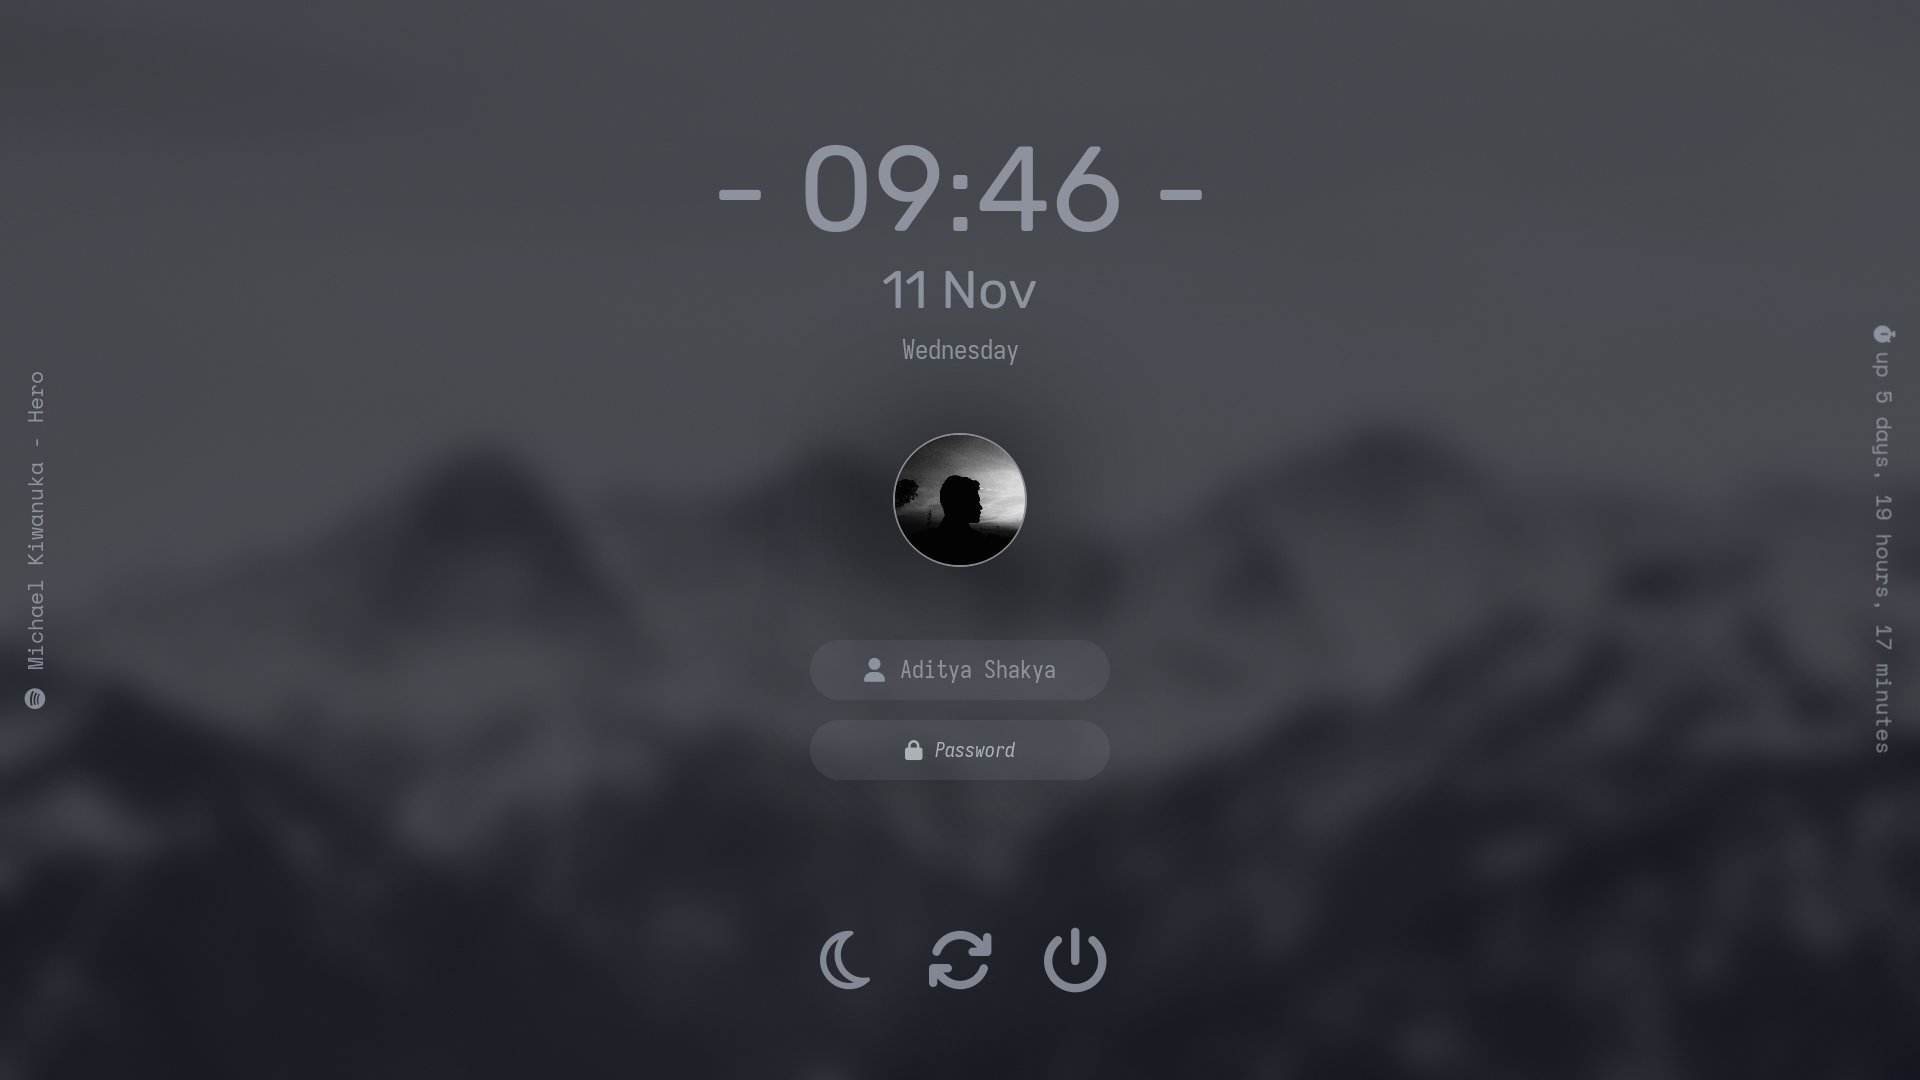
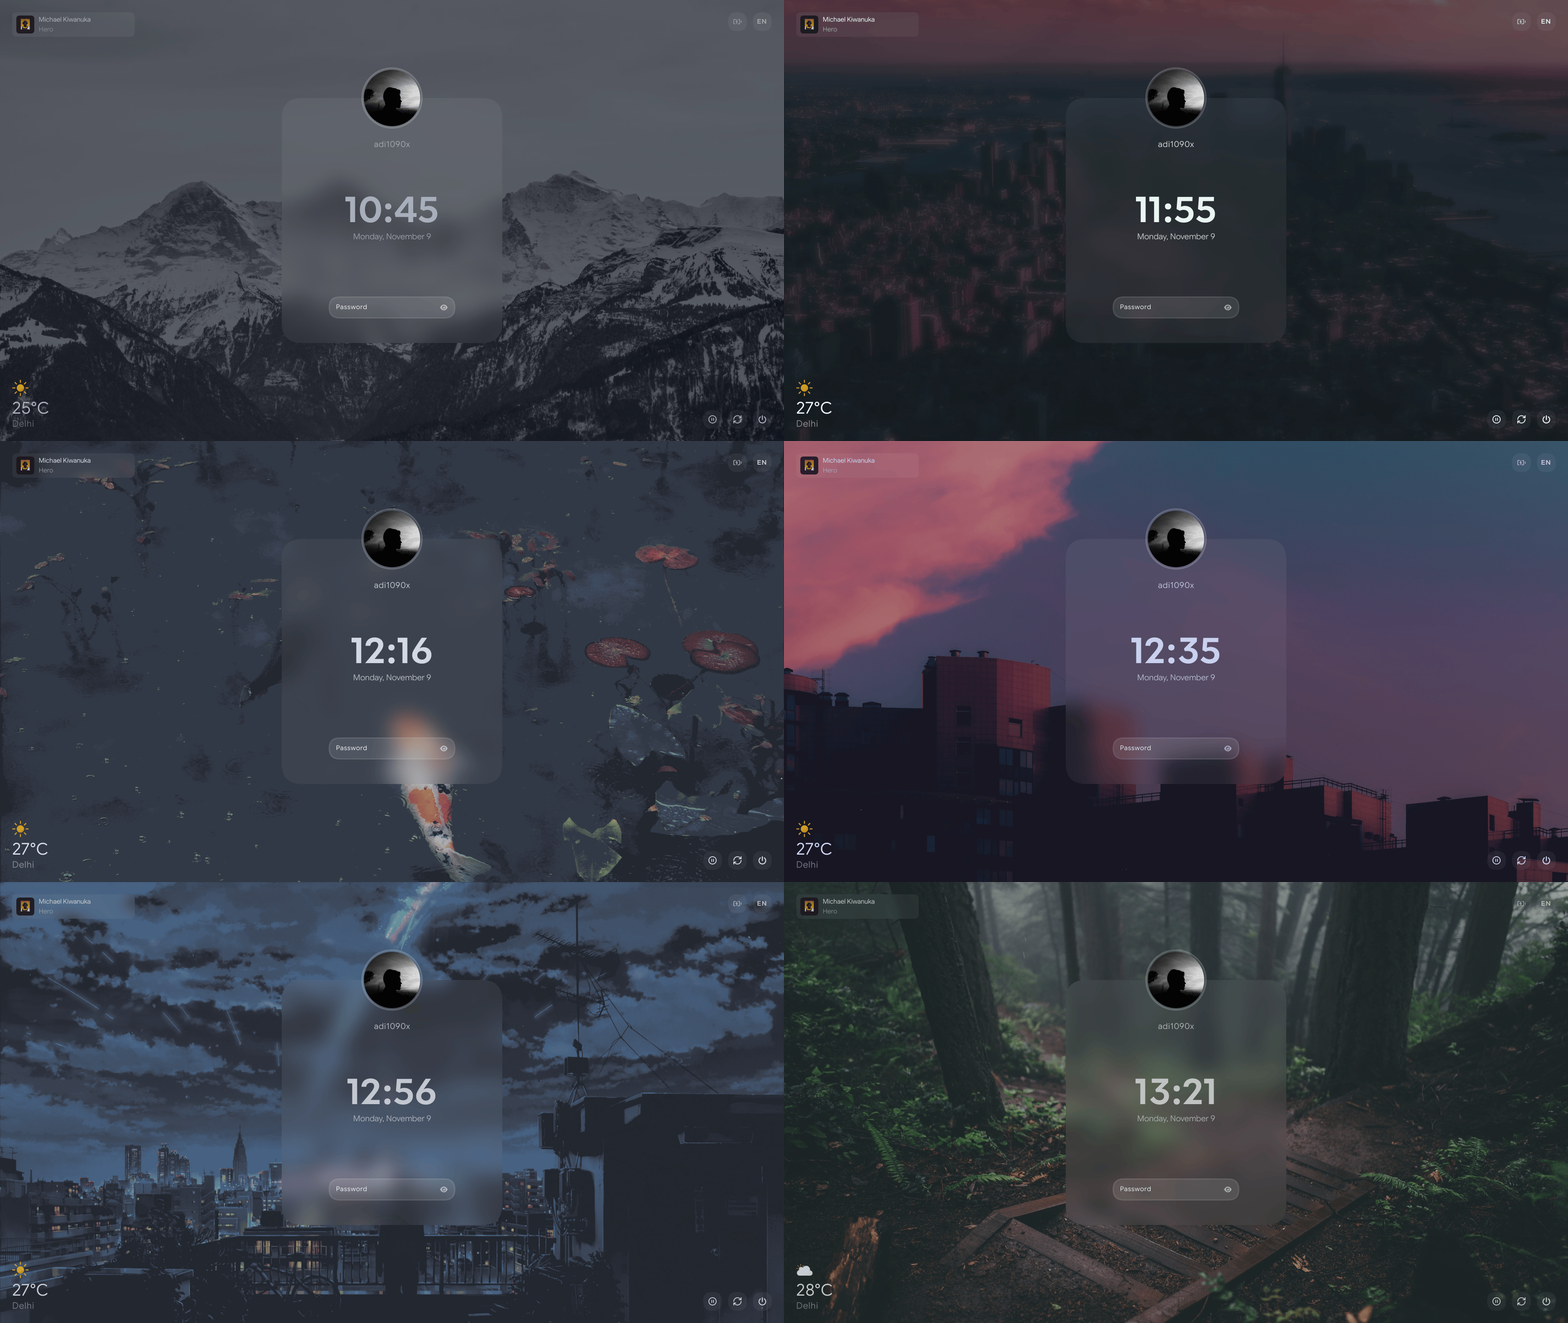
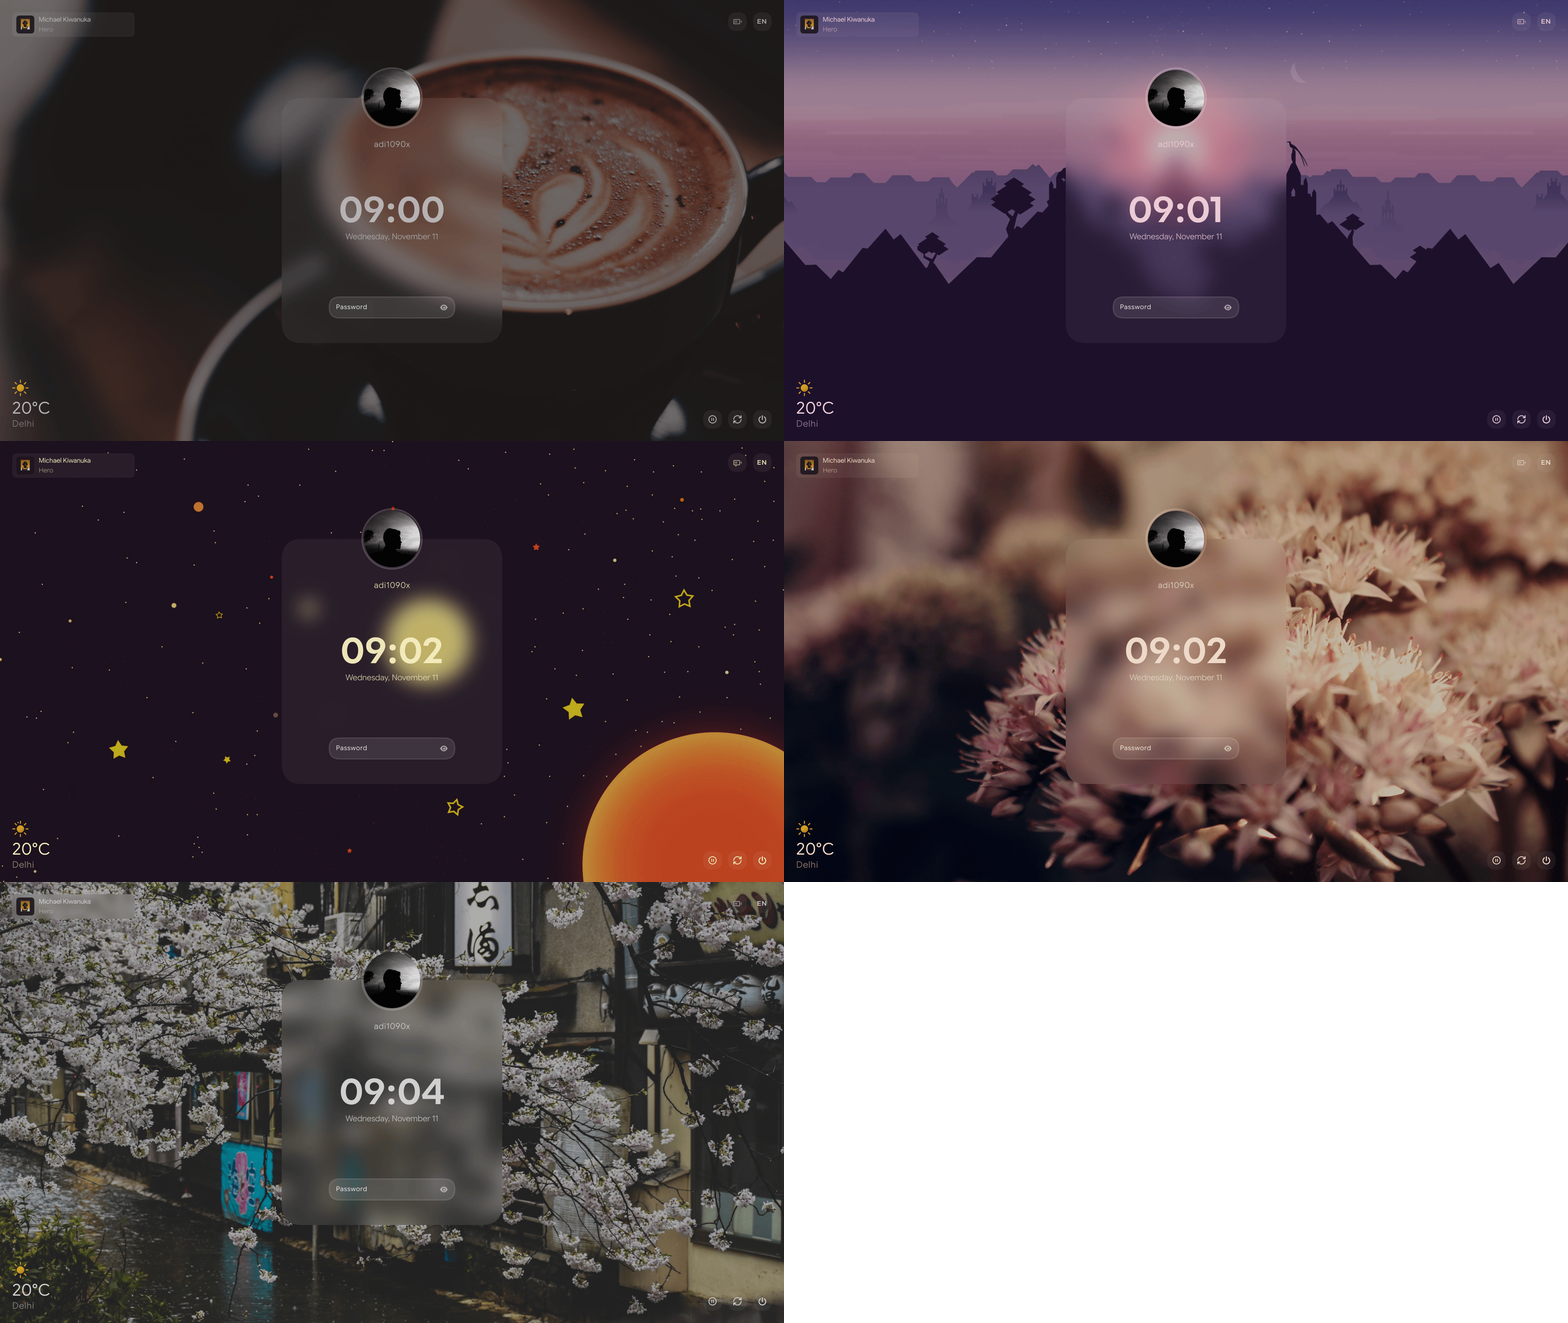
Both Veila and Hyprlock are supported as lockscreen options. Static and dynamic themes are applied to both, keeping their appearance consistent with the rest of the desktop.
Veila
| Static Theme | Dynamic Theme |
|---|---|
 |  |
Hyprlock
| Static Theme | Dynamic Theme |
|---|---|
 |  |
Managing Themes
You can browse and apply themes directly from the desktop without manually editing configuration files.
Open the theme selector:
- Press
Super + Tto launch the theme applet. - Alternatively, right-click on the desktop and navigate to Preferences → Change Theme.
Apply a theme:
- Browse the available static themes and select the one you want to use.
- To generate a new wallpaper-based color scheme, select Random Theme.
The theme system applies the selected appearance across the supported desktop components, keeping their colors and styling consistent.
Misc Features
Lock Screen Selection
The ac-lockscreen script selects the lock screen automatically based on which supported program is installed. It checks the available implementations in the following priority order:
- Veila — preferred when available.
- Hyprlock — used when Veila is not installed.
- Swaylock — used as the fallback when neither Veila nor Hyprlock is available.
The selection logic is handled by ~/.config/labwc/scripts/ac-lockscreen.
The script uses the first available implementation in the listed priority order. To change the preference, edit the script and adjust the order in which the lock screen programs are checked.
Idle and Power Management
Swayidle manages idle behavior during the Labwc session. It is launched from ~/.config/labwc/autostart and runs a sequence of actions when the system remains idle for configured periods.
The default configuration is:
swayidle -w \
    timeout 150 "light -O && light -S 5" \
    resume 'light -I' \
    timeout 300 "$SCRIPTS_DIR/ac-lockscreen" \
    timeout 600 'wlopm --off "*"' \
    resume 'wlopm --on "*"' \
    before-sleep "$SCRIPTS_DIR/ac-lockscreen" \
    timeout 1200 'systemctl suspend' \
    >/dev/null 2>&1 &
The default idle actions are:
| Timeout | Action |
|---|---|
| 150 seconds | Save the current brightness and dim the display to 5%. |
| On activity | Restore the saved brightness. |
| 300 seconds | Lock the session using the configured lockscreen selection script. |
| 600 seconds | Turn off all displays using wlopm. |
| On activity | Turn the displays back on. |
| Before system sleep | Lock the session before the system suspends. |
| 1200 seconds | Suspend the system using systemctl suspend. |
You can change the idle timers or commands by editing the Swayidle block in ~/.config/labwc/autostart. For example, adjust the timeout values to change when the screen dims, the session locks, displays turn off, or the system suspends.
Screen Capture and Recording
The desktop includes dedicated screenshot and screen-recording workflows, accessible through the configured Rofi applets and scripts.
Screenshots
Screenshots are captured with Grim and Slurp, with Satty available for annotating and editing captures. The screenshot utility provides the following modes:
- Capture the full screen and open it in Satty.
- Select a screen area and open the capture in Satty.
- Select a window and open the capture in Satty.
- Capture the full screen after a 5-second delay.
- Capture the full screen after a 10-second delay.
- Capture the full screen without opening the editor.
- Select an area and capture it without opening the editor.
The screenshot applet/menu/keybinds provides access to these capture modes. You can use the corresponding options when invoking the screenshot script directly.
Make sure you press Control + S to save it, or Right Click to copy it to clipboard directly without saving it.
Screen Recording
Screen recording is powered by GPU Screen Recorder. The recording frontend lets you choose between recording the entire desktop of your choice or a selected area, and select an audio configuration:
- No audio
- System audio
- Microphone
- System audio and microphone
The frontend also provides recording settings, allowing you to adjust the recording configuration before starting a capture.
FAQs
How do I uninstall the configuration or restore my previous setup?
The uninstall procedure depends on how you installed the configuration.
Manual installation on other distributions
Remove the user configuration and the shared Labwc resources installed by this setup:
rm -rf ~/.config/labwc
sudo rm -rf /usr/share/archcraft/labwc
Only remove /usr/share/archcraft/labwc if it was installed for this setup and is not being used by another configuration.
Restore a previous user configuration
If you followed the manual installation instructions, your previous ~/.config/labwc directory was moved to a timestamped backup. Remove the newly installed configuration and rename your backup directory back to its original location. Replace the example timestamp below with the one created during installation:
rm -rf ~/.config/labwc
mv ~/.config/labwc.backup-YYYYMMDD-HHMMSS ~/.config/labwc
The installation instructions do not create a backup of /usr/share/archcraft/labwc. If you need to restore pre-existing shared resources, make sure you back them up separately before installation.
Archcraft package installation
Remove the installed package using pacman:
sudo pacman -R archcraft-labwc
If the package leaves the user configuration in your home directory, remove ~/.config/labwc separately if you no longer need it.
How do I update to the latest configuration?
Updates depend on how you obtained the configuration:
- Ko-fi: Download your purchased version again from your Ko-fi order. New versions require a separate purchase.
- GitHub Sponsors: Download the latest release from the private repository while your sponsorship is active.
Once downloaded, follow the installation instructions to apply the updated configuration.
Can I install this setup on distributions other than Archcraft?
Yes. The configuration can be used on other Linux distributions, provided all required dependencies are installed.
Refer to the Installation section for the dependency list and installation instructions.
Why is my cursor invisible?
With certain graphics drivers or virtual machines, the hardware cursor may not render correctly.
You can work around this by enabling software cursors. Edit ~/.config/labwc/environment and add:
WLR_NO_HARDWARE_CURSORS=1
Restart your Labwc session for the change to take effect.
How do I change the GTK theme, icons, fonts, and cursor?
Use the rofi-appearance (press Super + A) applet to change the GTK theme, icon theme, cursor theme, and fonts. Your selections are saved and persist across sessions.
Alternatively, you can edit the corresponding variables in ~/.config/labwc/scripts/ac-gtkthemes:
THEME='Dracula-Pink'
ICONS='Zafiro-Nord-Black'
FONT='Noto Sans 9'
CURSOR='Bibata'
Save the changes and execute the script to apply your settings.
How do I manage multiple monitors and display resolutions?
Display profiles are managed by Kanshi.
- Run
wlr-randrin a terminal to identify your connected displays and their supported modes. - Edit
~/.config/labwc/kanshi.confand configure your display profiles.
For example:
## Laptop — HiDPI
profile LaptopOnly {
    output "Lenovo*" mode 2944x1840@60Hz position 0,0 scale 2.0 transform normal adaptive_sync off
}

## External monitor only
profile MonitorOnly {
    output "Samsung*" mode 1920x1080@60Hz position 0,0 scale 1.0 transform normal adaptive_sync off
}

## Dual-screen setup
profile DualScreen {
    output "Lenovo*" mode 2944x1840@90Hz position 0,0 scale 2.0 transform normal adaptive_sync off
    output "Samsung*" mode 1920x1080@60Hz position 1472,0 scale 1.0 transform normal adaptive_sync off
}
Replace the output names, resolutions, refresh rates, positions, and scaling values with those appropriate for your displays.
Why is Alacritty not working on my computer?
Alacritty uses OpenGL for rendering, which may cause issues on some hardware or graphics configurations.
You can try launching it with software rendering enabled:
LIBGL_ALWAYS_SOFTWARE=1 alacritty
To make this permanent, update the Alacritty launch command in ~/.config/labwc/rc.xml or the corresponding launcher script.
Alternatively, edit /usr/share/applications/Alacritty.desktop and change its Exec entry to:
Exec=env LIBGL_ALWAYS_SOFTWARE=1 alacritty
Why are my configuration changes overwritten when I change themes?
The theme engine updates configuration files across multiple desktop components to keep the appearance consistent.
Some files, including terminal colors, Waybar styles, Rofi colors, wallpaper settings, and lockscreen configurations, are regenerated when a theme is applied.
For persistent customizations, modify the appropriate theme templates, functions, or static theme definitions in ~/.config/labwc/themes rather than editing generated configuration files directly.
Refer to the Theme Management section for more details.
How do I change the desktop wallpaper?
Use the rofi-wallpaper (press Super + Z) applet to select and apply a wallpaper. It supports multi-monitor setups and saves your wallpaper preferences across sessions.
Alternatively, you can set a custom wallpaper by editing the WALLPAPER variable in ~/.config/labwc/scripts/ac-wallpaper:
WALLPAPER='/path/to/your/wallpaper'
Keep in mind that applying a theme updates the wallpaper through the theme engine, so your manual change may be overwritten when switching themes.
How do dynamic themes work?
Dynamic themes use pywal to generate a color palette from a randomly selected wallpaper in ~/Pictures/Wallpapers.
Select Random Theme from either the Rofi theme applet (Super+T) or the Labwc menu under Preferences → Change Theme.
The generated palette is applied across the desktop, including the wallpaper, terminals, panels, launchers, applications, and both supported lockscreens.
How do I change or add keyboard shortcuts?
All Labwc keyboard and mouse bindings are defined in:
~/.config/labwc/rc.xml
Edit this file to modify existing shortcuts or add your own bindings.
After making changes, reload the Labwc configuration using:
Control + Shift + R
You can also refer to the Keybindings section for the available shortcuts.