MangoWC
MangoWC is a modern, lightweight, high-performance Wayland compositor built on dwl — crafted for speed, flexibility, and a customizable desktop experience.
- Dark
- Light
Get MangoWC From ko-fi And Support Archcraft Development.
Installation
Follow the instructions below to install MangoWC :
- Download mangowc_YYYY-MM-DD.tar.gz file from ko-fi, and save it in a directory.
- Open a terminal in same directory and run the following command to extract the tar file :
$ tar -xzvf mangowc_YYYY-MM-DD.tar.gz
- Once the file is extracted, change to the extracted directory which should be
mangowc
- Install On Archcraft
- Install On Other Distributions
On Archcraft, You can simply install the provided packages in pkgs directory :
$ sudo pacman -U archcraft-mango-X.Y-Z-any.pkg.tar.zst
If you want to install this setup on Arch Linux or on any other distro, follow the points below :
- Install the following programs on your Linux distro:
mangowc-githyprlockhypridlehyprpickerswaybgswaylockwl-clipboardwaybarfootmakogrimslurpwf-recorderlightyadthunargeanympvmpdmpcviewniorimagemagickxfce-polkitxwayland-satellitexdg-desktop-portalxdg-desktop-portal-wlrxdg-desktop-portal-gtkxdg-desktop-portal-gnomegnome-keyringxorg-xwaylandplayerctlpastelpython-pywalalacrittykittyrofipulsemixer - After installing the programs above, Create mango directory in
~/.config
$ mkdir -p ~/.config/mango
- Copy Everything from dotfiles to
~/.config/mango
$ cp -r ./dotfiles/* ~/.config/mango/
- Logout and login to your amazingly configured MangoWC.
Install the fonts from
fontsand GTK theme, icons and cursor fromgtkdirectory for overall appearance.
MangoWC does not come pre-installed on Archcraft WSE and Archcraft Prime ISOs.
Configuration
MangoWC is pre-configured in Archcraft. In this section, We'll see how the Mango wayland compositor is configured, what tools and utilities are used to make it look and work like a complete desktop environment.
Config Structure
The configuration structure of MangoWC in Archcraft looks something like this:
~/.config
└── mango             : mangowc config directory
    ├── alacritty     : alacritty terminal config
    ├── config.d      : mangowc config files
    ├── foot          : foot terminal config
    ├── kitty         : kitty terminal config
    ├── mako          : notification daemon config
    │   └── icons     : notification icons
    ├── rofi          : rofi config files
    ├── scripts       : various scripts for functionality
    ├── theme         : current theme and pywal themes
    ├── wallpapers    : wallpapers
    ├── waybar        : statusbar config
    ├── wlogout       : wlogout config
    │   └── icons     : session icons
    ├── config.conf   : mangowc config file
    ├── hypridle.conf : hypridle config file
    └── hyprlock.conf : lockscreen config file
Terminal
- Default
- Kitty
- Foot
Alacritty is the default terminal. In the MangoWC, alacritty is launched with an alternative config file. If you need to change anything, make sure you modify the config files in ~/.config/mango/alacritty directory. These are the following config files you can modify to change the behaviour of your alacritty terminal:
~/.config/mango/alacritty/alacritty.toml : Main configuration file
~/.config/mango/alacritty/colors.toml : Colors configurations
~/.config/mango/alacritty/fonts.toml : Fonts configurations
If you need any help with alacritty config, run :
man 5 alacrittyin terminal.
kitty is the secondary/alternate terminal. In the MangoWC, kitty is launched with an alternative config file. If you need to change anything, make sure you modify the config files in ~/.config/mango/kitty directory. These are the following config files you can modify to change the behaviour of your kitty terminal:
~/.config/mango/kitty/kitty.conf : Main configuration file
~/.config/mango/kitty/colors.conf : Colors configurations
~/.config/mango/kitty/fonts.conf : Fonts configurations
If you need any help with kitty config, run :
man kitty.confin terminal.
Foot is another alternate terminal. In the MangoWC, foot is launched with an alternative config file. If you need to change anything, make sure you modify the config files in ~/.config/mango/foot directory. These are the following config files you can modify to change the behaviour of your foot terminal:
~/.config/mango/foot/foot.ini : Main configuration file
~/.config/mango/foot/colors.ini : Colors configurations
~/.config/mango/foot/fonts.ini : Fonts configurations
If you need any help with foot config, run :
man foot.iniin terminal.
By Default, alacritty is used But, If you want to use kitty/foot as your default terminal, just edit the ~/.config/mango/config.d/30-keybinds.conf file and comment the keybindings for Terminal : alacritty and uncomment the bindings for Terminal : kitty or Terminal : foot
When you change the theme, the colors.toml file of alacritty, colors.conf file of kitty and colors.ini file of foot get overwritten by the theme script.
Notification
Mako is used as a notification daemon for notifications in MangoWC. In the MangoWC, mako is launched with an alternative config file, which is ~/.config/mango/mako/config. So, If you need to modify anything, make sure you edit this file.
If you need any help with mako config, run :
man 5 makoin terminal.
When you change the theme, the colors in config file get overwritten by the theme script.
Wallpaper
swaybg sets the wallpaper in the MangoWC. If you want to change the wallpaper, Edit ~/.config/mango/scripts/wallpaper script and add your wallpaper here :
WALLPAPER='/path/to/your/wallpaper'
When you change the theme, the wallpaper path in wallpaper script get overwritten by the theme script.
Statusbar
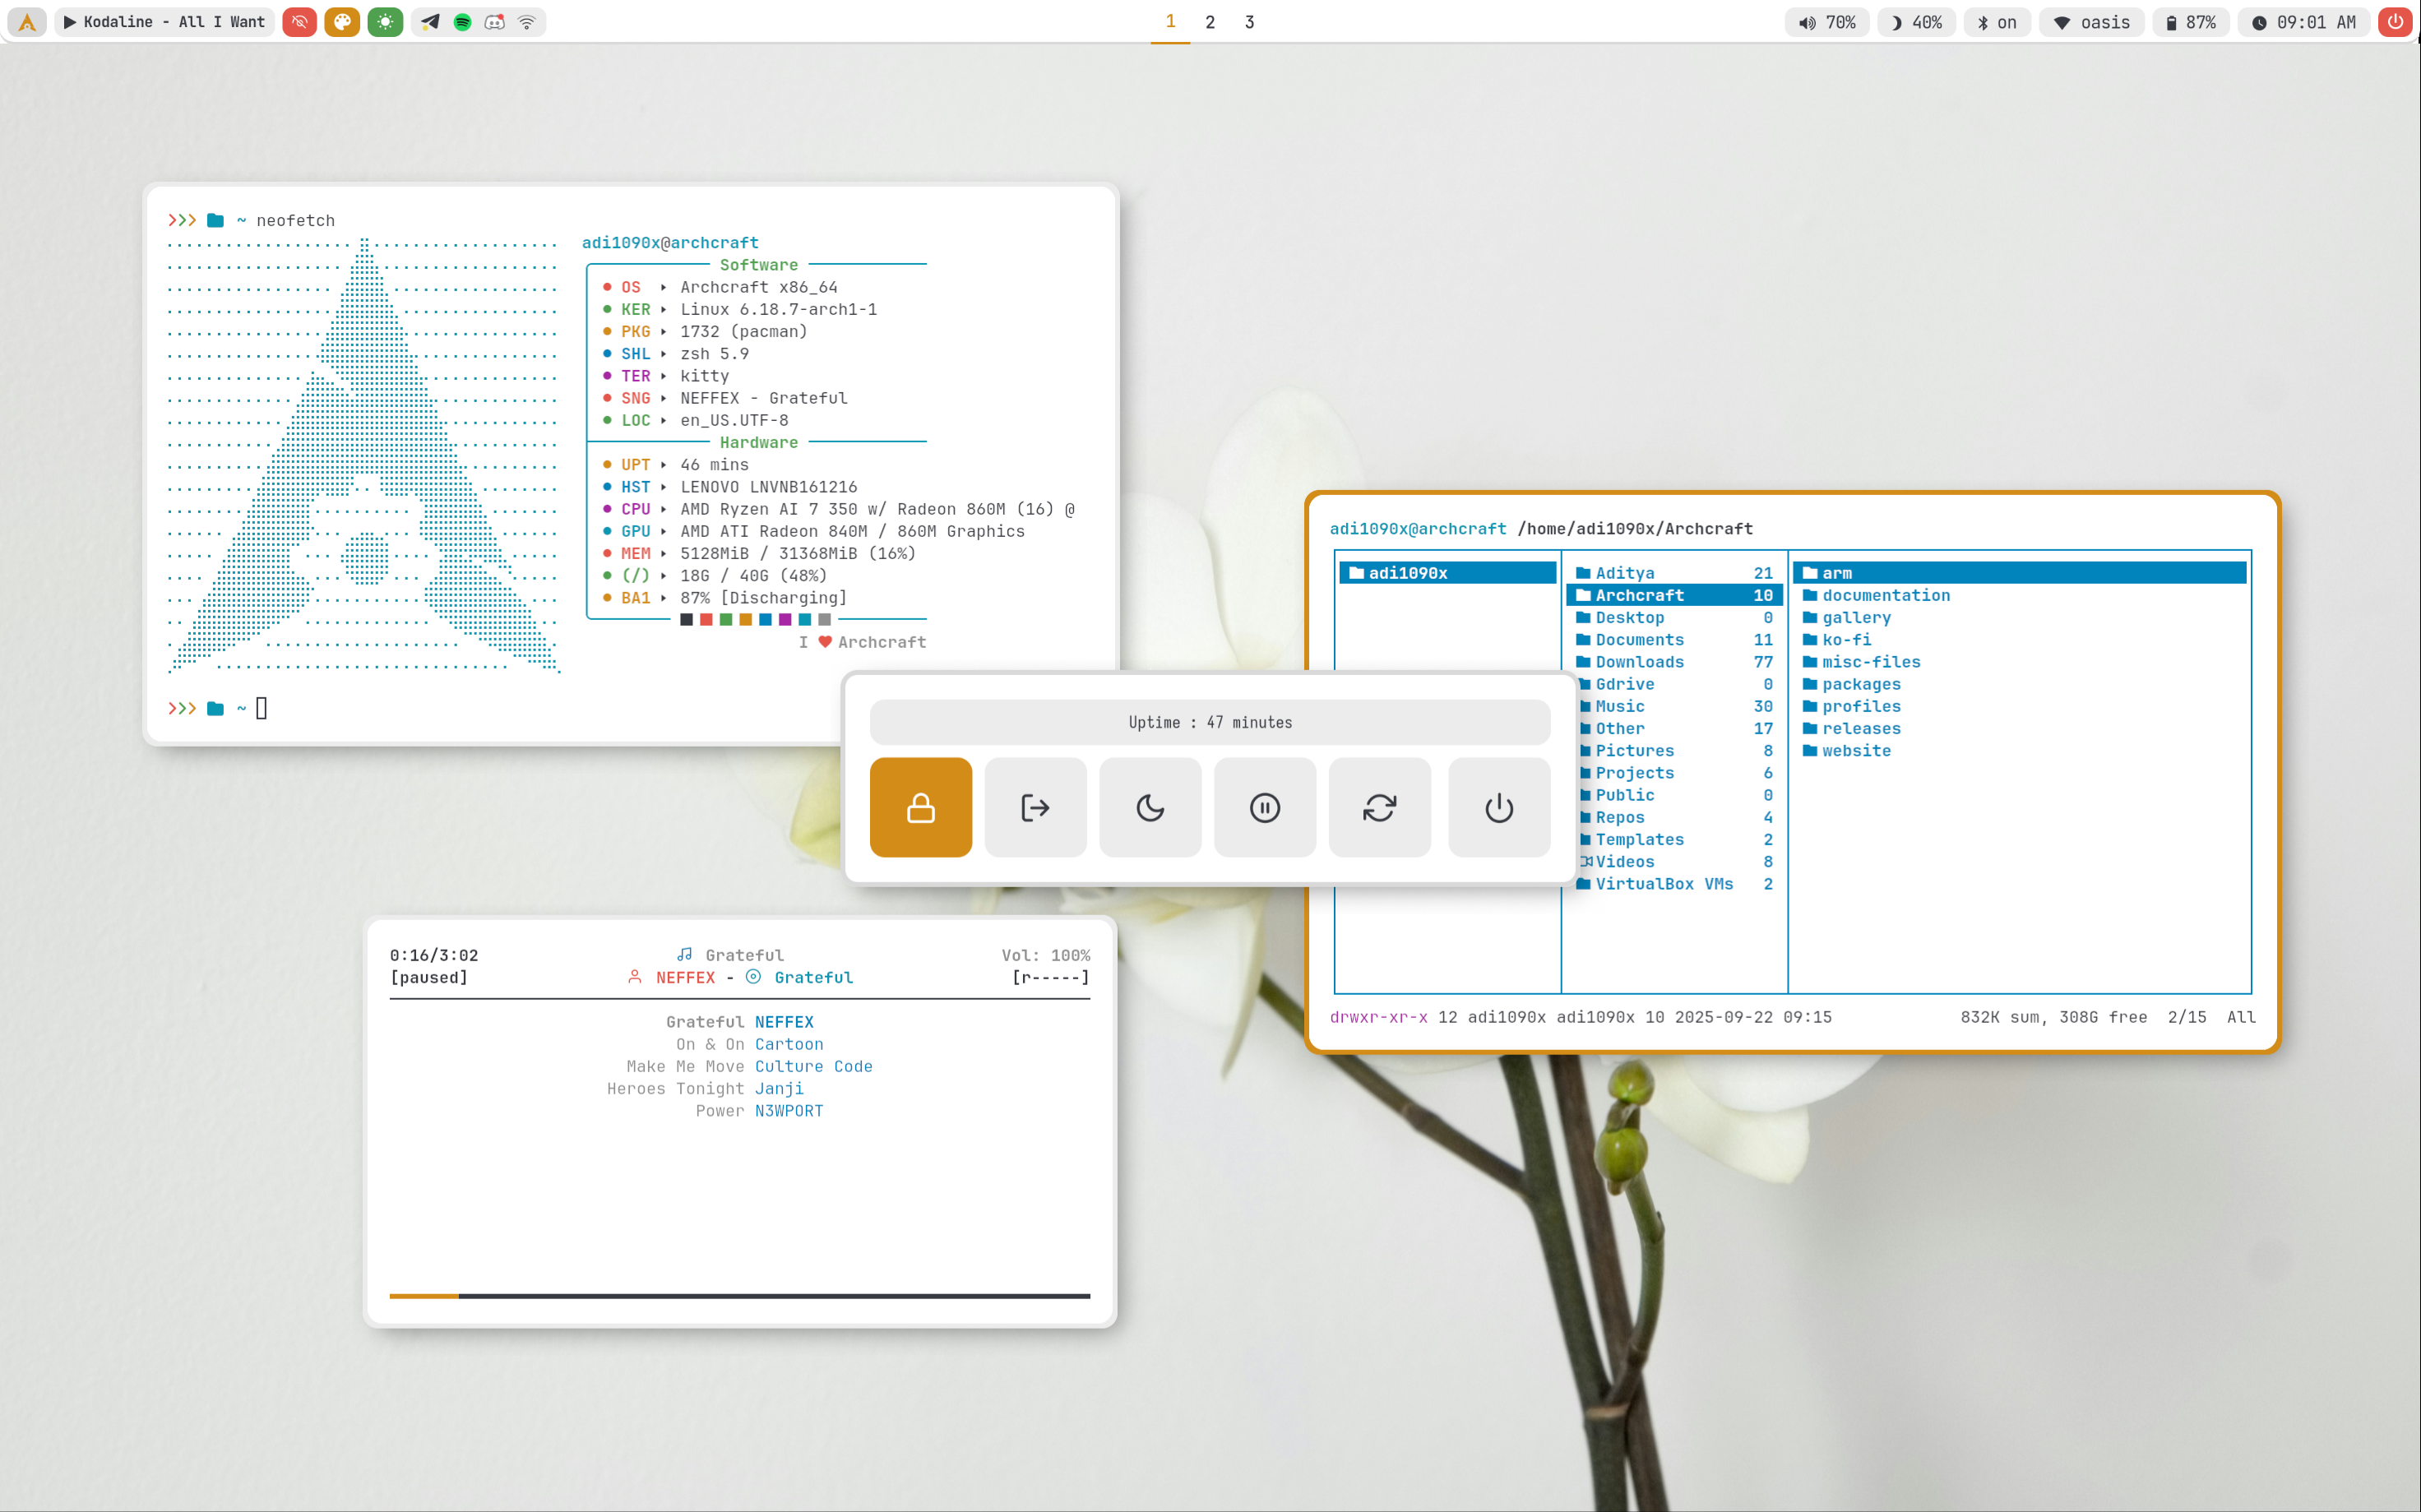
Waybar is used as the statusbar in Archcraft's MangoWC.
The configurations for waybar can be found inside ~/.config/mango/waybar. If you want to modify the waybar settings, or perhaps want to add/remove modules, then you need to edit the following files :
~/.config/mango/waybar/config : Main config file
~/.config/mango/waybar/modules : Modules config file
~/.config/mango/waybar/style.css : CSS file for styling
~/.config/mango/waybar/colors.css : CSS colors file
If you need any help with waybar config, run :
man waybar
When you change the theme, the colors.css file of waybar get overwritten by the theme script.
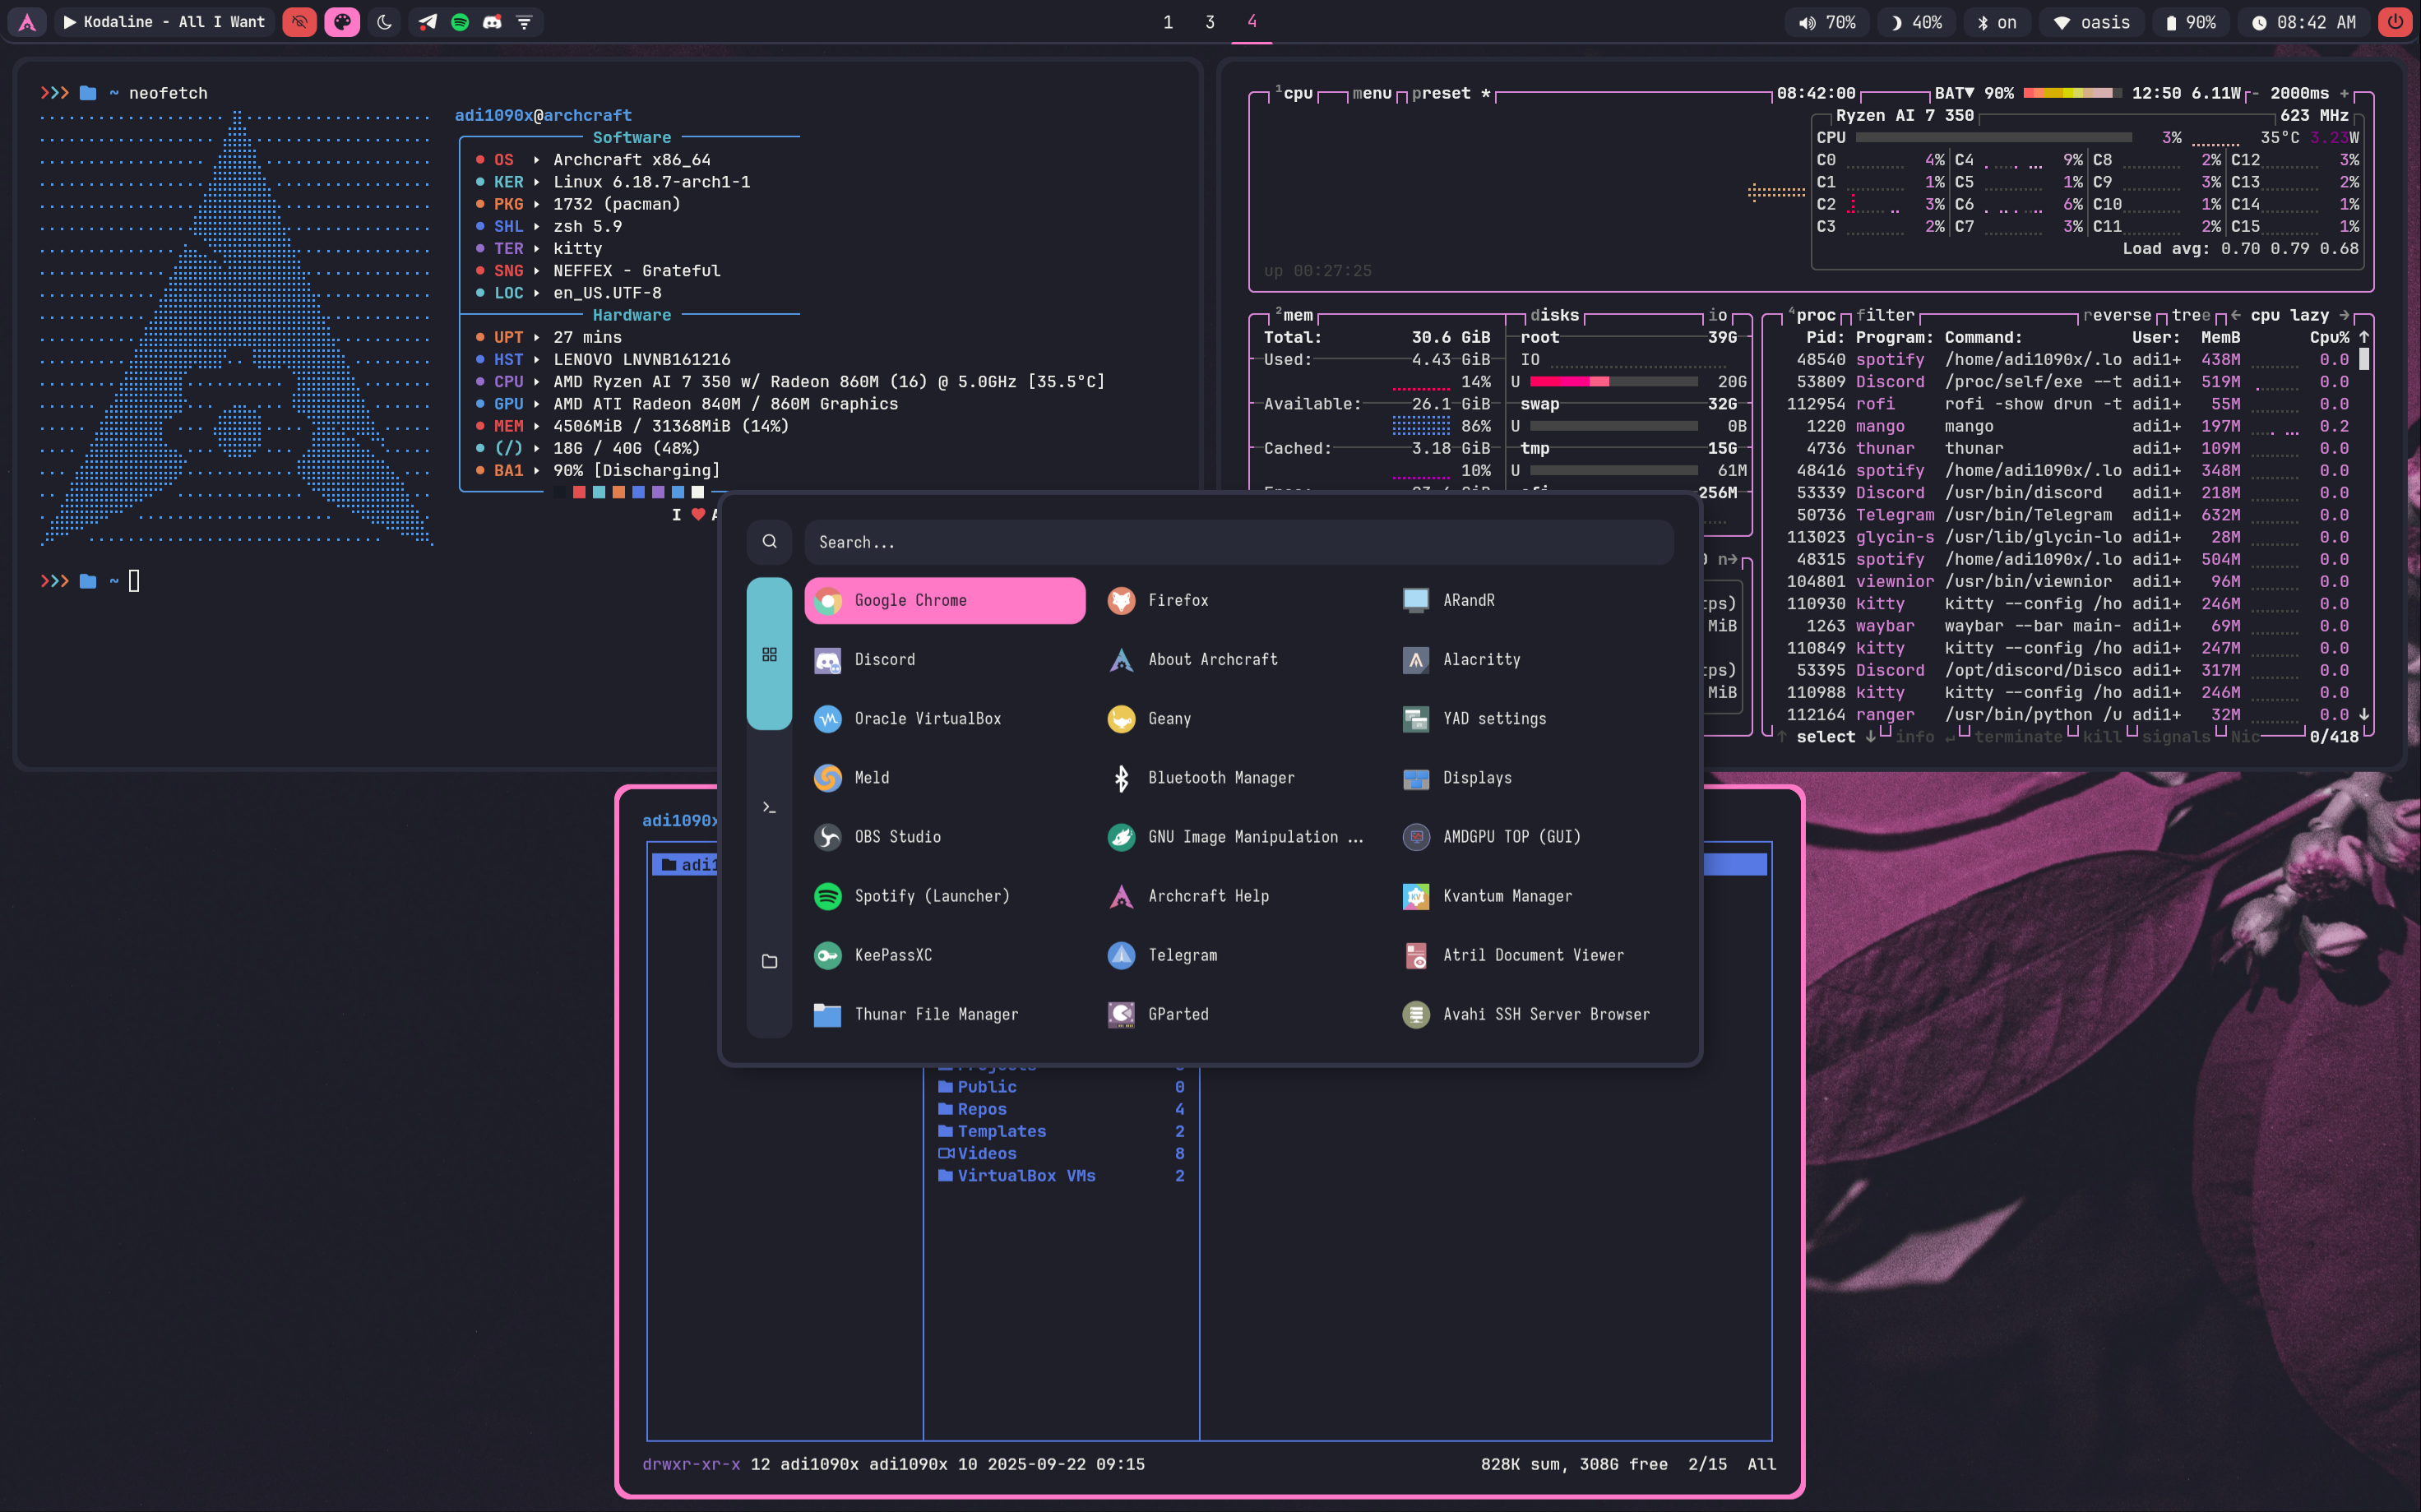
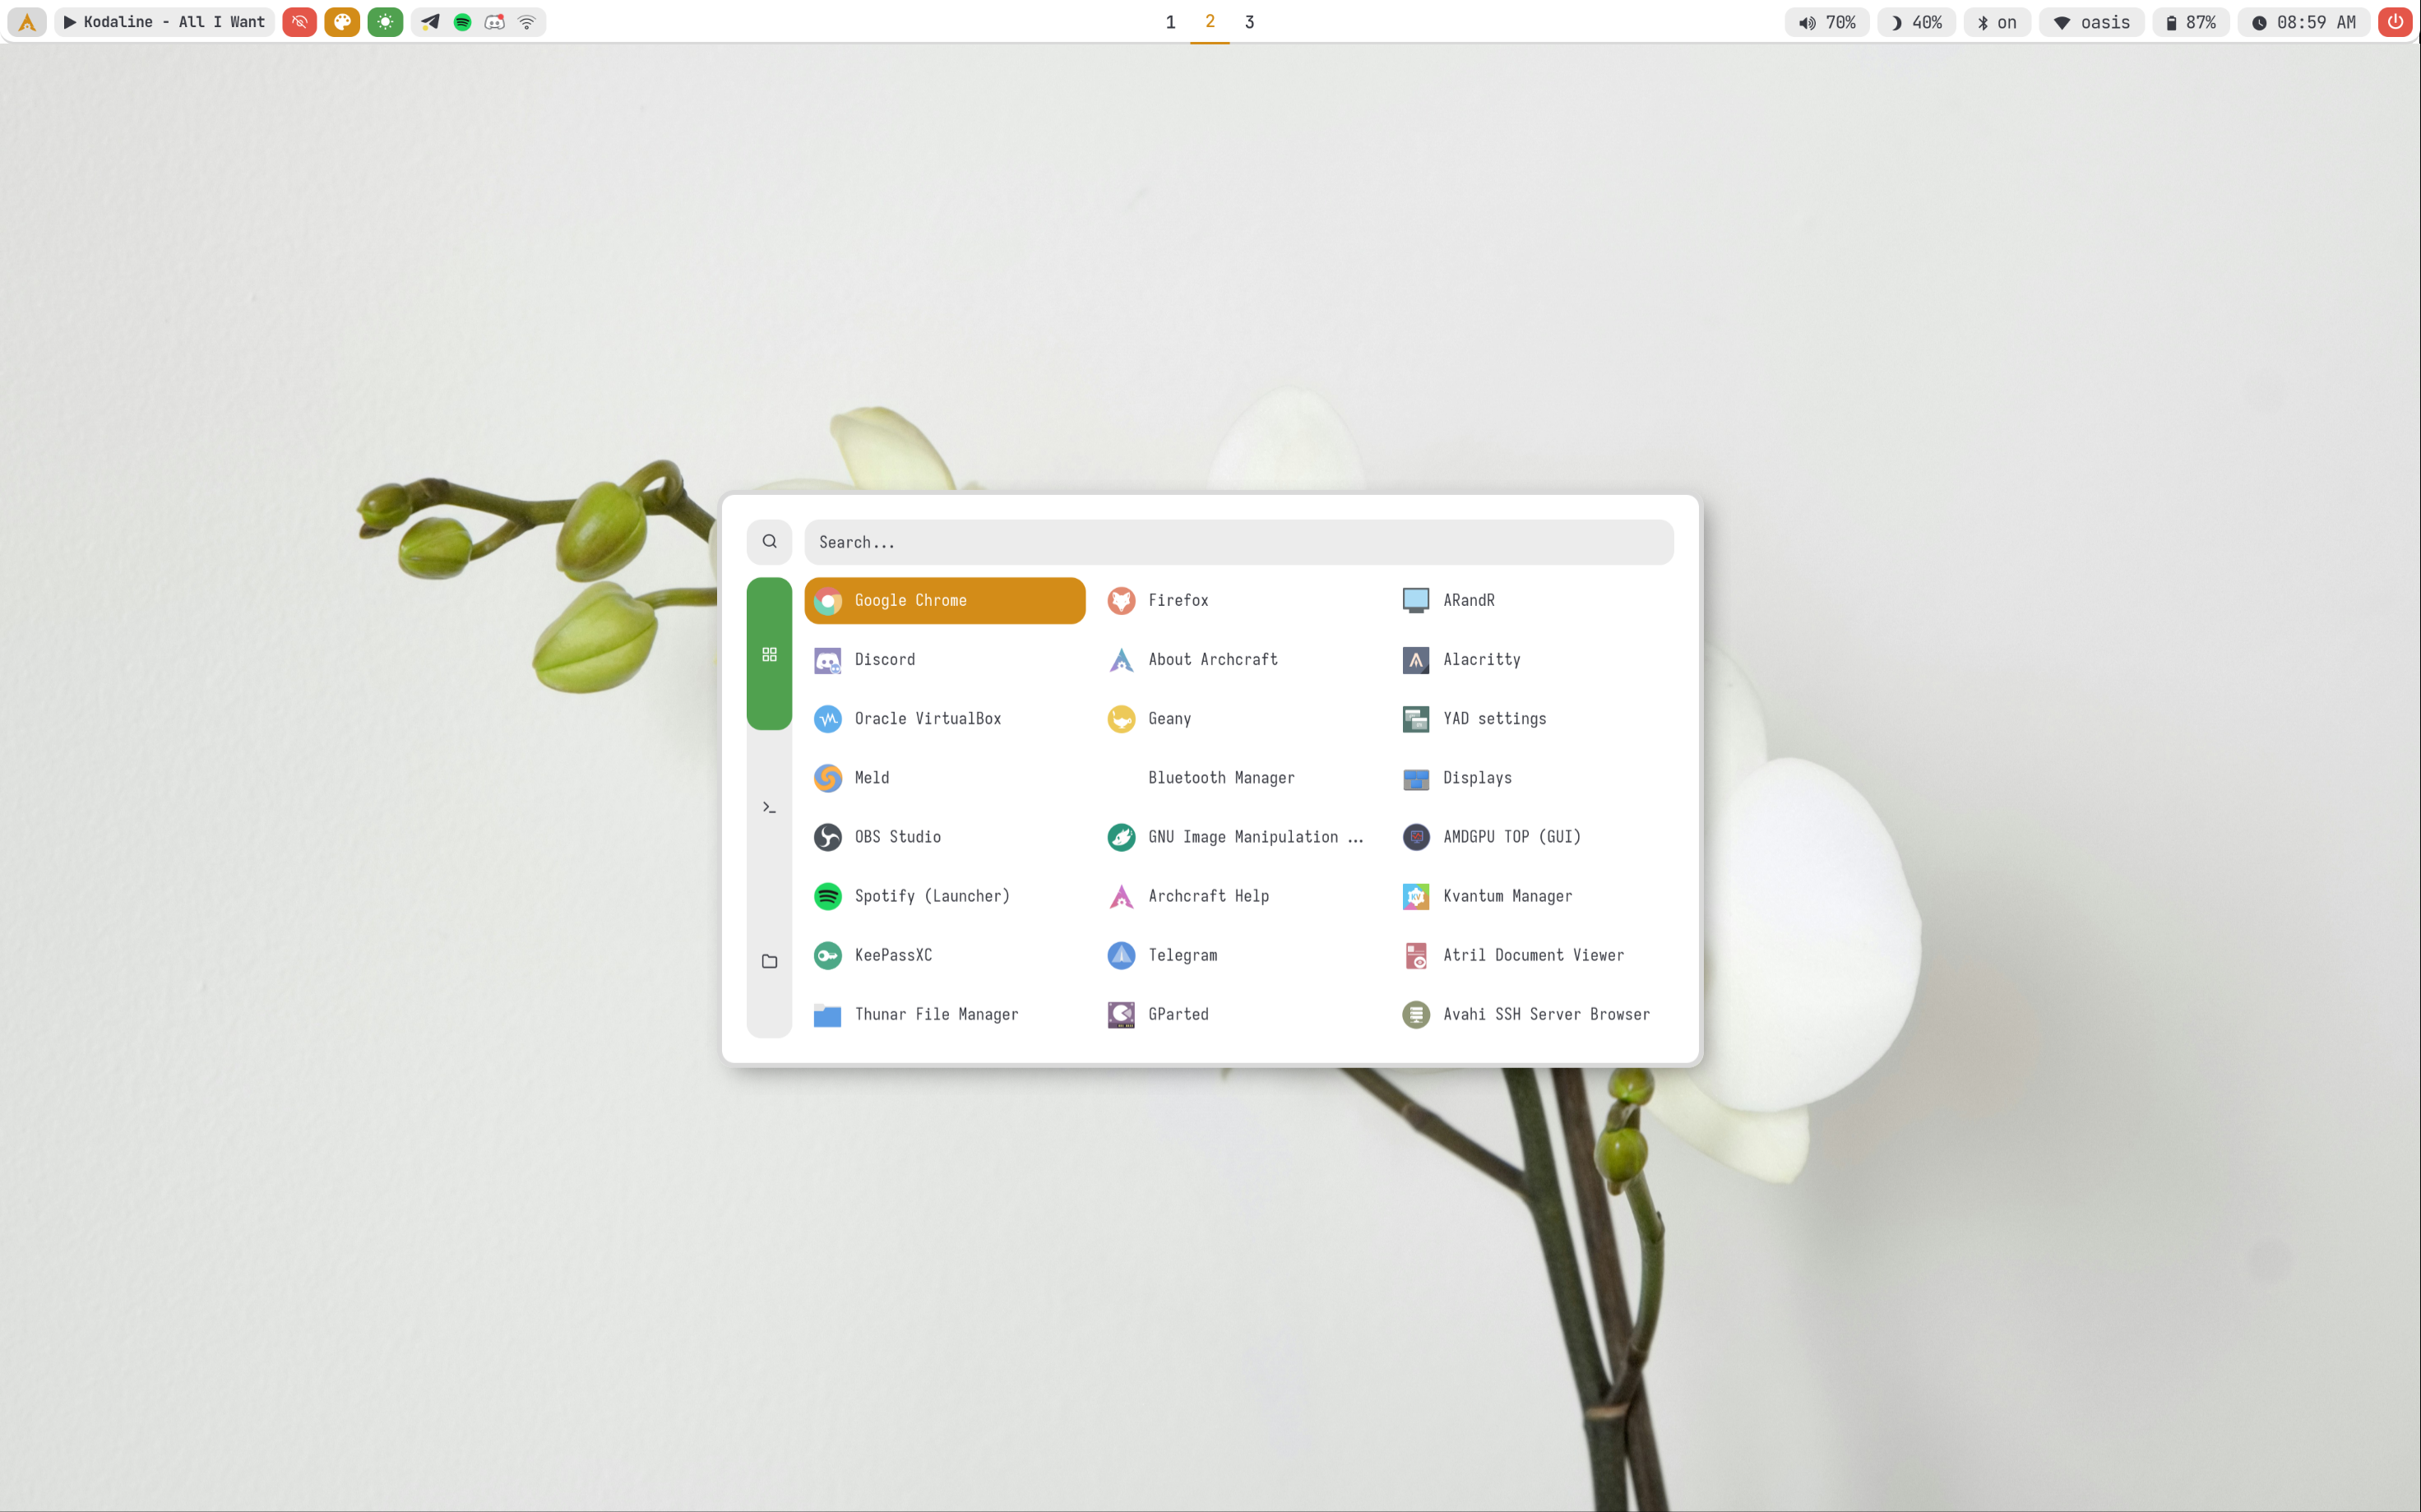
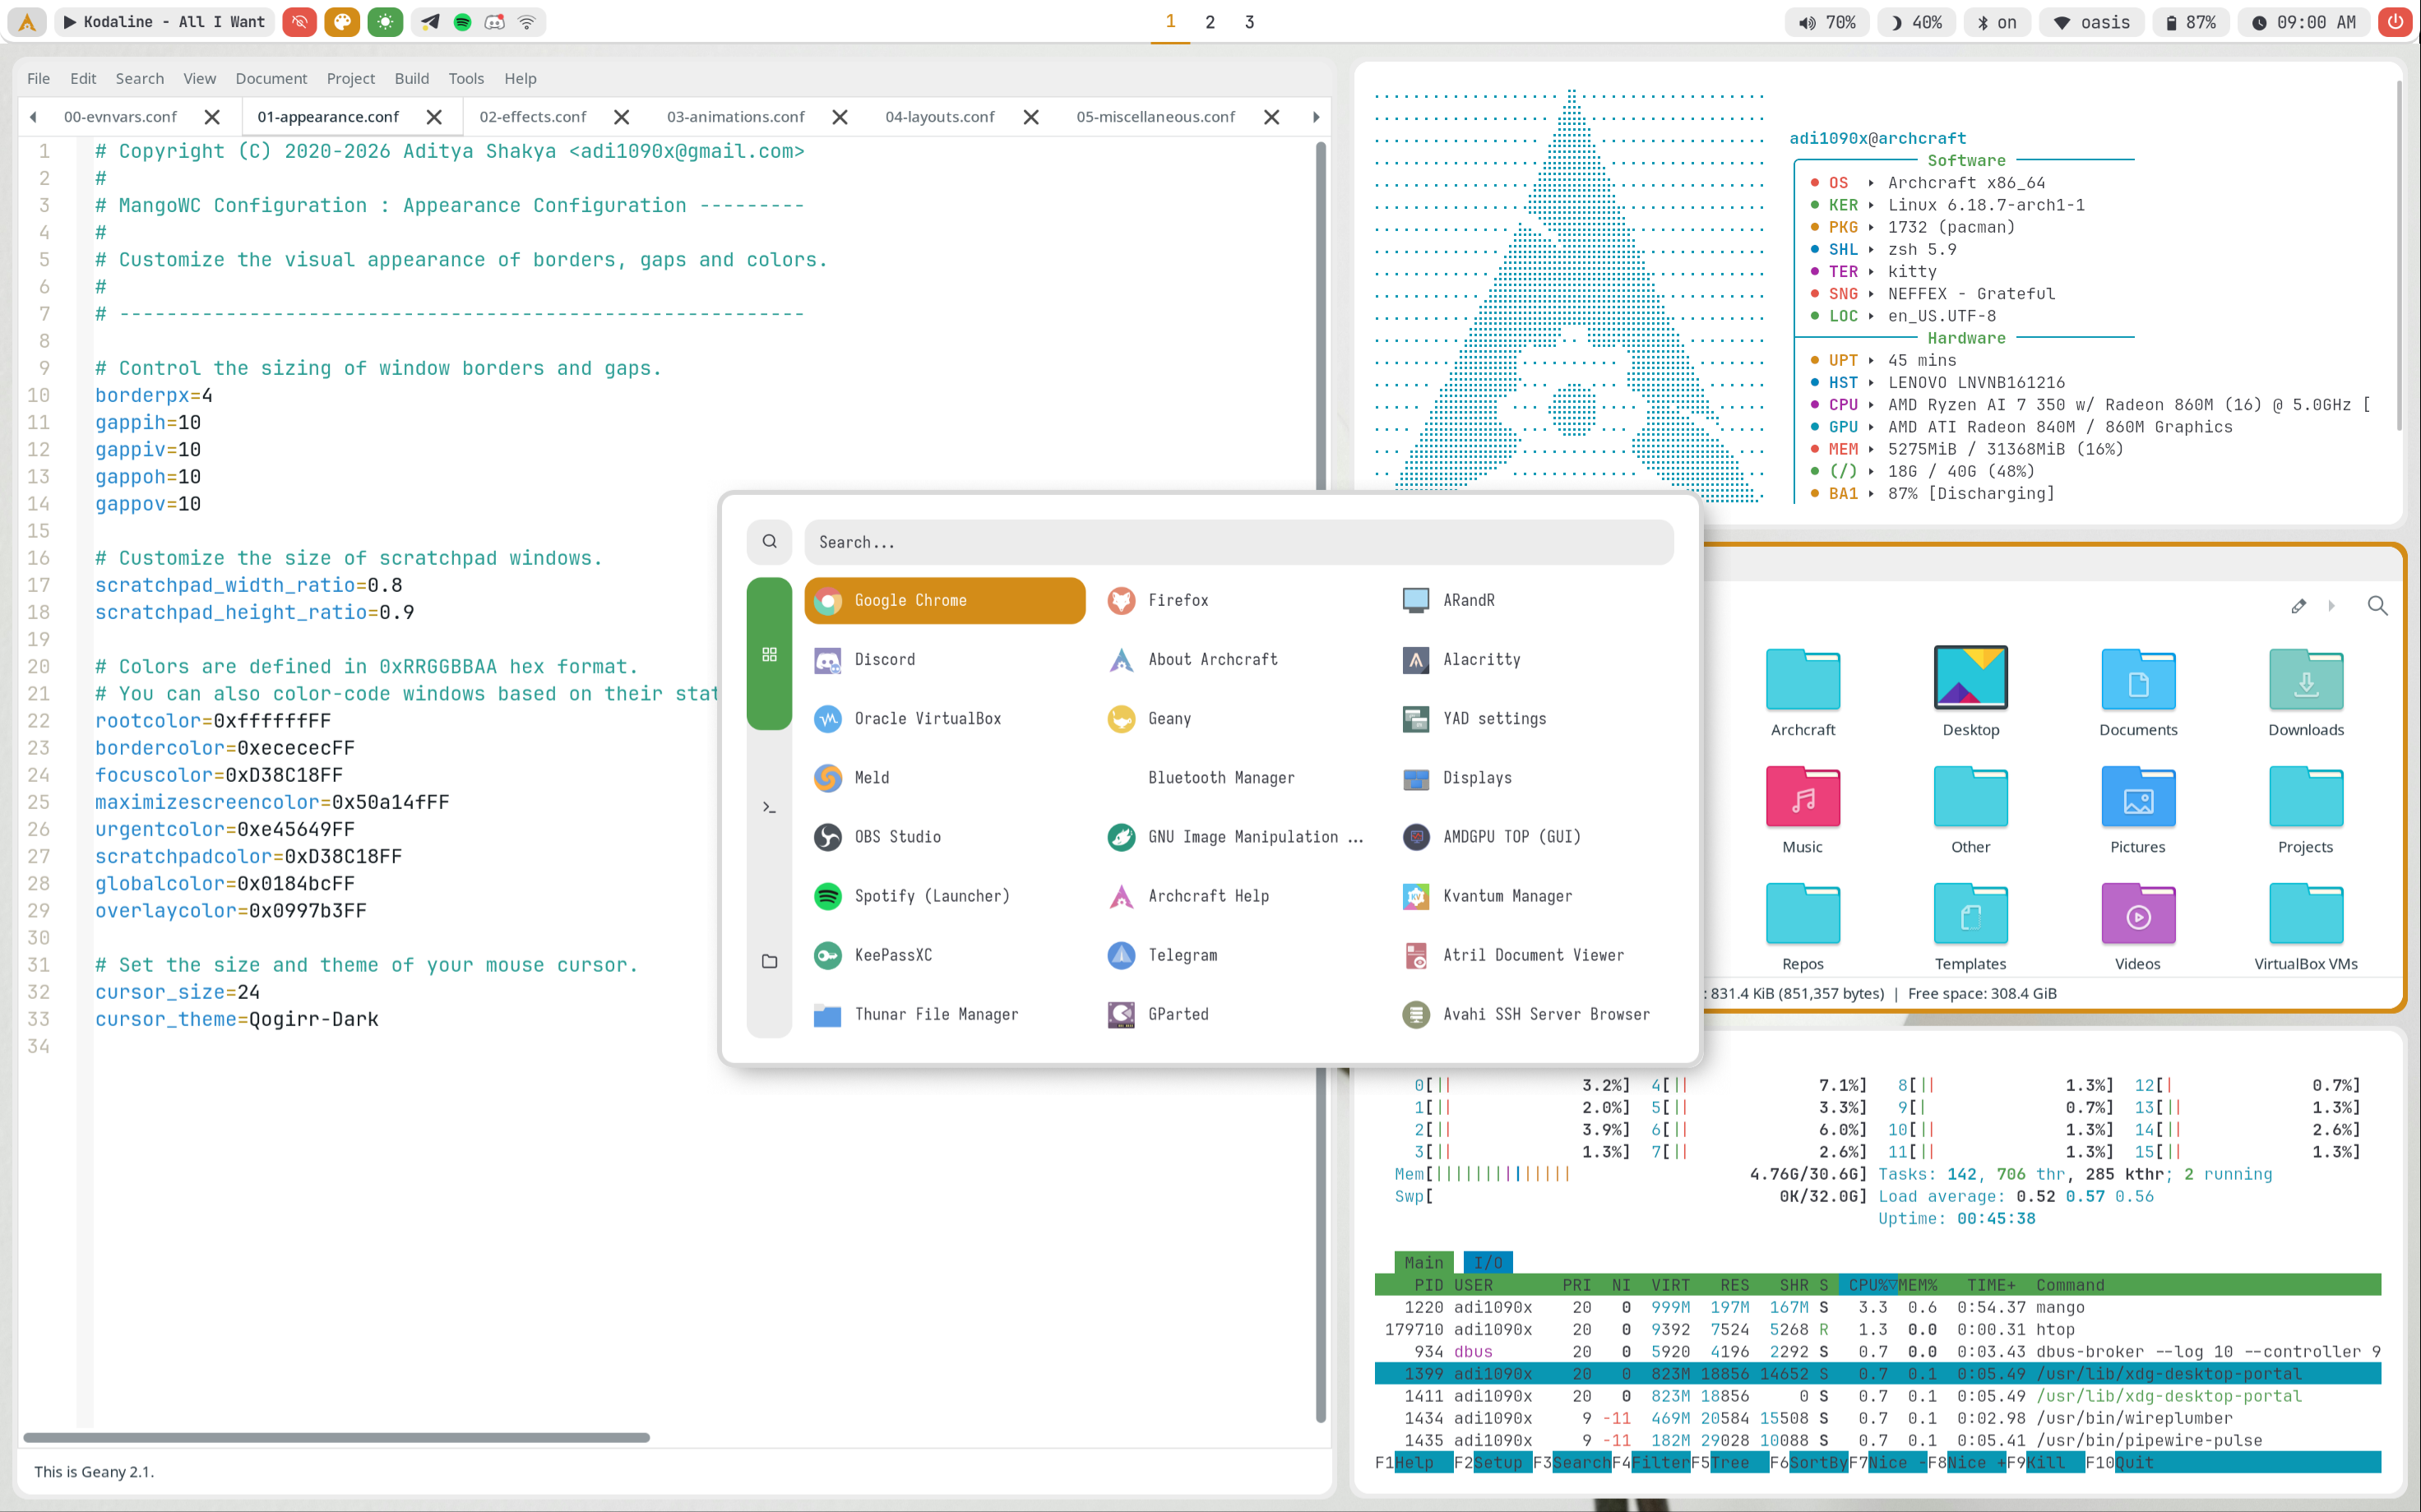
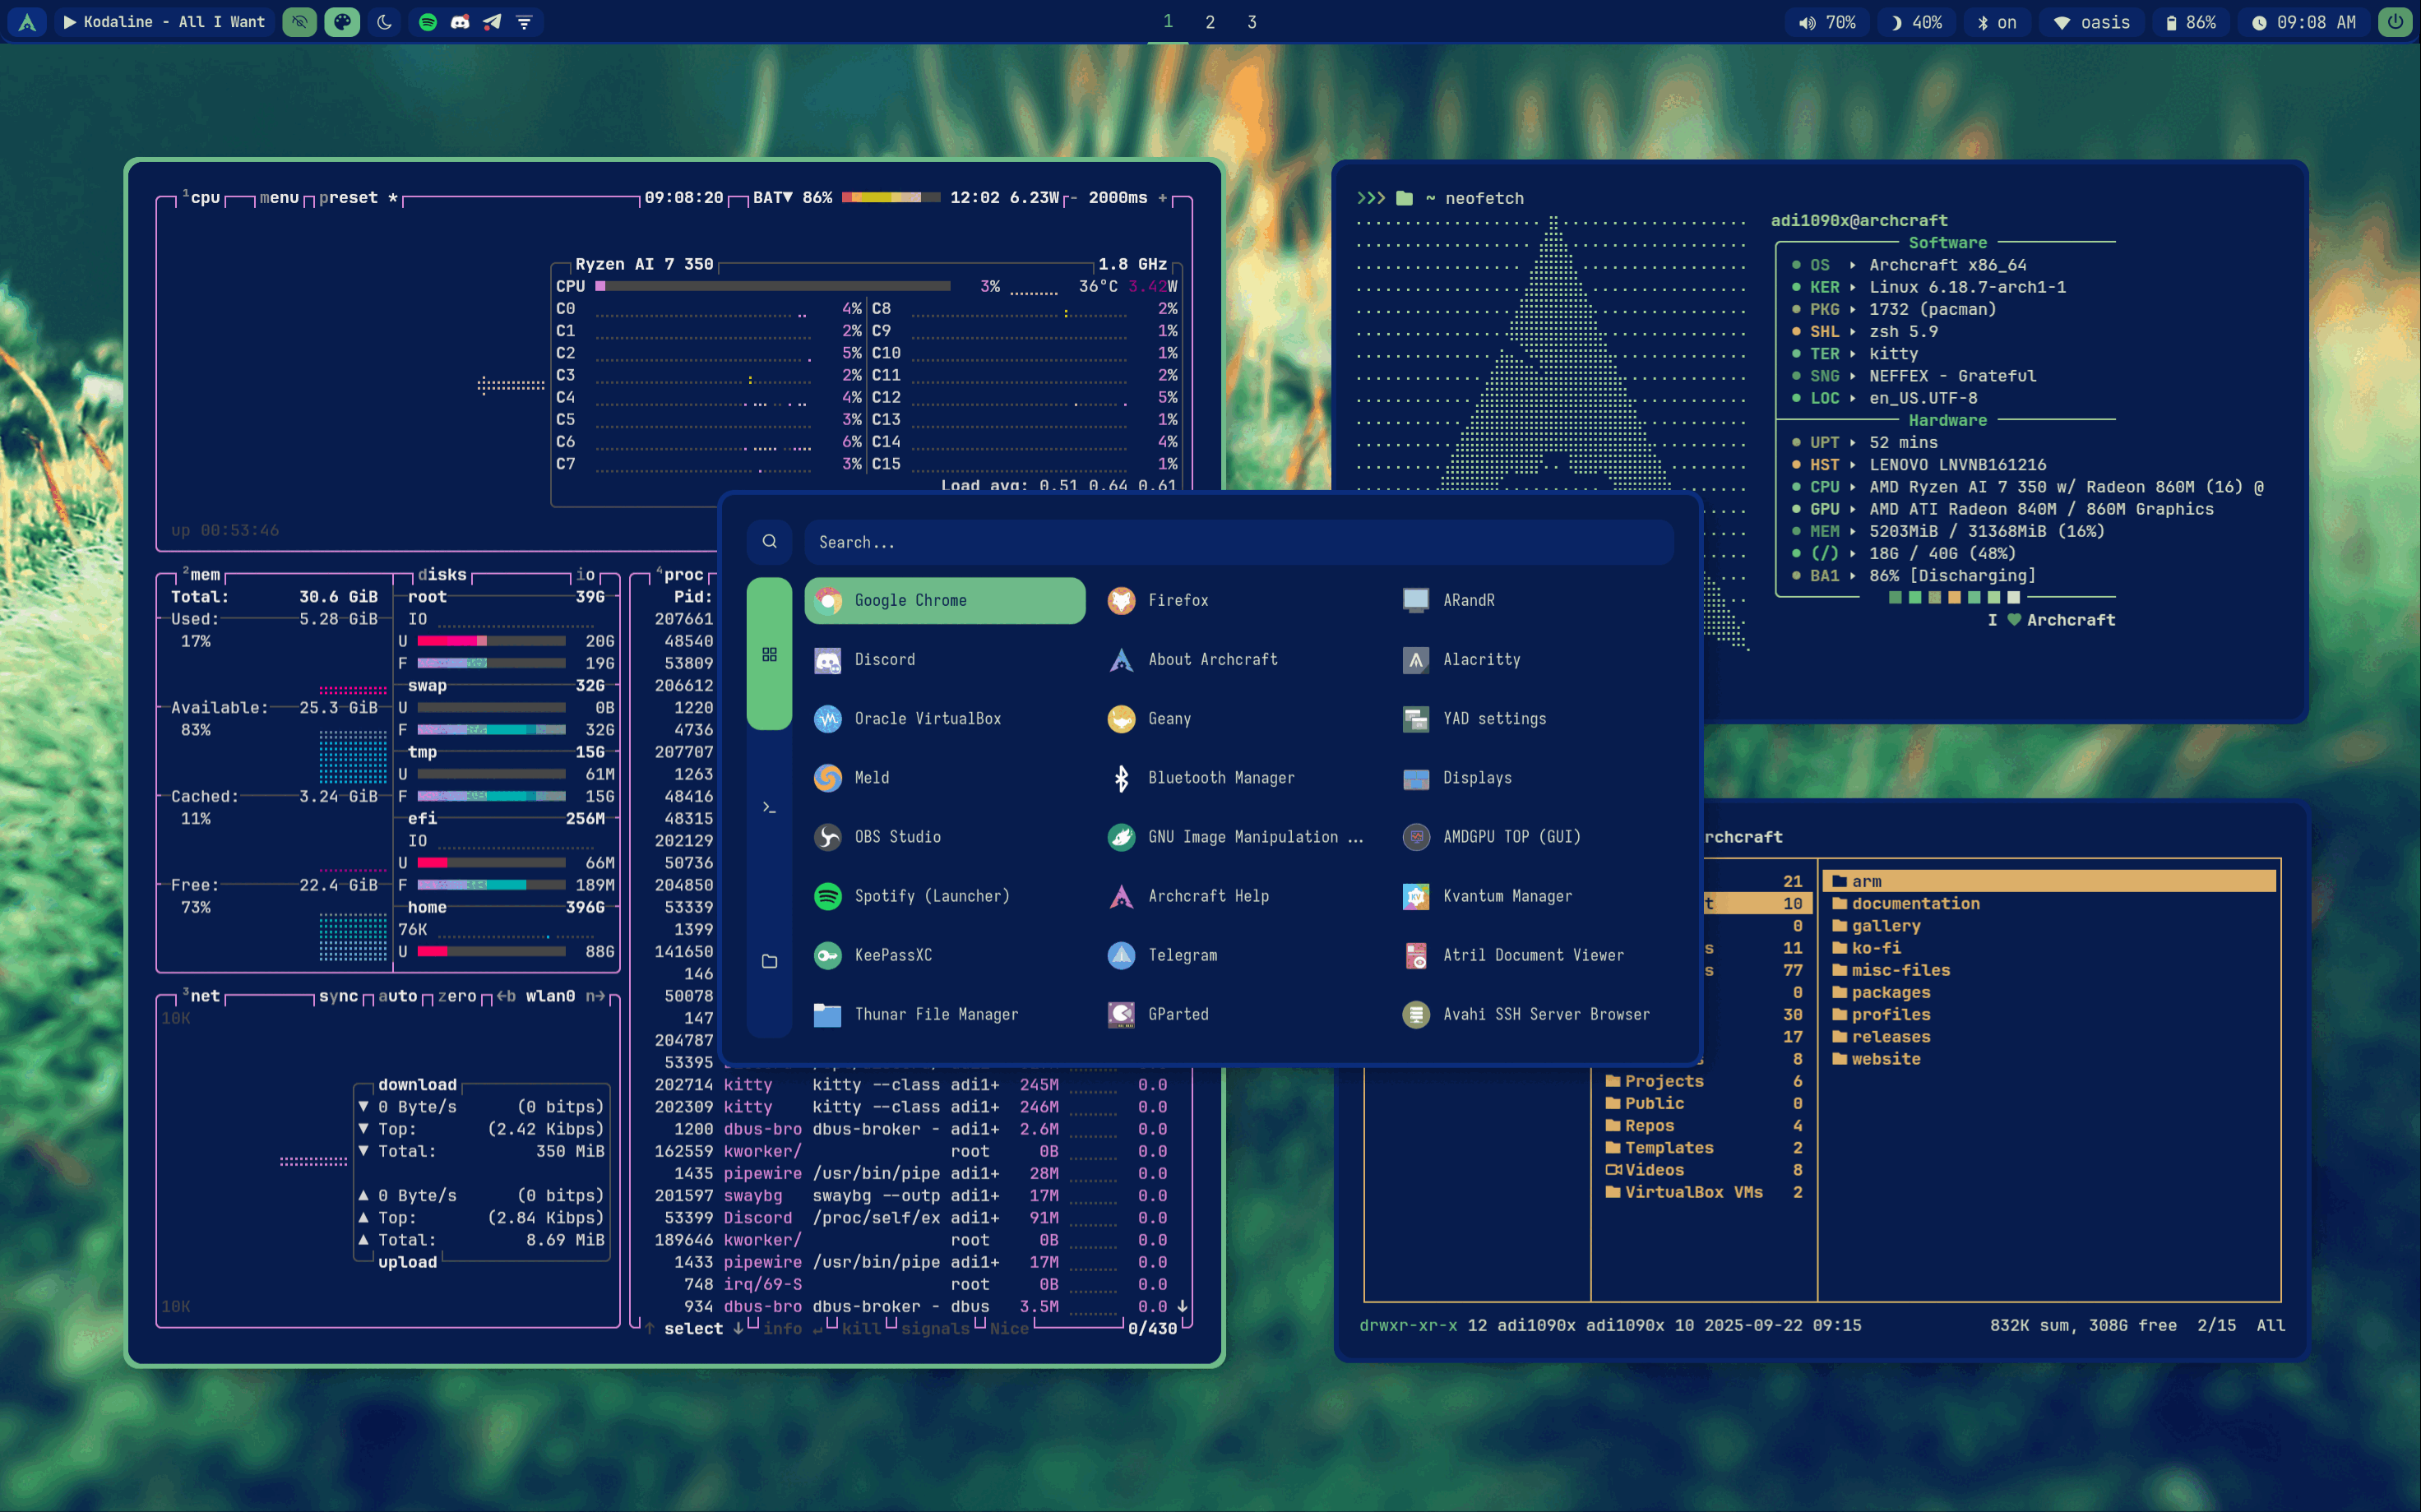
Launchers and Applets
- Rofi
- Wlogout
Rofi is used for application launchers, command runner and various applets. To modify the rofi config, edit ~/.config/rofi/config.rasi file.
If you need any help with rofi config, run :
man rofiin terminal.
The scripts for rofi that are used in MangoWC can be found it ~/.config/mango/scripts directory. These are the following scripts that uses rofi to provide the launchers and applets in MangoWC :
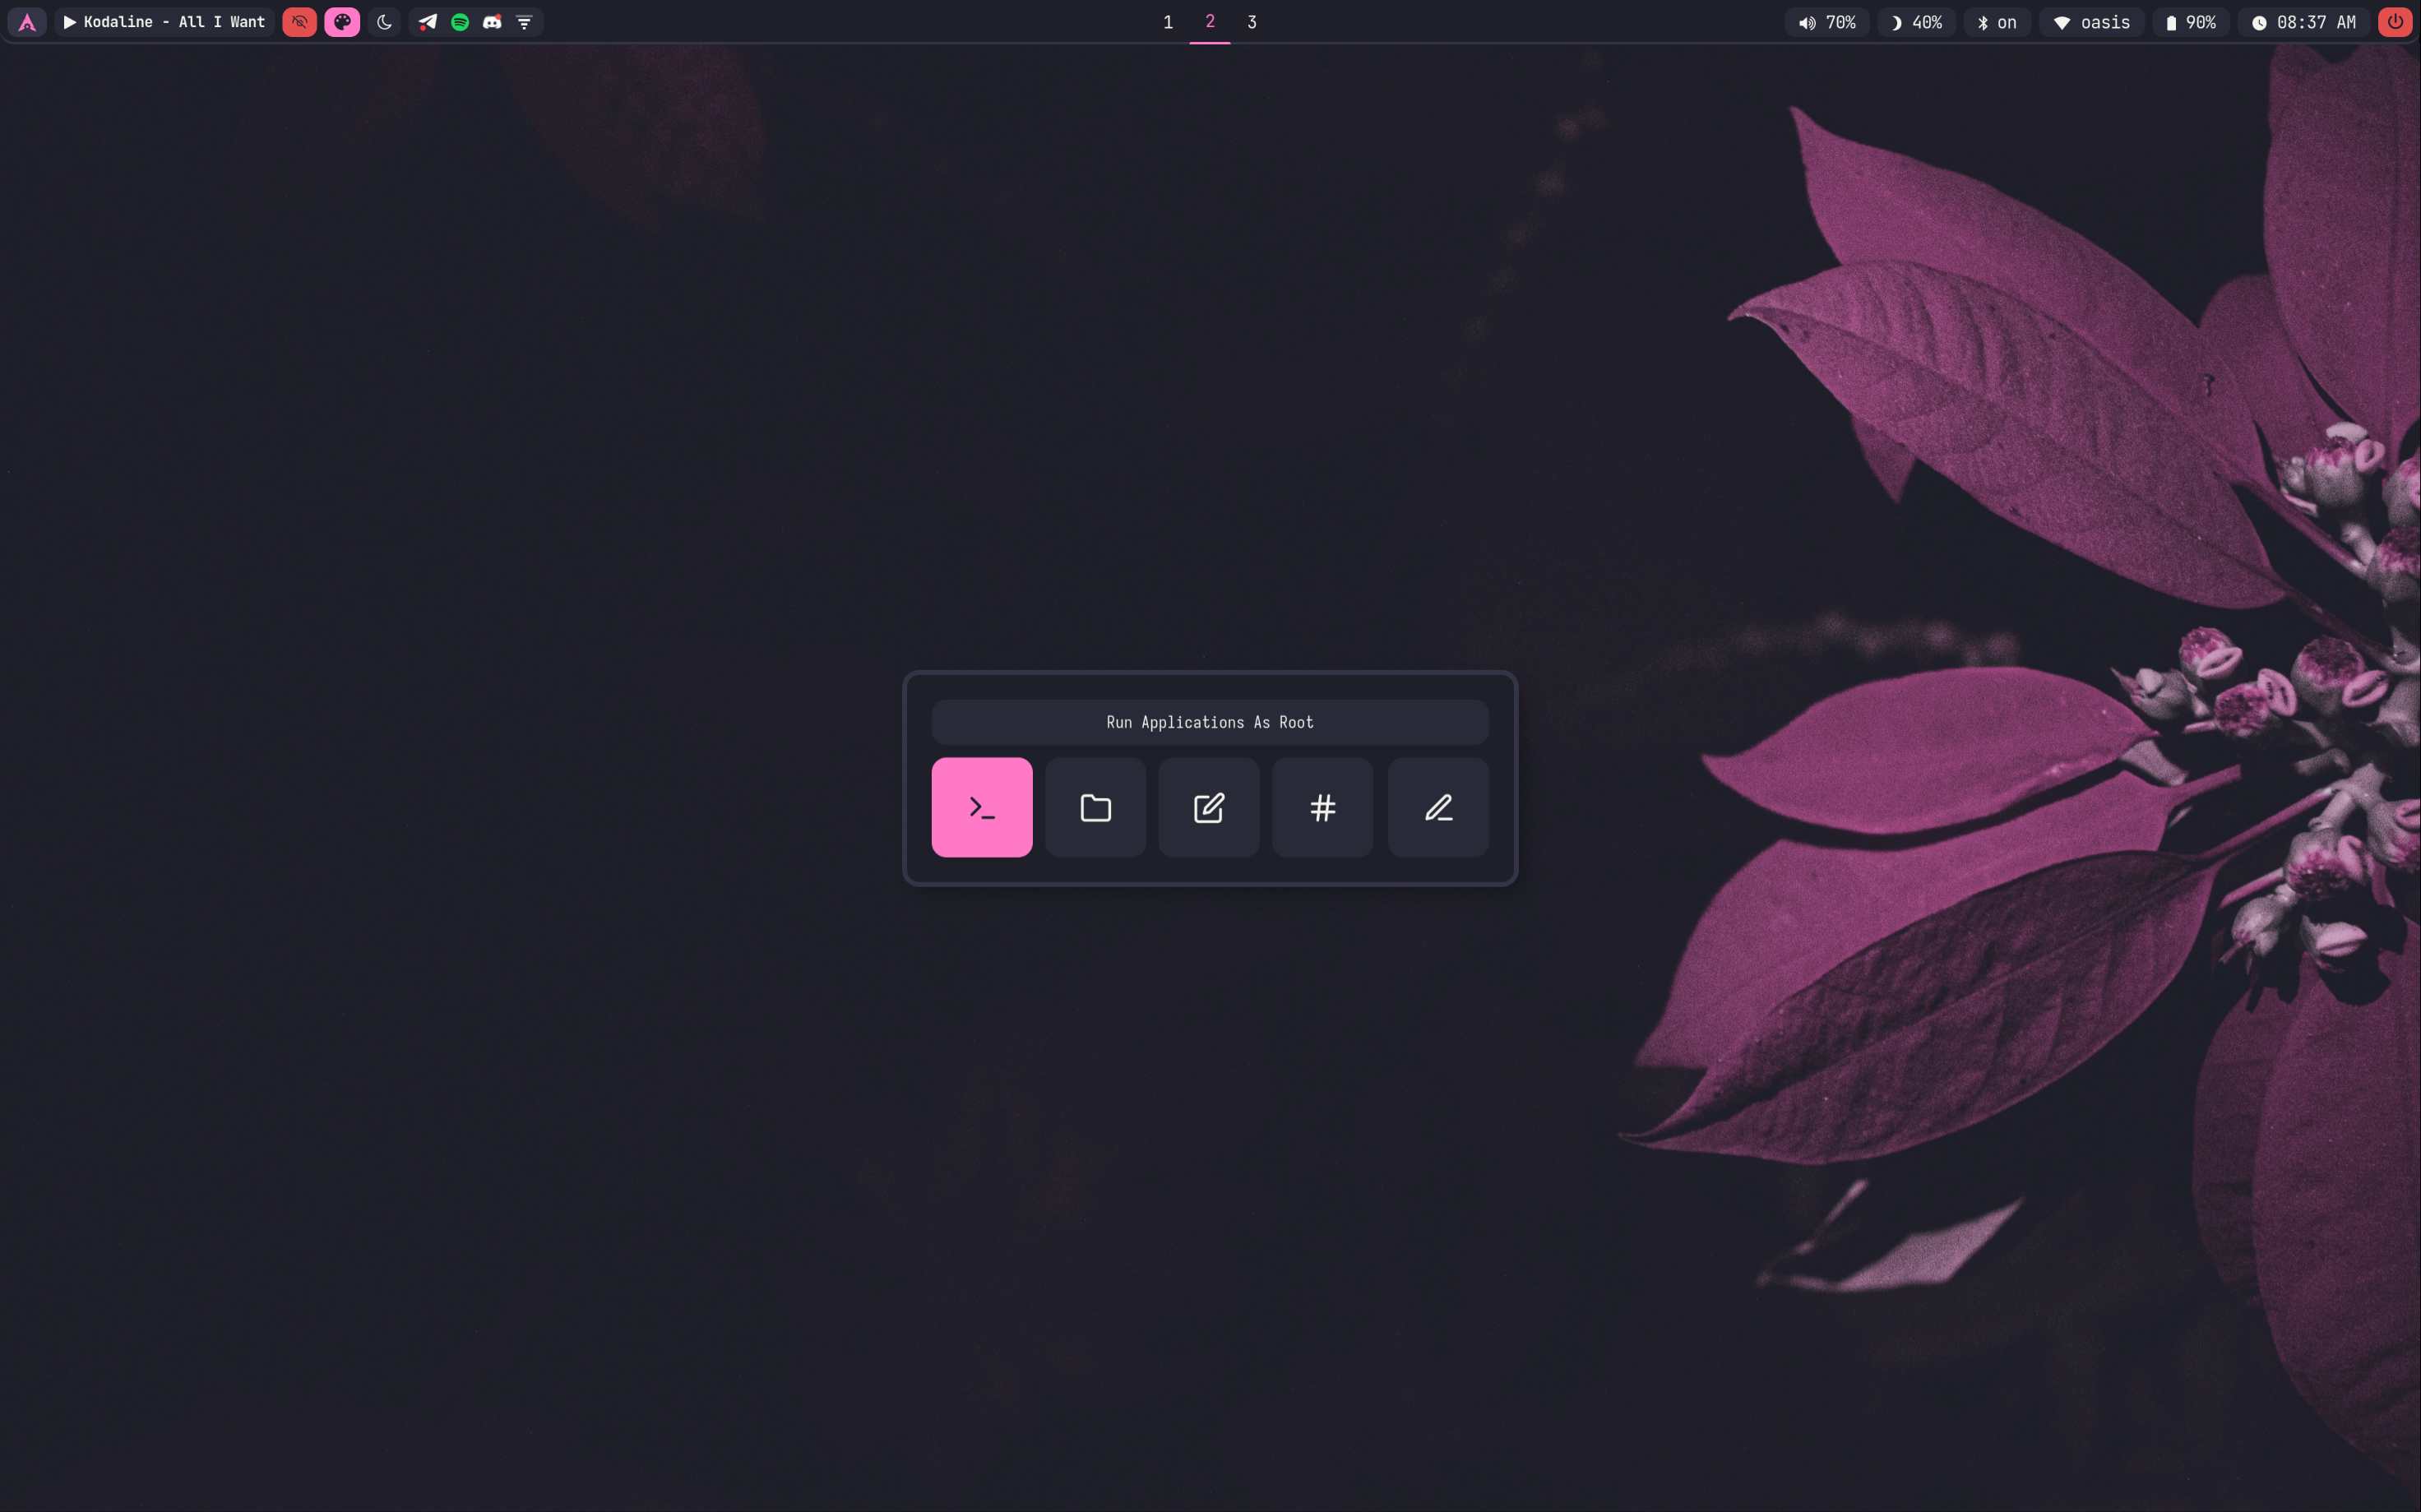
rofi_asroot : applet to run apps as root user
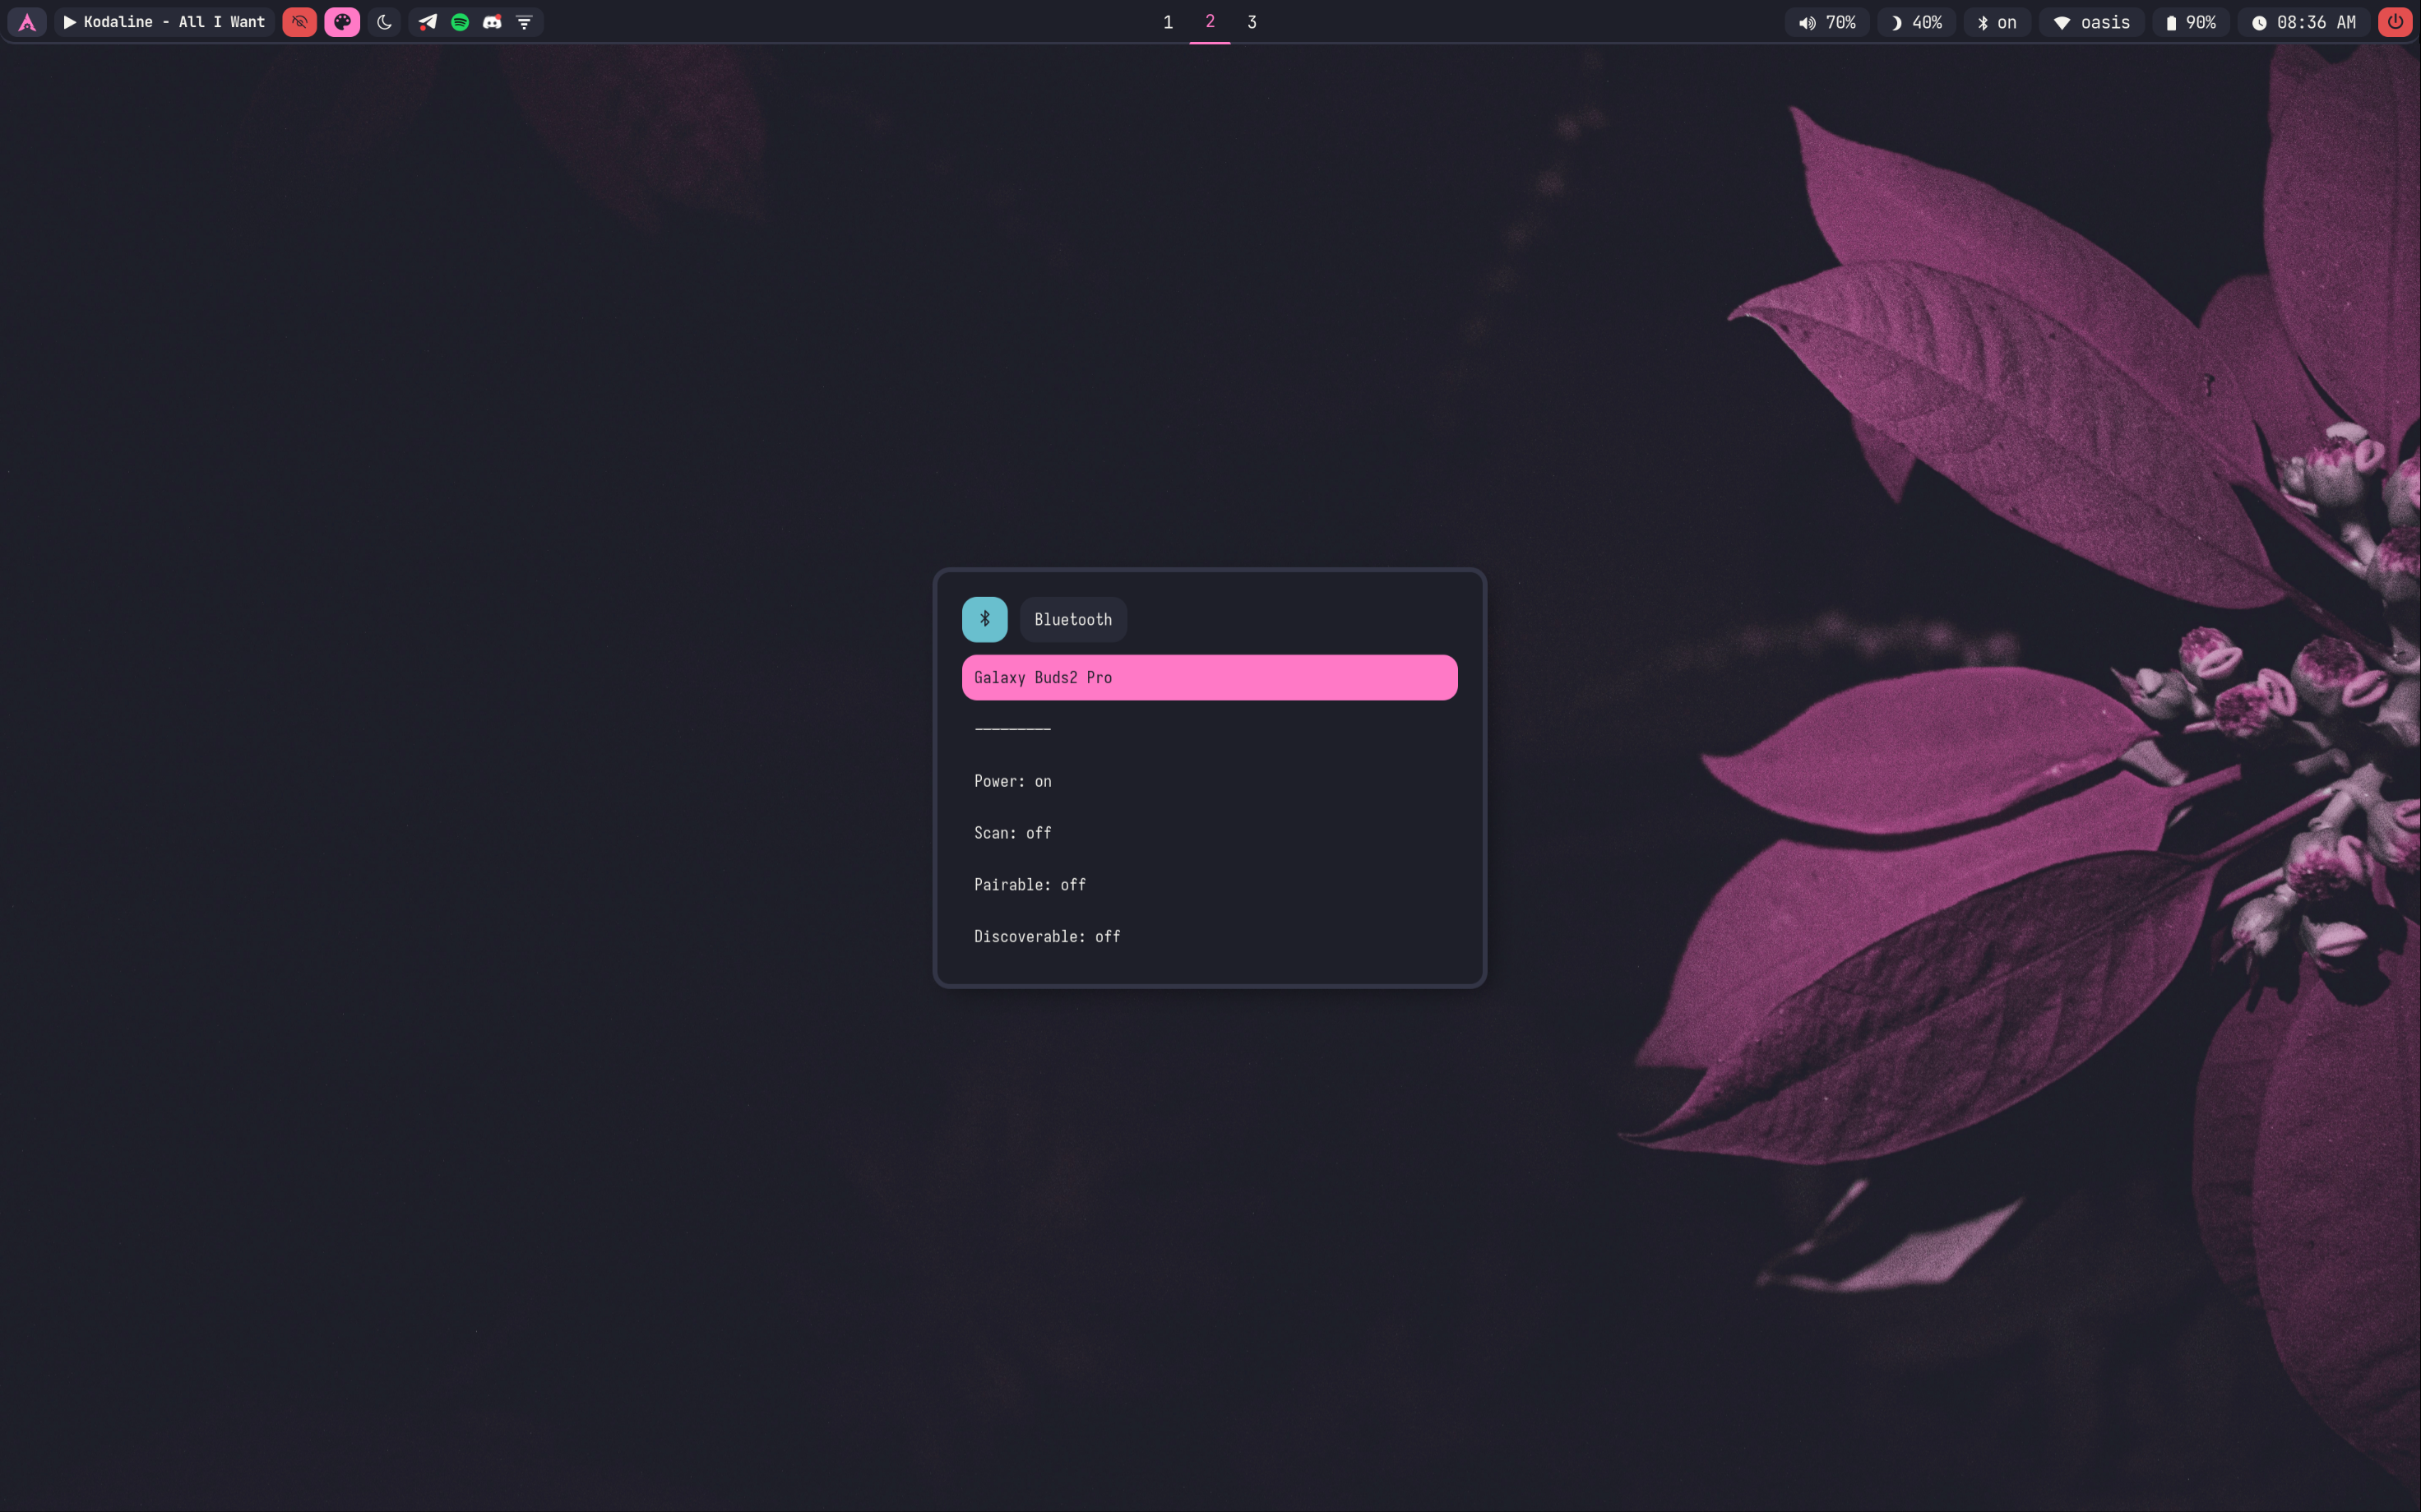
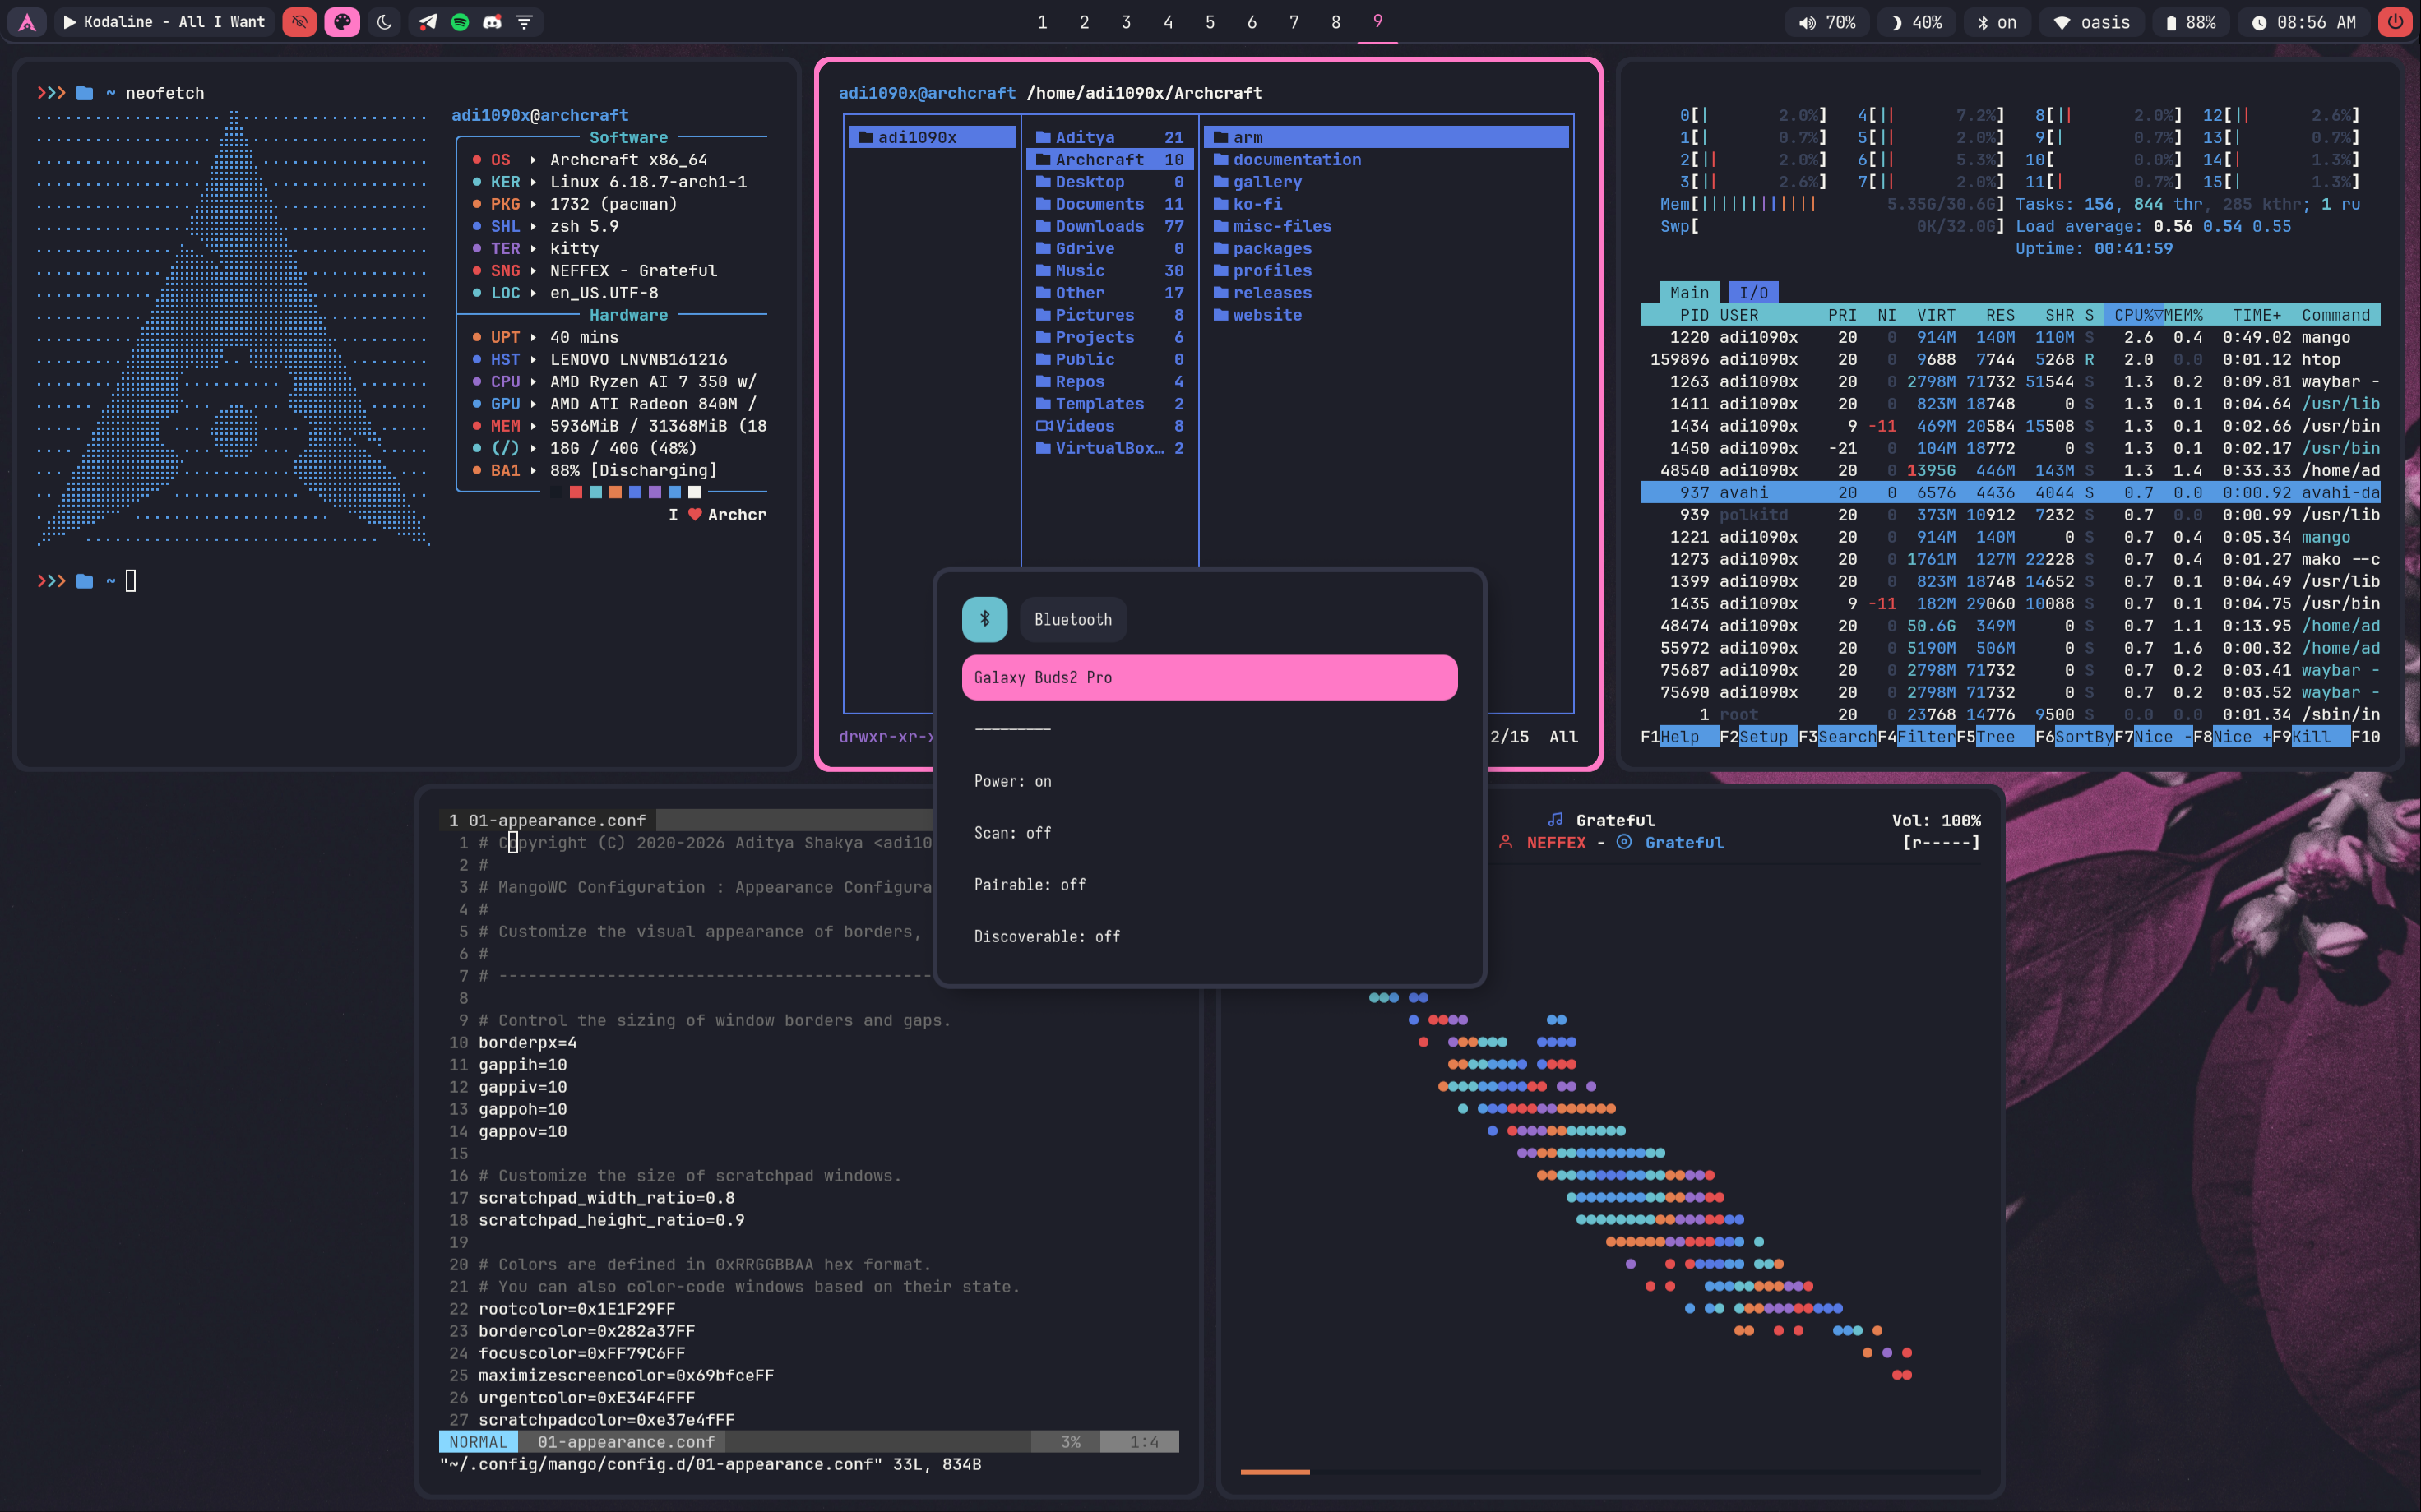
rofi_bluetooth : bluetooth applet to quickly connect to BT devices
rofi_launcher : an application launcher, cmd runner, file manager and task manager
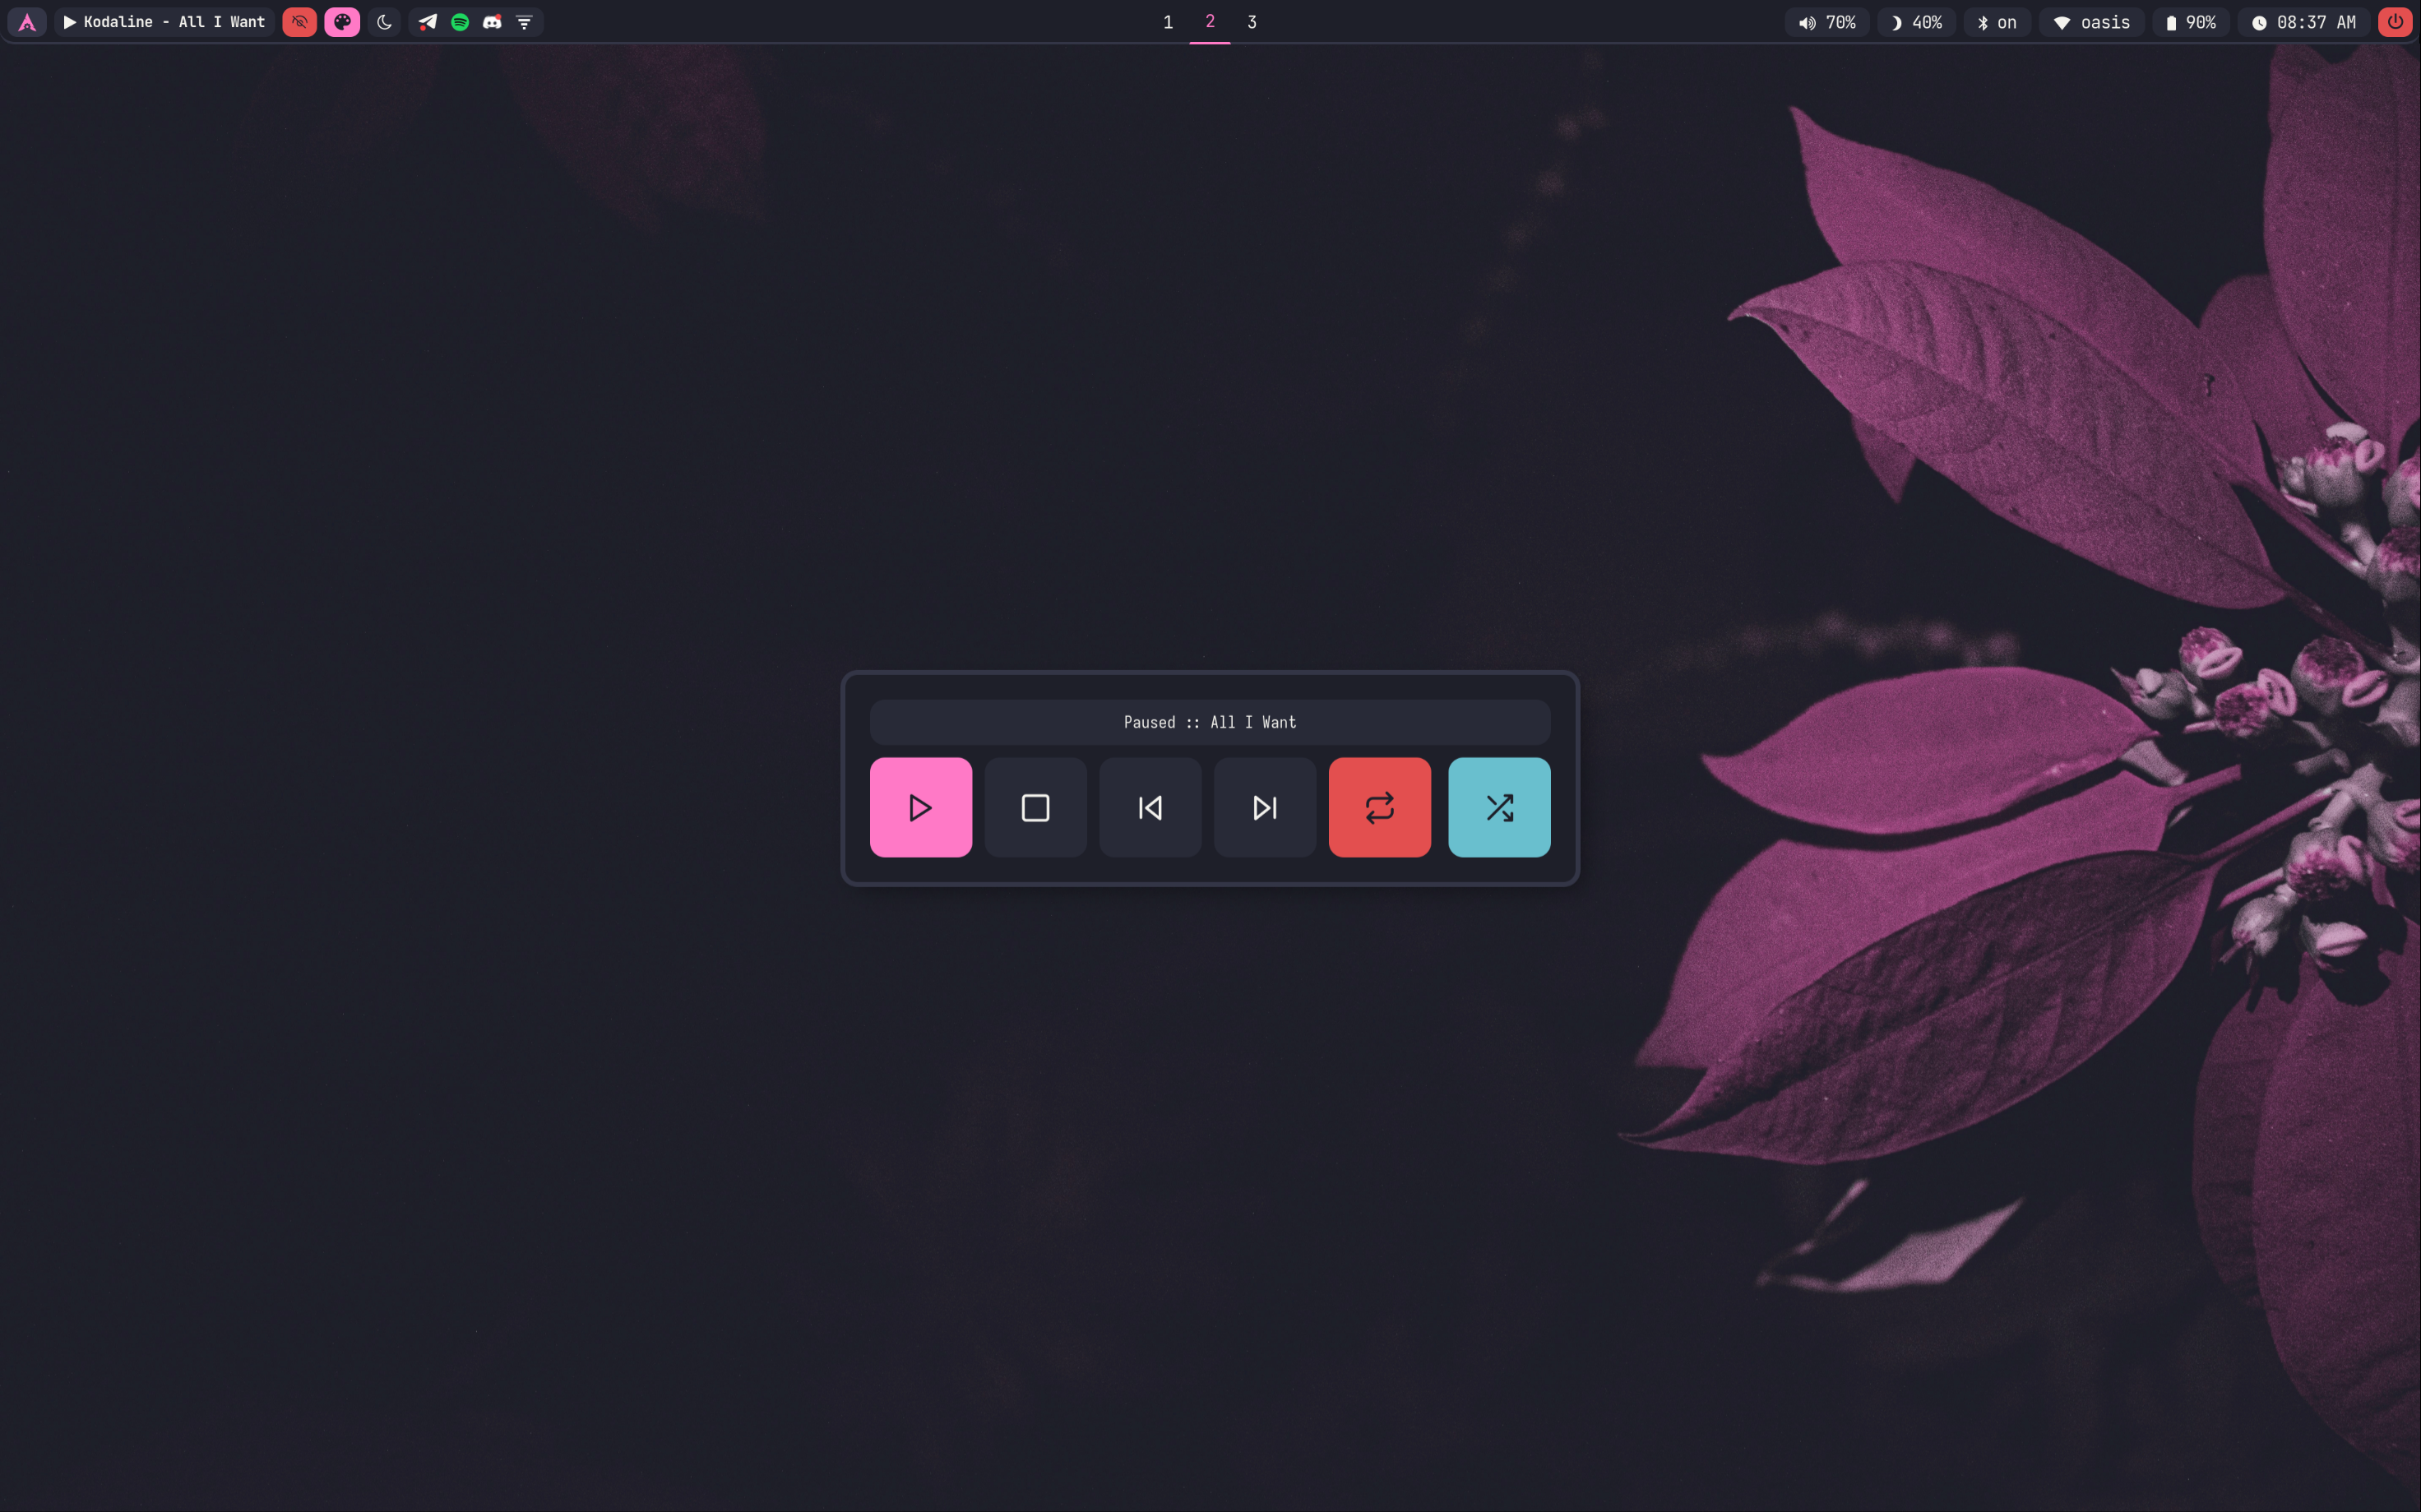
rofi_music : music applet, that controls MPD with mpc
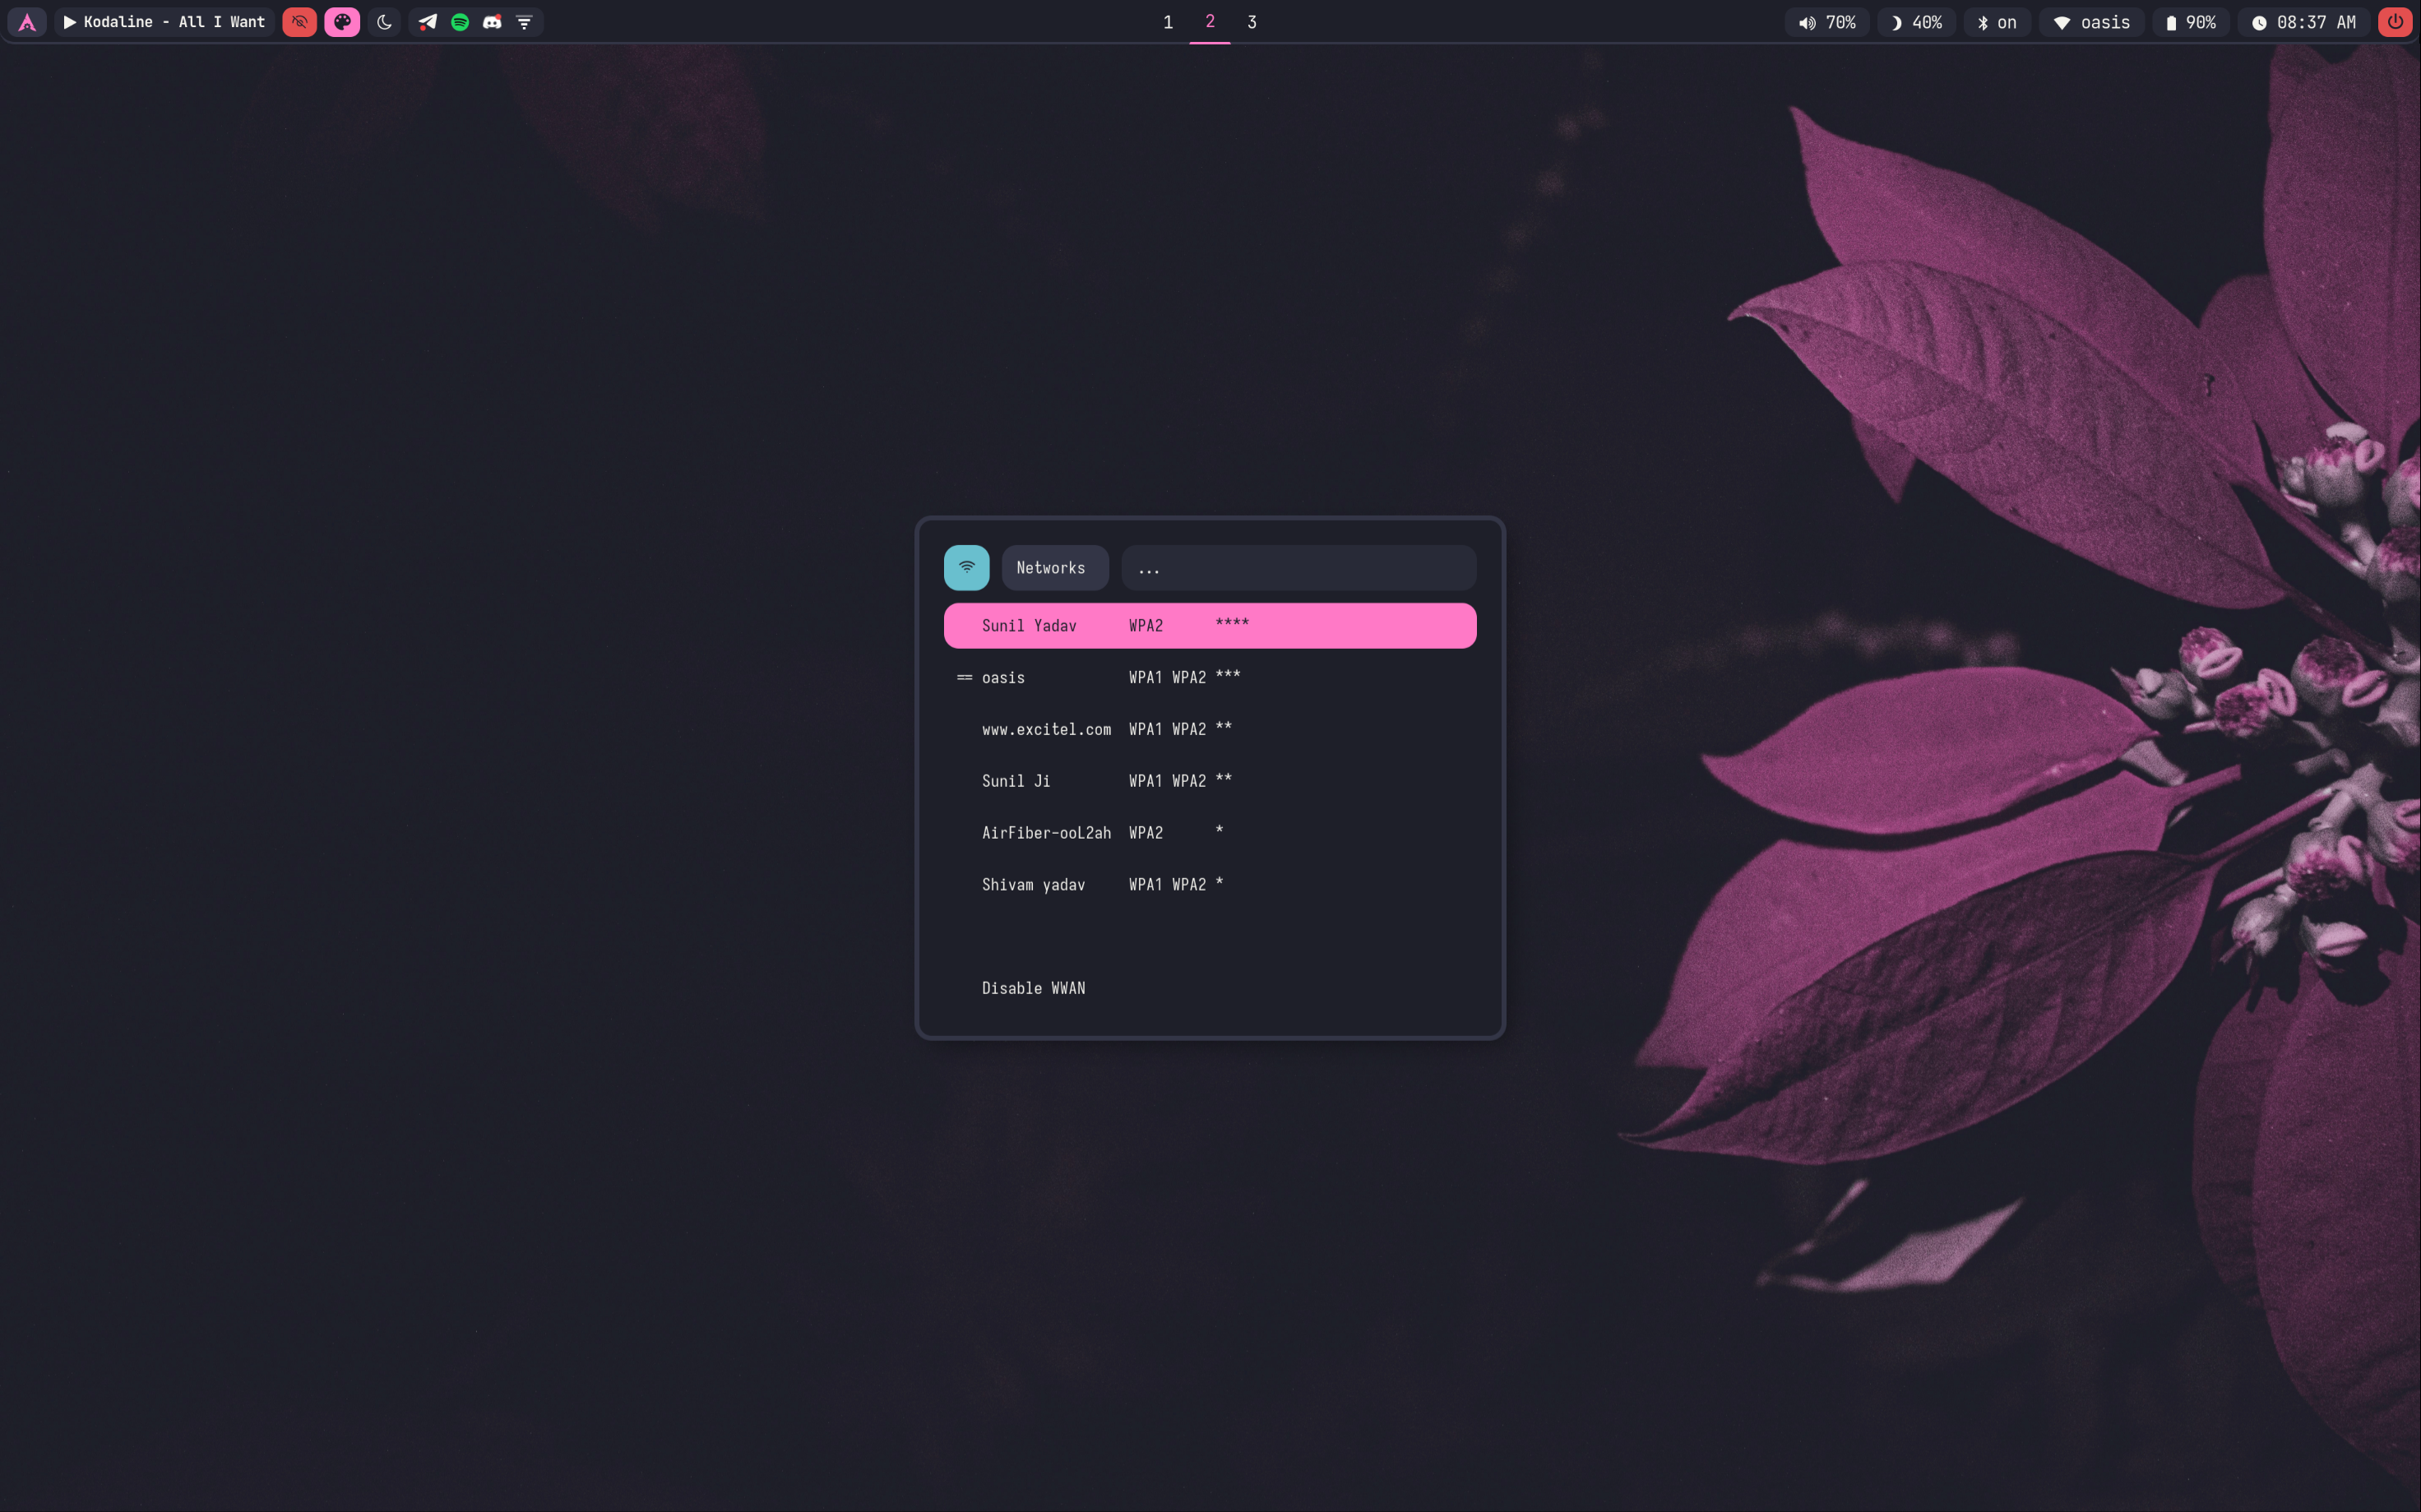
rofi_network : network manager applet
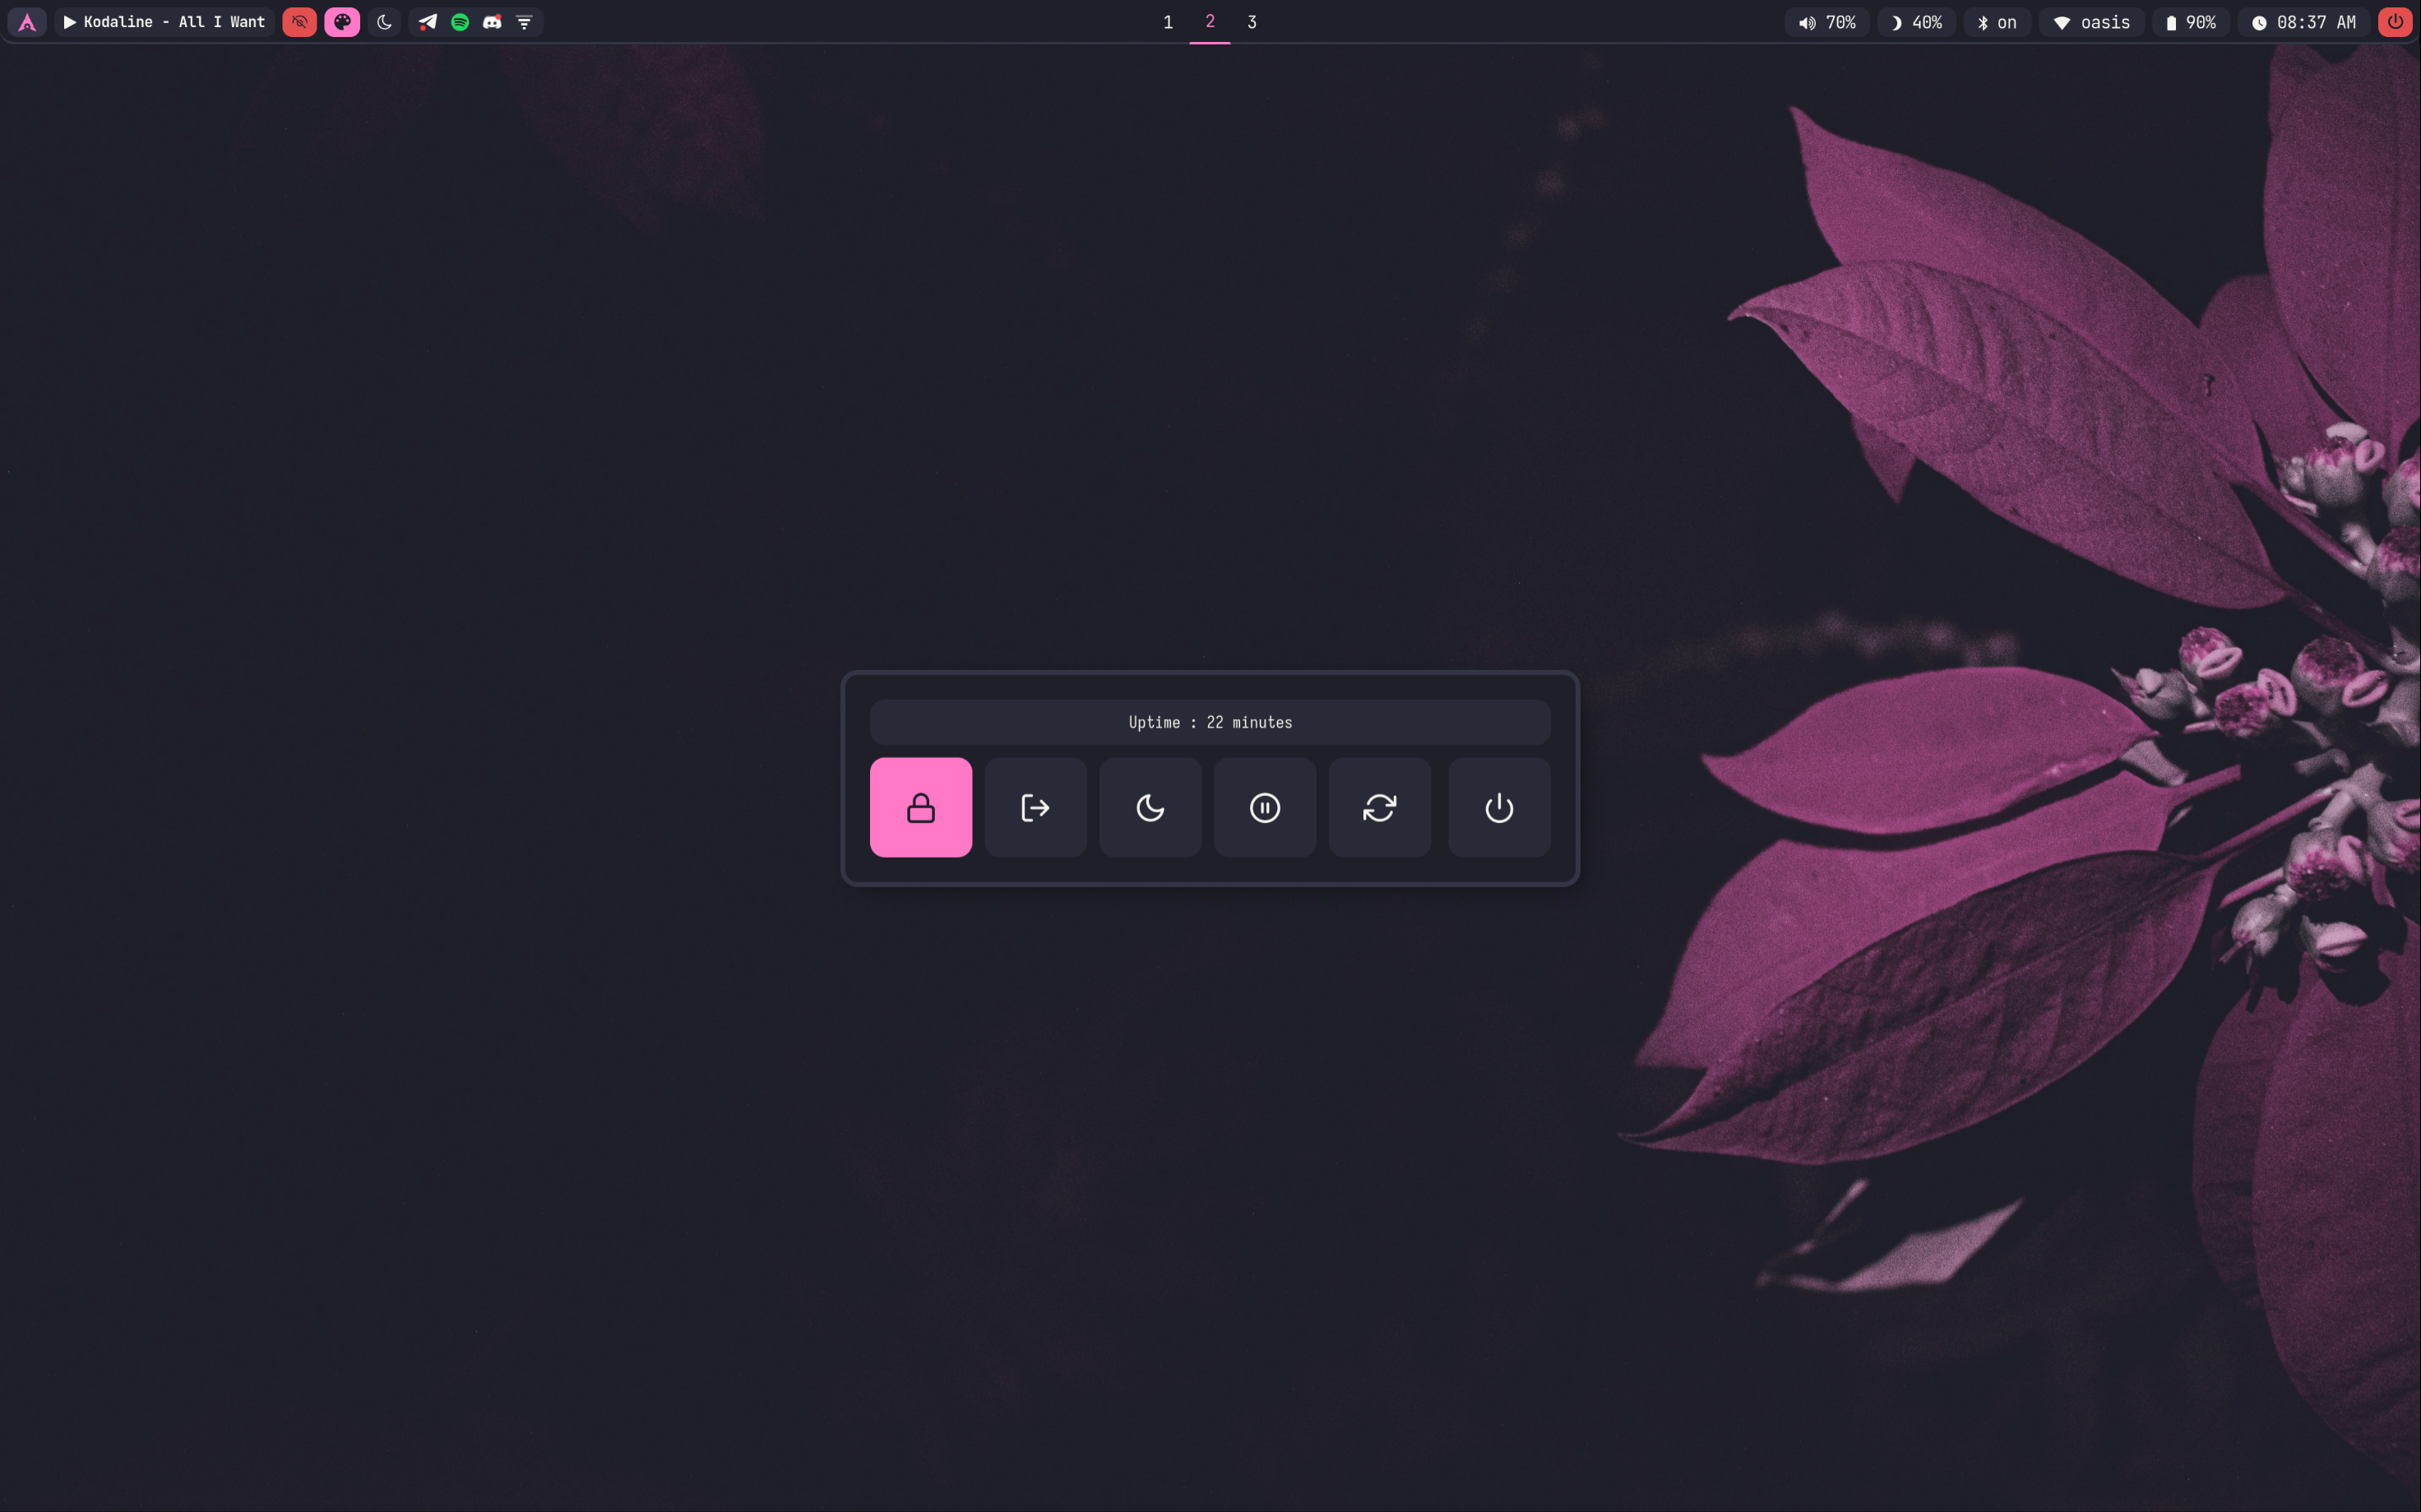
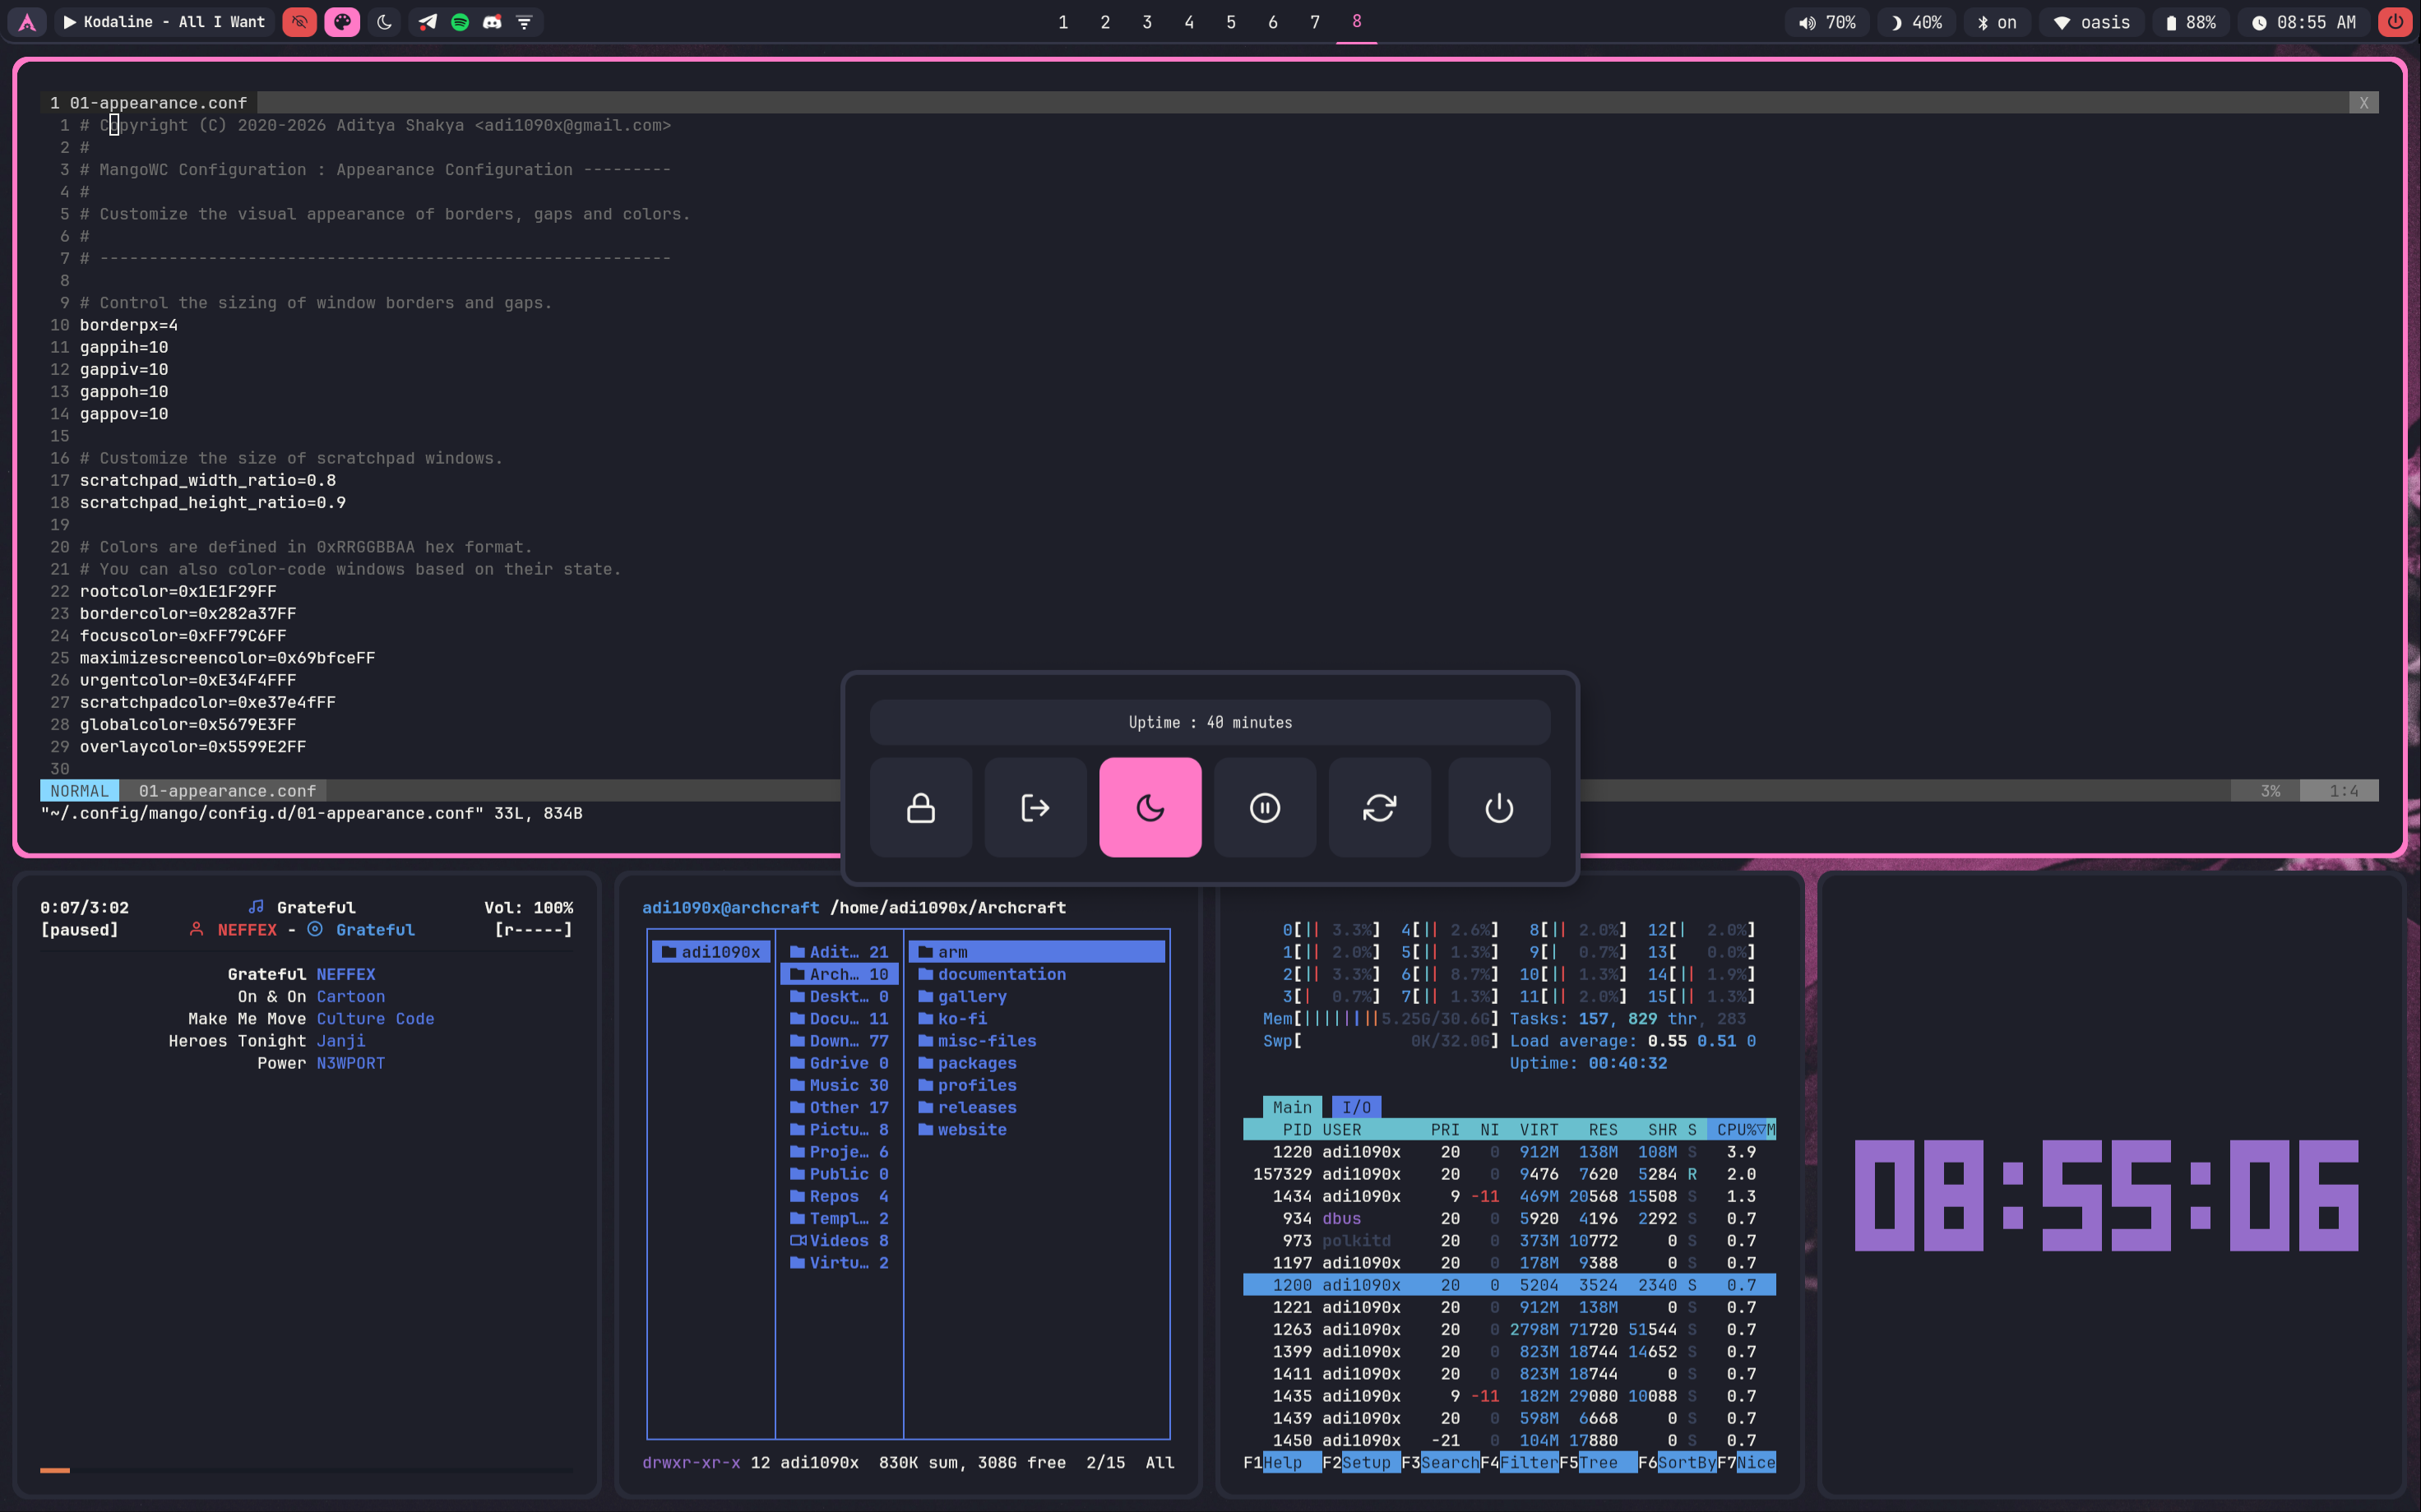
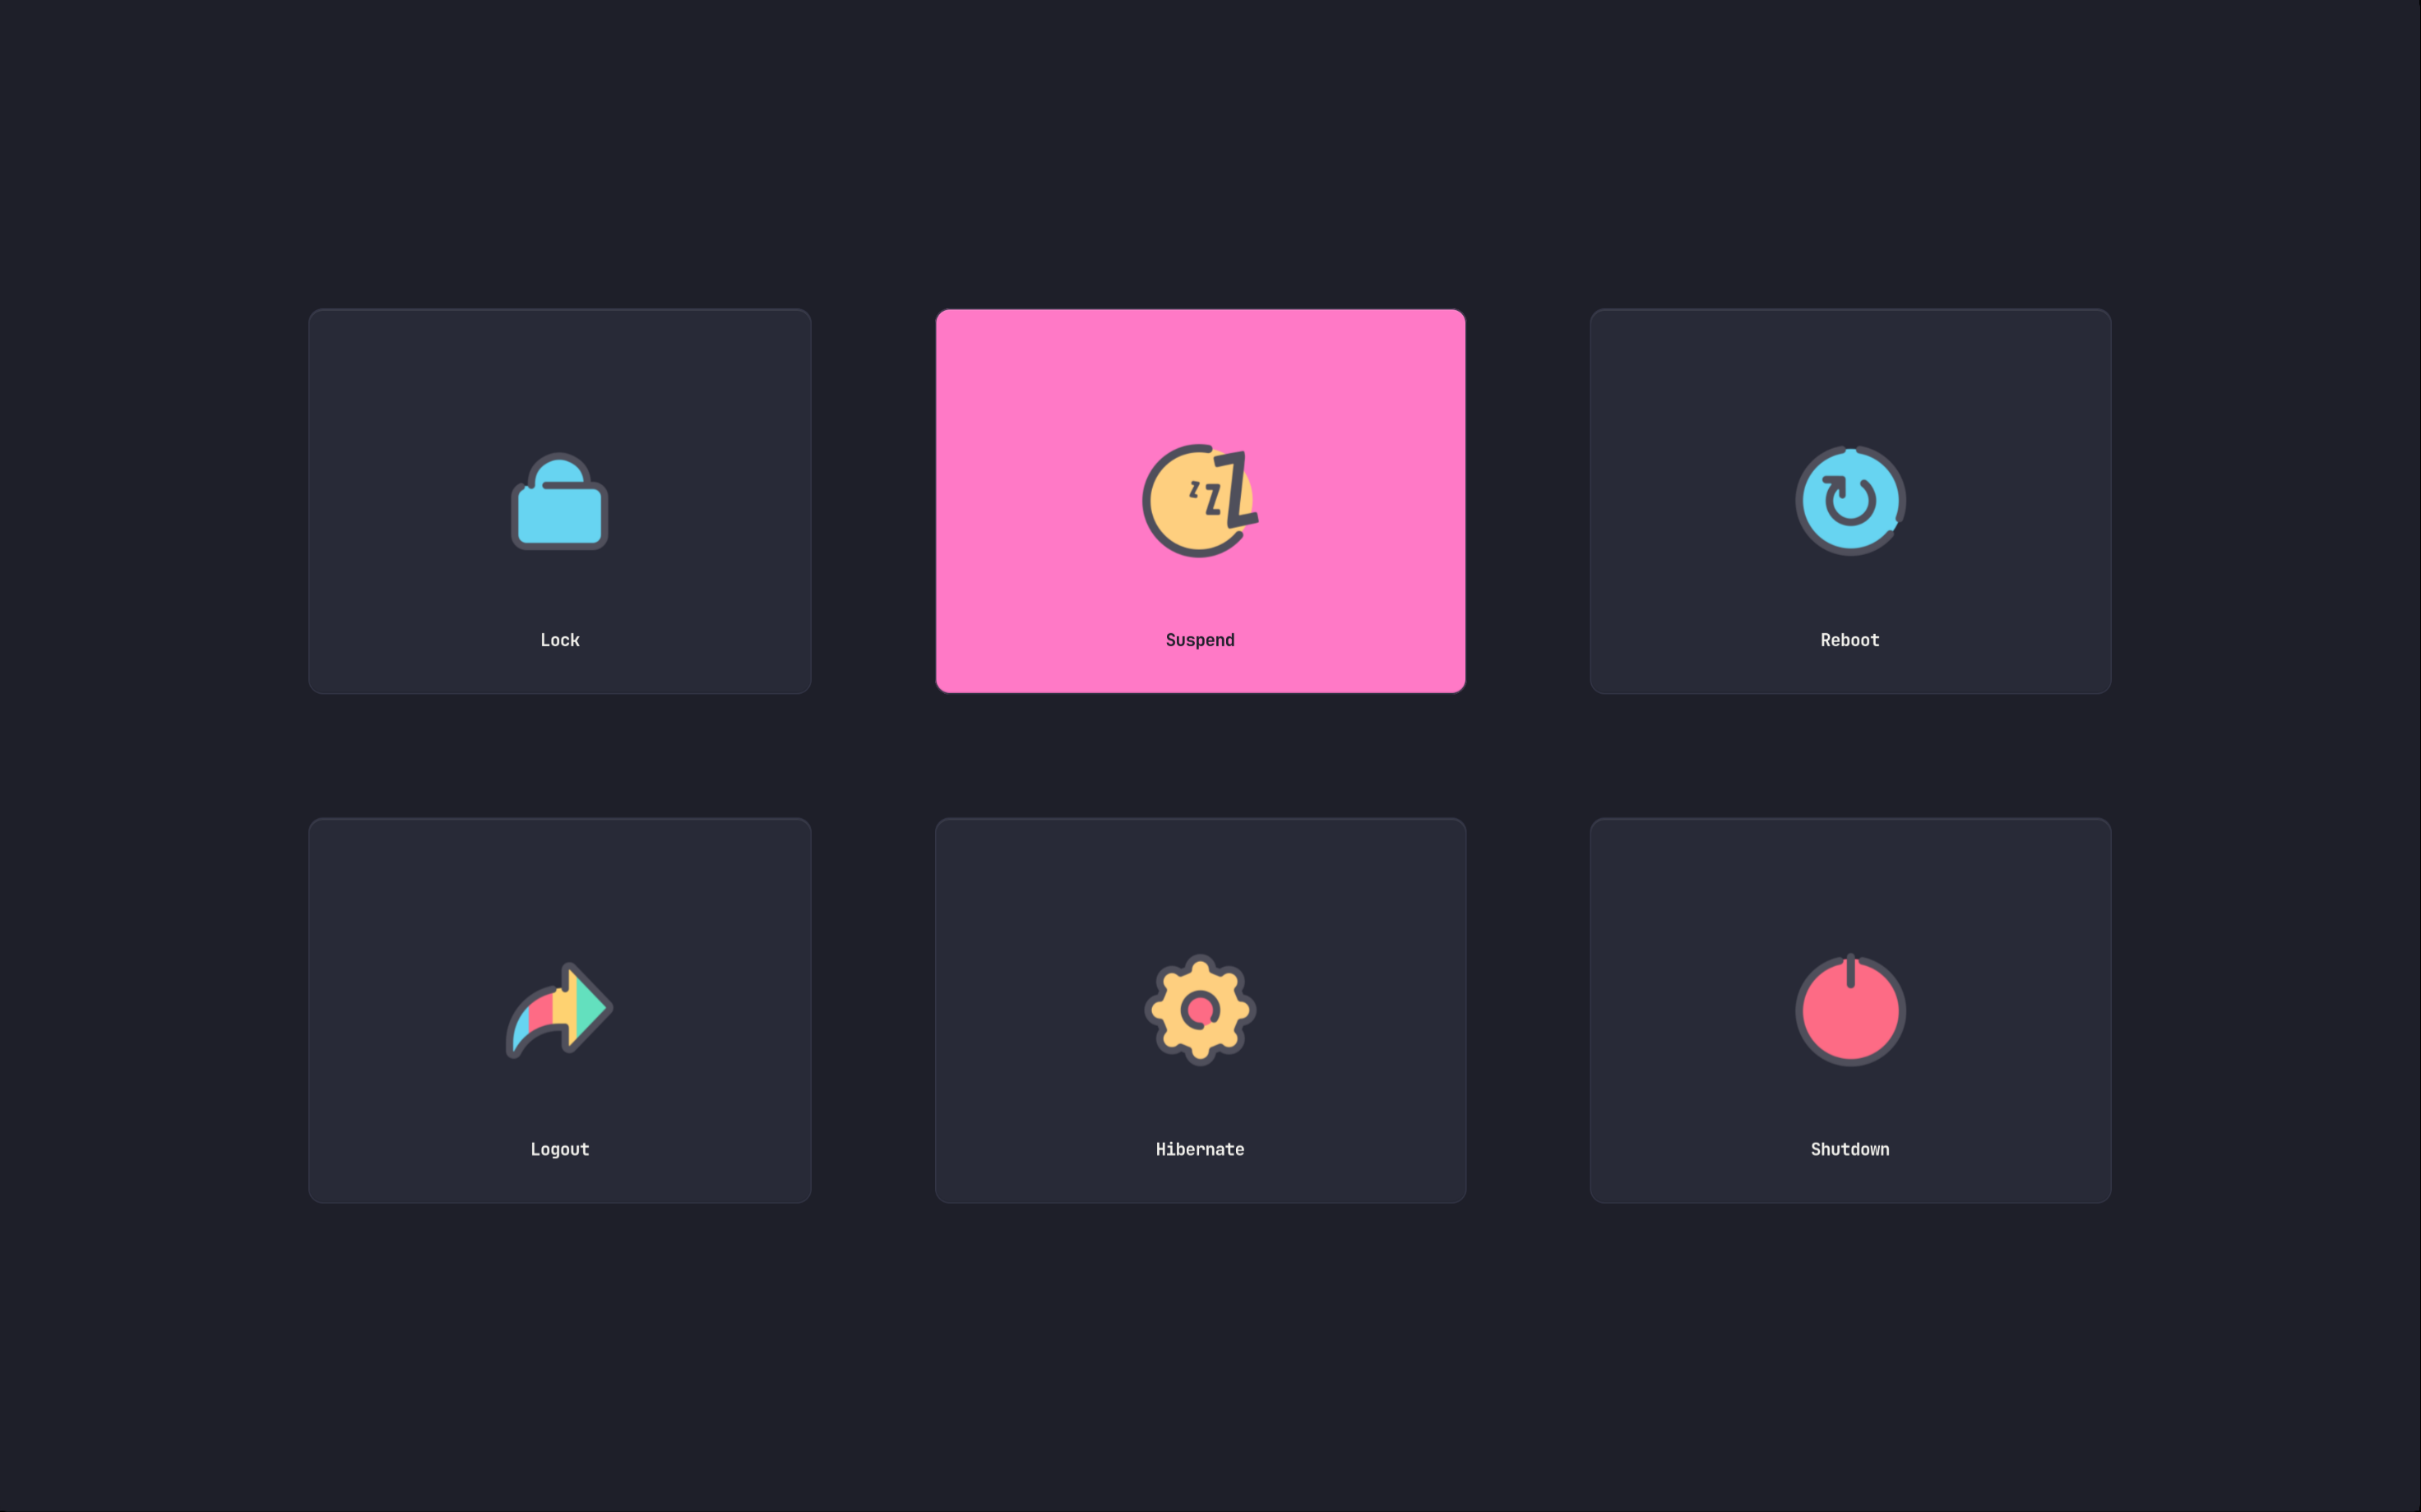
rofi_powermenu : power menu, with confirmation dialog
rofi_runner : quickly lets you run a command
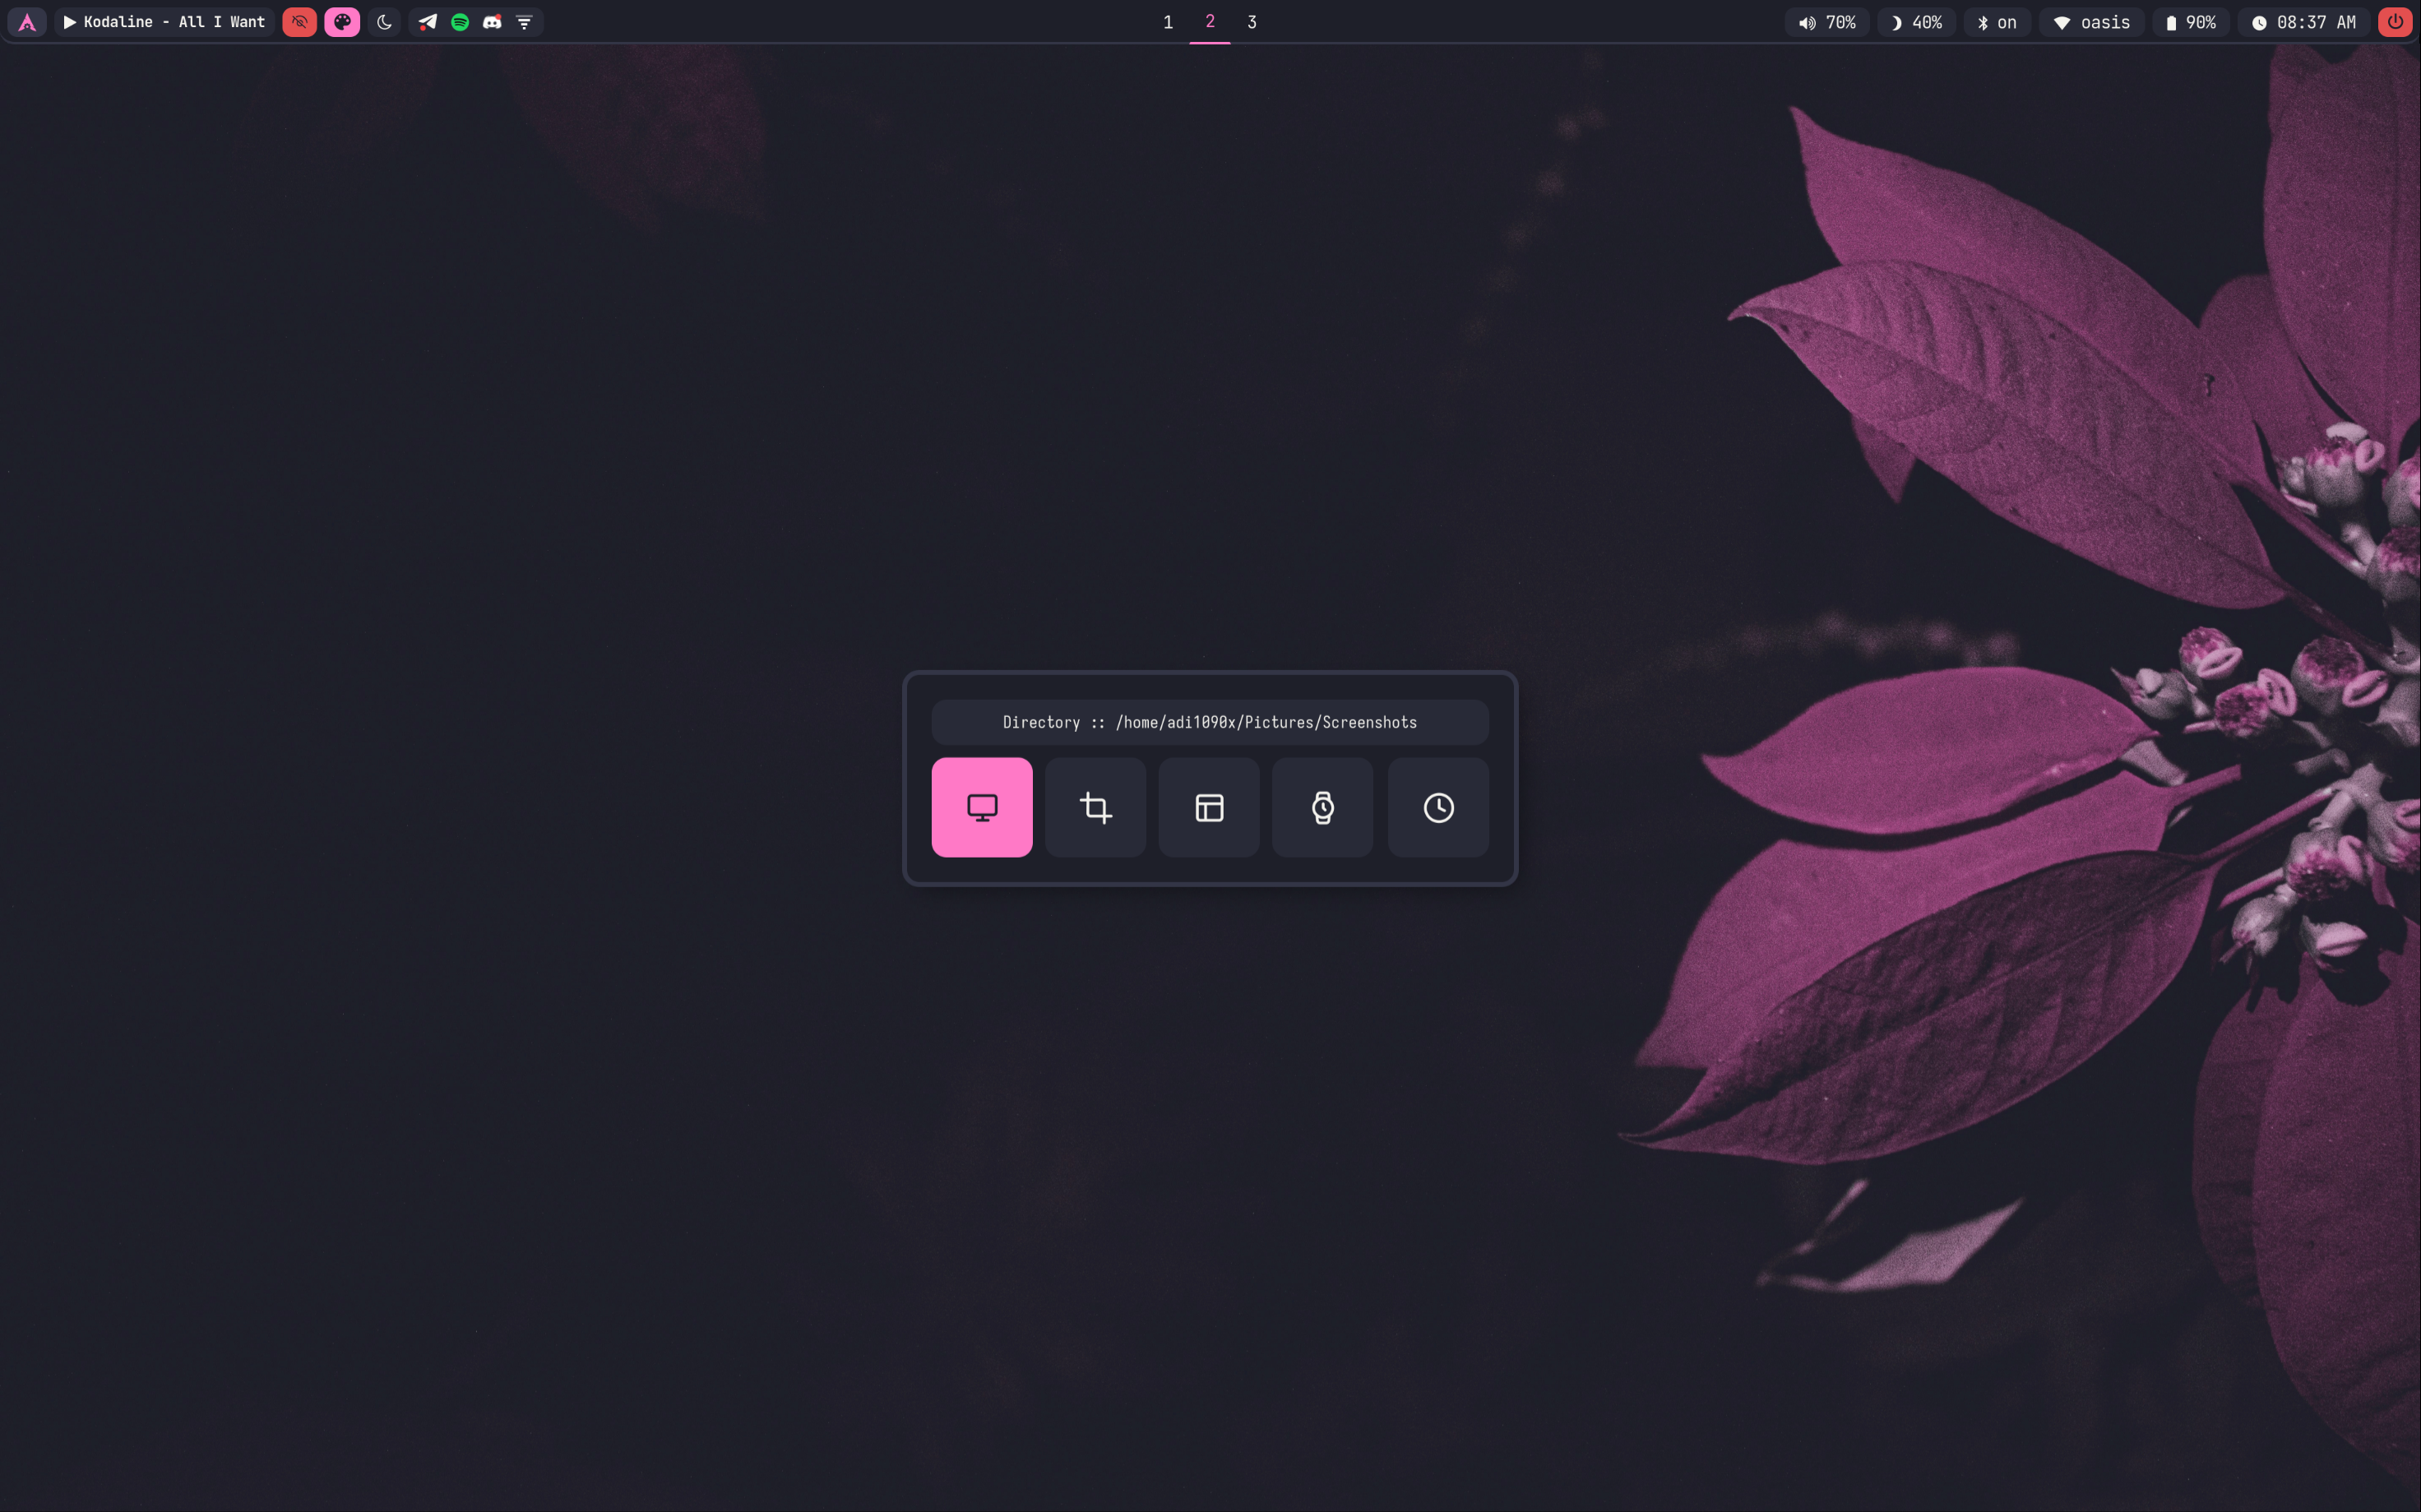
rofi_screenshot : screenshot applet that works with grim
If you want to modify any applet or perhaps want to extend the functionality of the applet, just edit these scripts.
The configuration of each script can be found inside ~/.config/mango/rofi directory.
Let's say that you want to modify the looks of launcher, then you need to edit the ~/.config/mango/rofi/launcher.rasi file. Same goes for every other applet, Edit the respective file in the same directory.
If you need any help with rofi theming, run :
man rofi-themein terminal.
To change the colors and fonts of the launchers and applets, Edit the ~/.config/mango/rofi/shared/colors.rasi and ~/.config/mango/rofi/shared/fonts.rasi files.
Wlogout, A Wayland logout menu is also configured for session management is MangoWC.
Edit ~/.config/mango/scripts/wlogout script to adjust the looks of wlogout. The configuration of wlogout can be found inside ~/.config/mango/wlogout directory.
If you want to use wlogout instead of rofi, Edit the config file ~/.config/mango/config.d/30-keybinds.conf and uncomment wlogout keybindings.
If you need any help with wlogout config, run :
man wlogoutin terminal.
When you change the theme, the shared/colors.rasi file of rofi gets overwritten by the theme script.
wayland compositor
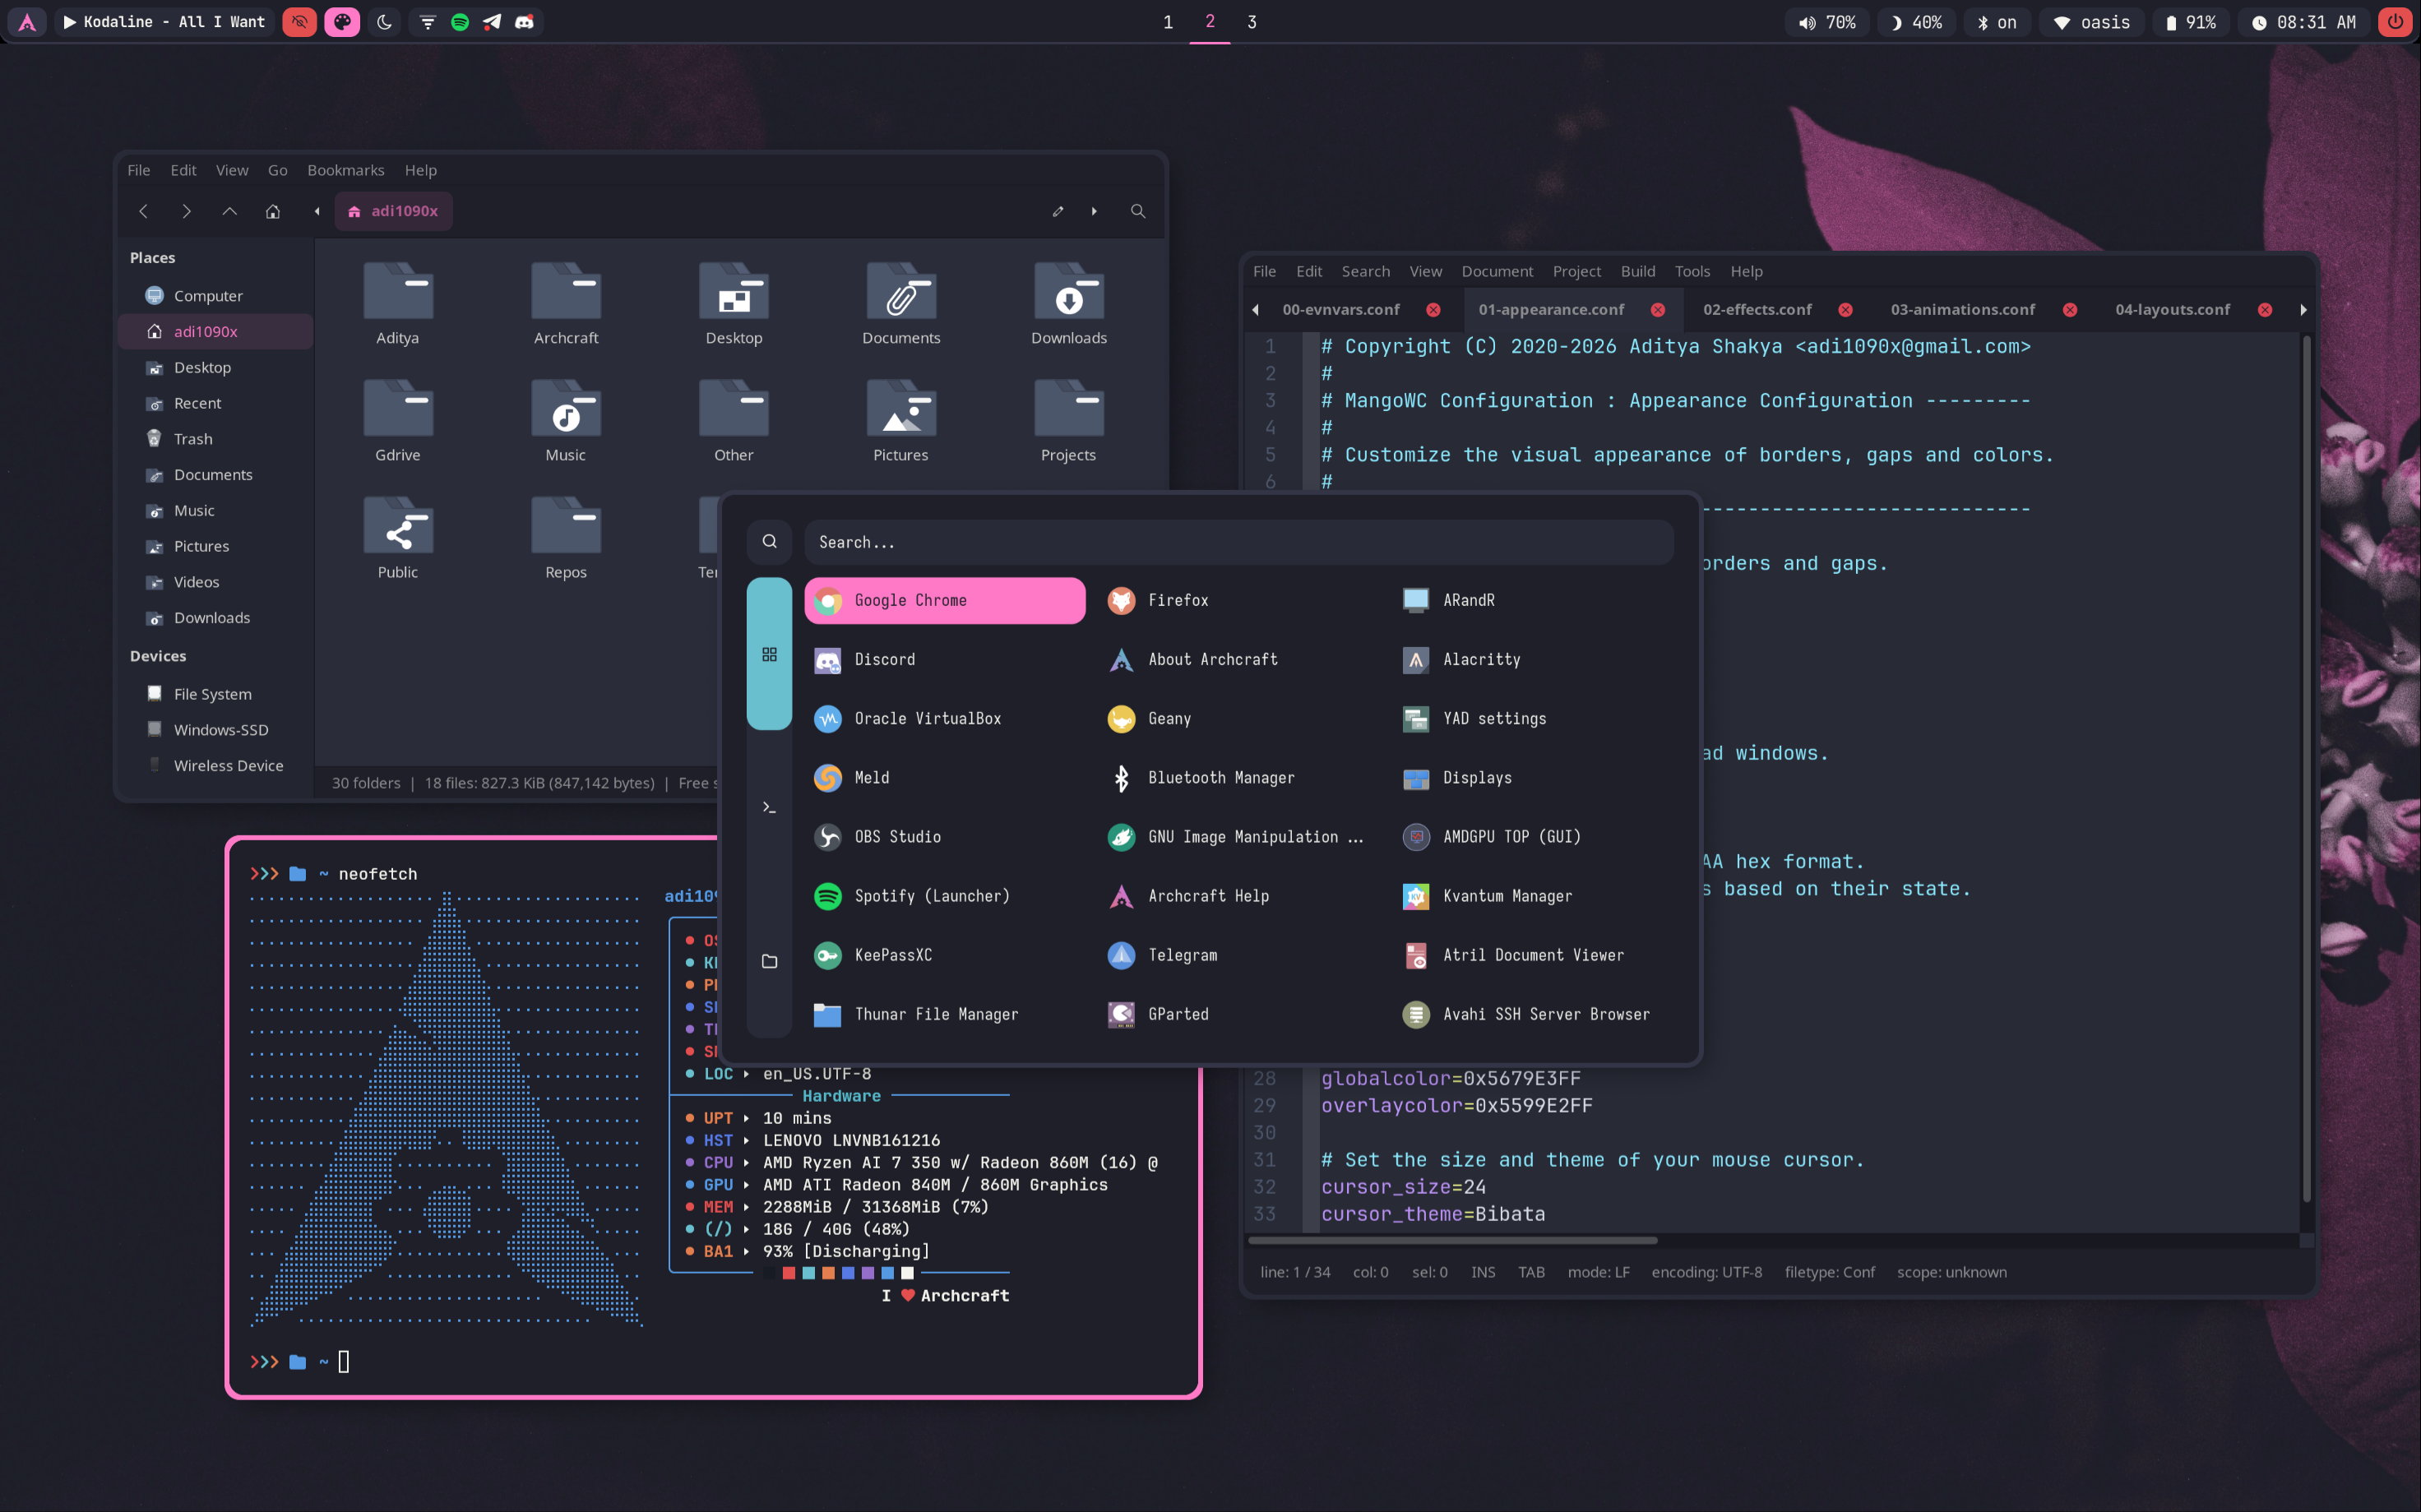
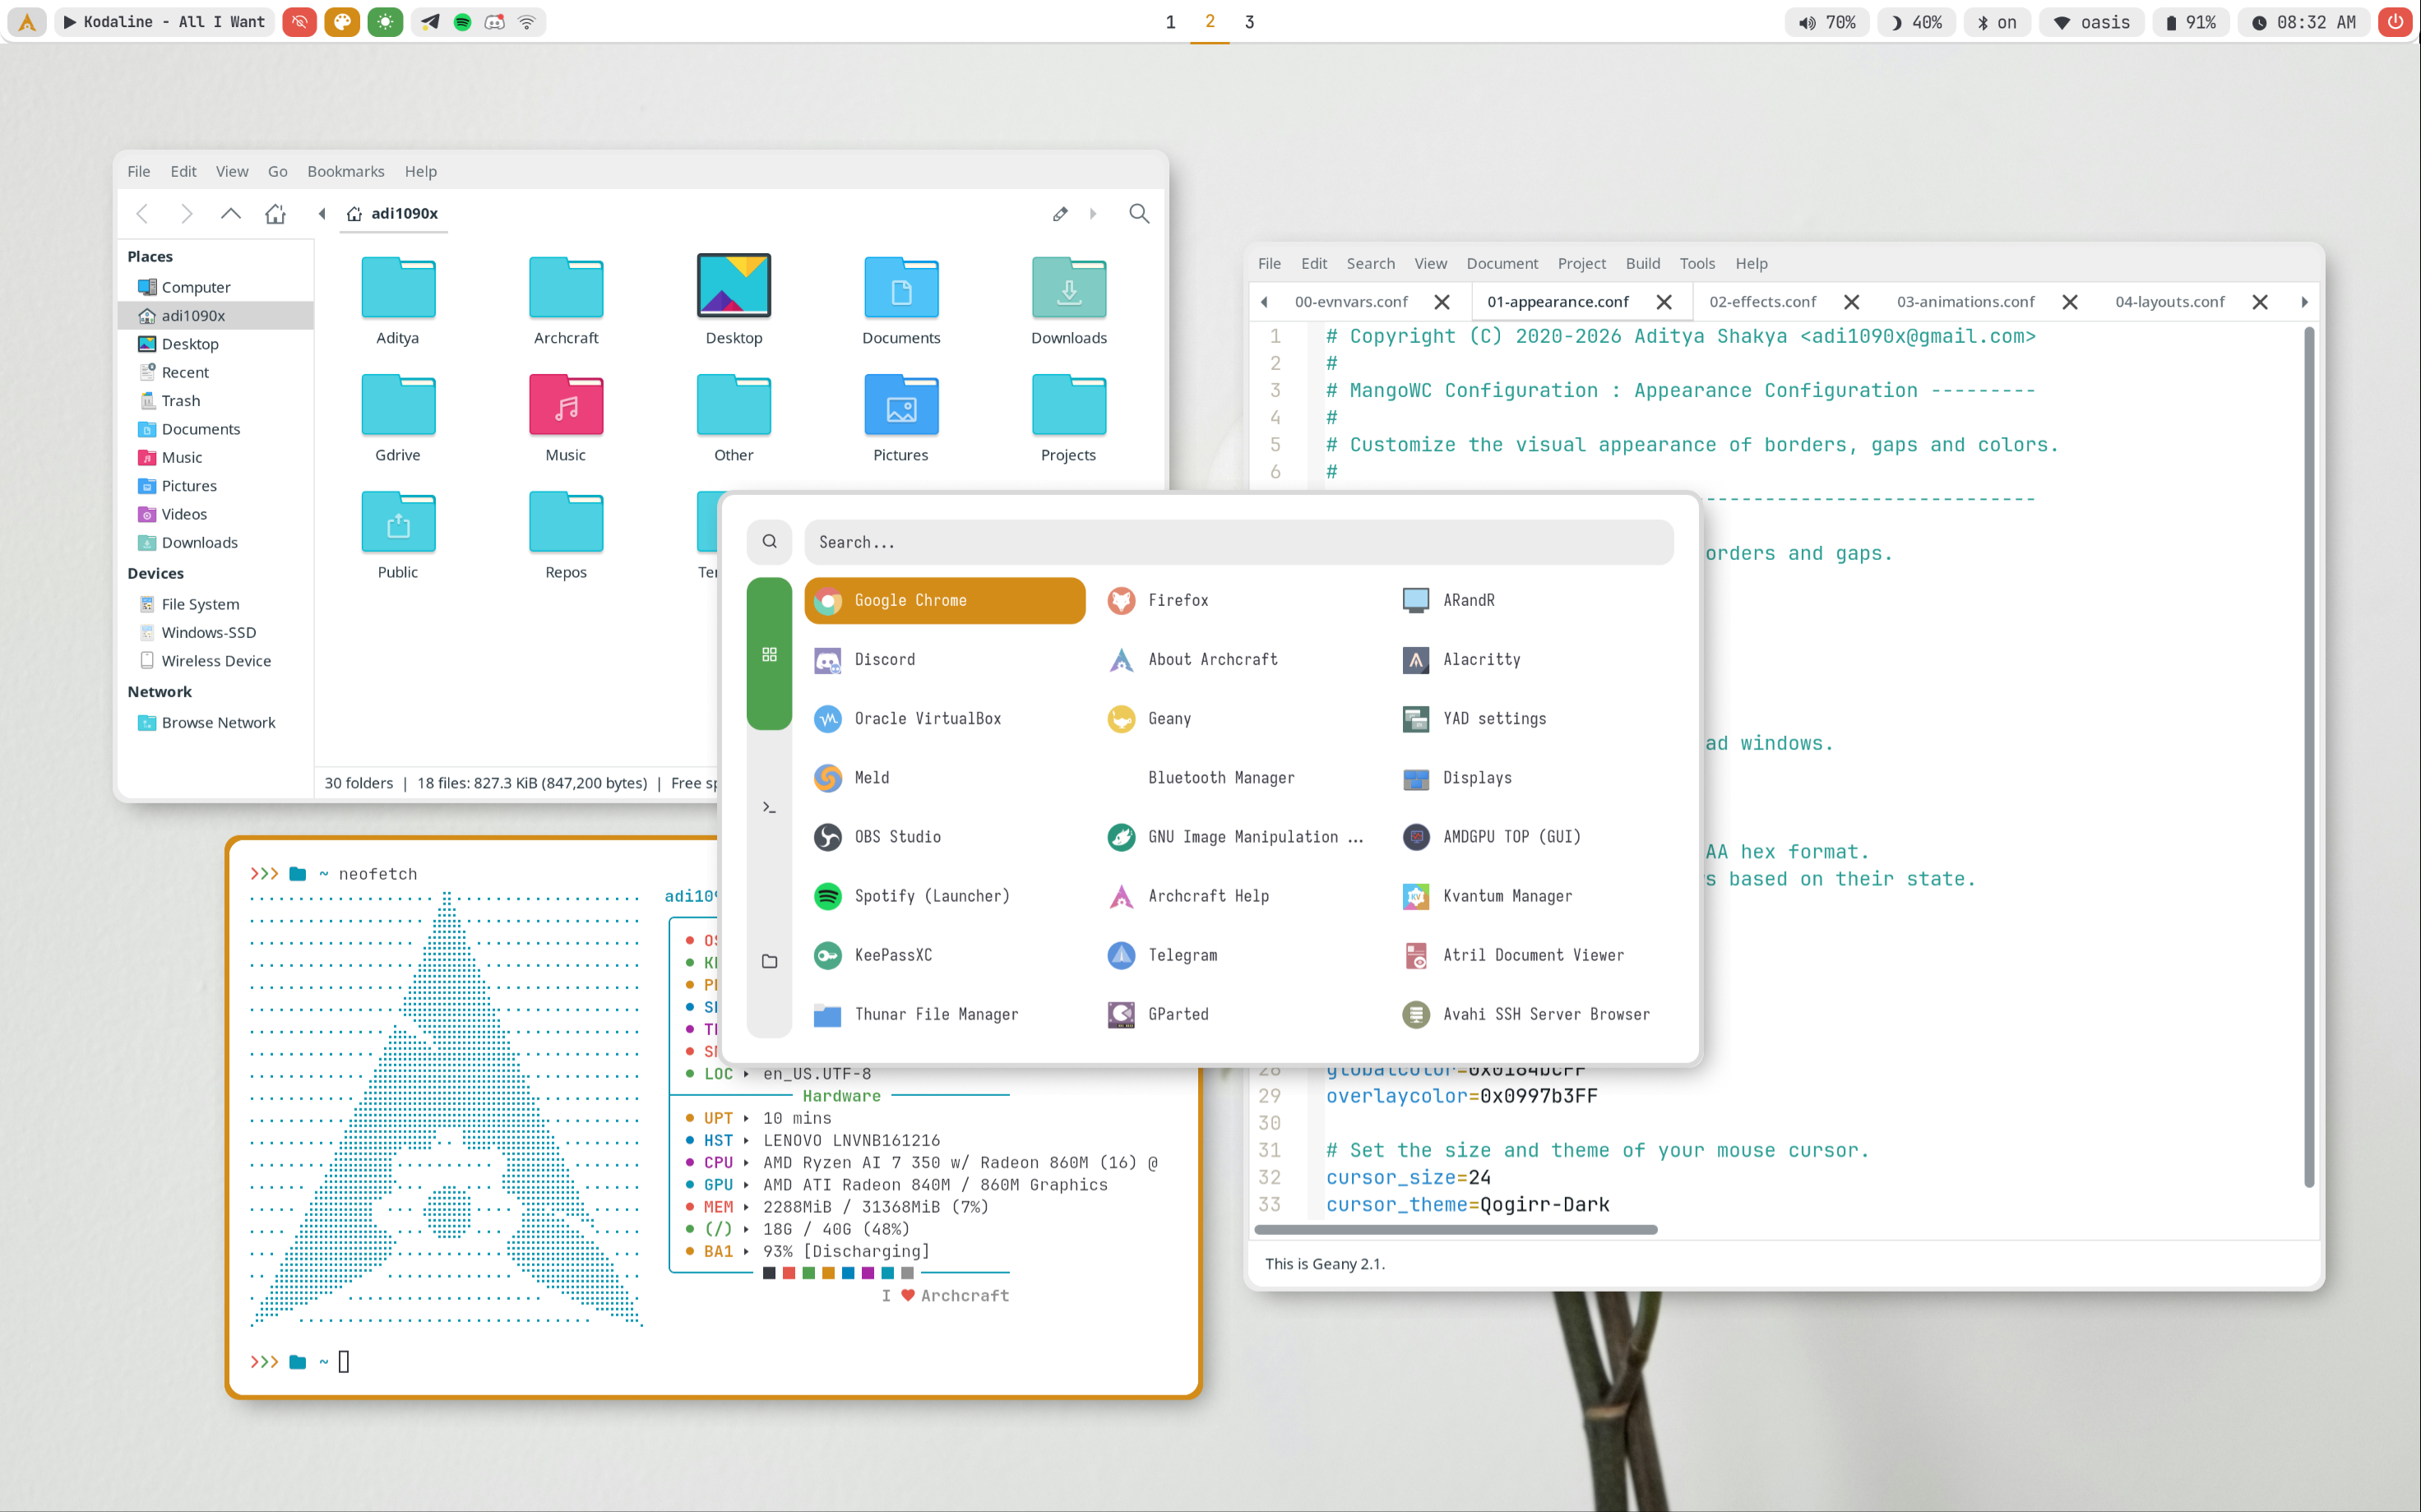
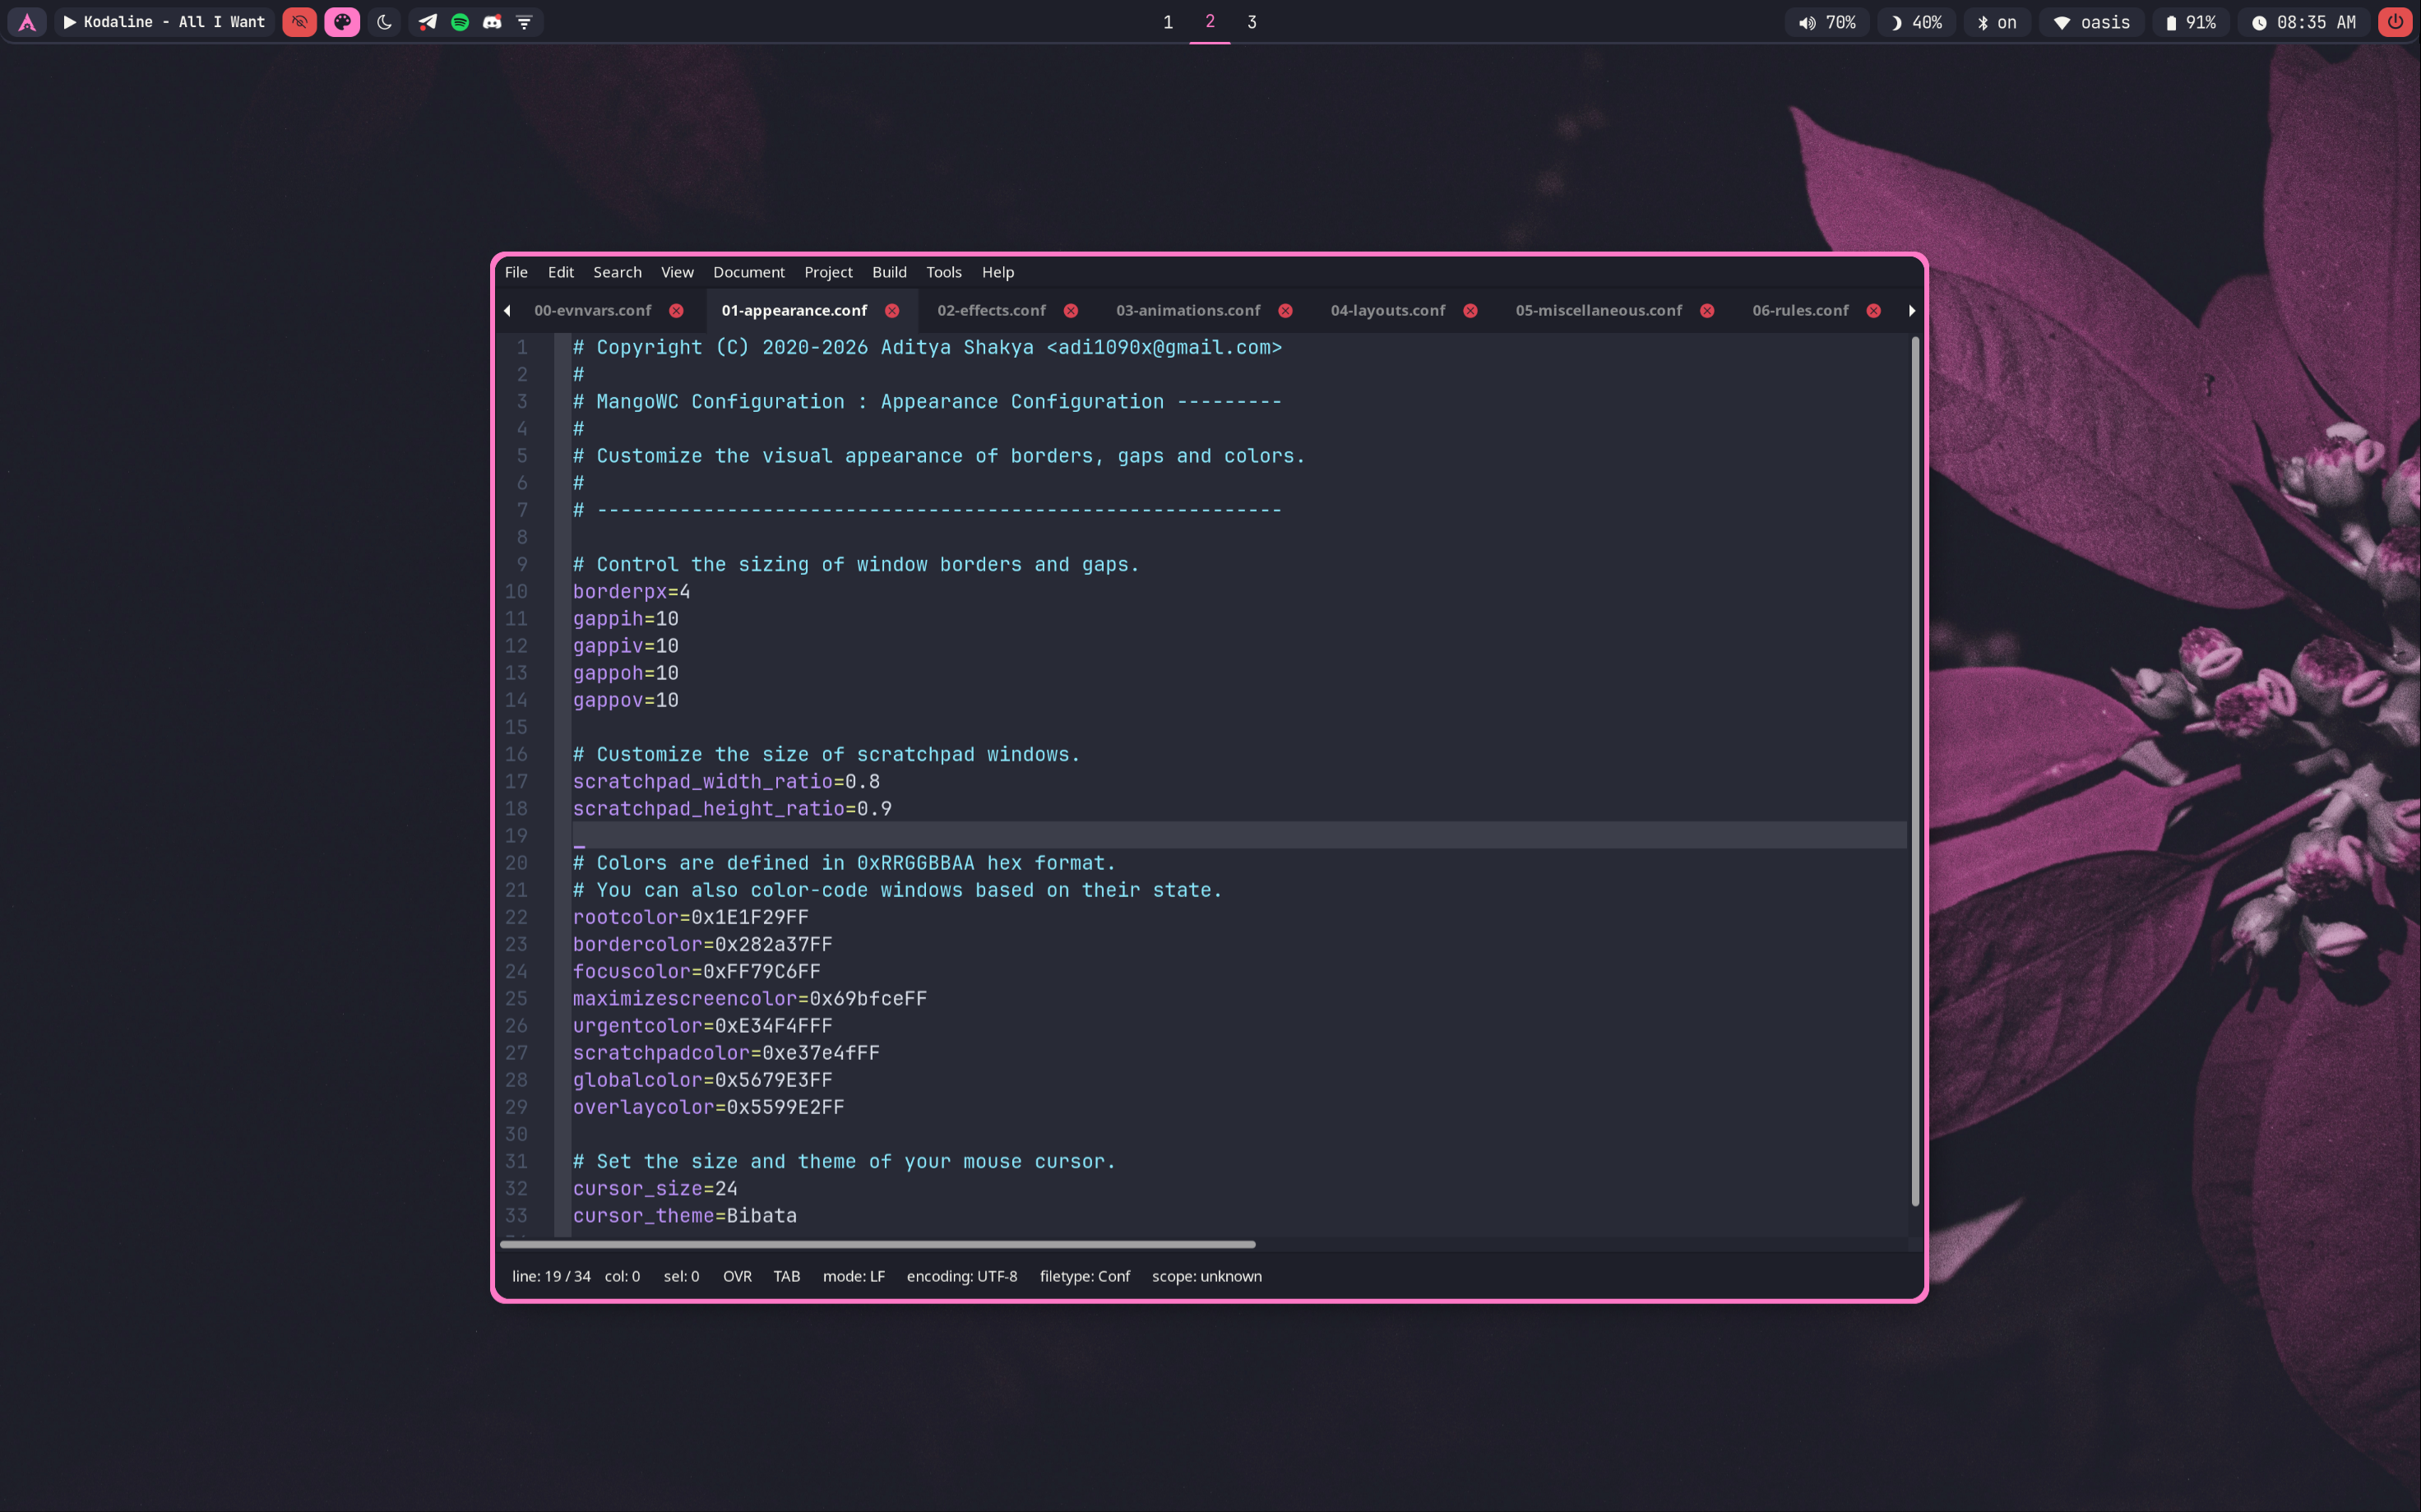
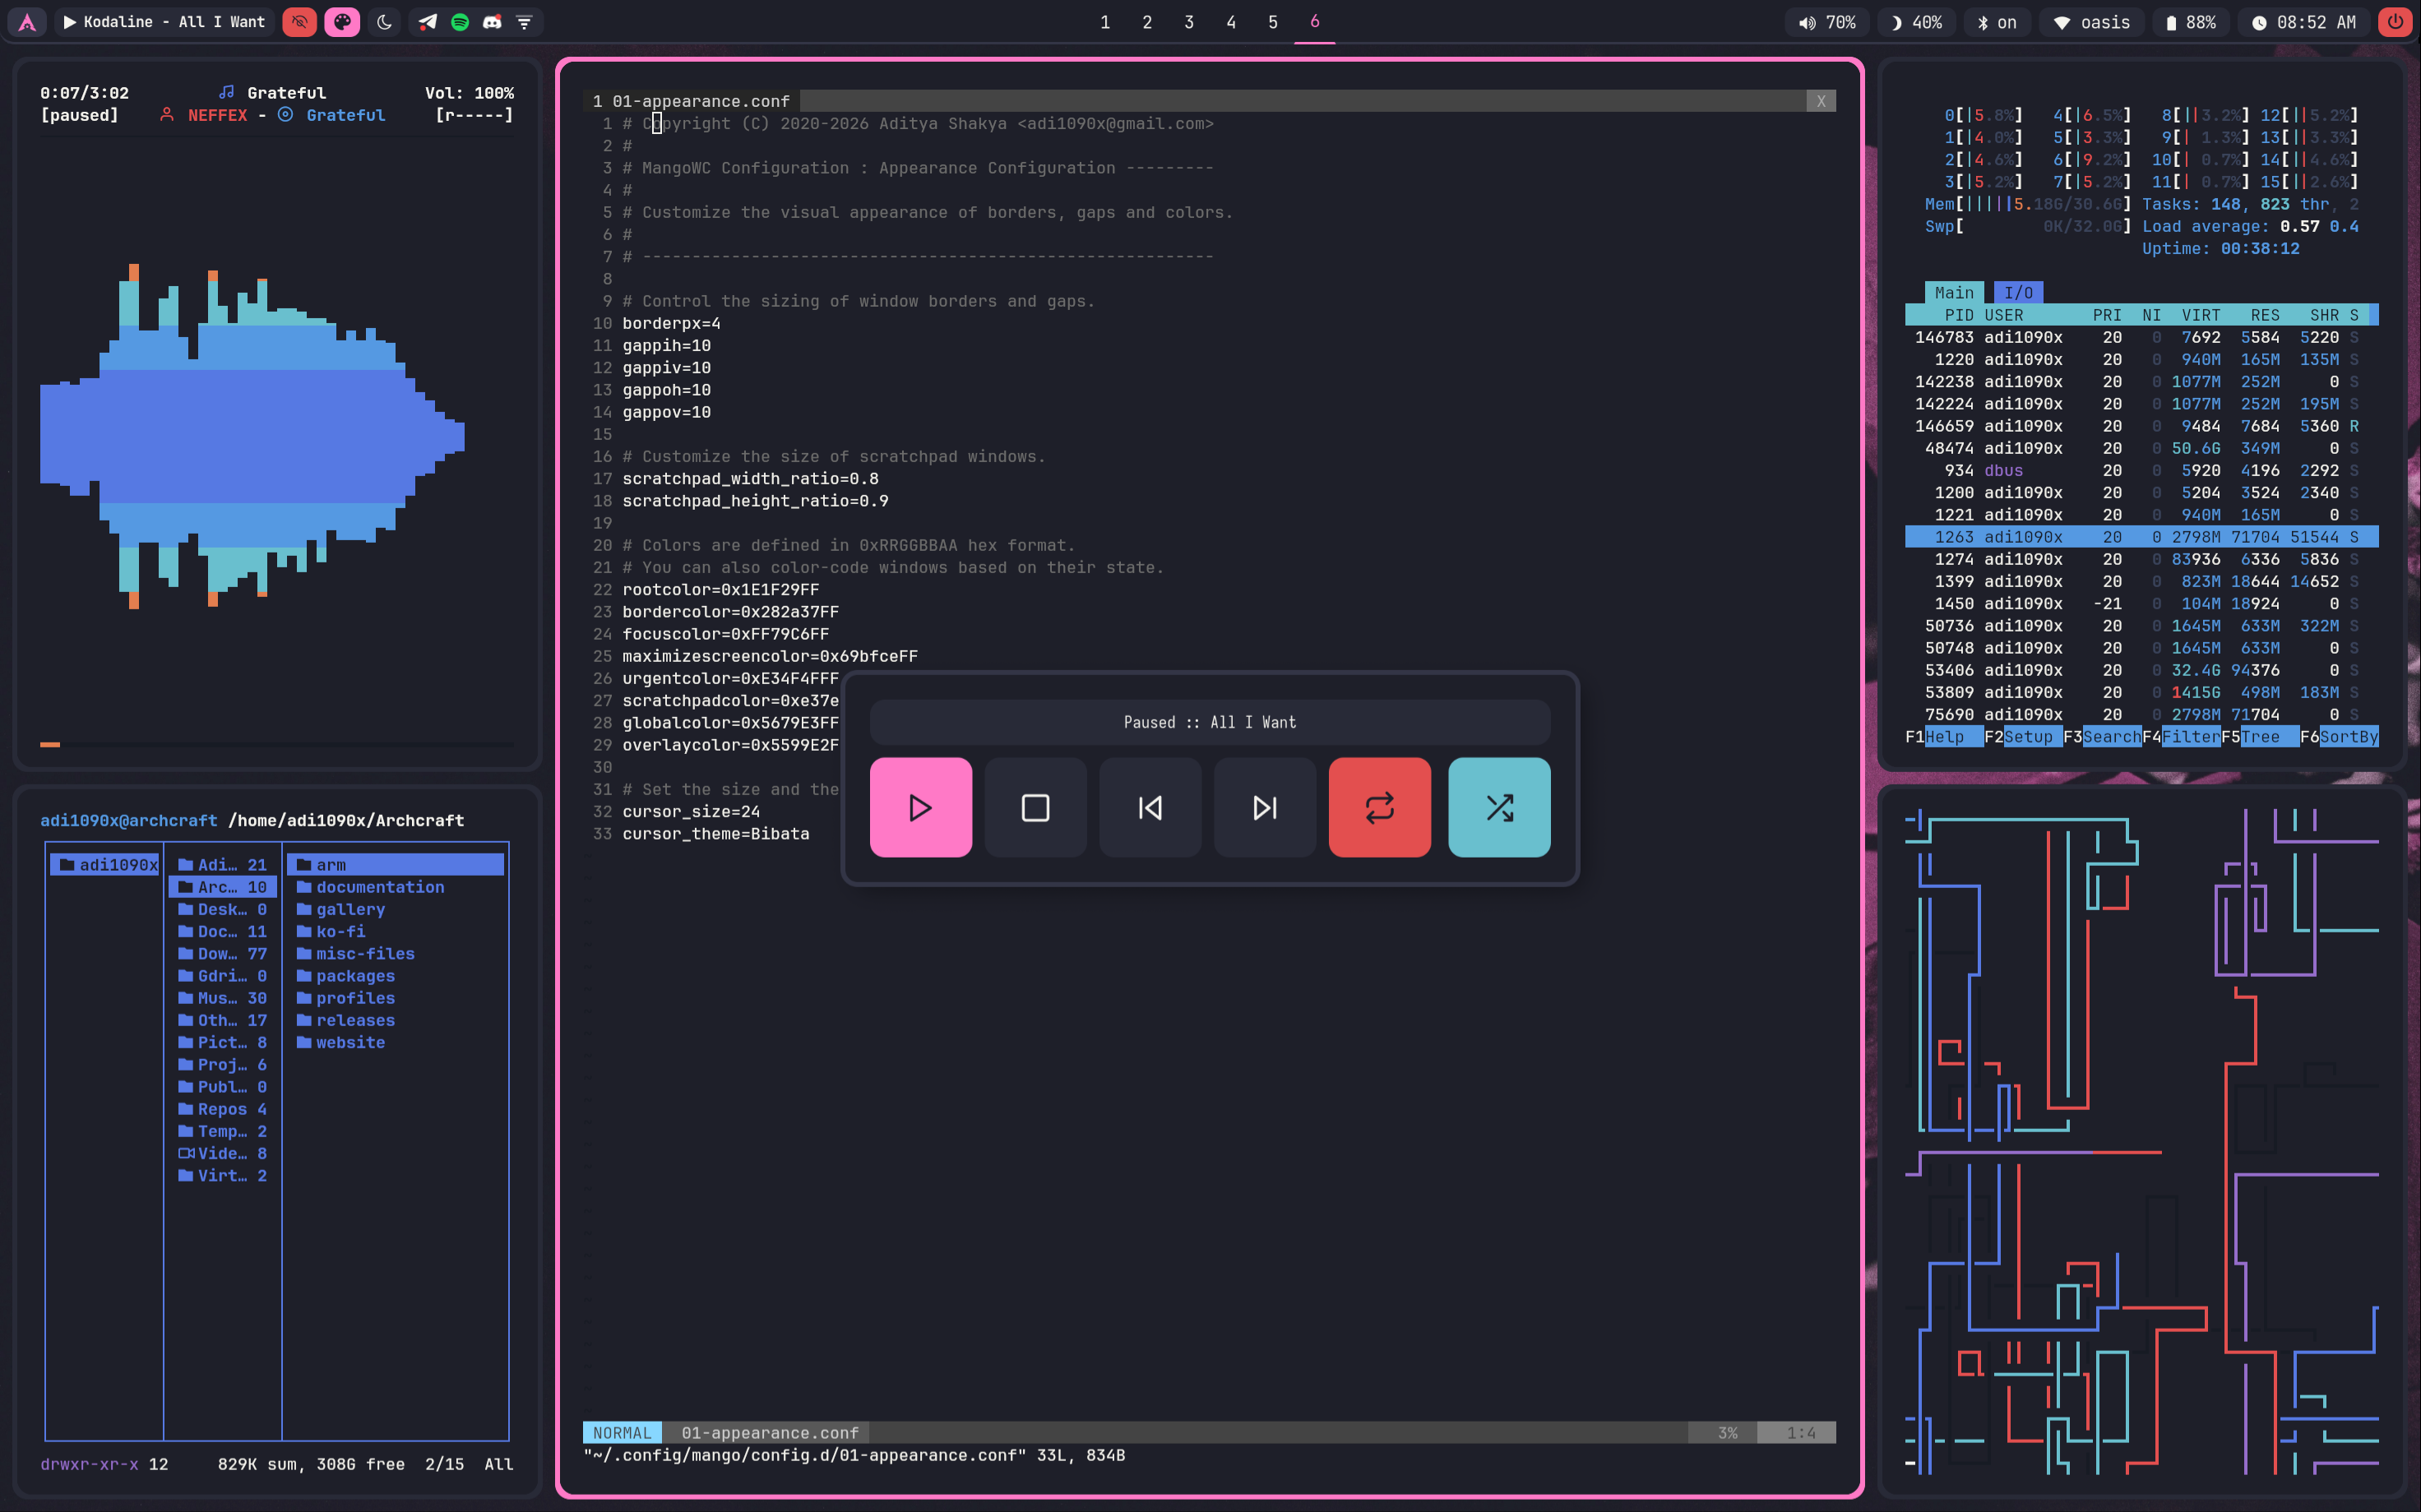
The configuration of MangoWC is available in ~/.config/mango/config.d. To configure Mango wayland compositor, these are the files that are used :
00-evnvars.conf : Environment variables config file
01-appearance.conf : Theme Elements & Colors config file
02-effects.conf : Blur, Shadows and Opacity config file
03-animations.conf : Animations config file
04-layouts.conf : Layouts config file
05-miscellaneous.conf : Miscellaneous options config file
06-rules.conf : Window/Layer/Tag Rules config file
10-input.conf : Input devices config file
20-monitors.conf : Output/Monitors config file
30-keybinds.conf : Keybindings config file
40-mousebinds.conf : Mouse Buttons config file
50-switchbinds.conf : Switch config file
60-gestures.conf : Gestures config file
If you need any help with MangoWC configuration, visit : MangoWC Docs
When you change the theme, colors in 01-appearance.conf file gets overwritten by the theme script.
Keybindings
Here's a list of some important keybinds you need to know for operating MangoWC easily. If you want to view, modify or add new keybinds, Edit ~/.config/mango/config.d/30-keybinds.conf file.
| Keys | Action |
|---|---|
| super + Return | Open terminal |
| super + shift + Return | Open floating terminal |
| super + alt + Return | Open fullscreen terminal |
| super + shift + F | Open file manager (thunar) |
| super + shift + E | Open text editor (geany) |
| super + shift + W | Open web browser (firefox) |
Menu and Applets
| Keys | Action |
|---|---|
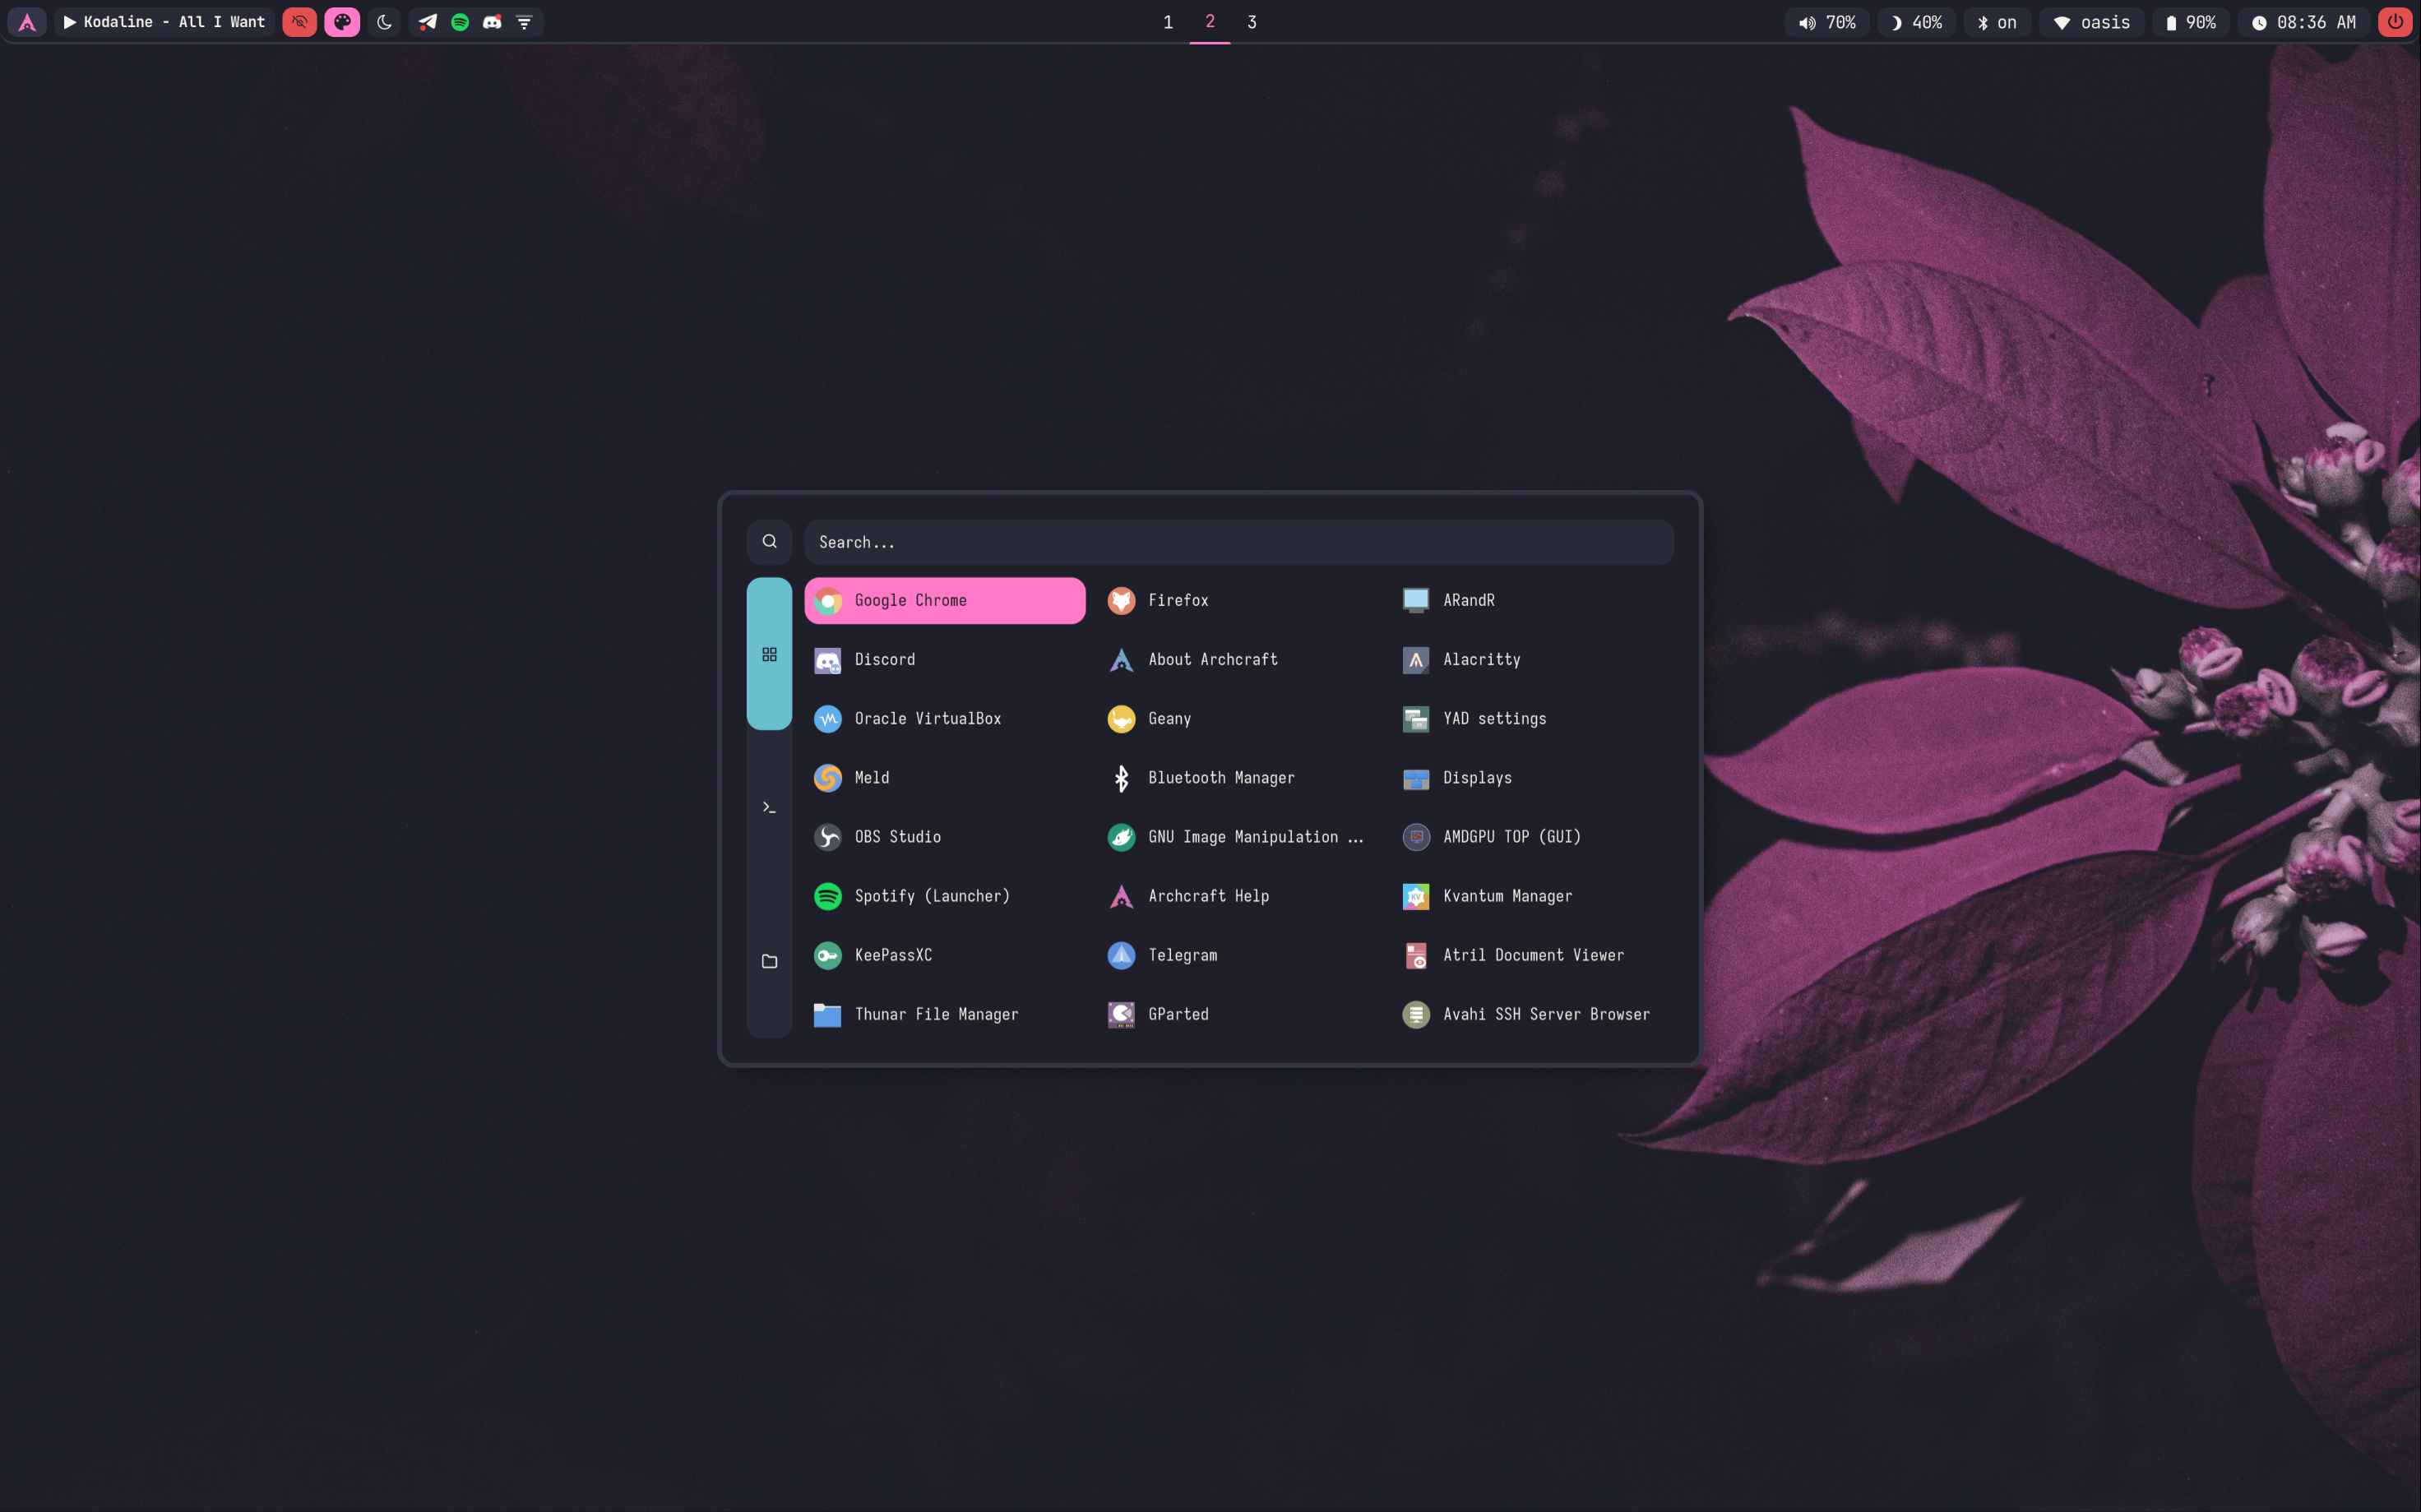
| super + D | Open application launcher |
| Alt + F1 | Open application launcher |
| Alt + F2 | Open command runner |
| super + R | Open Asroot applet |
| super + N | Open network manager applet |
| super + M | Open music applet |
| super + X | Open powermenu applet |
| super + S | Open screenshots applet |
| super + B | Open bluetooth applet |
Hardware Keys
| Keys | Action |
|---|---|
| Take screenshot | |
| alt + Print | Take screenshot in 5 seconds delay |
| shift + Print | Take screenshot in 10 seconds delay |
| ctrl + Print | Take screenshot of currently focused window |
| super + Print | Take screenshot of selected area |
| XF86AudioRaiseVolume | Increase volume |
| XF86AudioLowerVolume | Decrease volume |
| XF86AudioMute | Toggle mute speakers |
| XF86AudioMicMute | Toggle mute microphone |
| XF86Audio + Next/Prev/Play/Stop | Media controls (MPD) |
| XF86MonBrightnessUp | Increase display brightness |
| XF86MonBrightnessDown | Decrease display brightness |
Tags
| Keys | Action |
|---|---|
| super + 1..9 | Switch to tag |
| super + shift + 1..9 | Send active window to respective tag |
| super + 0 | Toggle scratchpad |
| ctrl + alt + Left/Right | Switch to previous/next tag |
| ctrl + alt + shift + Left/Right | Send active window to previous/next tag |
Window Management
| Keys | Action |
|---|---|
| super + C/Q | Close focued window |
| super + F | Toggle fullscreen |
| super + Z | Toggle Zoom |
| super + Space | Toggle float |
| super + I | Minimize window |
| super + shift + I | Restore minimized window |
| super + shift + Z | focus last window |
| super + shift + C | Center focused window |
| super + G | Toggle globlal window |
| super + O | Toggle overlay window |
| alt + a | Toggle maximize screen |
| alt + Tab | Toggle overview |
| super + Left/Right/Up/Down | Change focus of window respectively |
| super + shift + Left/Right/Up/Down | Move active window respectively |
| super + ctrl + Left/Right/Up/Down | Resize active window respectively |
| super + alt + Left/Right/Up/Down | Move floating window respectively |
| super + ctrl + A/D/W/S | Smart Resize for floating windows only |
| super + alt + A/D/W/S | Smart Move for floating windows only |
| super + Tab | Switch focus stack |
| super + shift + Tab | Exchange stack client |
Layouts and Monitor
| Keys | Action |
|---|---|
| super + L | Switch between all available layouts |
| super + shift + L | Set scroller layout |
| alt + E | Set proportion to 1 for scroller layout |
| alt + X | Set proportion from presets for scroller layout |
| super + ctrl + shift + Left/Right | Focus left/right monitor |
| super + alt + shift + Left/Right | Move window to left/right monitor |
| super + V | Create a headless monitor |
| super + shift + V | Destroy all virtual monitors |
Misc Keys
| Keys | Action |
|---|---|
| super + P | Run colorpicker |
| ctrl + alt + L | Trigger lockscreen |
| ctrl + alt + Delete | Quit MangoWC |
| super + shift + R | Reload Config |
| super + shift + B | Toggle Border |
| super + shift + G | Toggle Gaps |
| super + shift + Minus | Increase Gaps |
| super + shift + Equal | Decrease Gaps |
Touchpad Gestures
| Gesture | Action |
|---|---|
| super + SwipeUp | Increase display brightness |
| super + SwipeDown | Decrease display brightness |
| swipe-3 Left/Right | Focus/Scroll the windows |
| swipe-3 Up/Down | Change the workspace |
| swipe-4 | Open the Overview |
Nvidia
If you're on Archcraft and install the provided package, There's nothing else you need to do in order to run it on Nvidia machine. When you install Archcraft on a machine that has Nvidia, It does all the operations (mentioned below) required to run a wayland compositor on such machines. The compositor should work fine.
If you're running any other distribution and want to install this setup on your Nvidia machine, You need to do some tweaking. In this guide, I'm assuing you're using Arch Linux. Follow the steps below to make this wayland compositor work on Nvidia :
- Install Nvidia Drivers on your system. NVIDIA
- Edit
/etc/mkinitcpio.conffile and addnvidiakernel modules
MODULES="nvidia nvidia_modeset nvidia_uvm nvidia_drm"
- In the same file, Remove
kmshook from hooks array if present. - Rebuild your initrd file with :
sudo mkinitcpio -P linux - Edit
/etc/default/grubfile and addnvidia_drm.modeset=1kernel parameter for Nvidia
GRUB_CMDLINE_LINUX_DEFAULT="quiet splash nvidia_drm.modeset=1 ..."
- Update your grub config file with :
sudo grub-mkconfig -o /boot/grub/grub.cfg - Reboot your Nvidia Machine and login to your wayland compositor, It should work now.
More Information: NVIDIA#Installation, NVIDIA#DRM_kernel_mode_setting
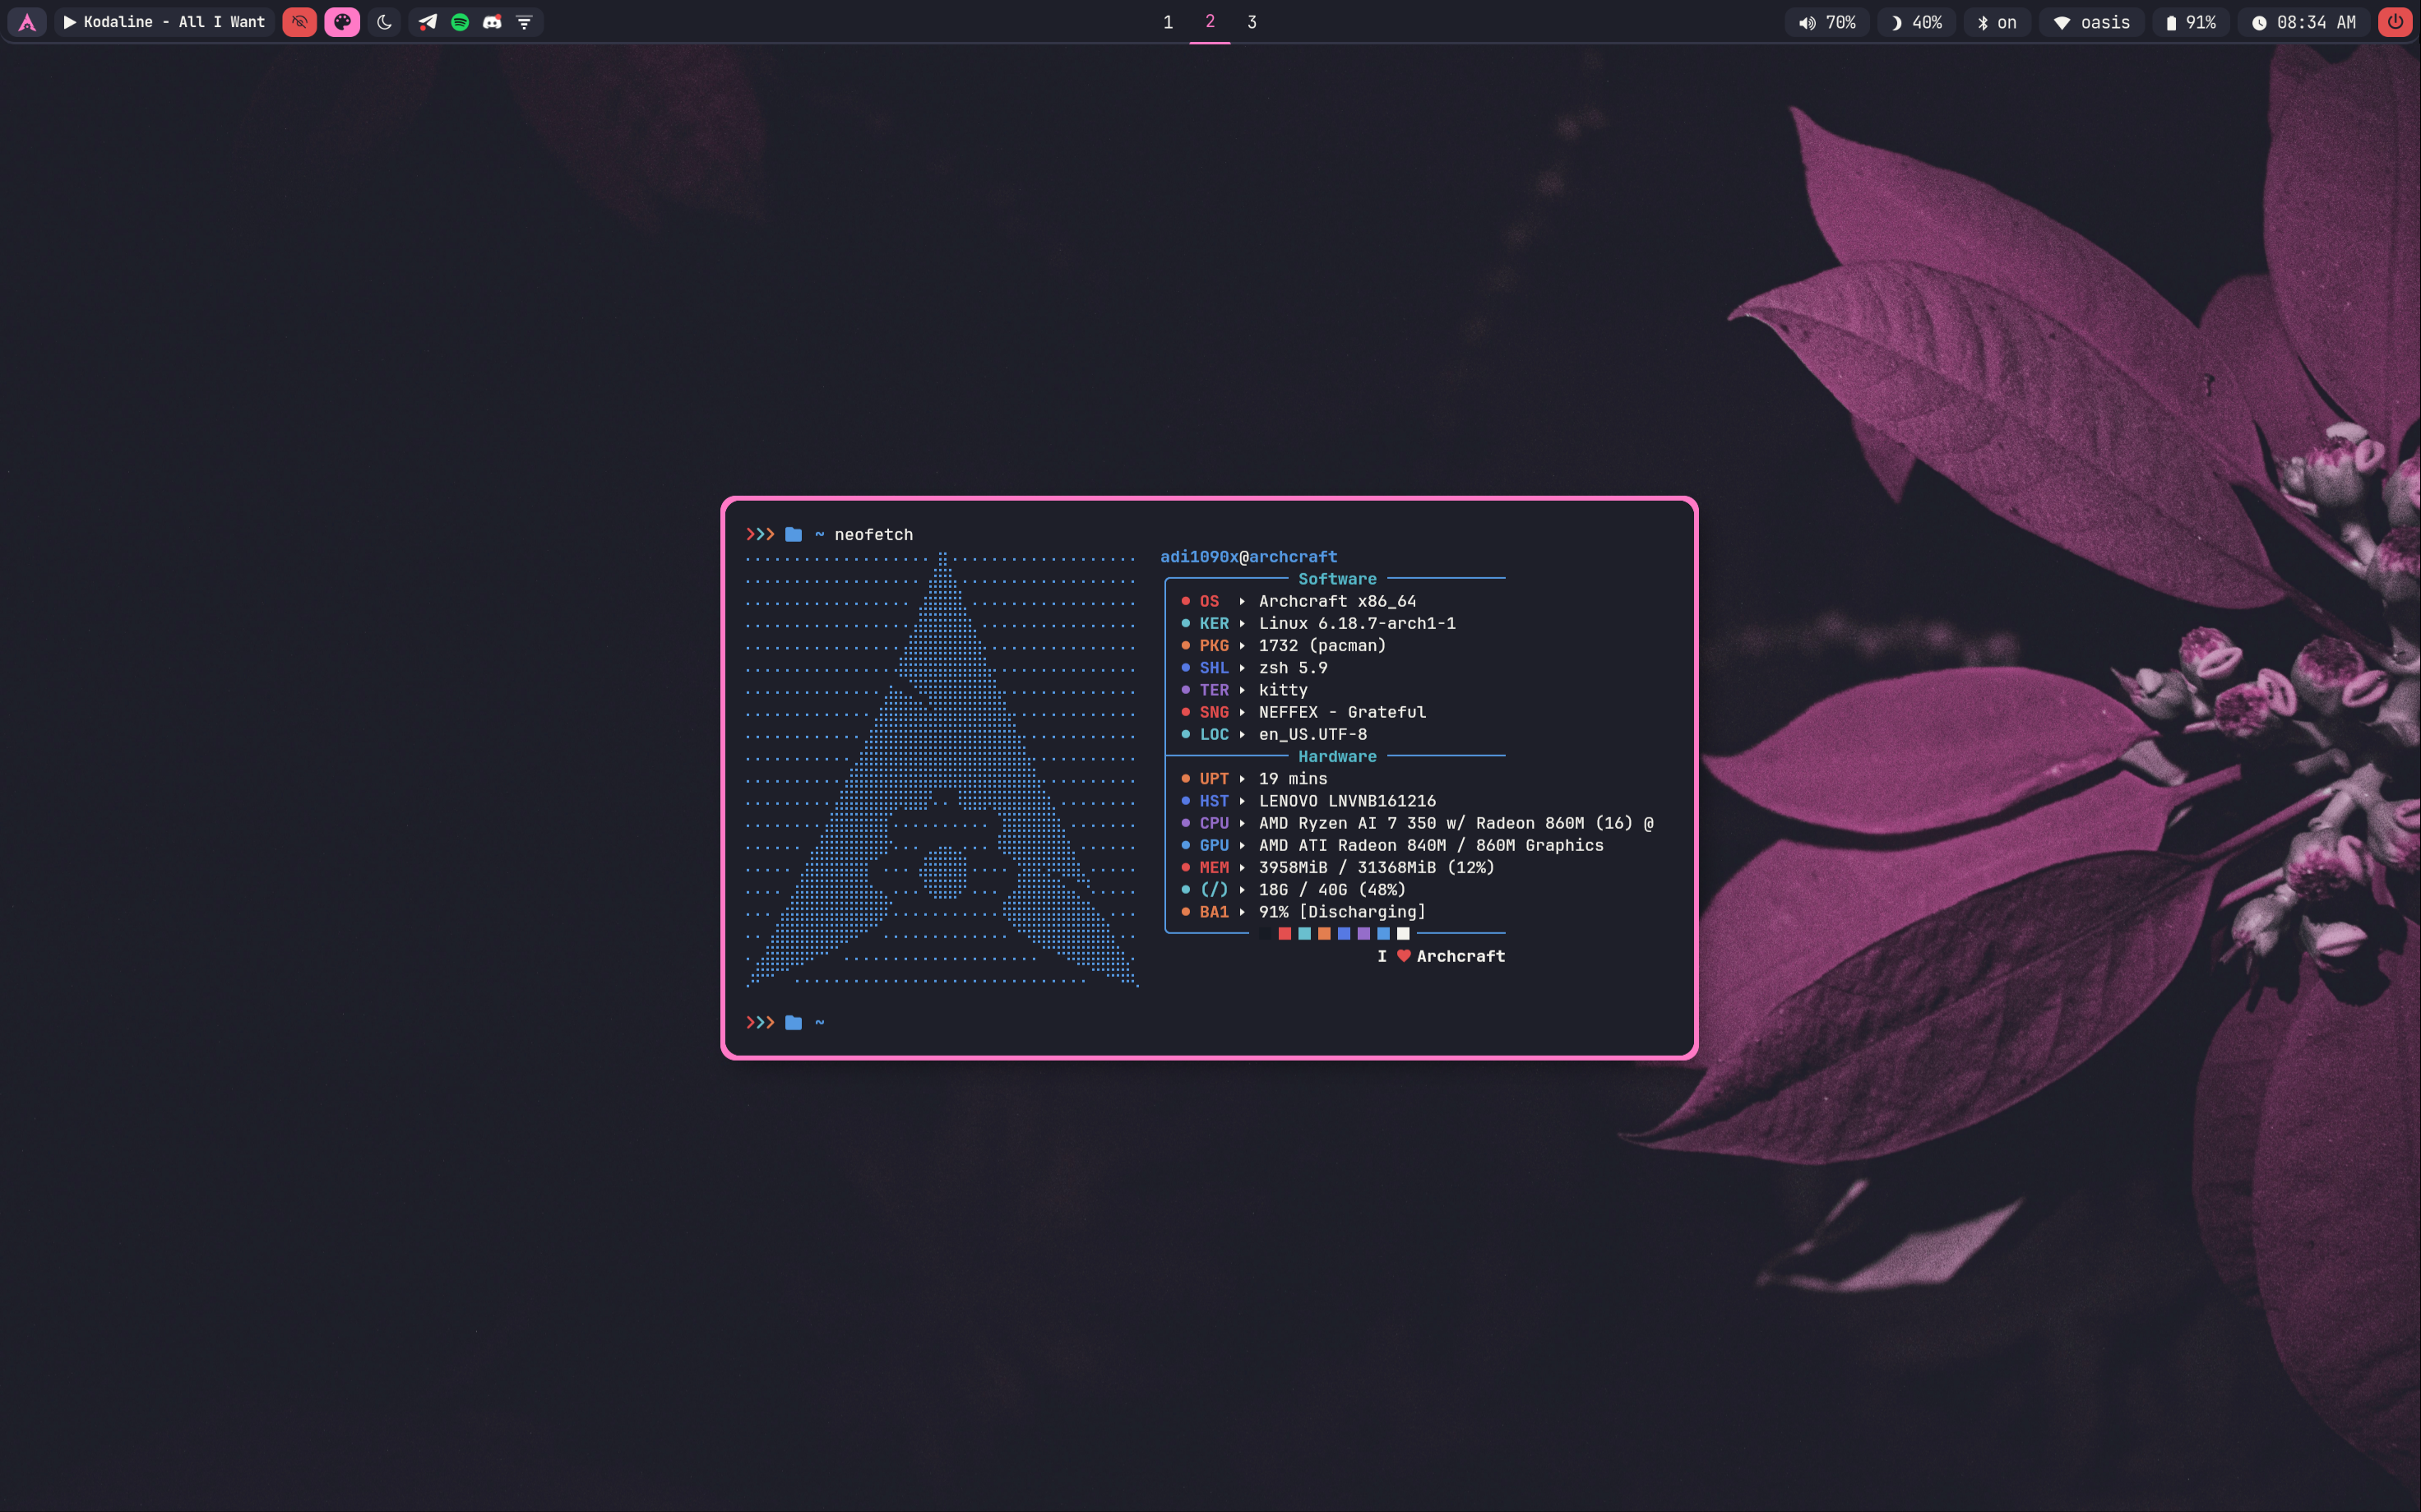
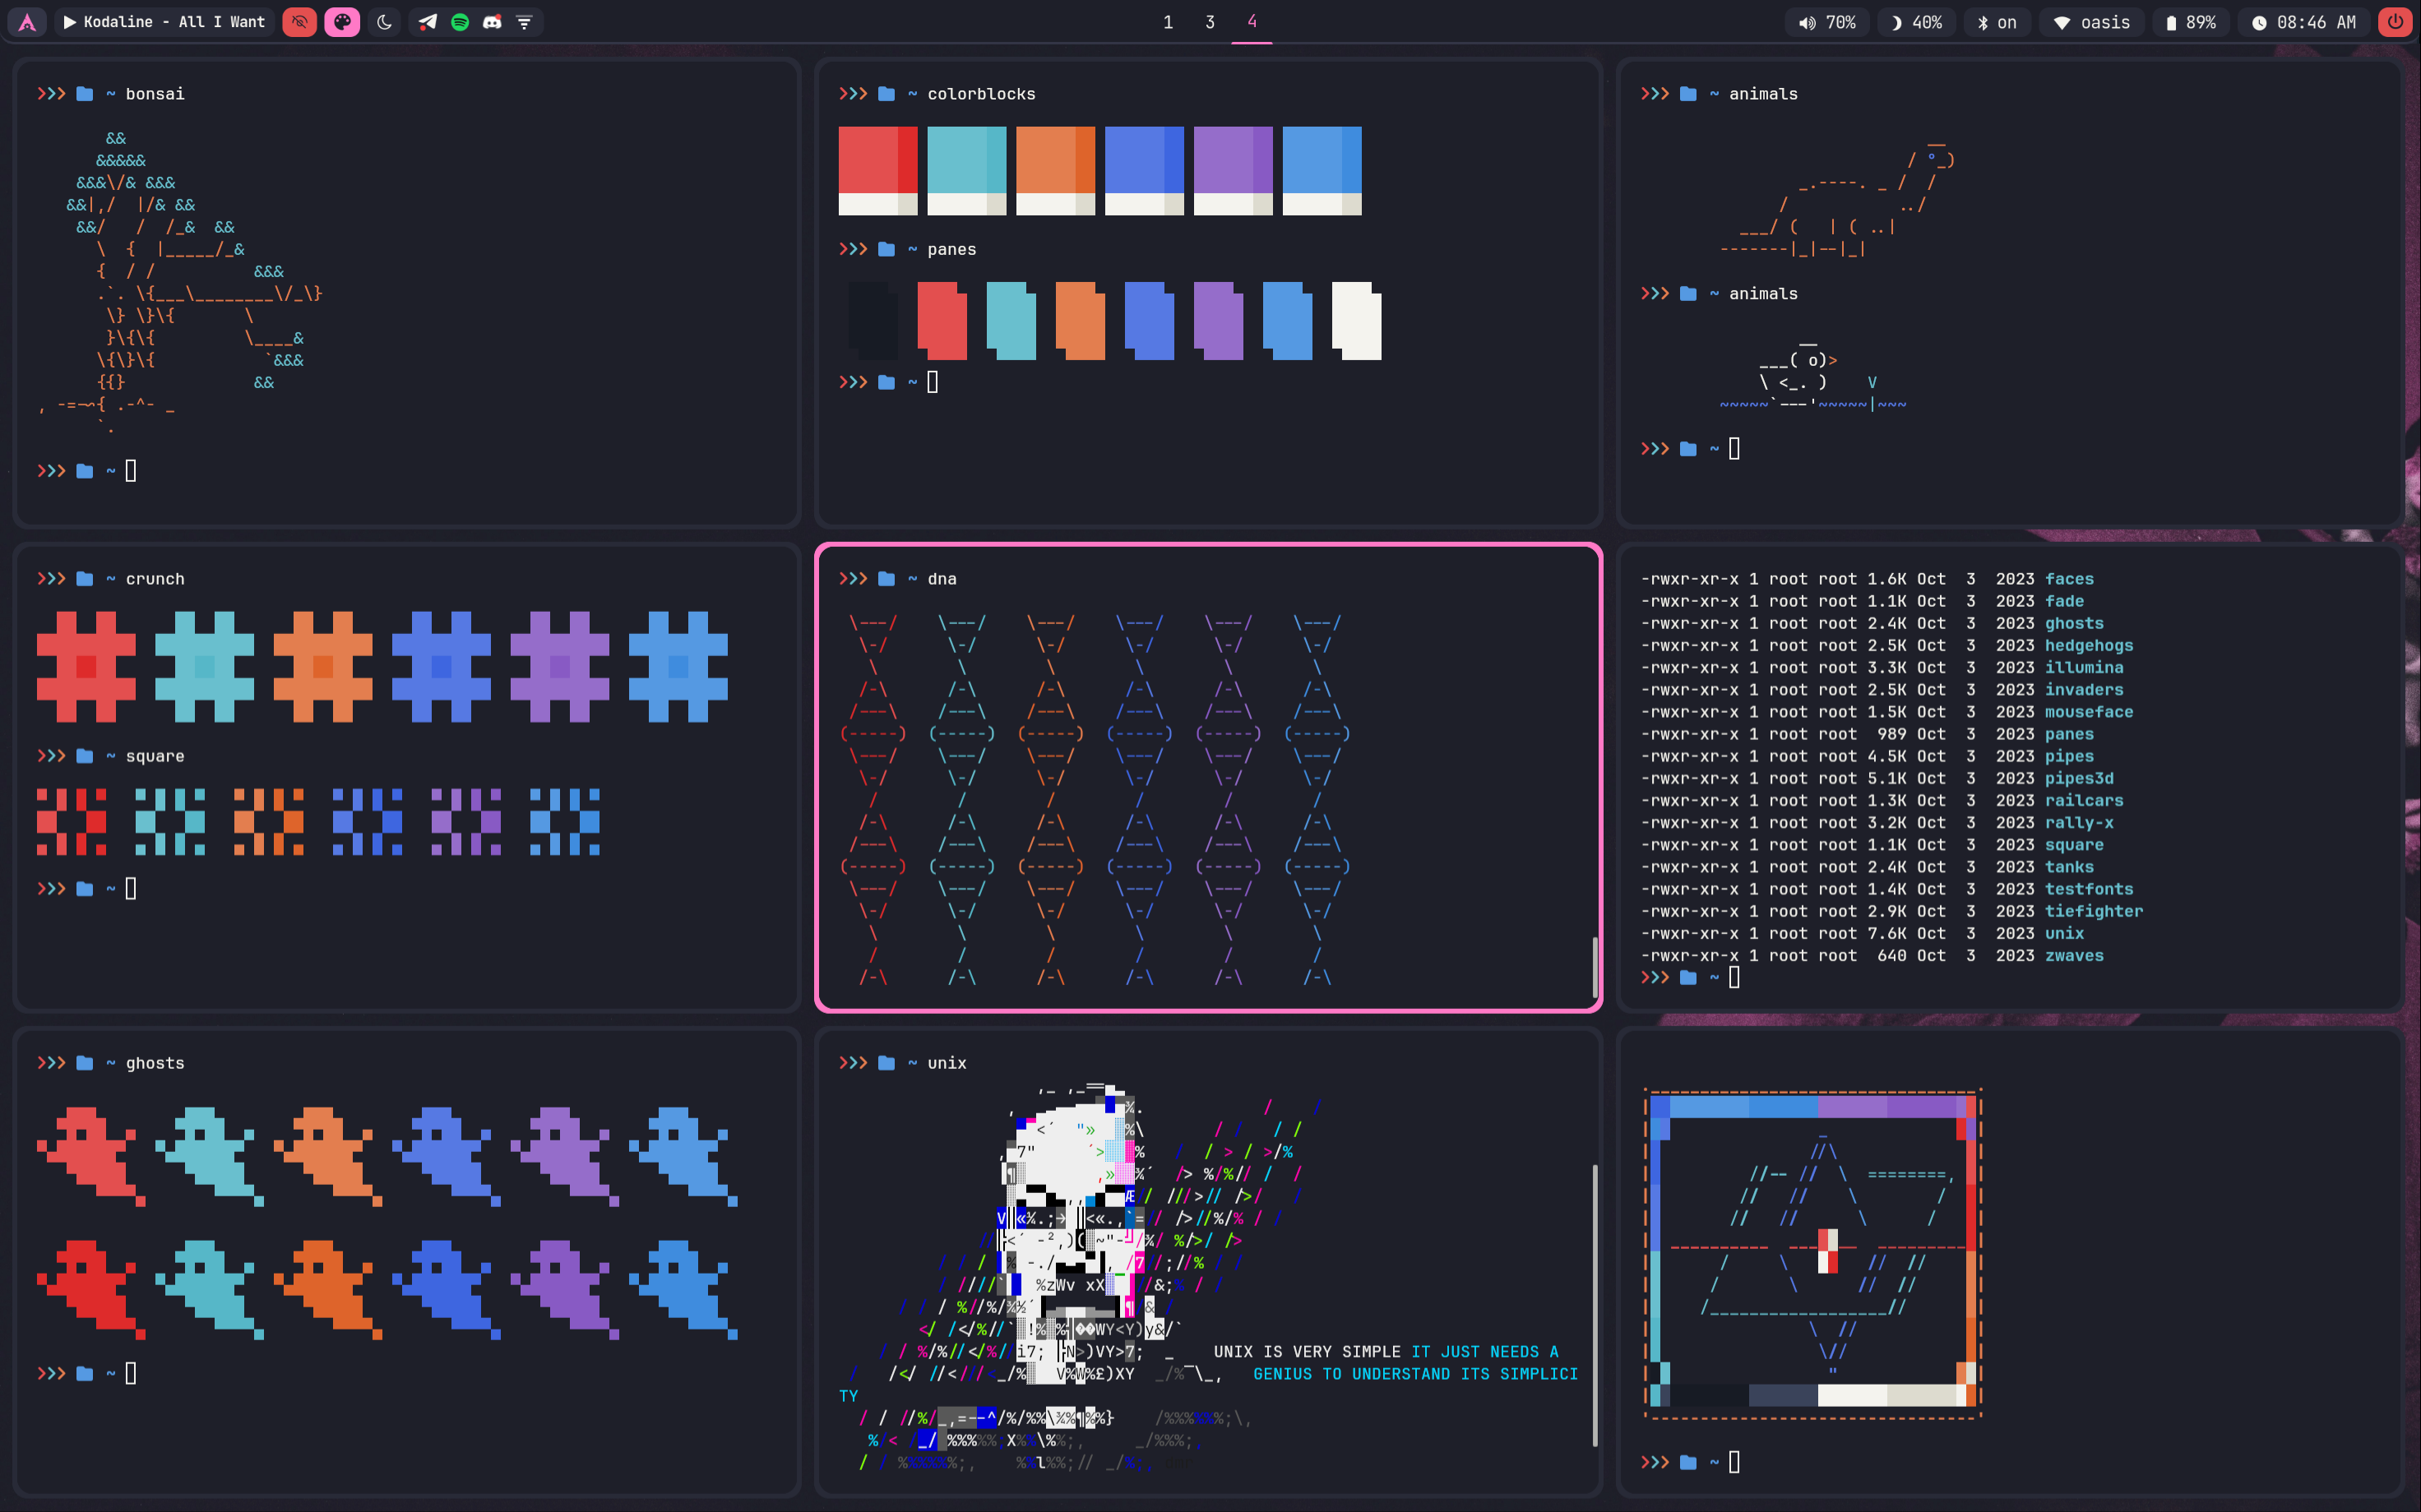
Screenshots
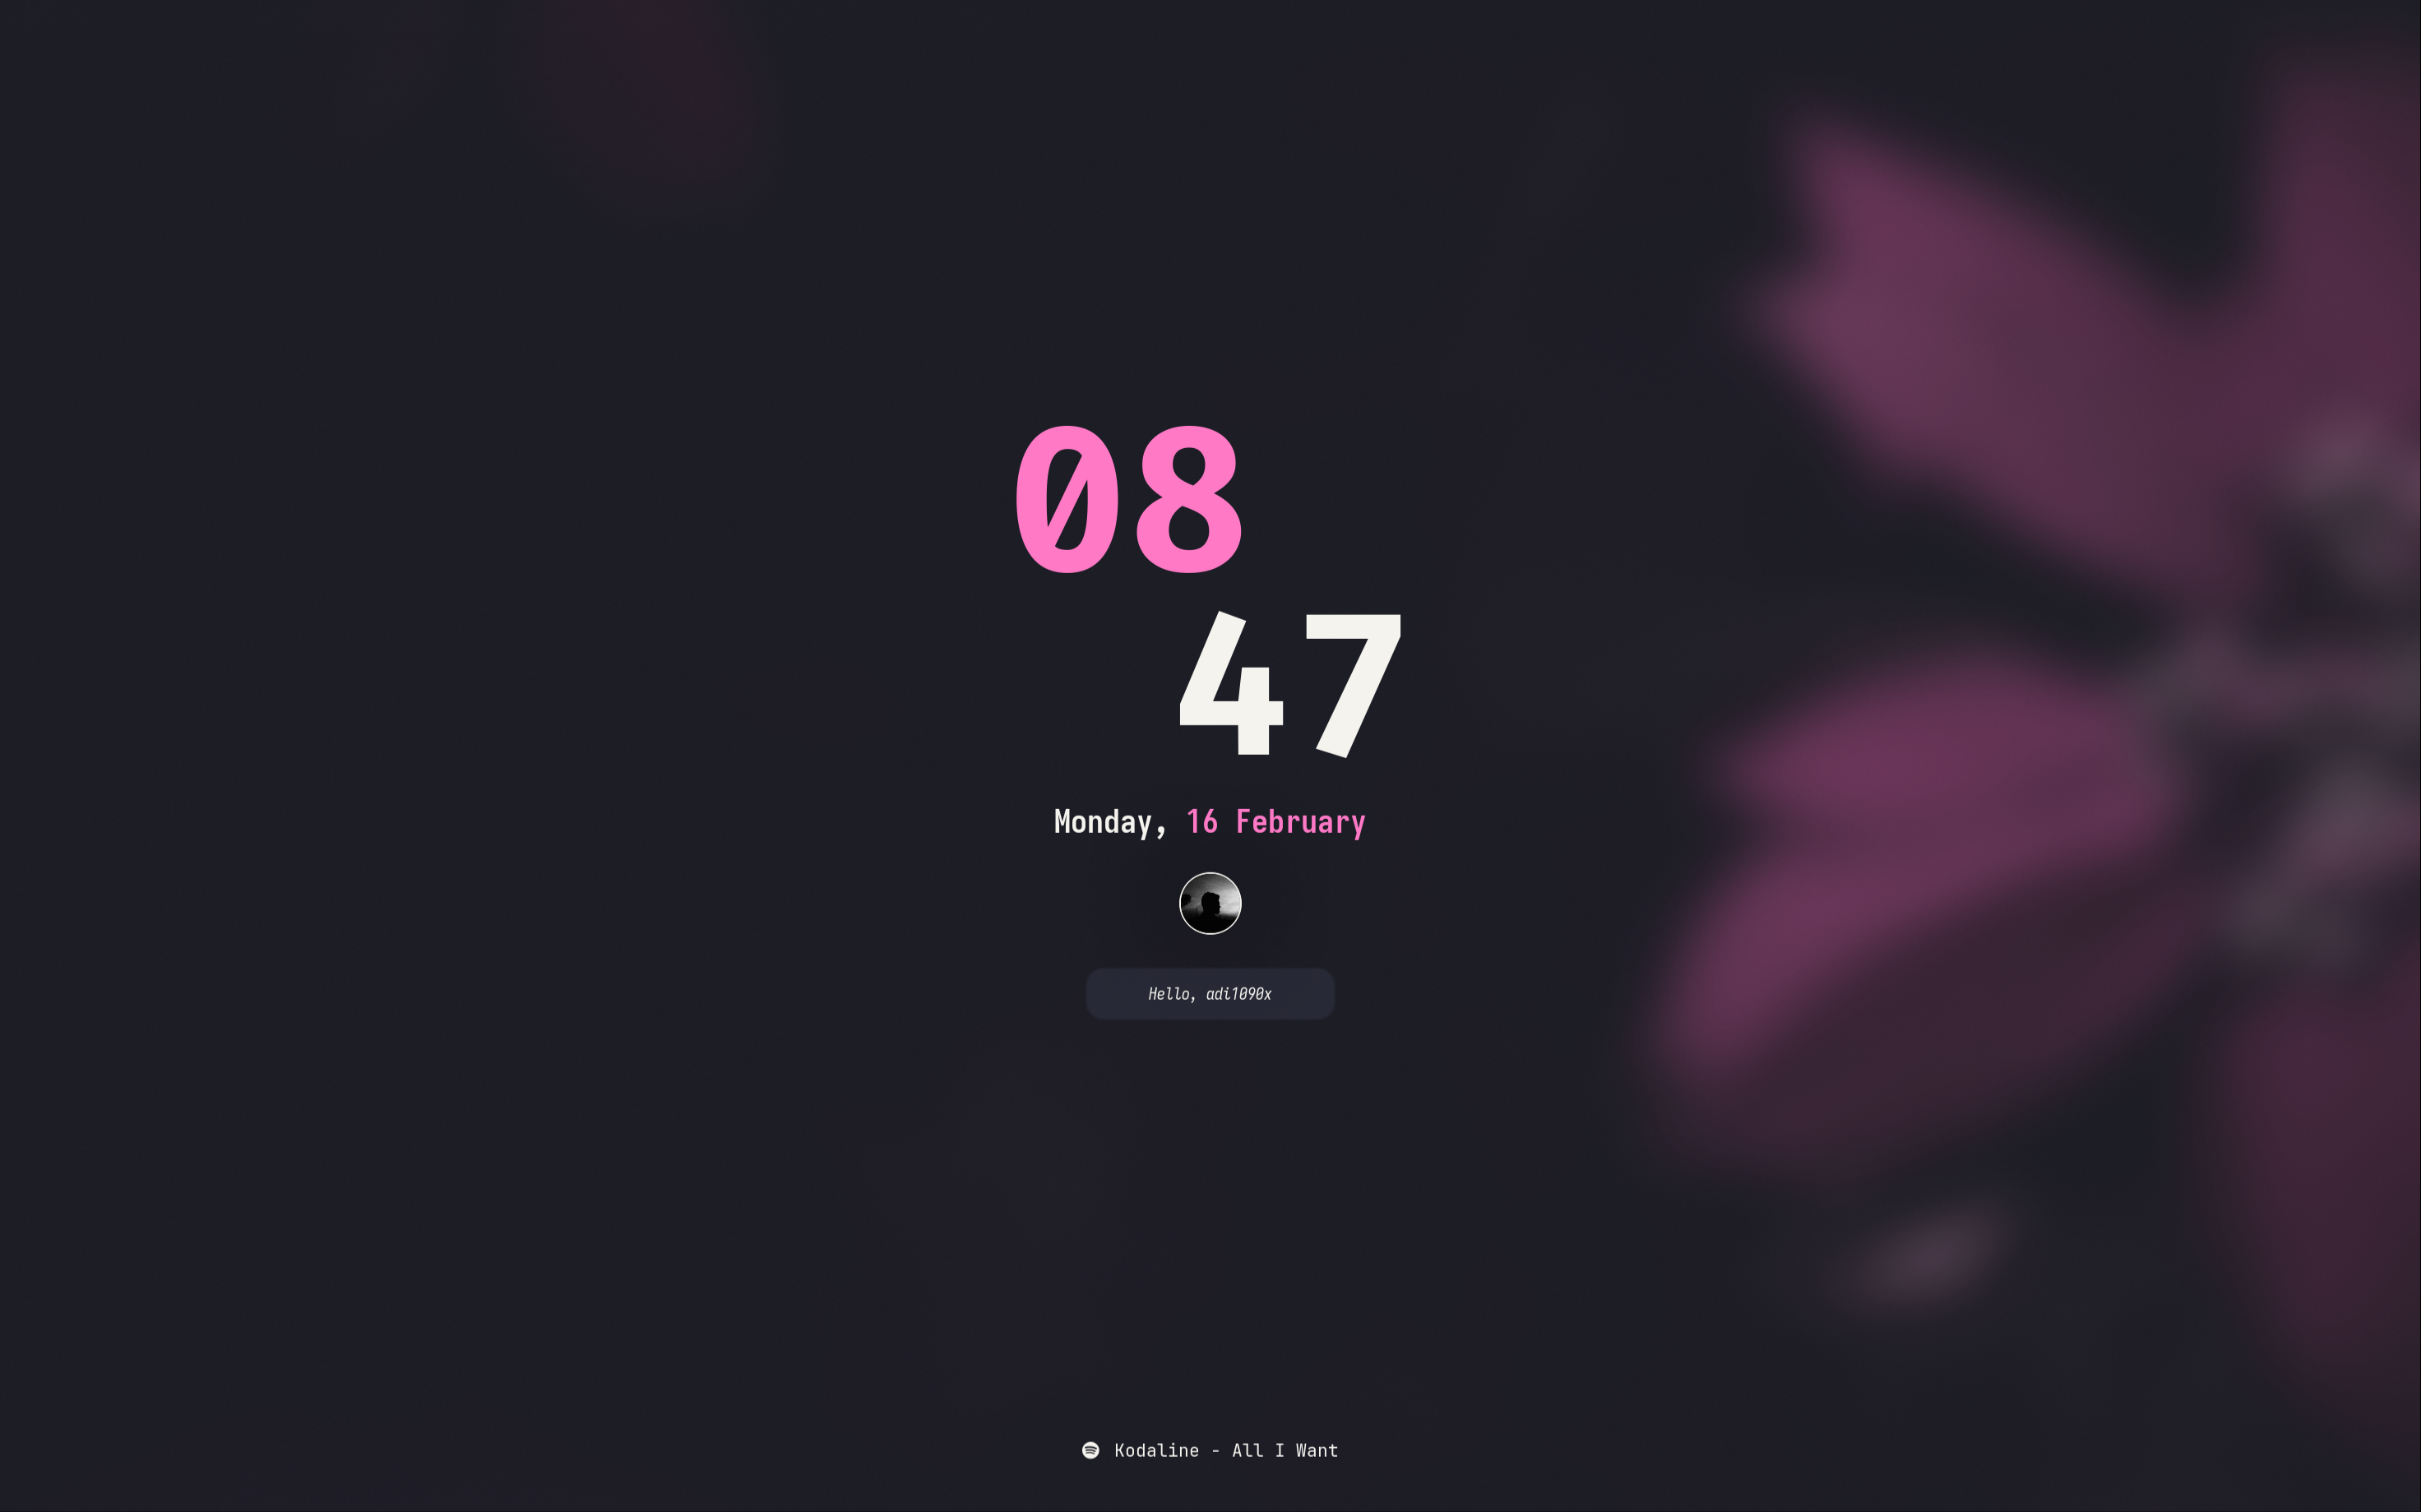
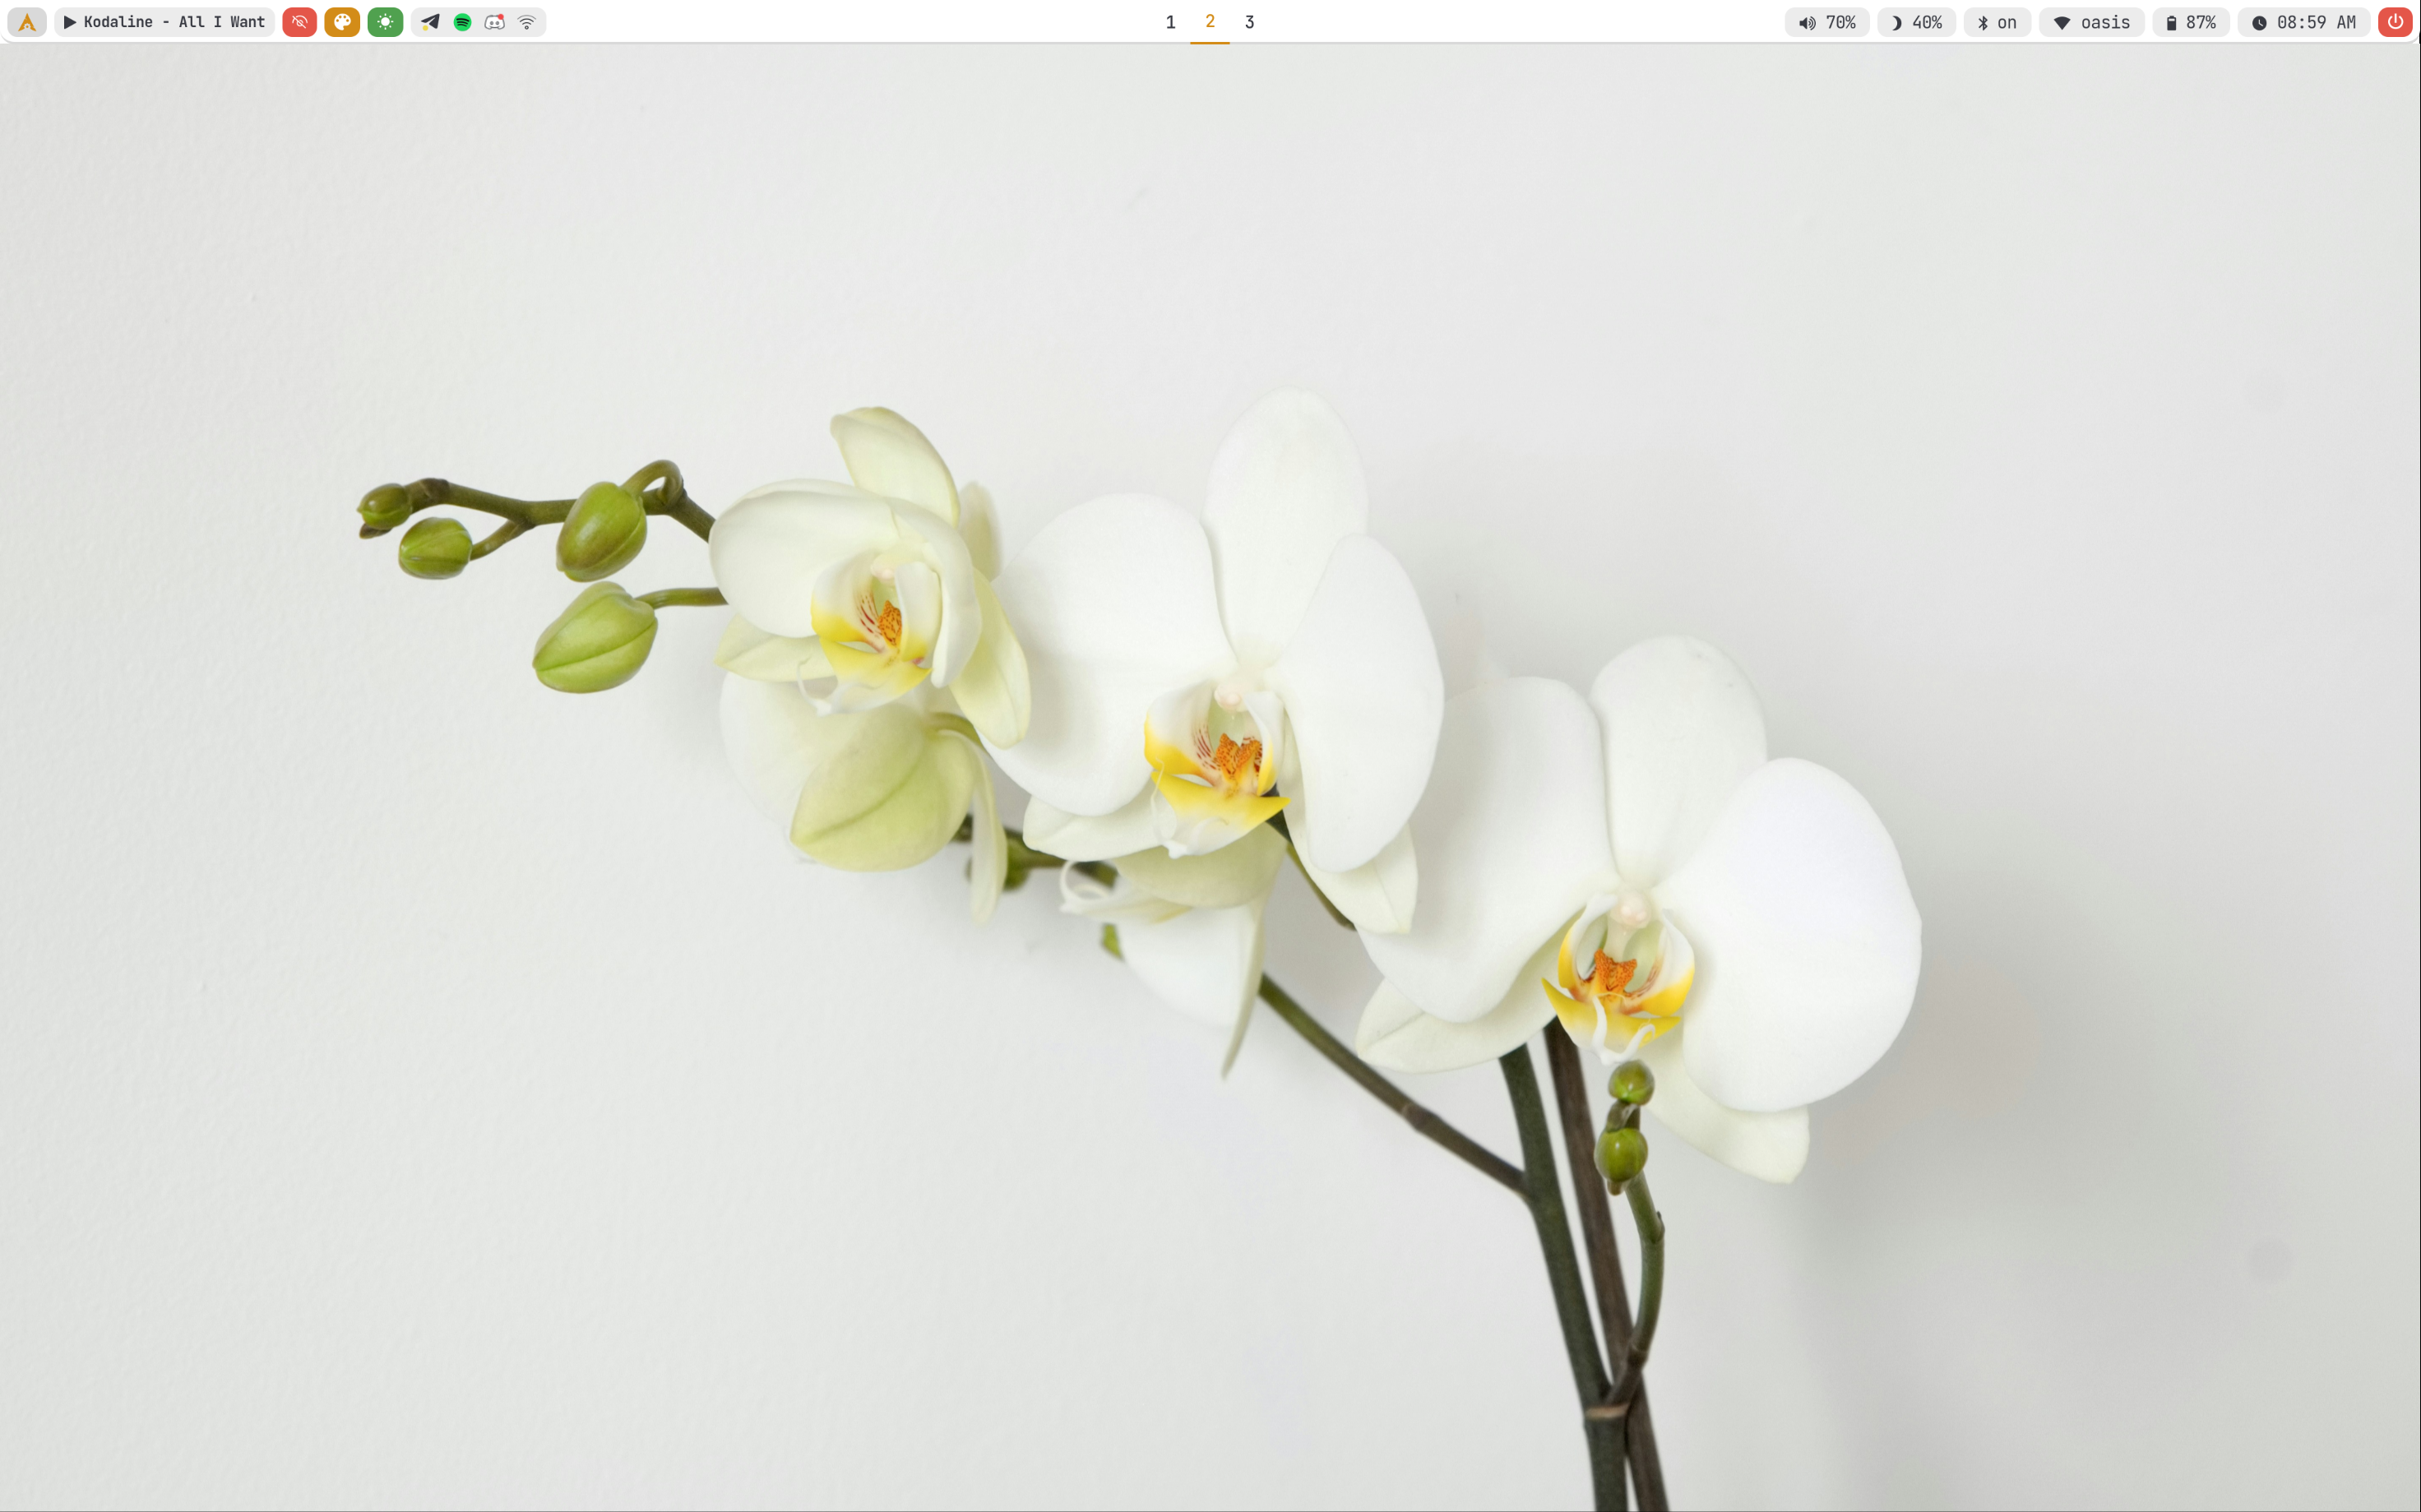
Desktop
Here's few screenshots of MangoWC desktop. These'll give you an idea of the experience of MangoWC in Archcraft.
- Default
- Light
| Desktop 1 | Desktop 2 | Desktop 3 | Desktop 4 | Desktop 5 |
|---|---|---|---|---|
 |  |  |  |  |
| Desktop 6 | Desktop 7 | Desktop 8 | Desktop 9 | Desktop 10 |
|---|---|---|---|---|
 |  |  |  |  |
| Desktop 11 | Desktop 12 | Desktop 13 | Desktop 14 | Desktop 15 |
|---|---|---|---|---|
 |  |  |  |  |
| Desktop 16 | Desktop 17 | Desktop 18 | Desktop 19 | Desktop 20 |
|---|---|---|---|---|
 |  |  |  |  |
| Desktop 21 | Desktop 22 |
|---|---|
 |  |
| Desktop 1 | Desktop 2 | Desktop 3 | Desktop 4 | Desktop 5 |
|---|---|---|---|---|
 |  |  |  |  |
Themes
To Change the theme, Click on Color Palette icon on waybar. To apply a random theme, Left Click on the theme module and To restore the default theme, Right Click on the theme module.
To switch between Light/Dark mode, click on module with moon/sun icons.
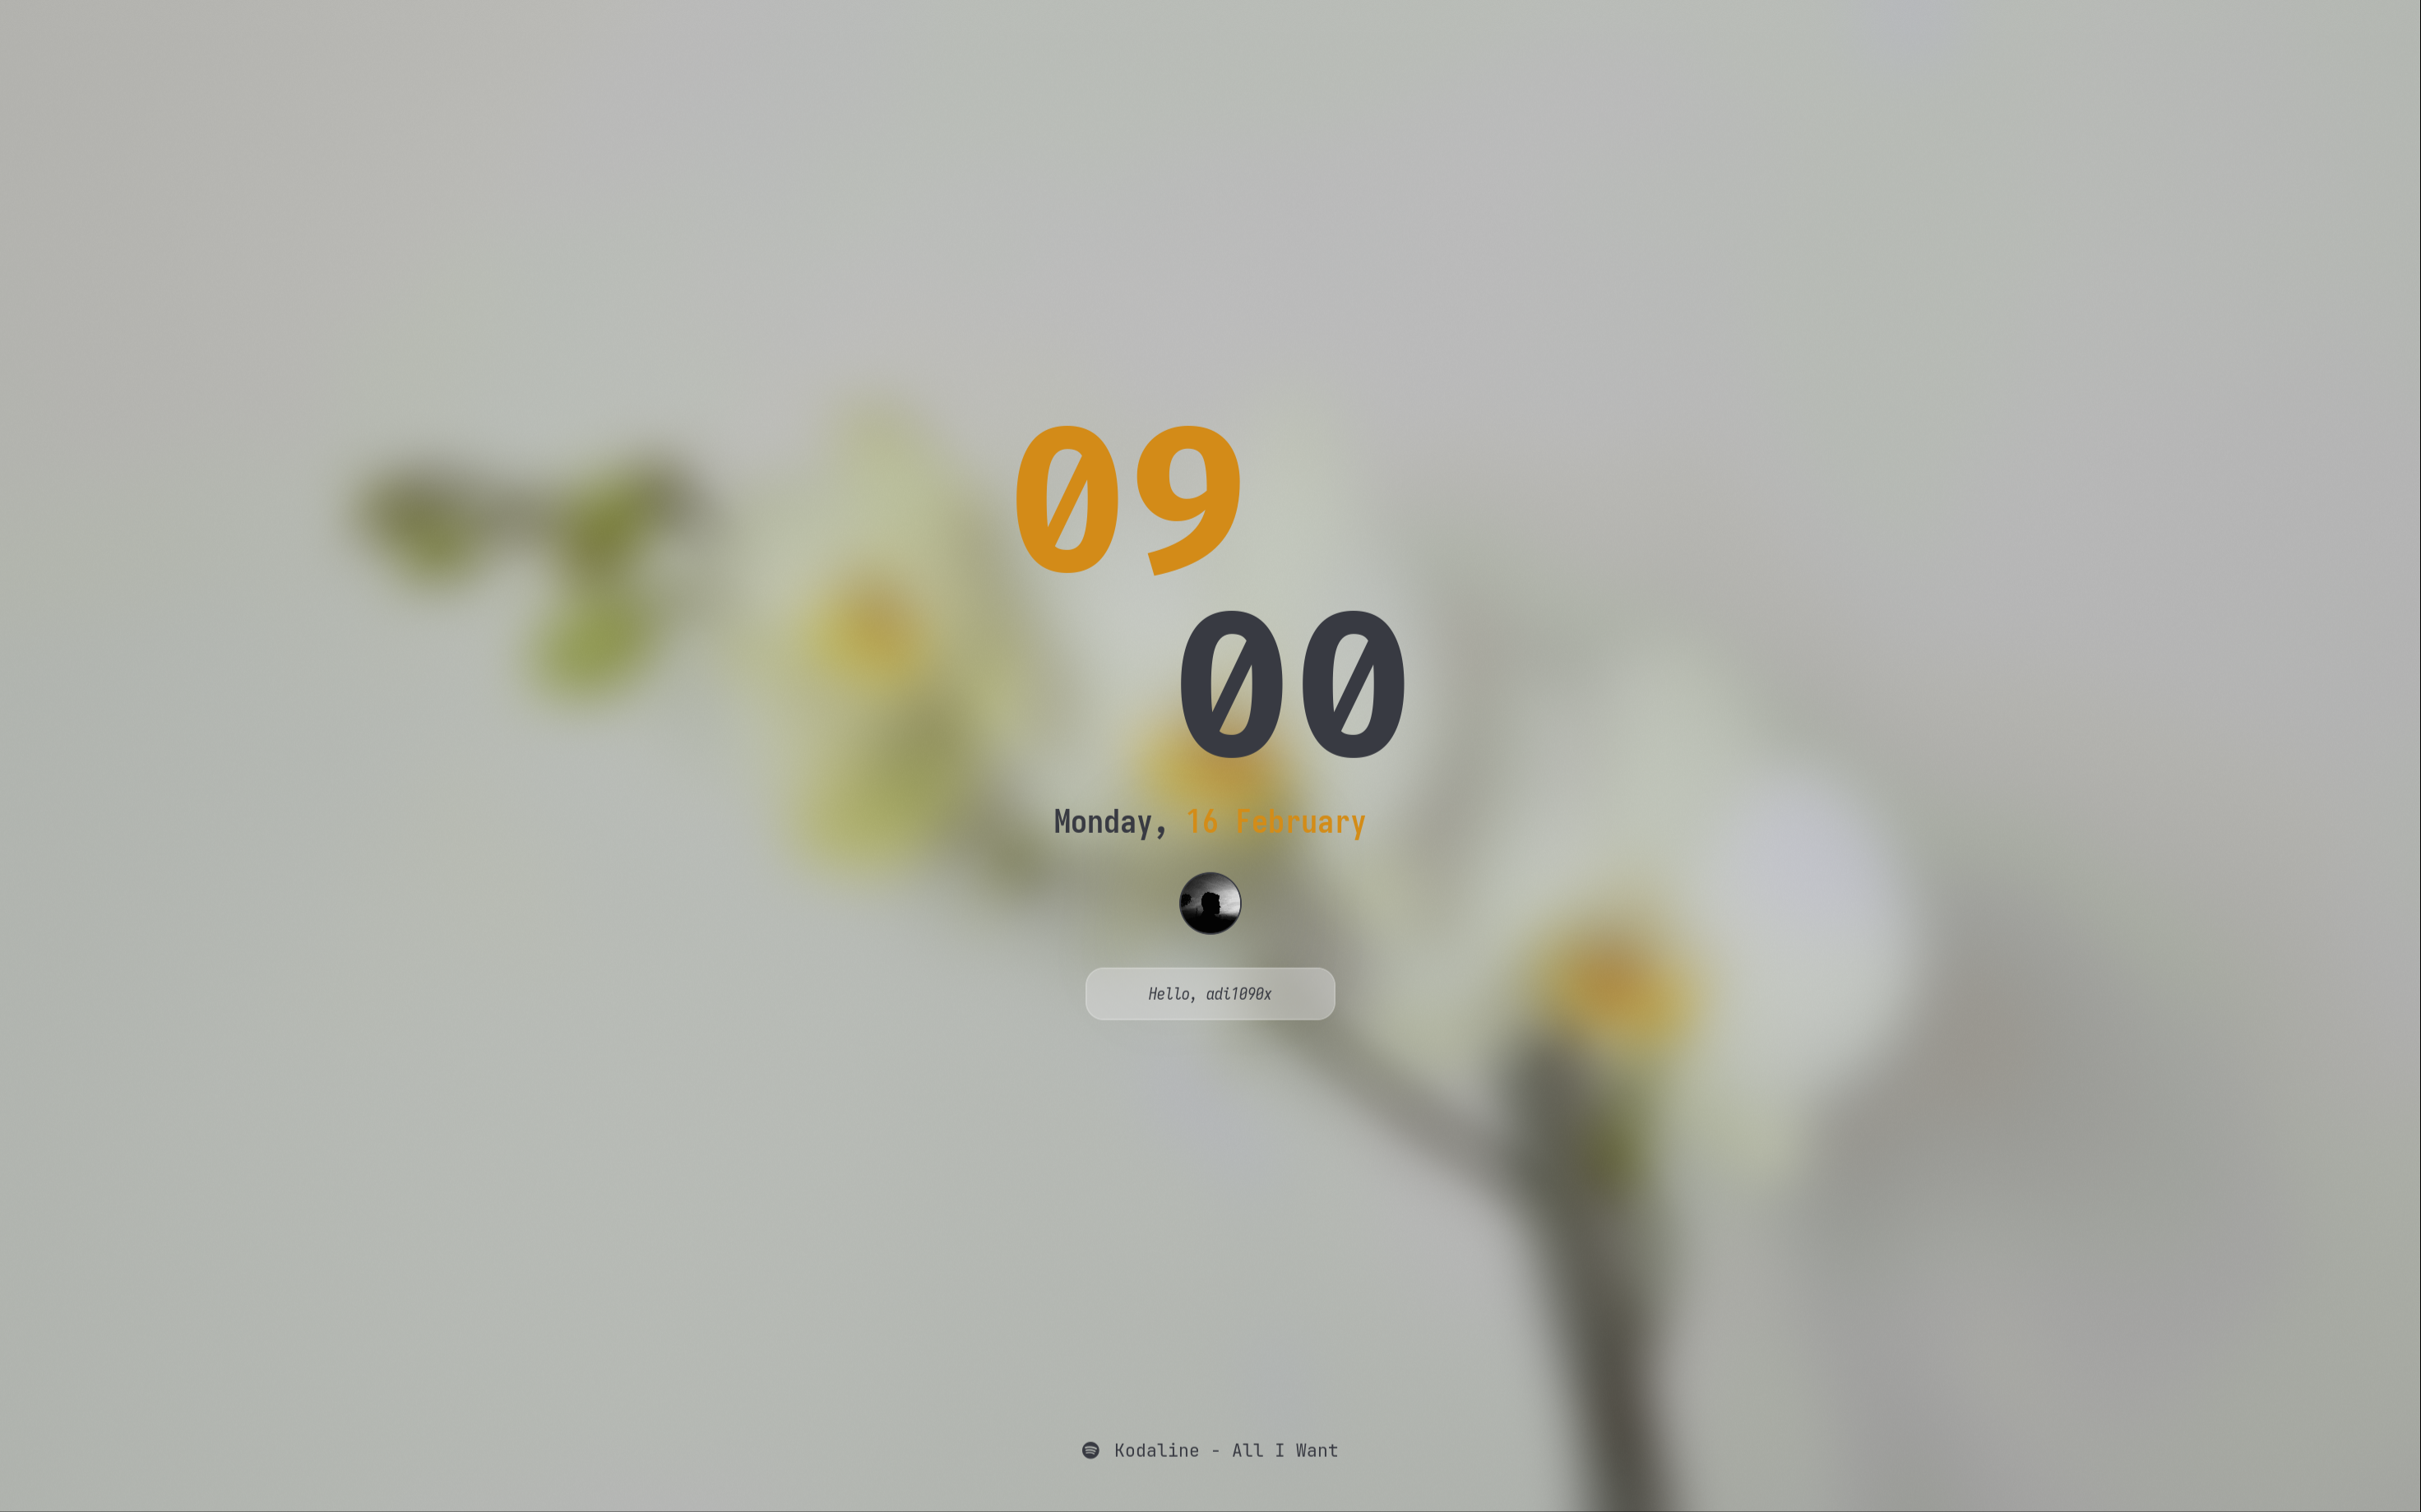
| Default Theme | Light Themes | Random Themes | Lockscreen |
|---|---|---|---|
| |  | 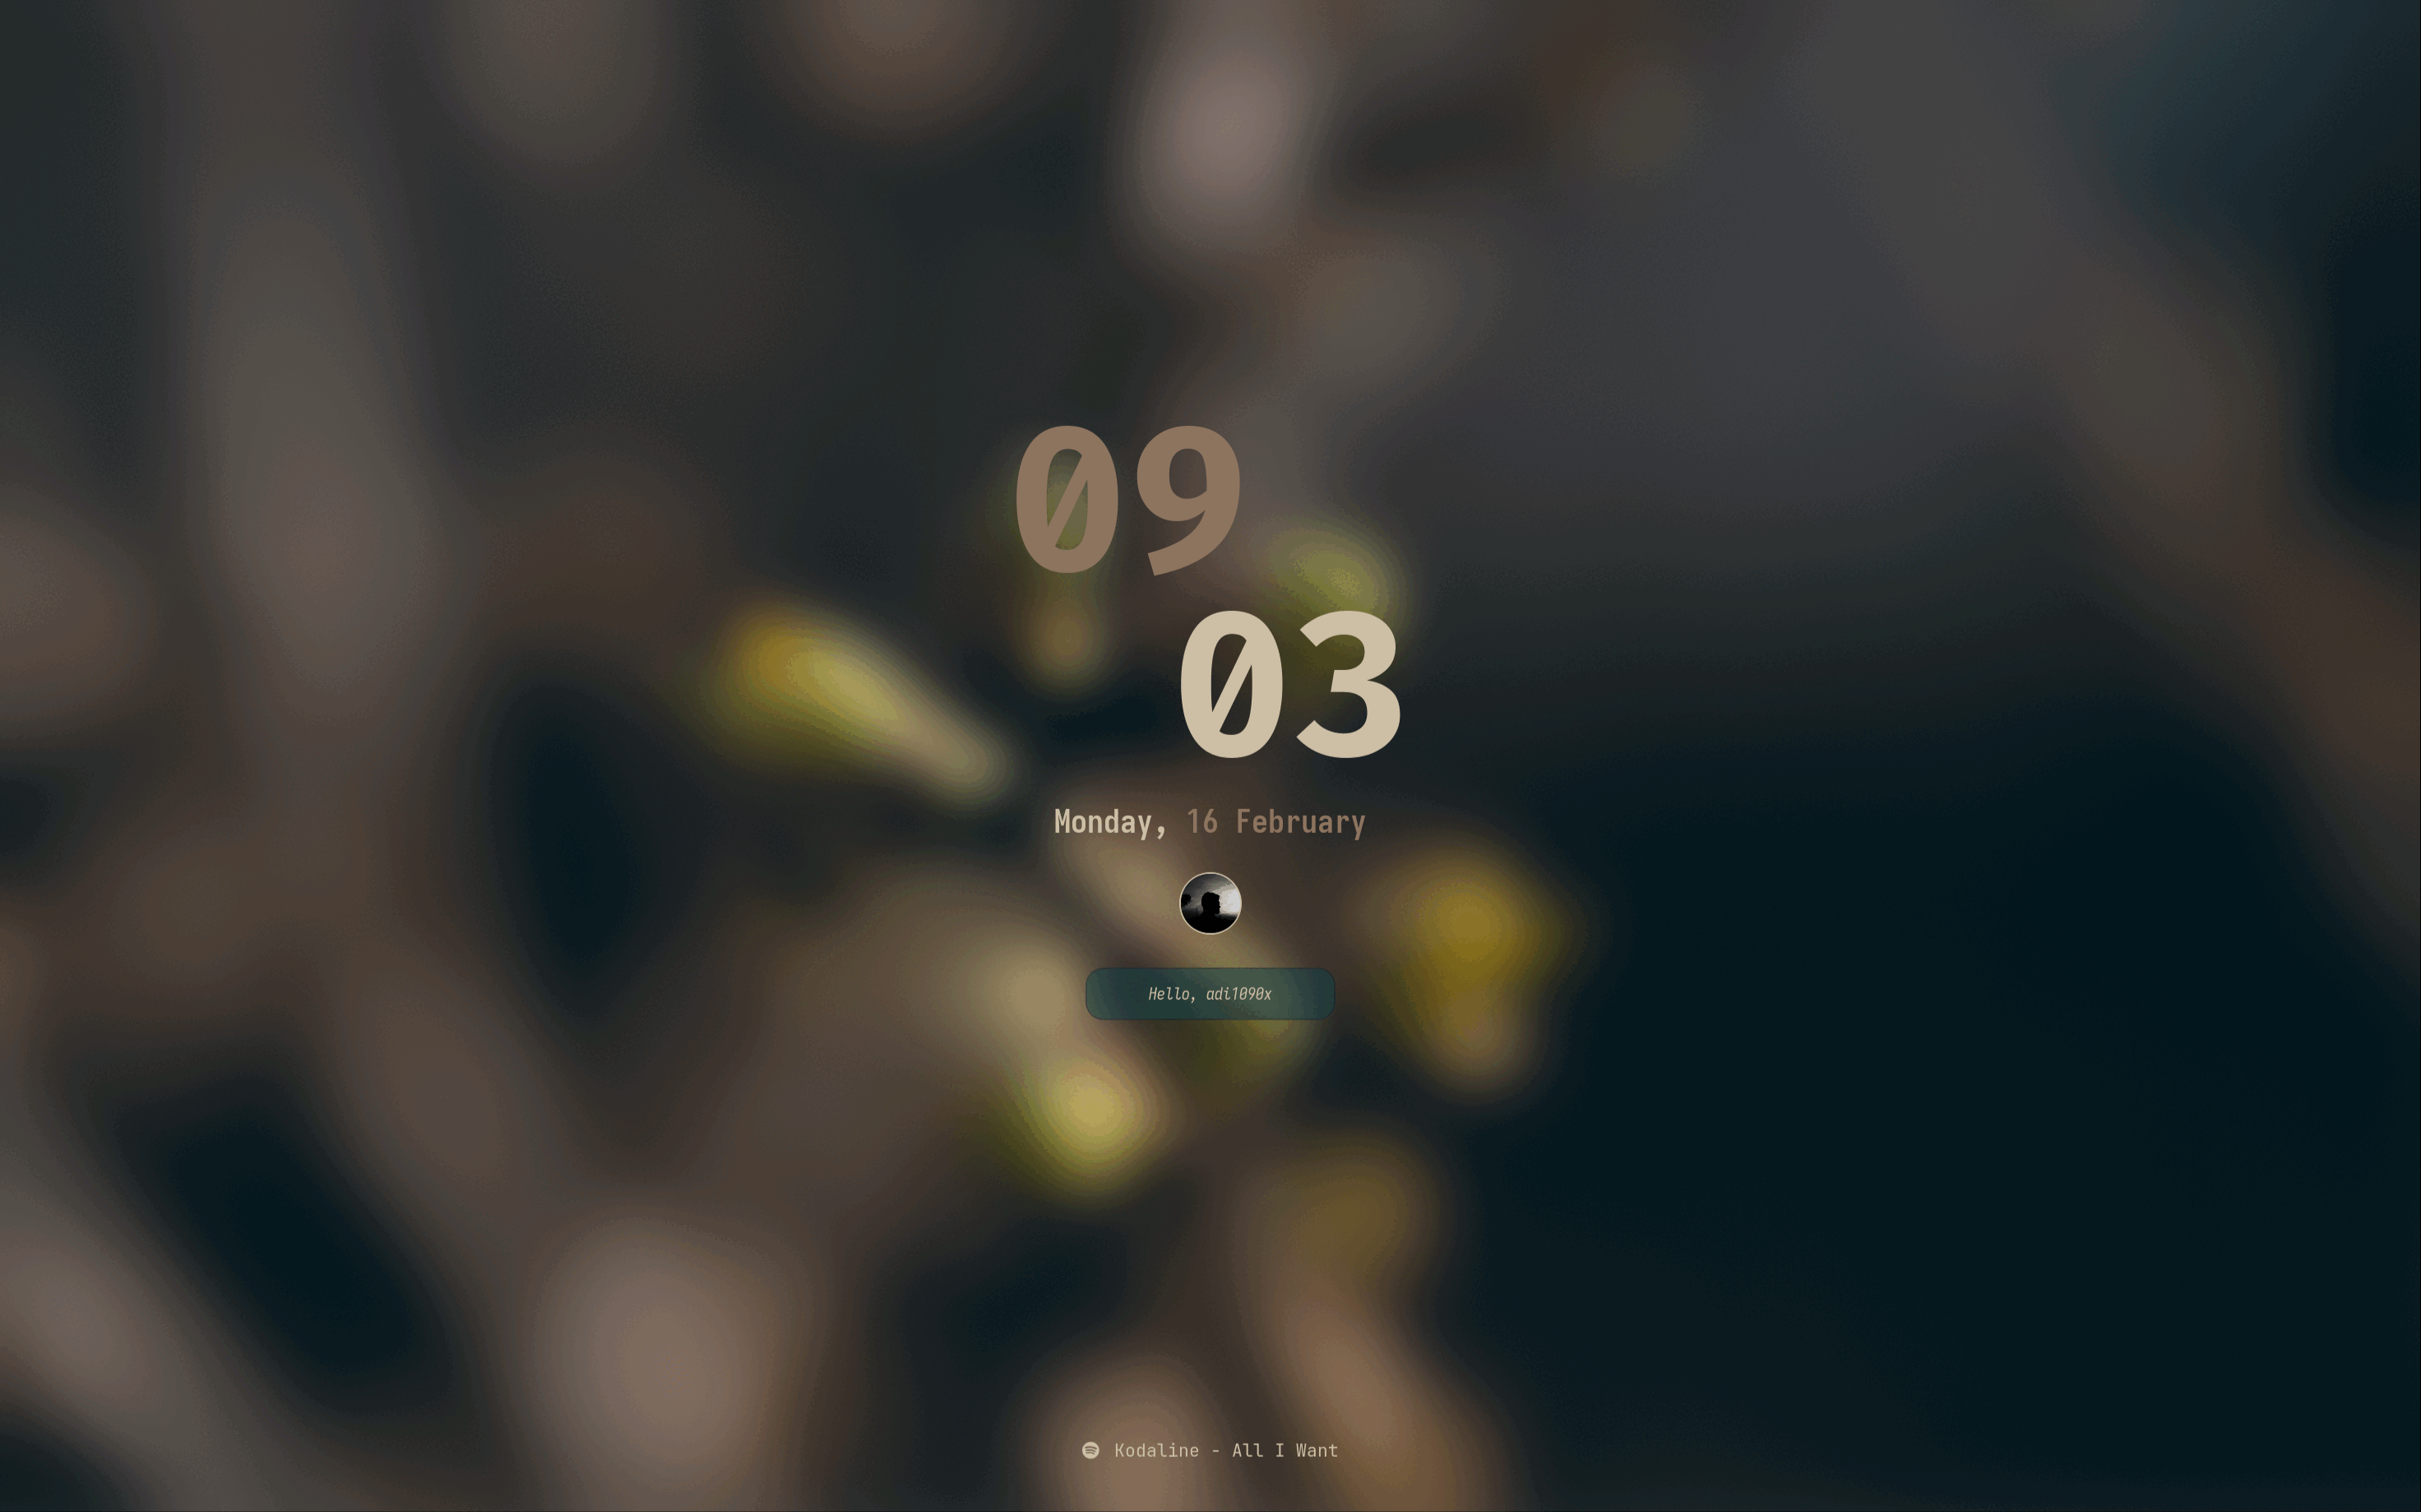 |
FAQs
How to update my config to new configs?
Download the updated package from ko-fi (for free) and just install it to update to new configs.
Steps to get updates (or re-download files):
- Login to you Ko-fi account
- Go to your
Ko-fi Payments History - Select the purchases you've made
- Click on
View Details - Then, Click on
View Contentto download the updated files.
Why my cursor is not visible?
When using certain graphics drivers (e.g. the VMSVGA graphics controller or the proprietary NVIDIA drivers), the cursor is invisible. This can be fixed by using software cursors :
$ export WLR_NO_HARDWARE_CURSORS=1
How to change GTK theme, icons and cursor?
To change GTK theme, icons and cursor in MangoWC session, Edit ~/.config/mango/scripts/gtkthemes script and restart MangoWC to apply the changes.
THEME='Dracula-Pink'
ICONS='Zafiro-Nord-Black'
FONT='Noto Sans 9'
CURSOR='Bibata'
How to manage multiple monitors and resolution in MangoWC?
If you use multiple monitors with MangoWC, you can manage them as follow:
- You can get the names of your outputs with
mmsg -O - Edit
~/.config/mango/config.d/20-monitors.conffile and use the information you get by the command above:
# HiDPI Laptop Display
monitorrule=name:eDP-1,width:2944,height:1840,refresh:90,x:0,y:0,scale:1.5,rr:0,vrr:0

# FHD Laptop Display
#monitorrule=name:eDP-1,width:1920,height:1080,refresh:60,x:0,y:0,scale:1.5,rr:0,vrr:0

# Monitor Display
#monitorrule=name:HDMI-A-1,width:1920,height:1080,refresh:60,x:0,y:0,scale:1,rr:0,vrr:0
Why Alacritty is not working on my computer?
Since Alacritty is a OpenGL based terminal emulator, It may not work on some computer hardwares. You can make it work on such computers by following these methods :
- Open alacritty with LIBGL_ALWAYS_SOFTWARE=1 variable. Edit the keybindings/script launching alacritty and replace
alacrittywithLIBGL_ALWAYS_SOFTWARE=1 alacritty - Edit /usr/share/applications/Alacritty.desktop desktop file and replace
Exec=alacrittywithExec=env LIBGL_ALWAYS_SOFTWARE=1 alacritty