Archcraft ARM
Archcraft ARM : Install Archcraft on ARM Devices

In this guide, We'll learn how to install Archcraft on your ARM Devices.
As you already know, Archcraft is just Arch Linux with a bunch of customisations. And So is Archcraft ARM.
Overview
- Support both ARMv8
(aarch64, 64bit)and ARMv7(armv7*, 32bit)architectures - Fully configured
openboxwindow manager, with multiple themes - Fully configured
bspwmwindow manager, with multiple themes - Fully configured
i3wmwindow manager - Everything else that Main Archcraft offers
Requirements
- A supported ARM Machine
- A Computer Running Linux
- Active Internet Connection
- An SDcard (at least 16G in size)
Installation
For writing this guide, I'll be using a Raspberry Pi 4, with a monitor connected to it along with a wired keyboard and mouse. Basically it's a Raspberry Pi Desktop Kit.
Follow the step below to install Archcraft ARM :
Check if device is supported
First, Make sure that your ARM device is supported. Here's a list of supported devices. For my case, You can see below that my RPI4 is supported. Find if your device is listed here.
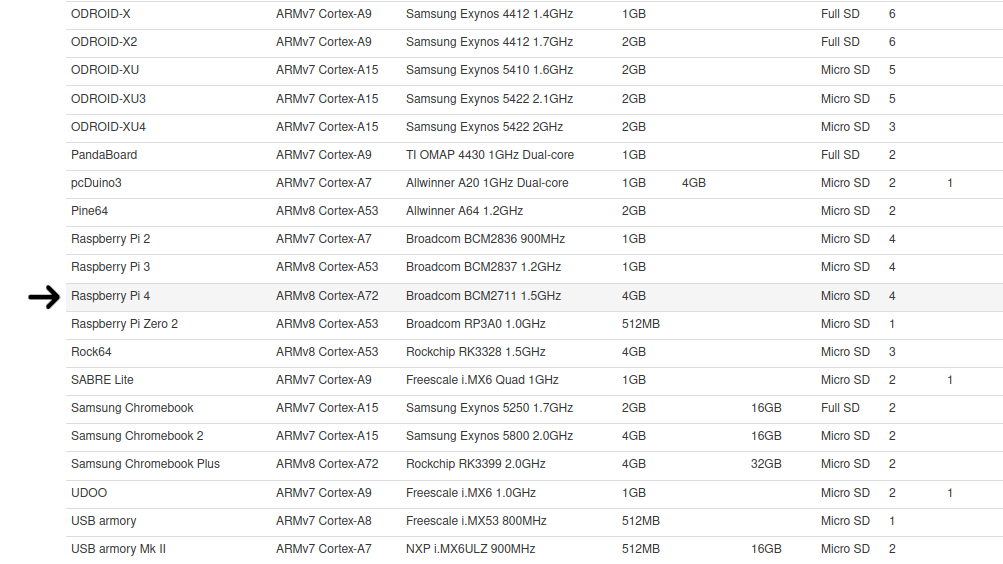
Once you find that your ARM device is supported, Go ahead and install Arch Linux ARM on it.
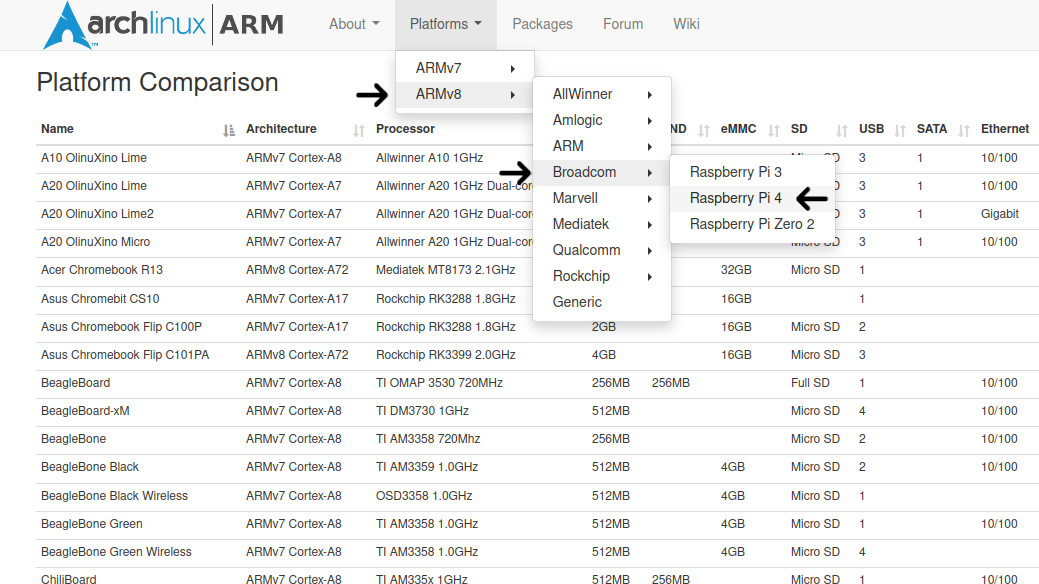
Install Arch Linux ARM
Follow the Arch Linux ARM installation guide to install it on your device. I'm going to install Arch Linux ARM on my RPI4, So I'm going to follow This Guide.
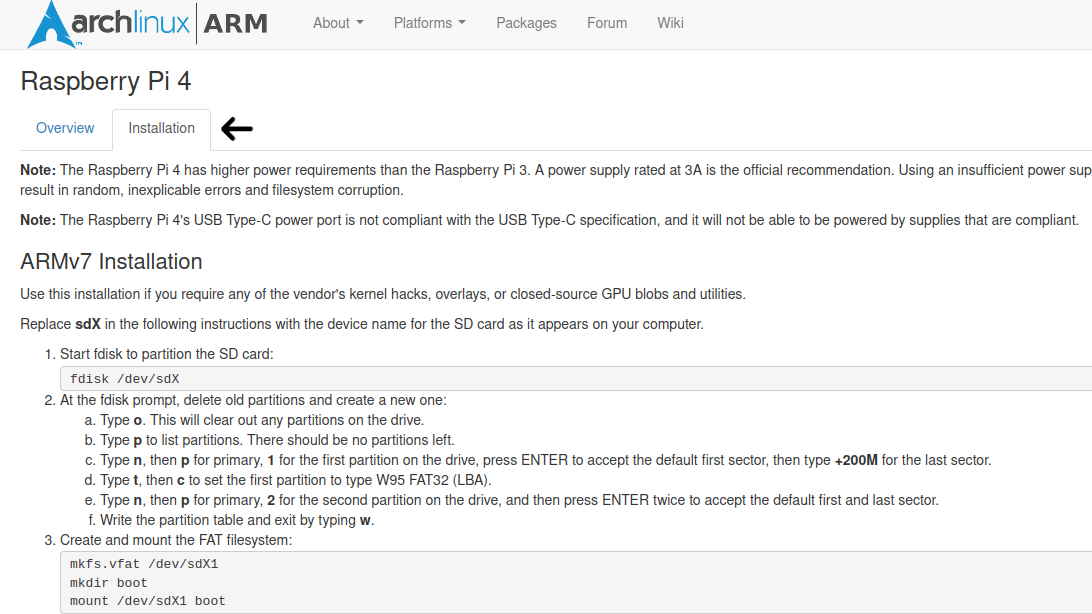
Once the installation is finished, Insert your SDcard on your device and boot Arch Linux ARM.
Login to Arch Linux ARM
Once booted, Login to the default user account (alarm), using alarm for both username and password.

After Login, get the root access. Run: su root and type root as the password.
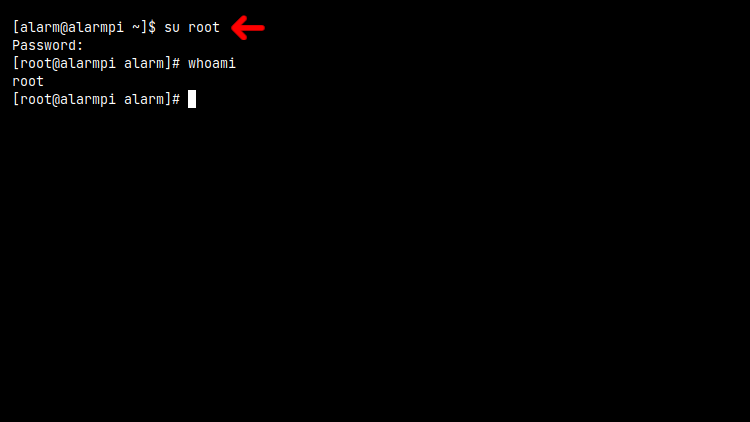
Now at this point, You should have been logged in to the root account.
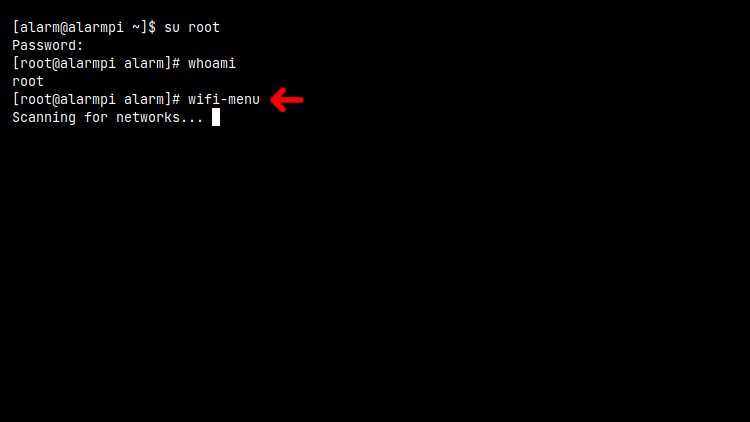
Connect to internet
Now, Connect your device to the internet. If you have an ethernet cable plugged into your device, It should automatically connect to the internet. If not, Run: wifi-menu and connect to your wifi network.
Select your wifi network and enter the password.
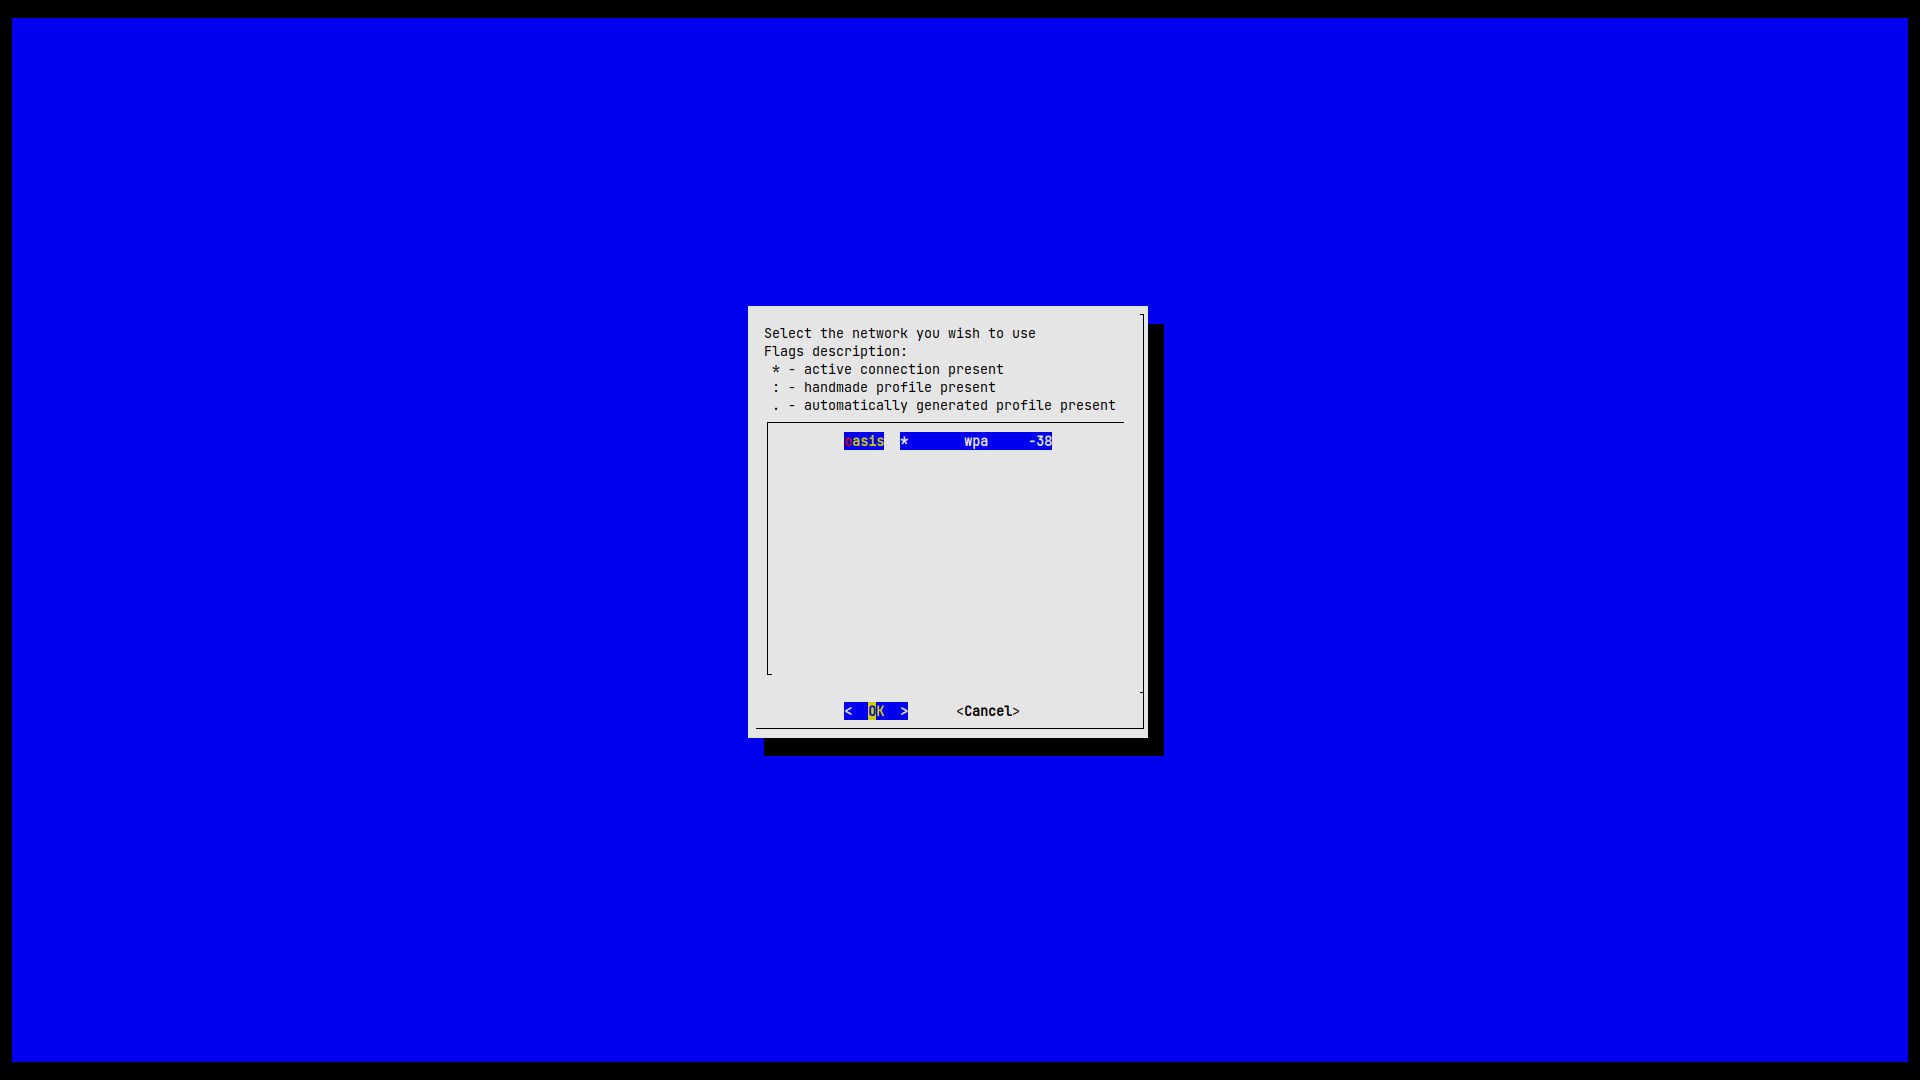
Once connected to wifi, Check if you have internet access.
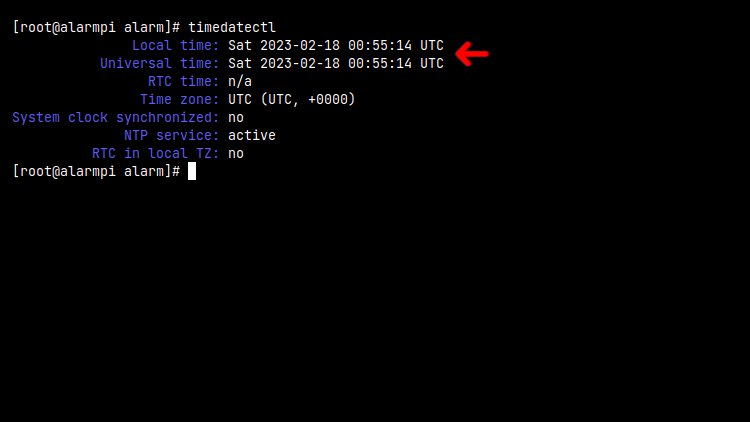
Update System Time
Important : This is very important. If you've connected your ARM device via ethernet, the time may be correct when you boot and login to Arch Linux ARM. But if the time is not correct, It can cause issues with downloading files, performing system upgrades and installing packages.
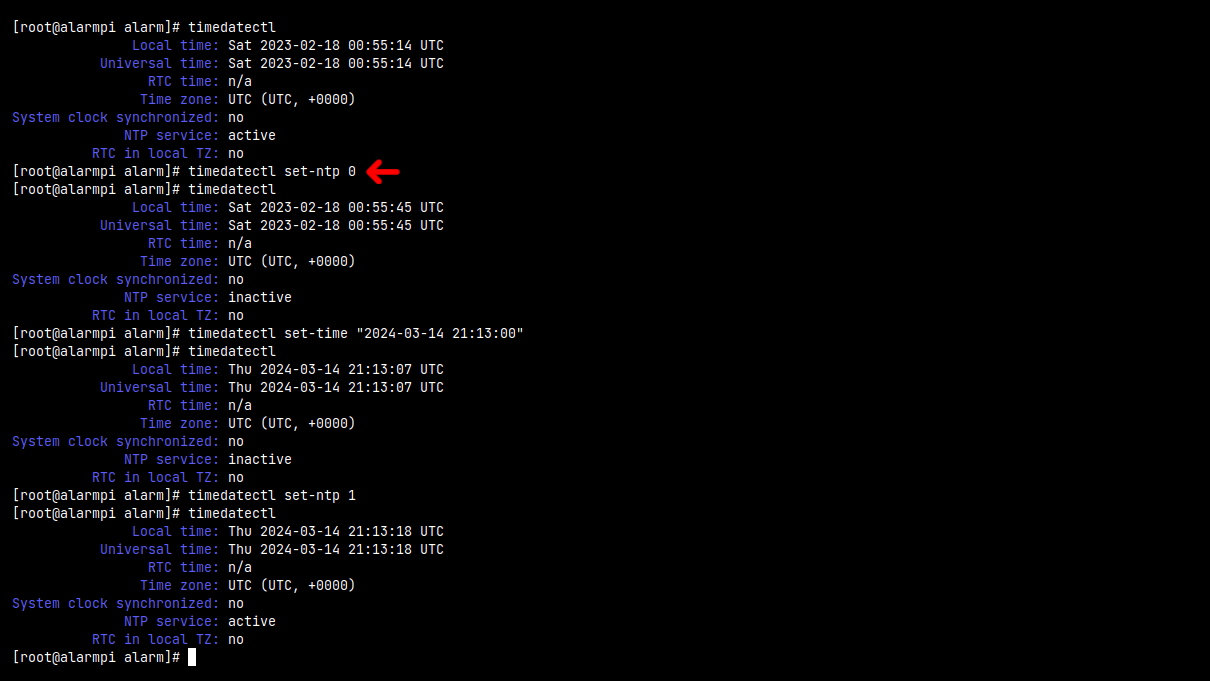
Run: timedatectl command to check if the time is correct. As you can see that the time is not correct (It's March 2024 at this time). So, Let's fix it.
To Set the time manually, first we need to disable NTP Service temporarily. Run: timedatectl set-ntp 0
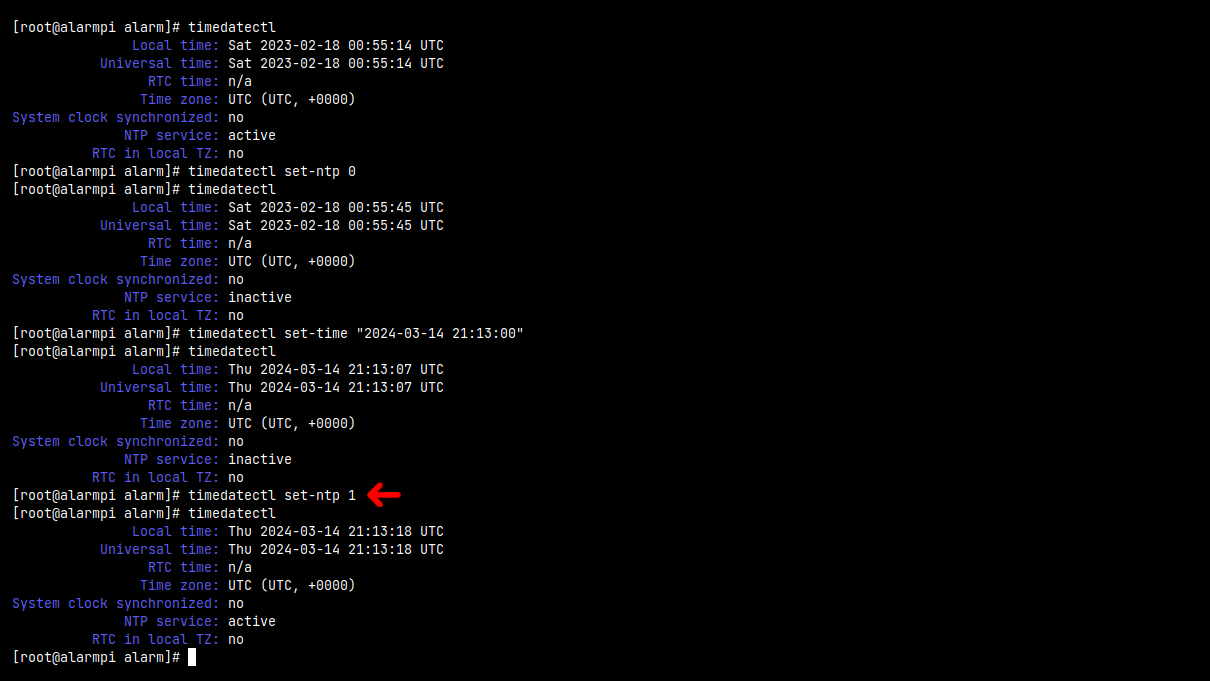
Now, Set the time using YYYY-MM-DD HH:MM:SS format. For example, Run: timedatectl set-time "2023-03-15 13:45:00"

Once the time is fixed, Run: timedatectl set-ntp 1 to enable the NTP Service again.
Download Installer
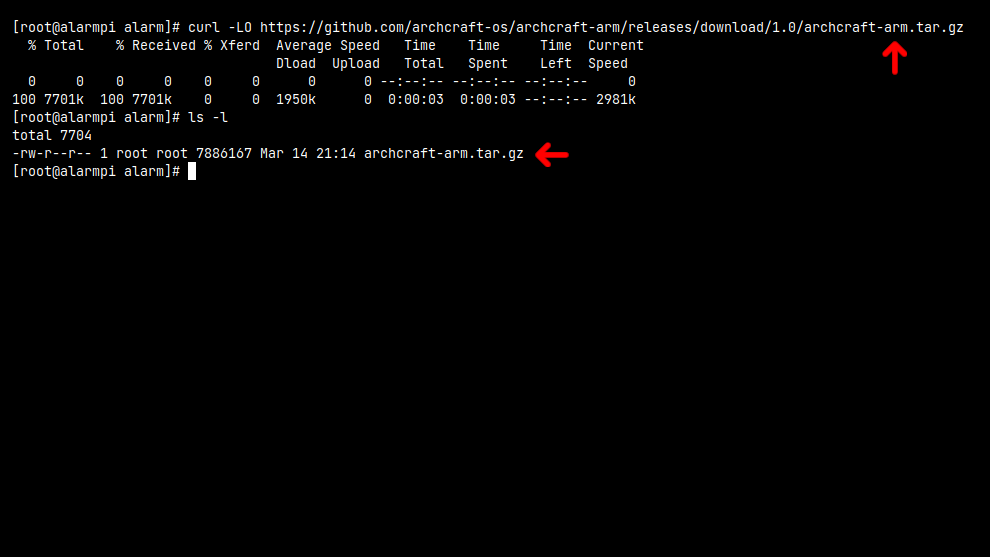
Now, Let' download the Archcraft ARM installer, Run the following command :
curl -LO https://github.com/archcraft-os/archcraft-arm/releases/download/X.Y/archcraft-arm.tar.gz
Replace X.Y with the latest release (eg: 1.0). Check here for latest releases.
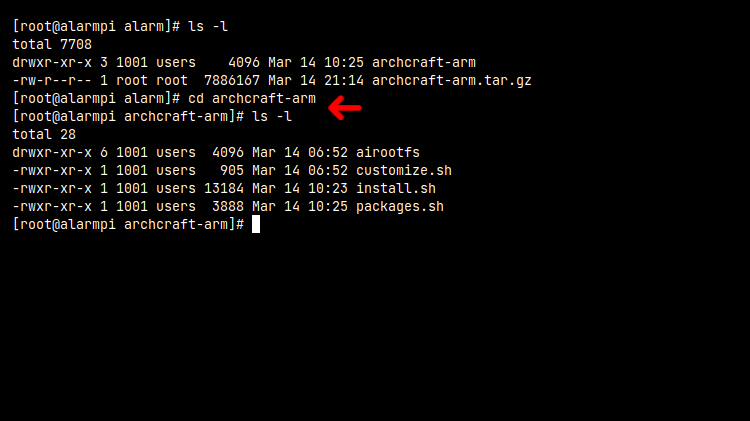
Once the installer file is downloaded, Extract it. Run the following command :
tar -xzvf archcraft-arm.tar.gz
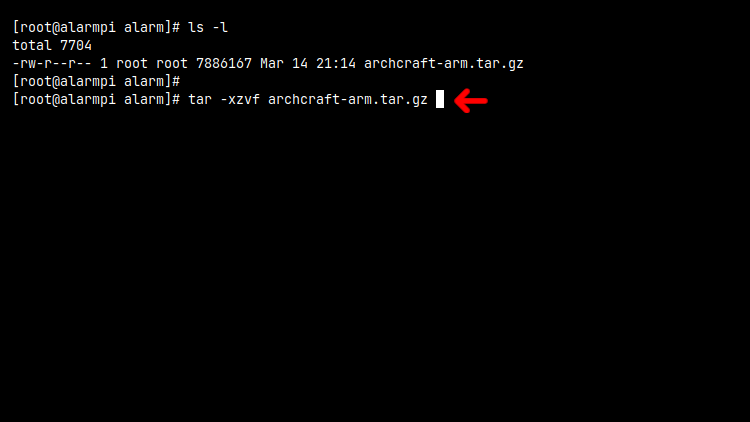
Next, Change to the extracted directory. Run: cd archcraft-arm
System Configuration
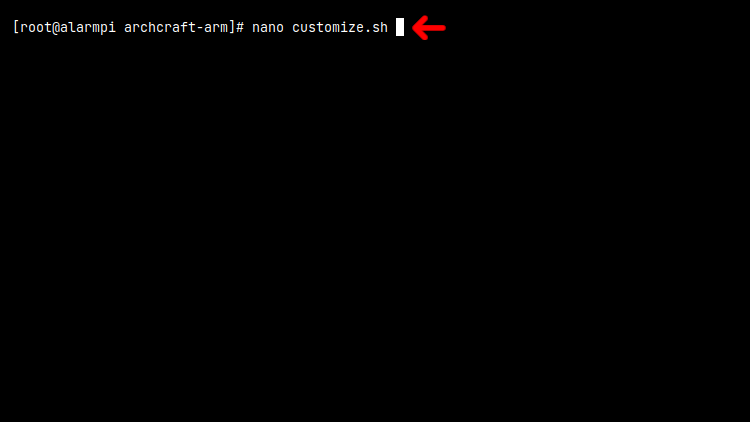
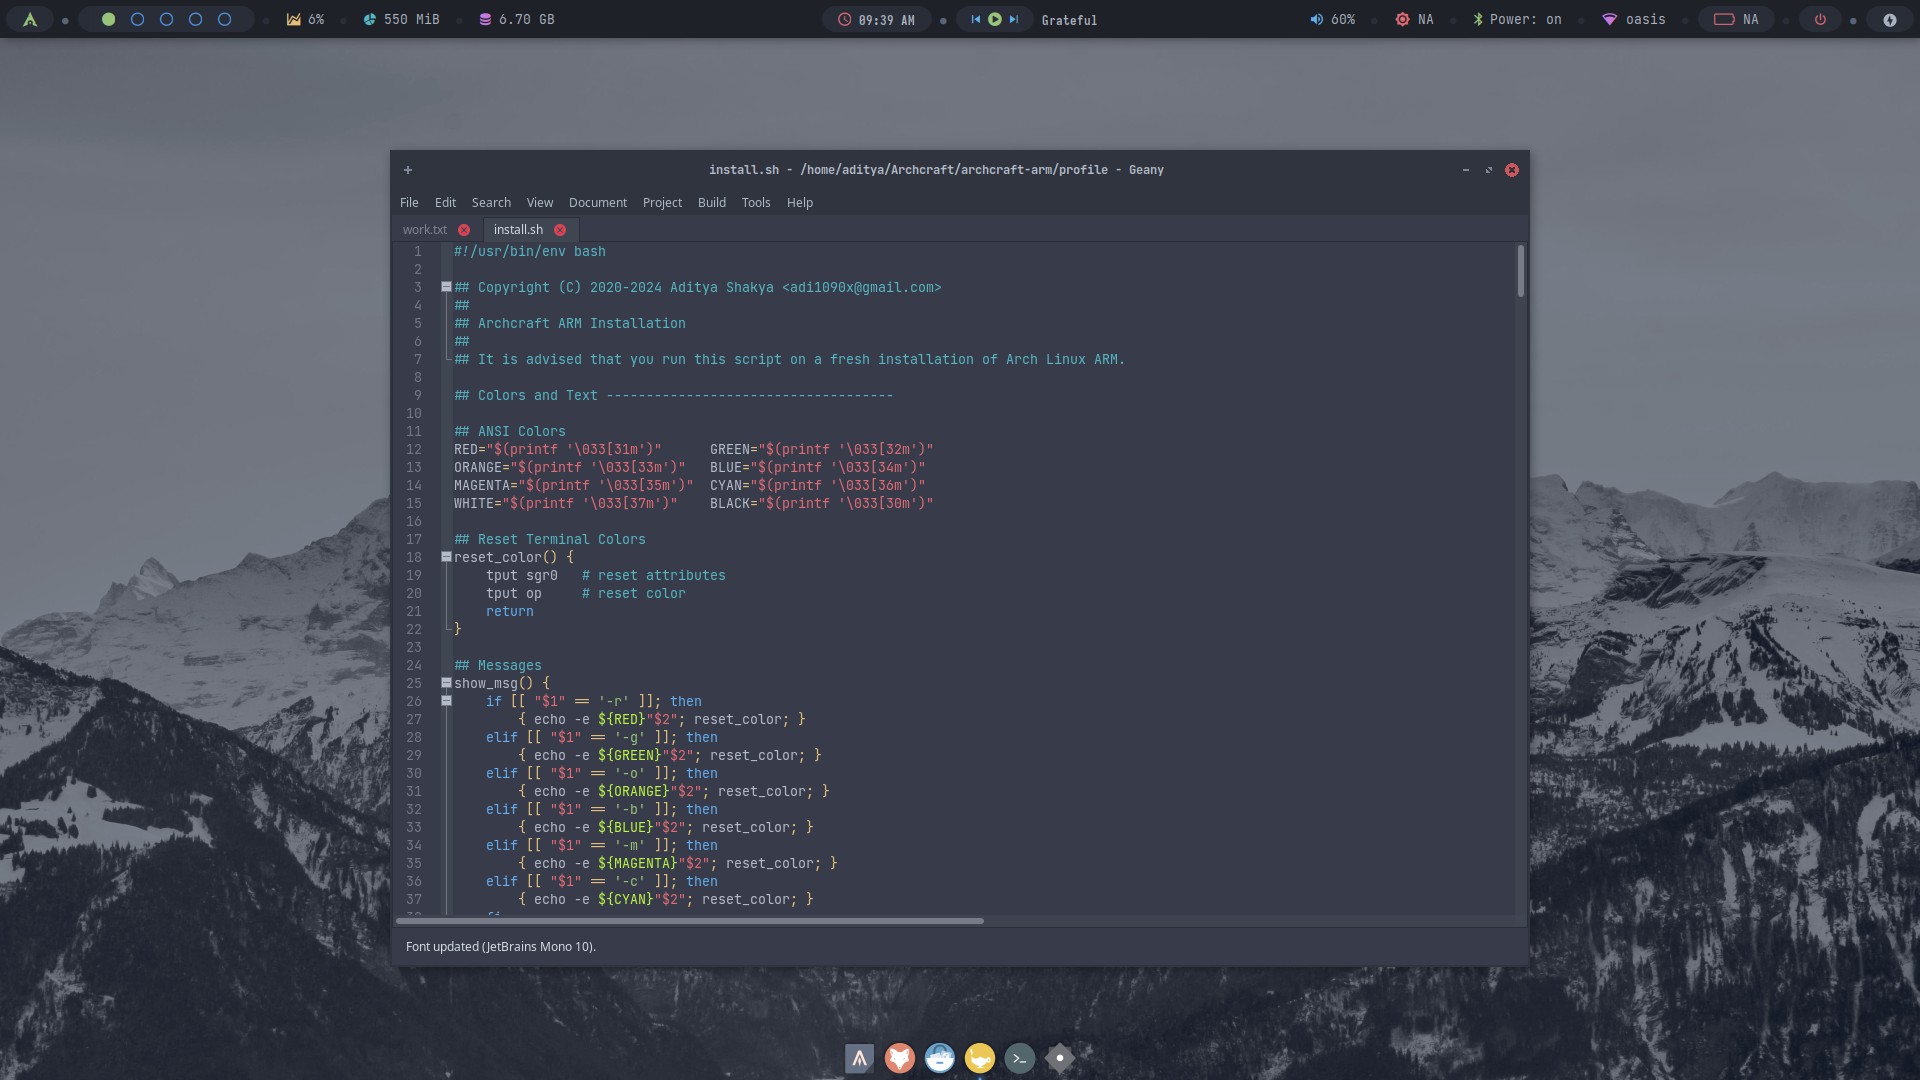
Before running the install script, Edit customize.sh script and configure the installed system according to your needs. Run: nano customize.sh
By using the values you provide, The install script will -
- Set hostname for your computer
- Set system locale (language)
- Set timezone
- Set system clock
- Create your user account
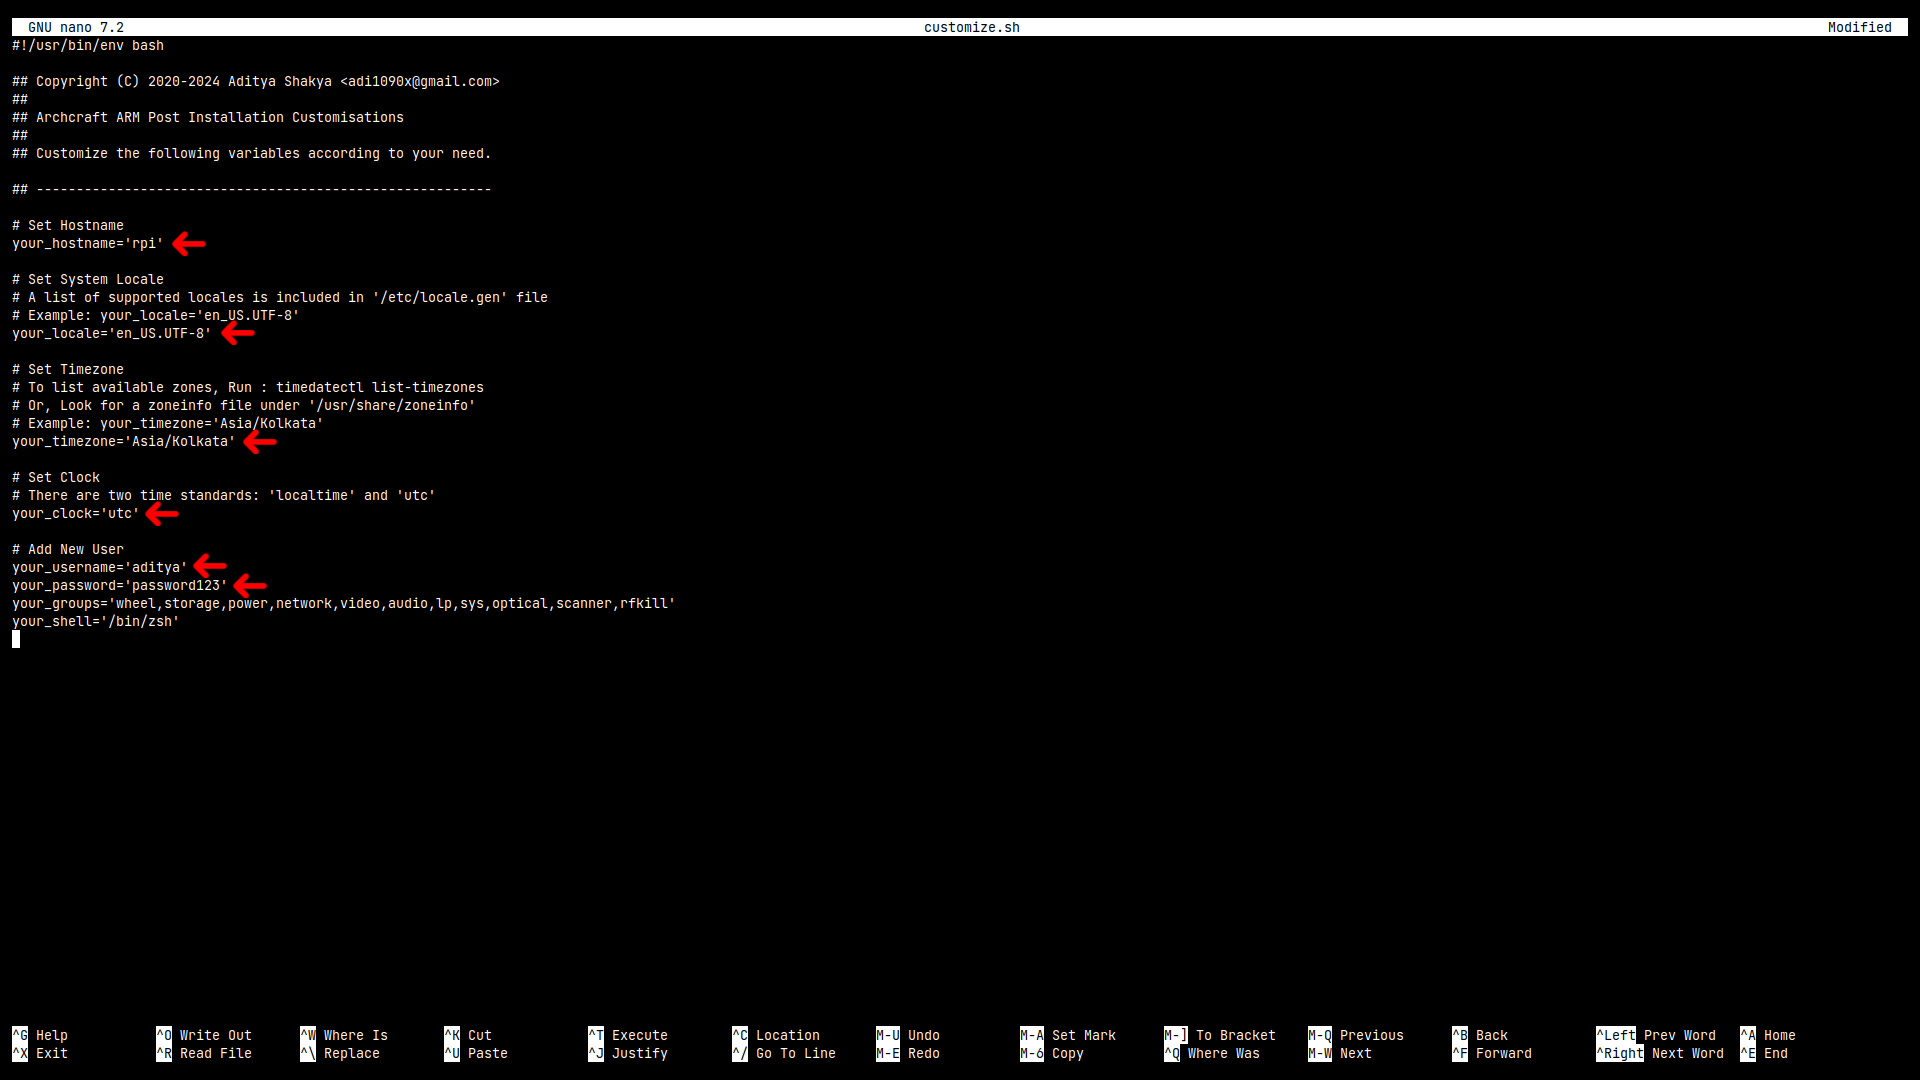
Once you're done editing, press ctrl + o to save the file and ctrl + x to exit nano editor.
Run Installation Script
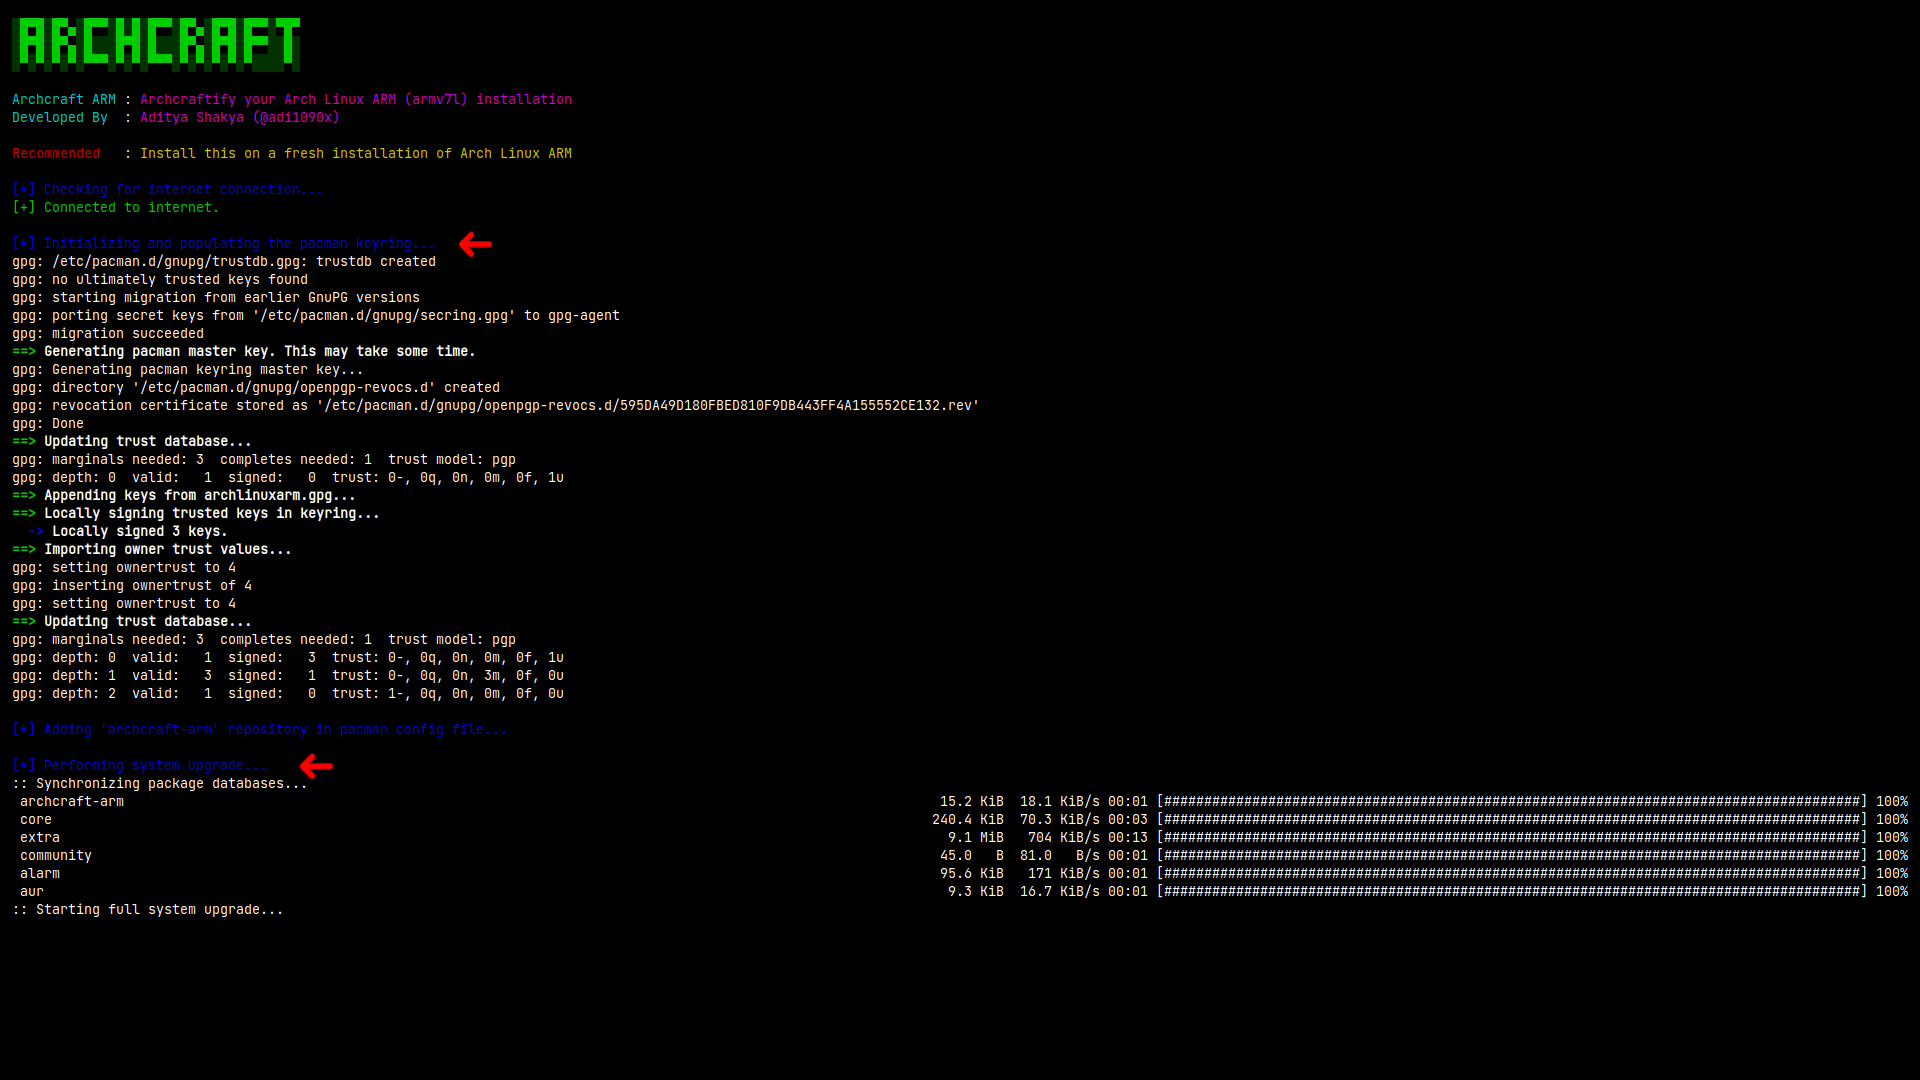
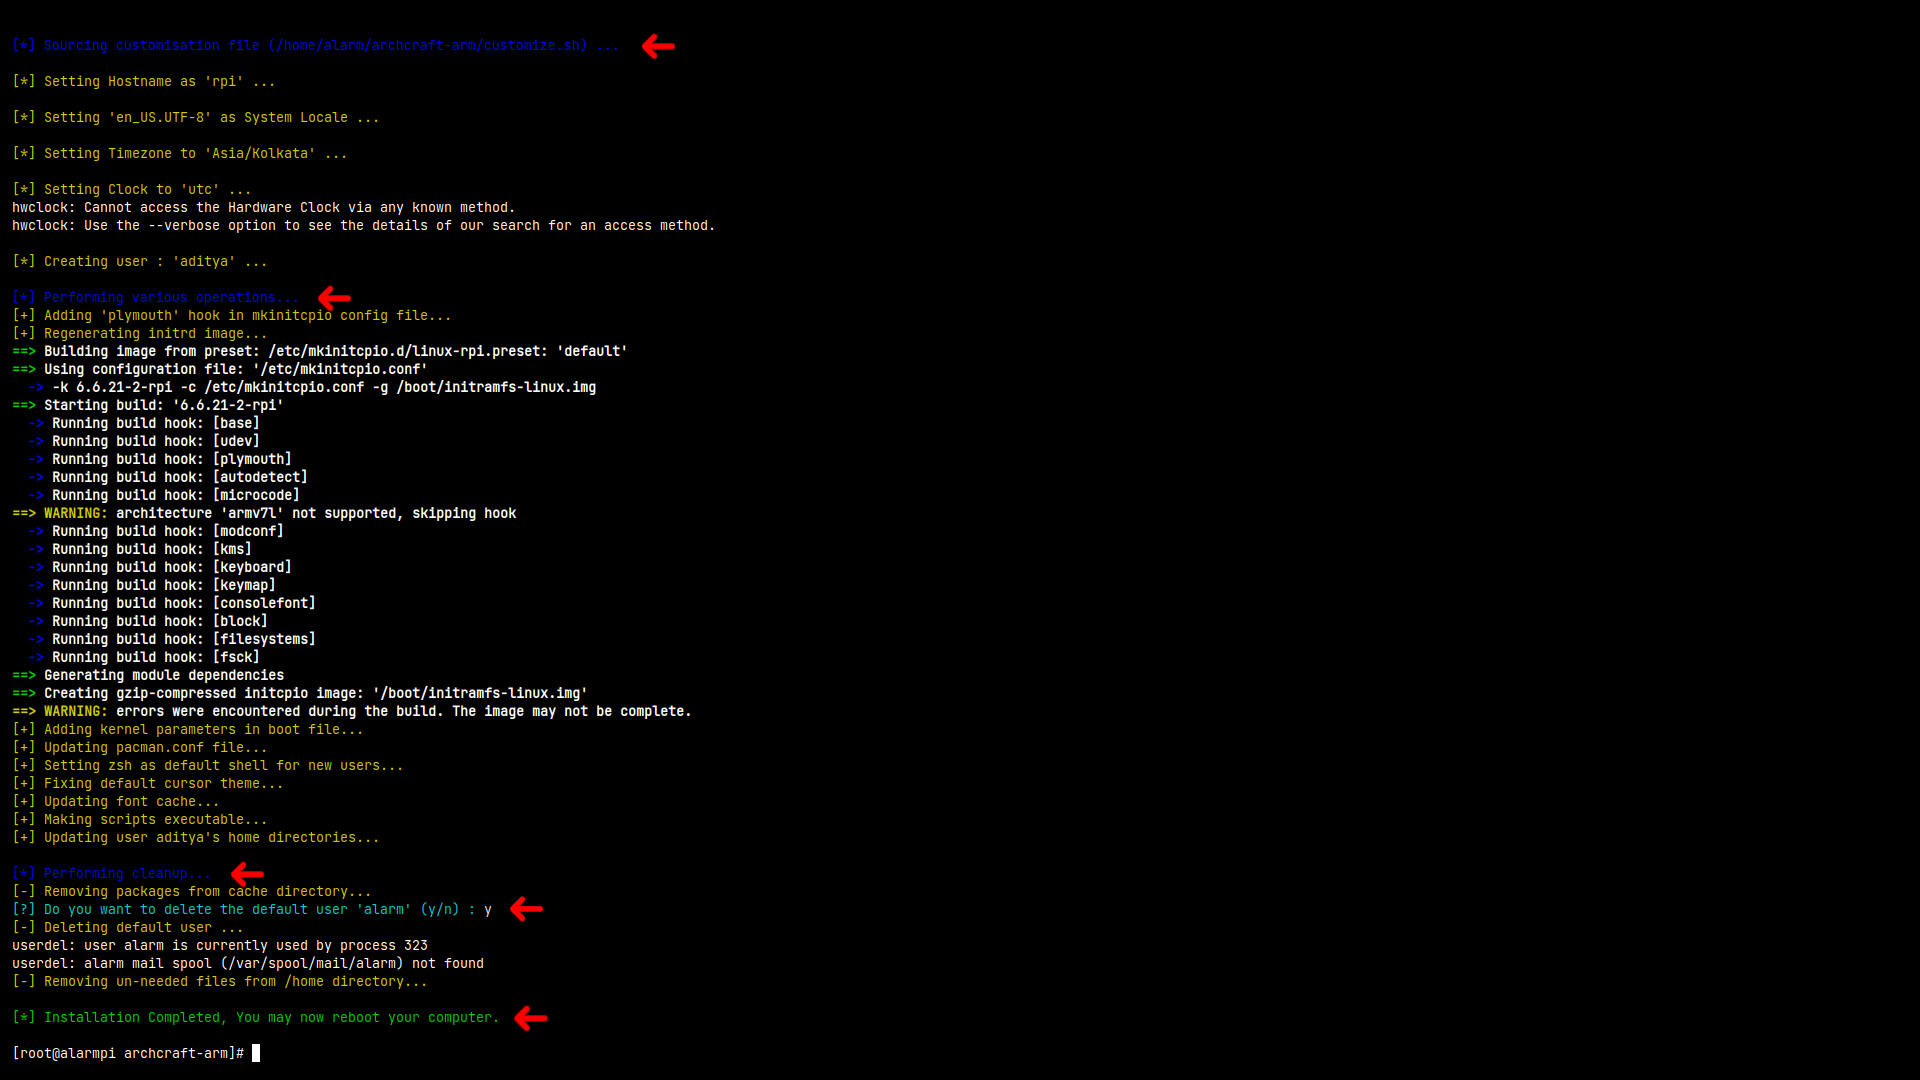
Now, It's time to run the install script. Run: ./install.sh script and let it do the job.
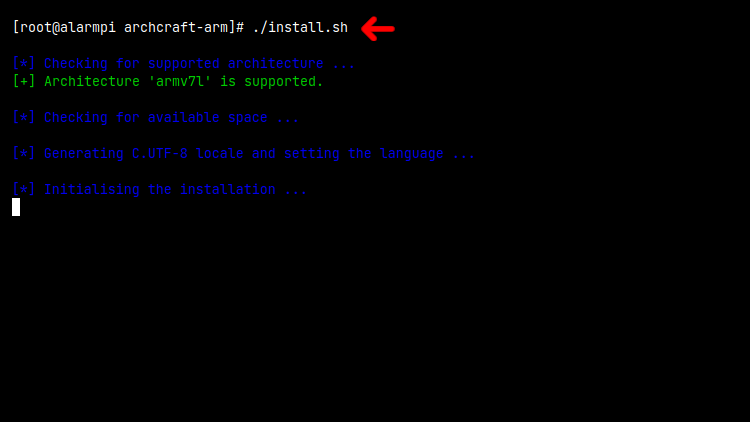
The script will initialize the pacman keyring and populate the Arch Linux ARM package signing keys. Then It'll add the archcraft-arm repository in the pacman config file and perform a full system upgrade.
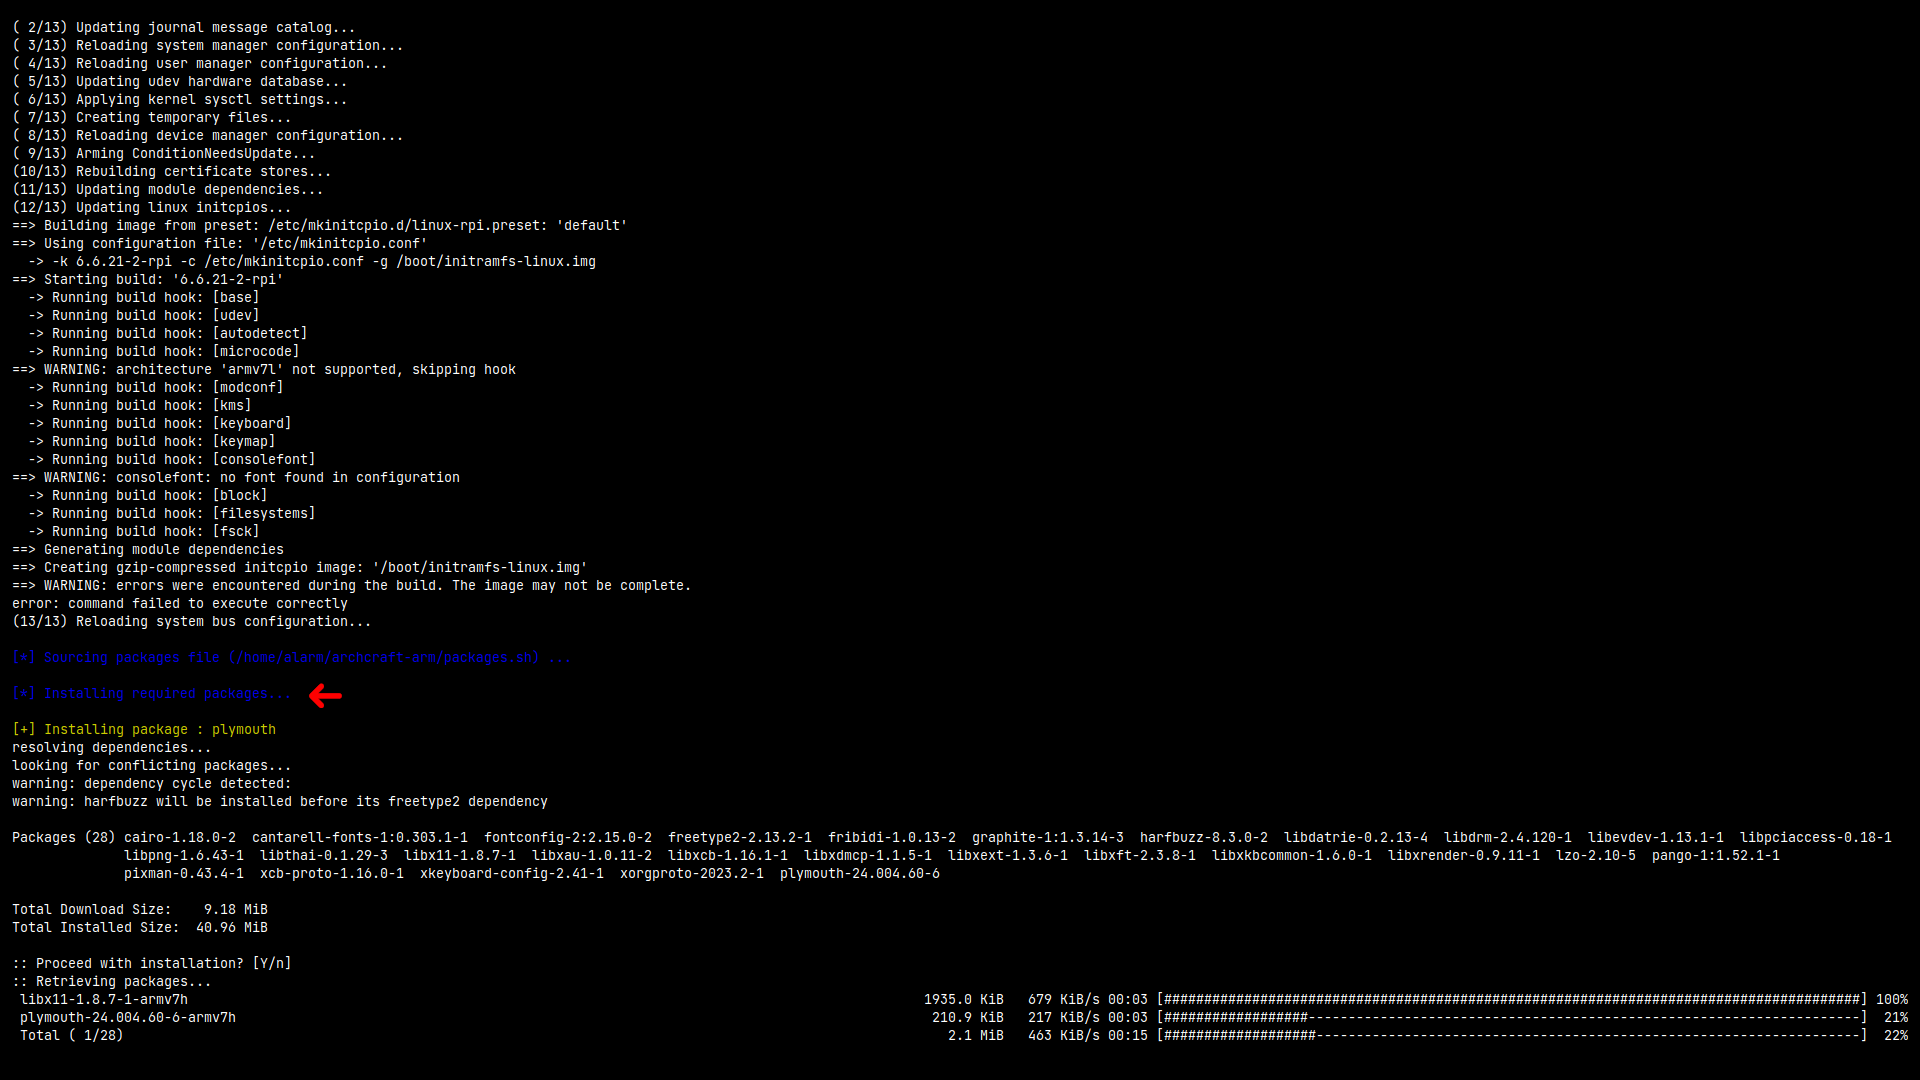
Then It'll install all the required packages one-by-one. This is going to take some time, So be patient. You can edit the install.sh script and use the function that installs all the packages at once. Don't forget to comment out the other one.
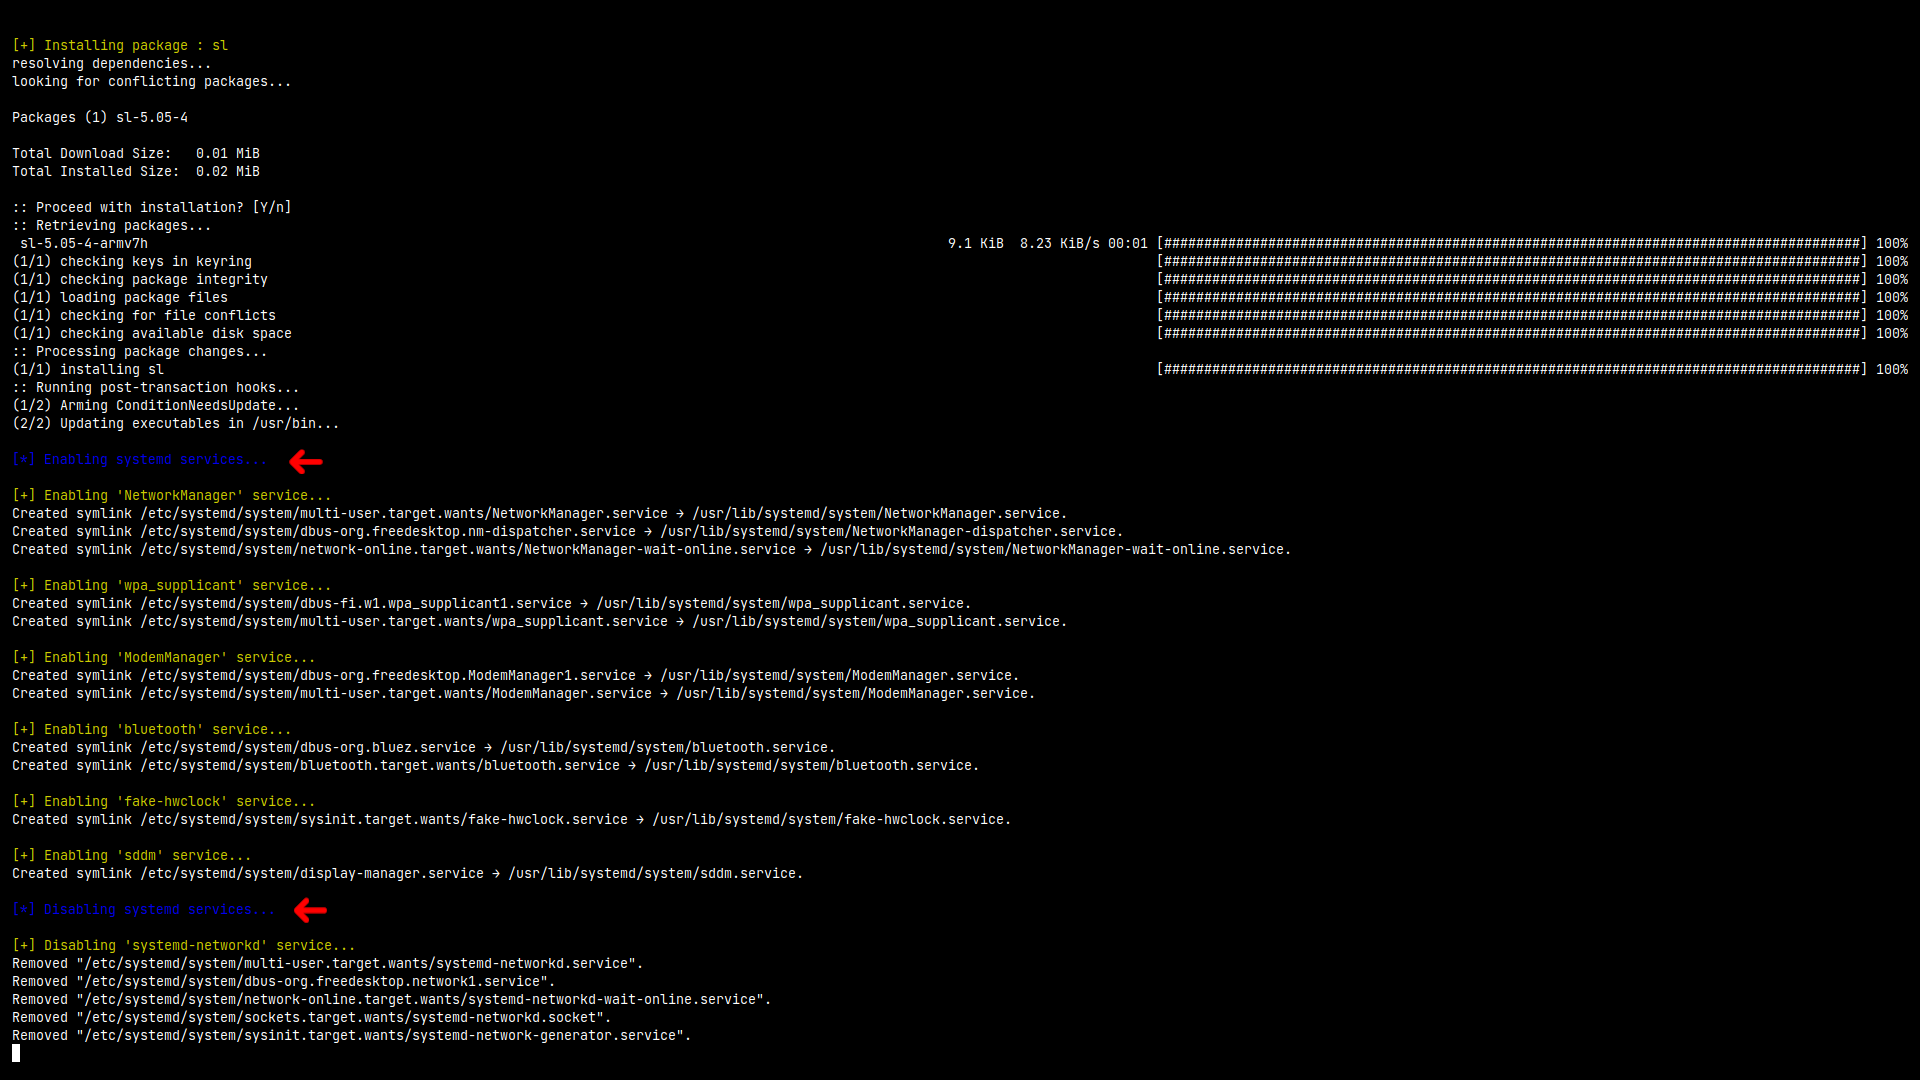
Next, It'll enable all the required services, targets and disable the one not needed anymore.
Later on, It'll install a few system files and default configuration files.
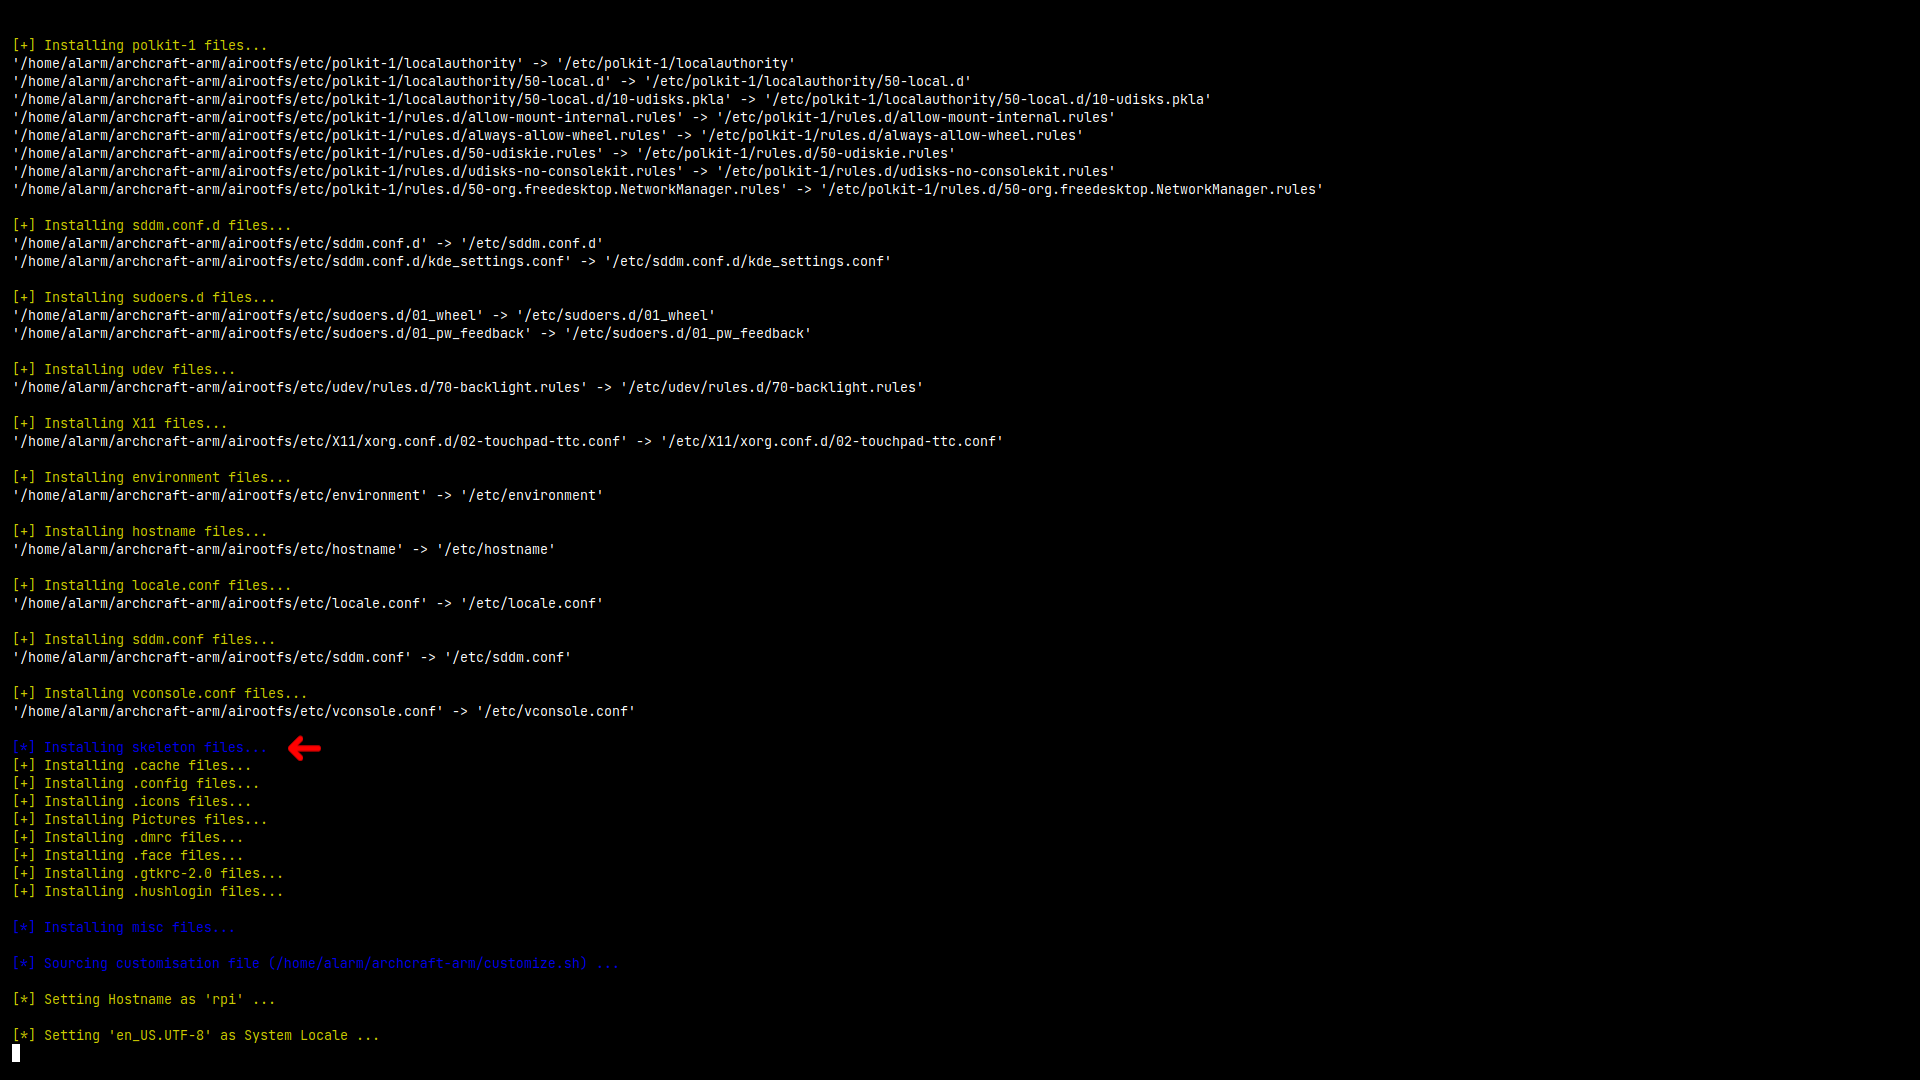
Next, It'll configure the installed system based on the values you've provided in that customize.sh file. Then, It'll perform various misc operations, and ask you if you want to delete the default user account.
Reboot the system
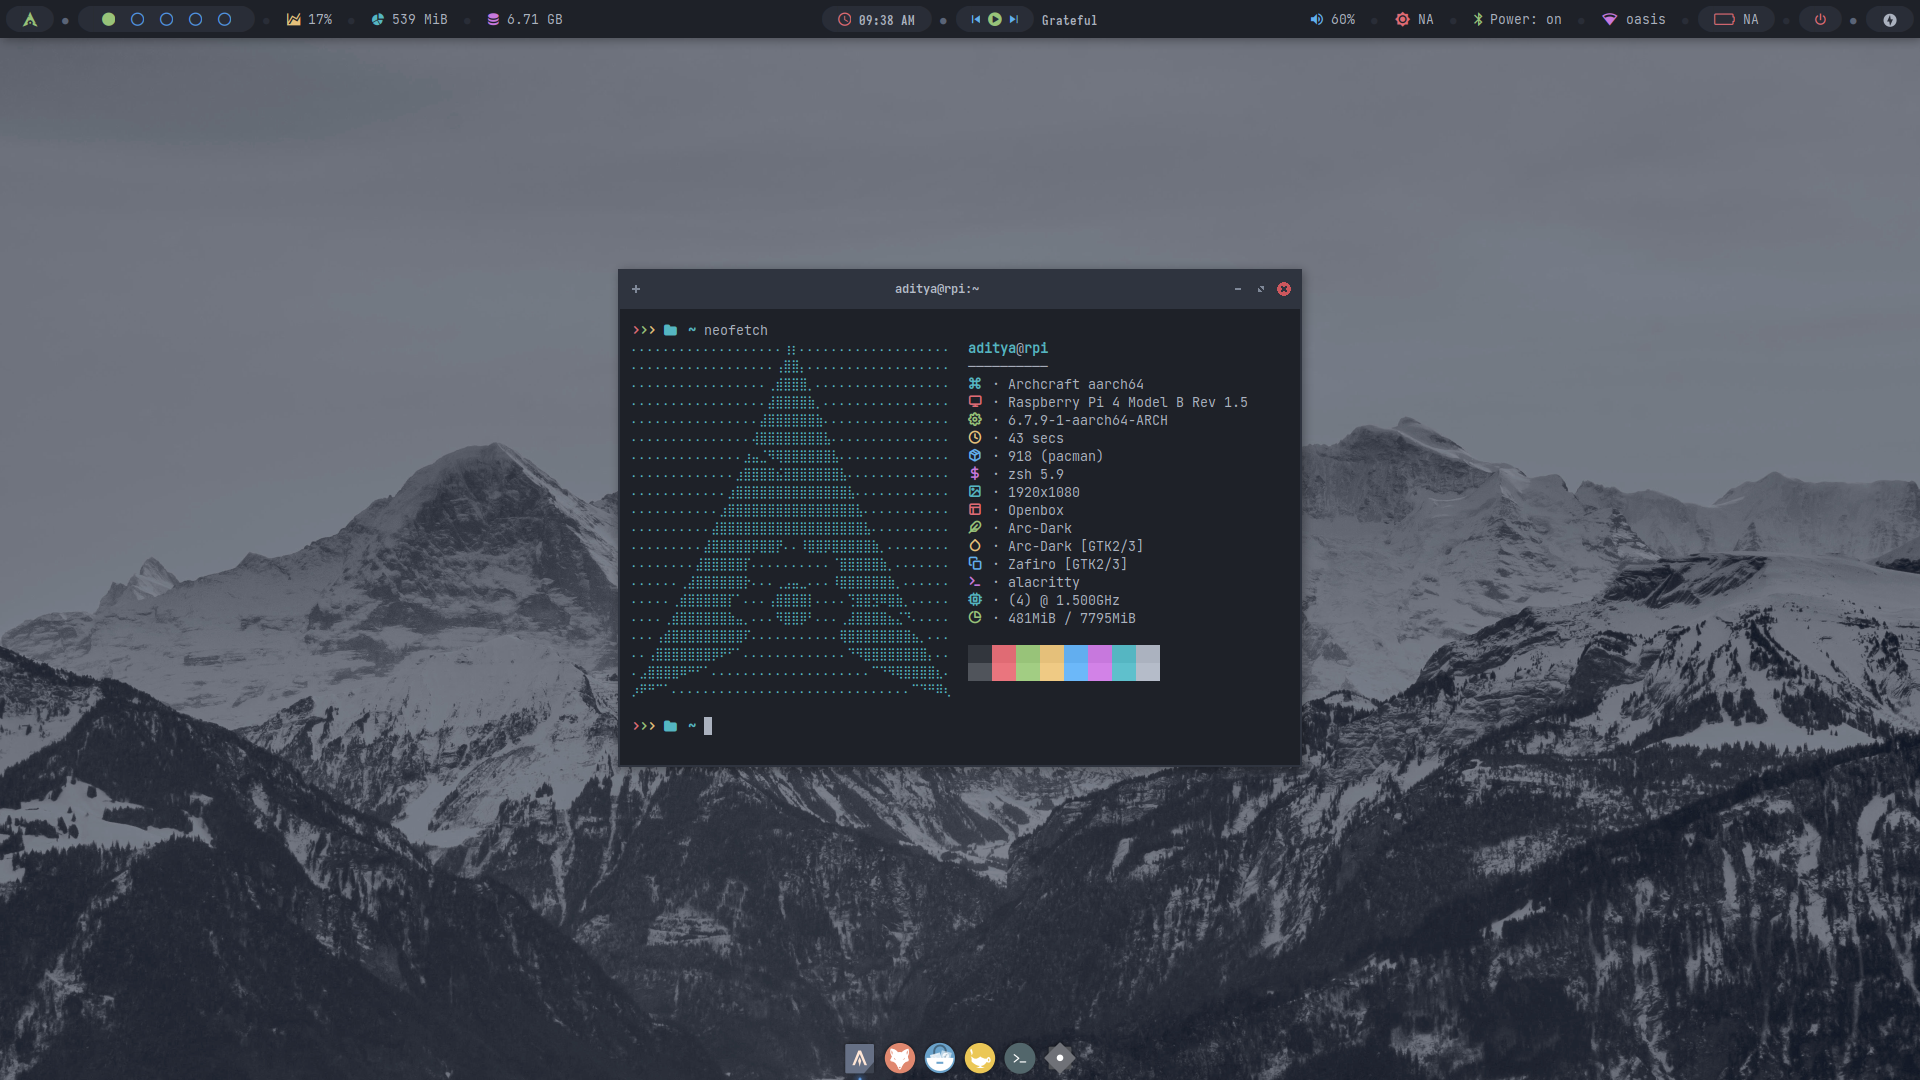
Once the installation is finished, Reboot your device.
If Everything went well, You should see the sddm login screen. Enter the password (that you've added in the customize.sh file) to login.

Changelogs
Changelog (March 2024) : First Release
Date : March 12th, 2024
- Released first version of Archcraft ARM
- Fully Customized
plymouth&sddm - Fully configured
openbox,bspwmandi3wmwindow managers - Basic Applications Only, No Bloatware
- Full
Network ManagerSupport, Various VPN plugins - Built-in
BluetoothSupport - Pipewire For
Sound/Audio(Systemwide, Bluetooth, Jack) - Built-in
PrinterSupport - Almost
All Audio, Video and ImageCodecs - Full
File manager functionality(Mounting, Networking, Archiving, etc) - Built-in
AUR support - Minimal User Interface
- Multiple Desktop Styles
- Archcraft Icons, Themes, Wallpapers, Fonts
- Etc
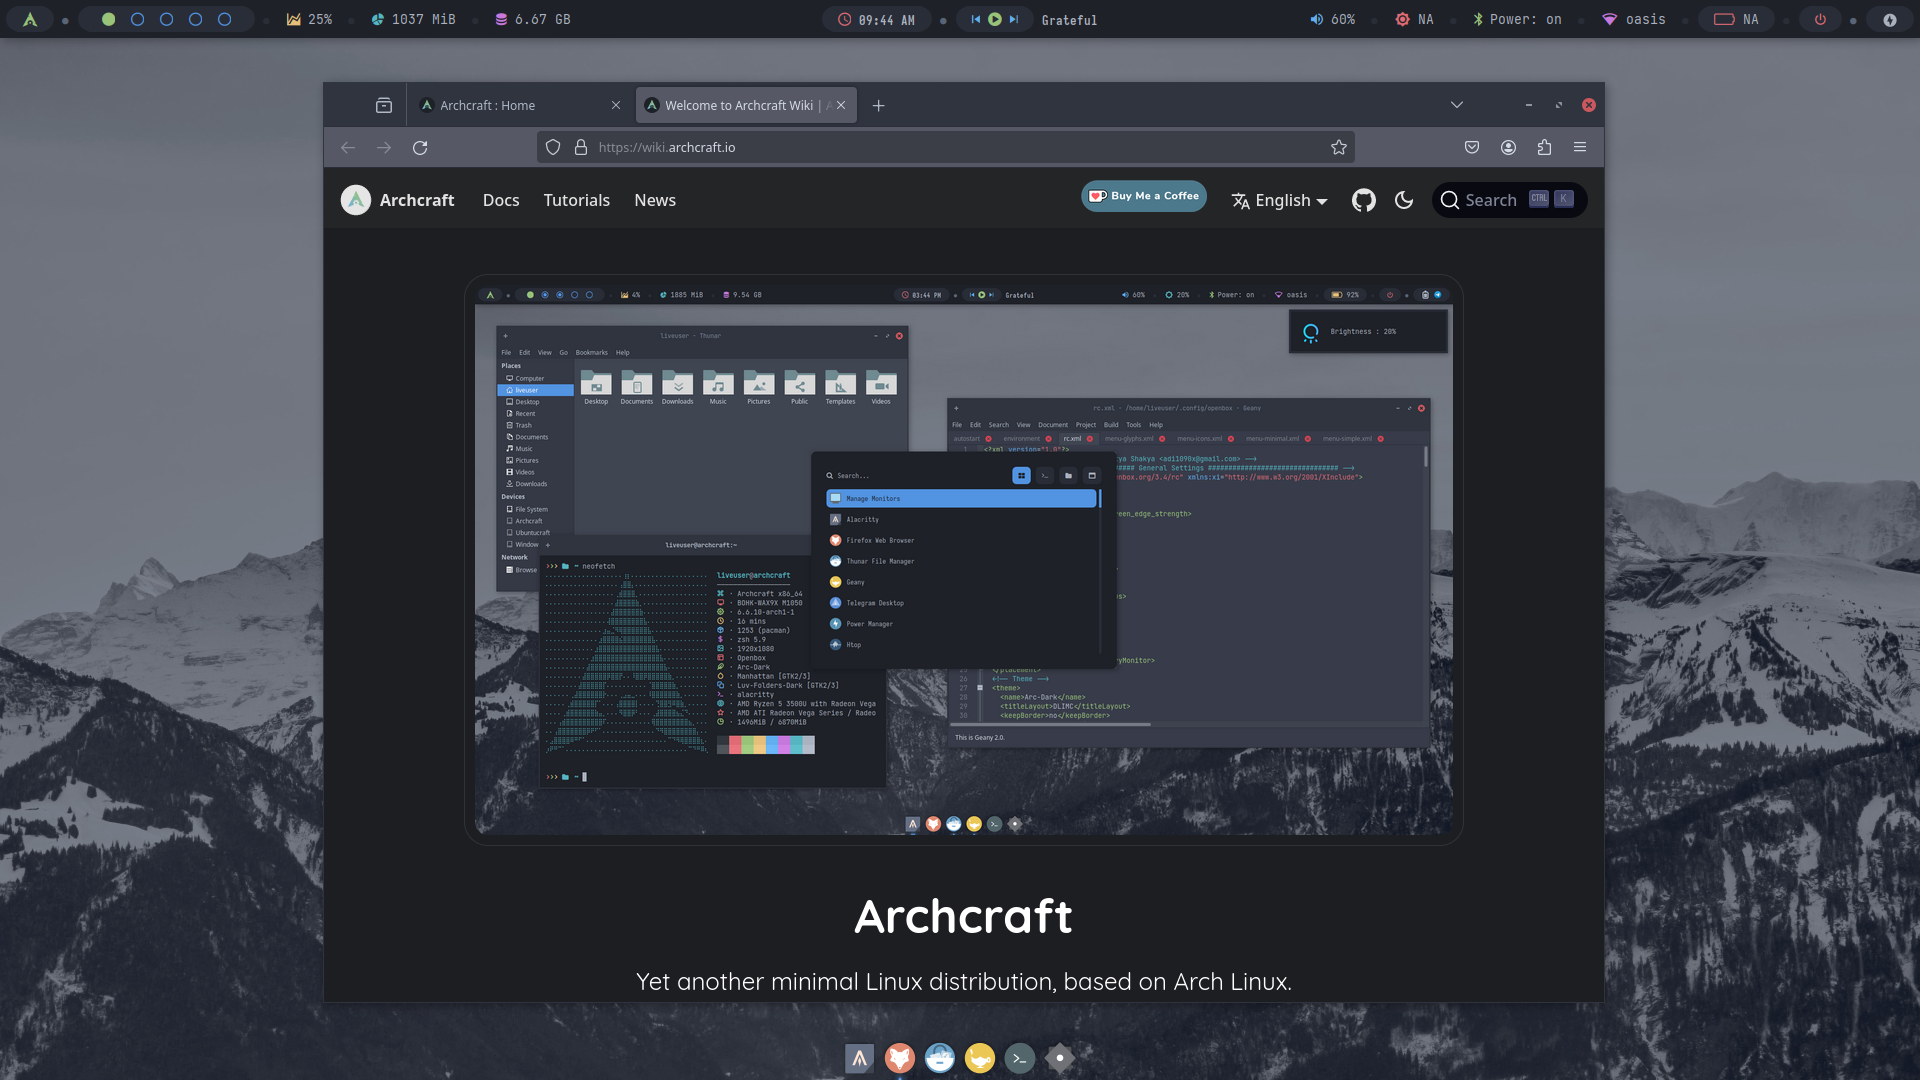
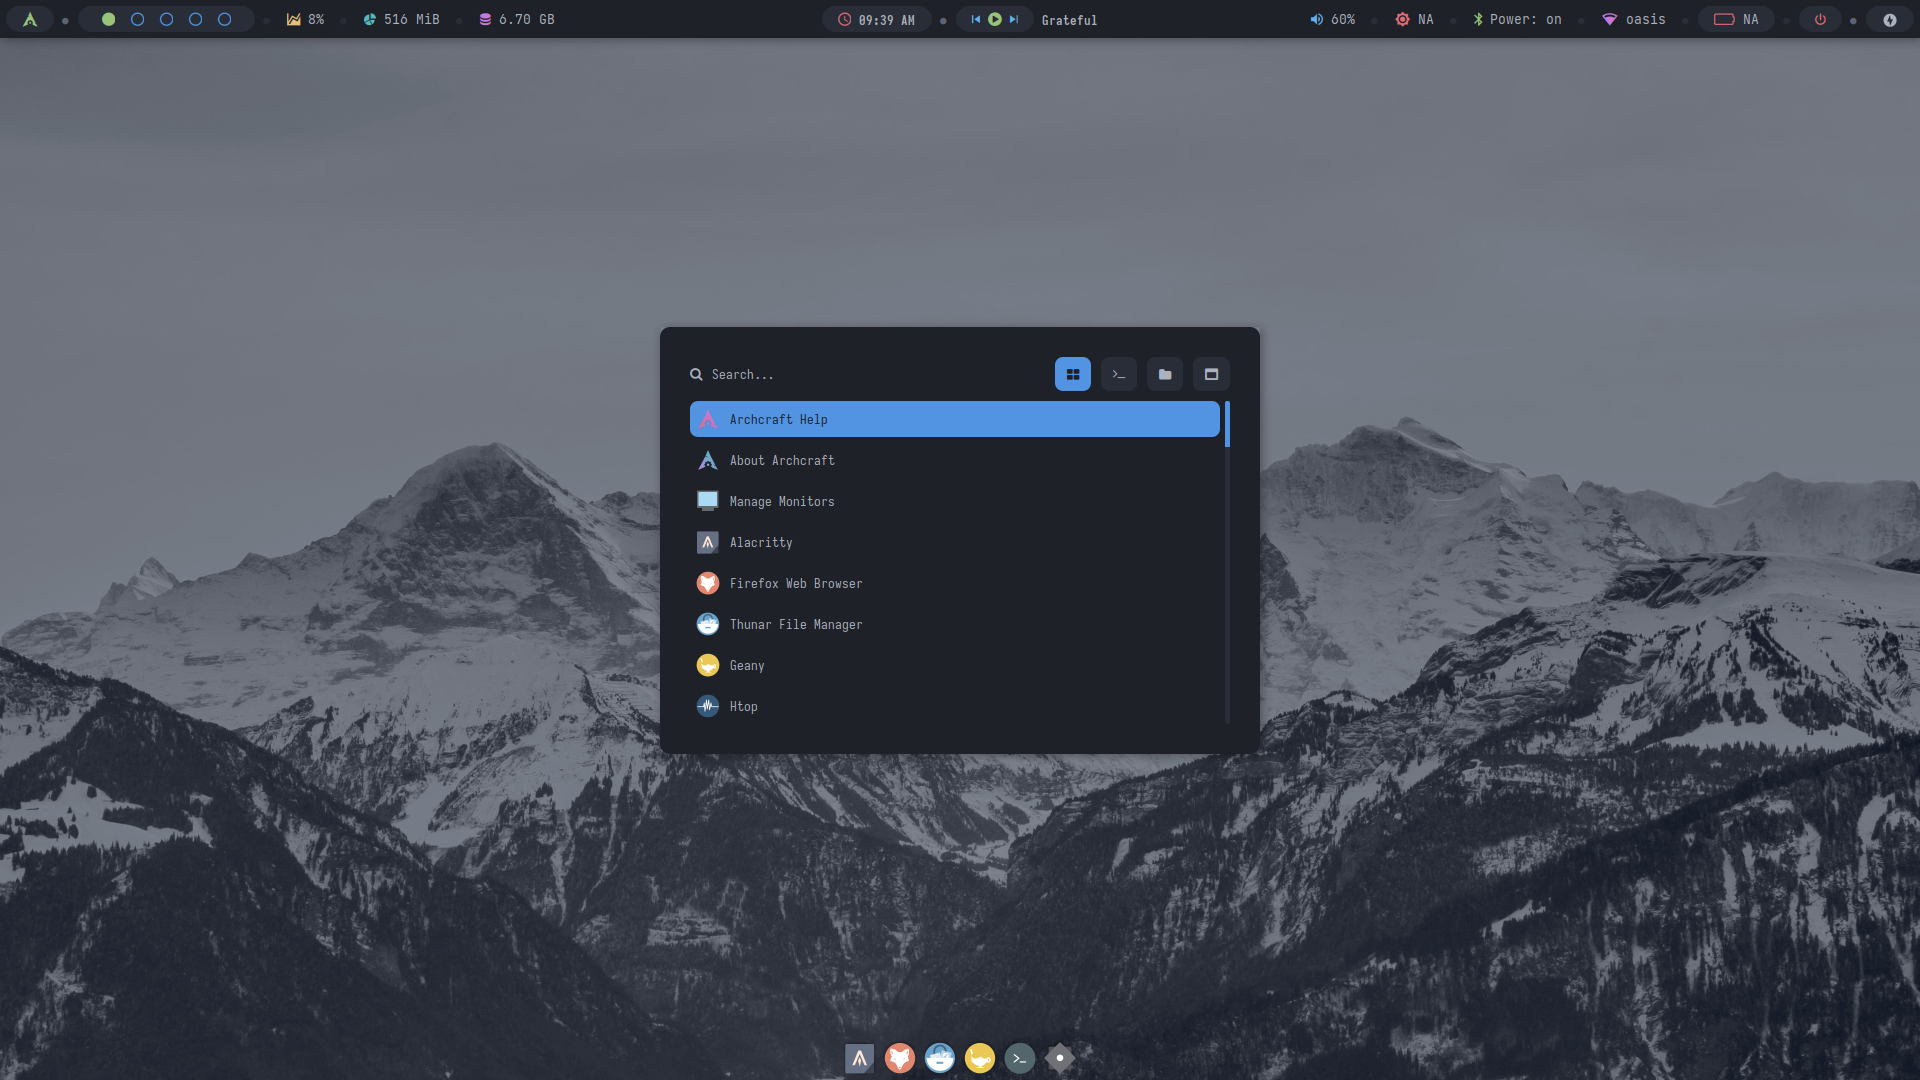
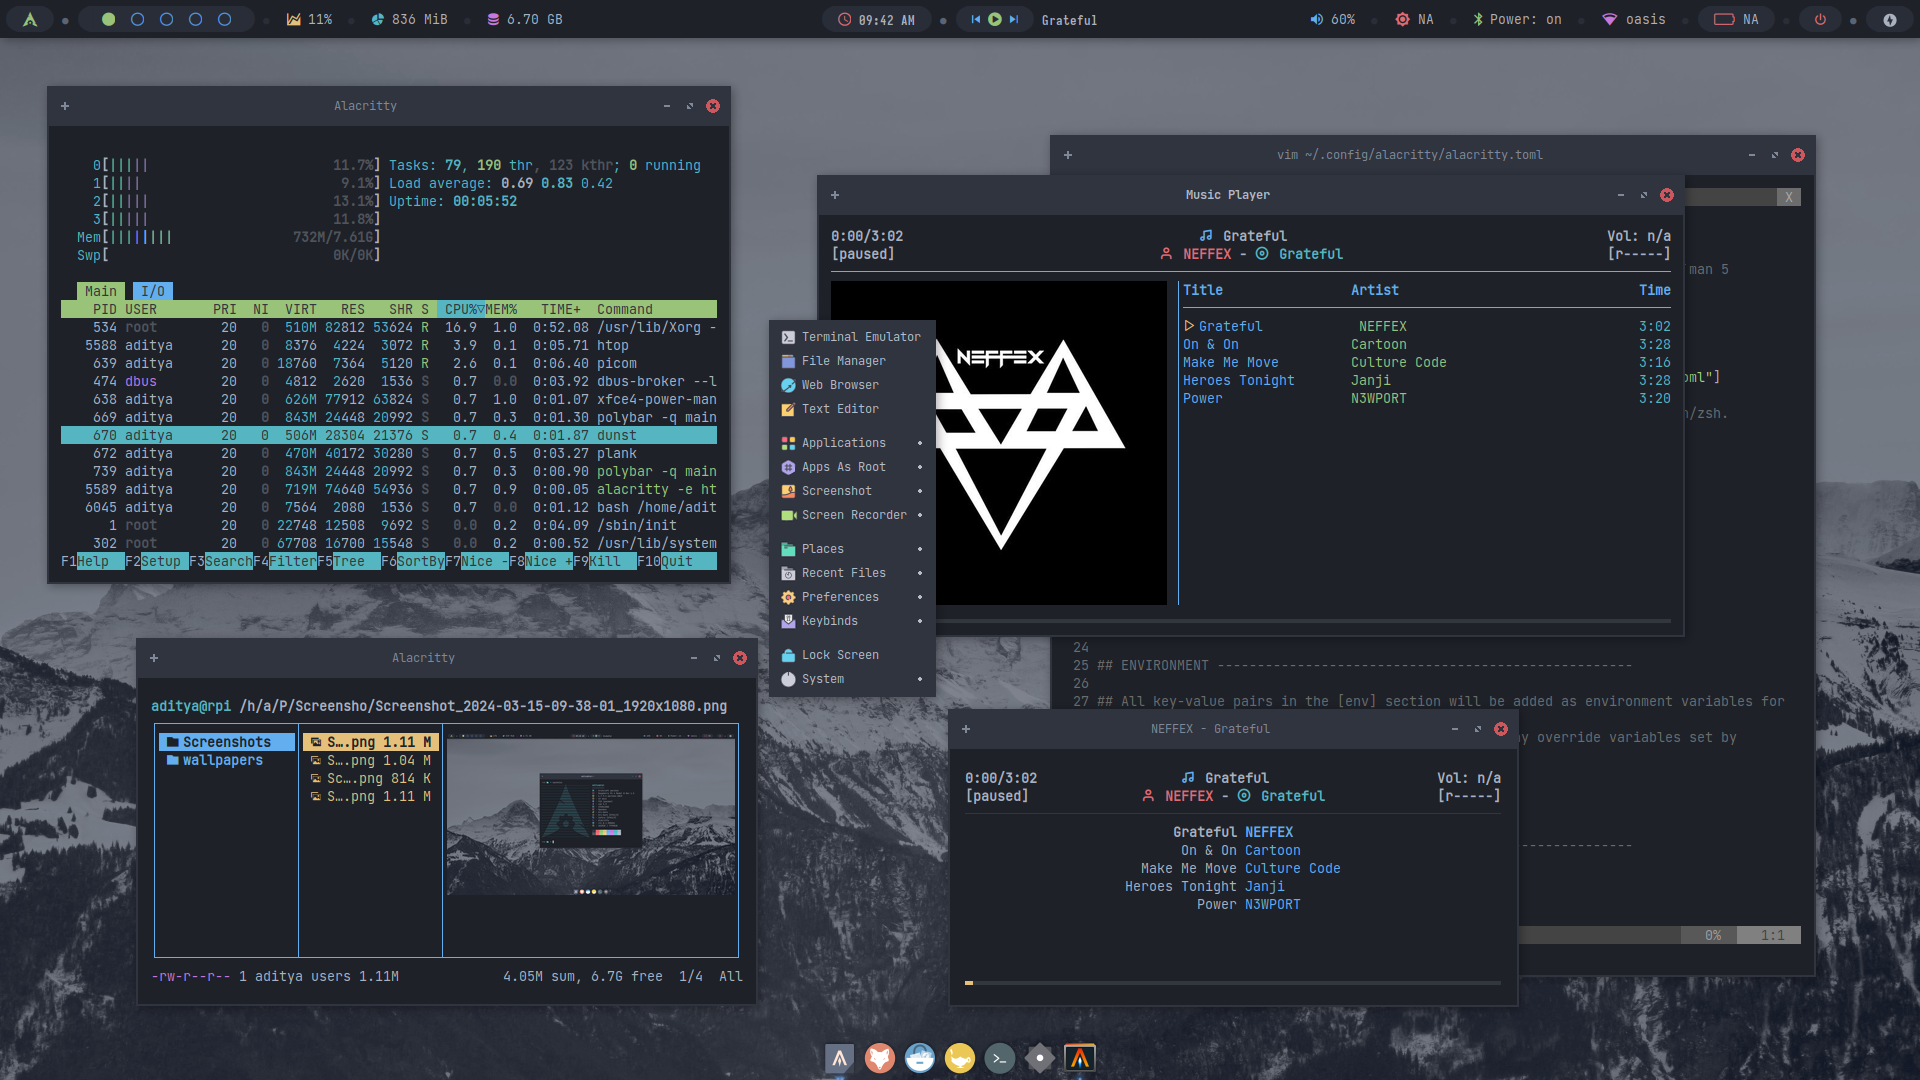
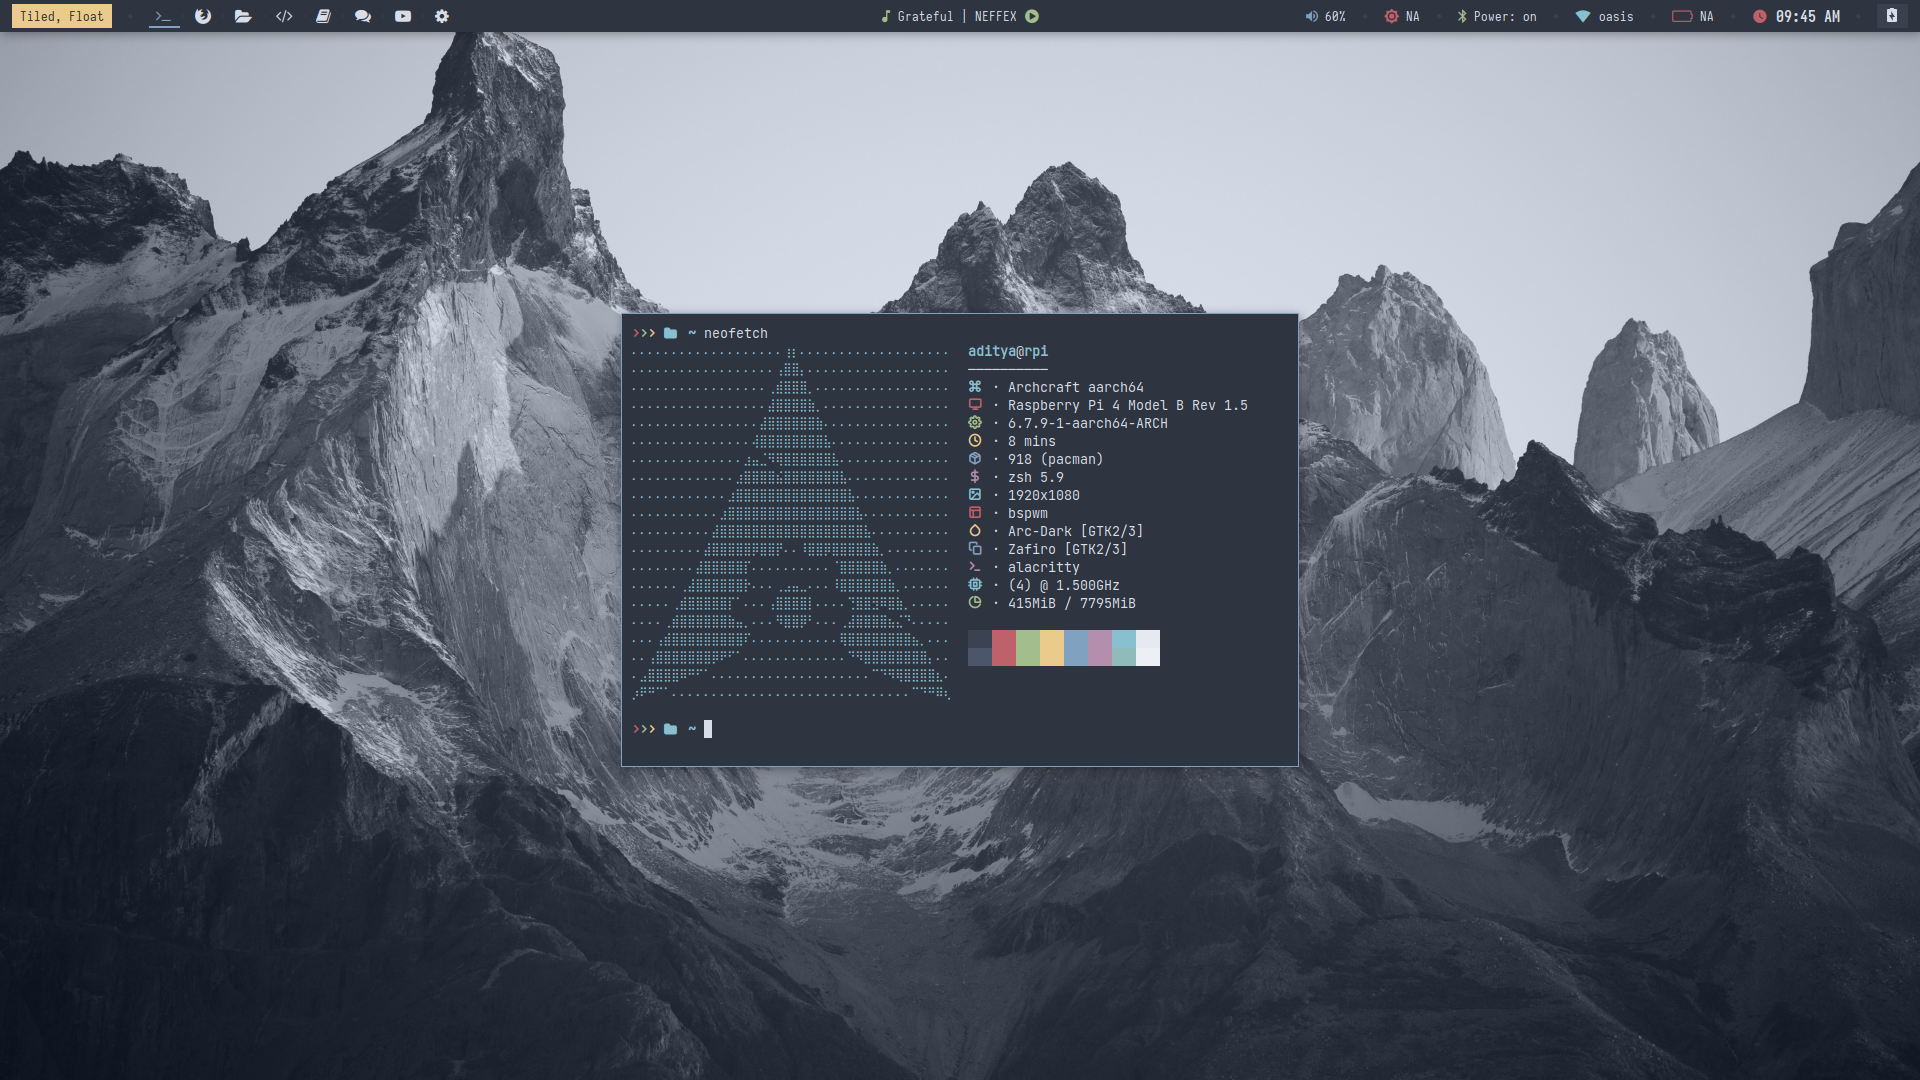
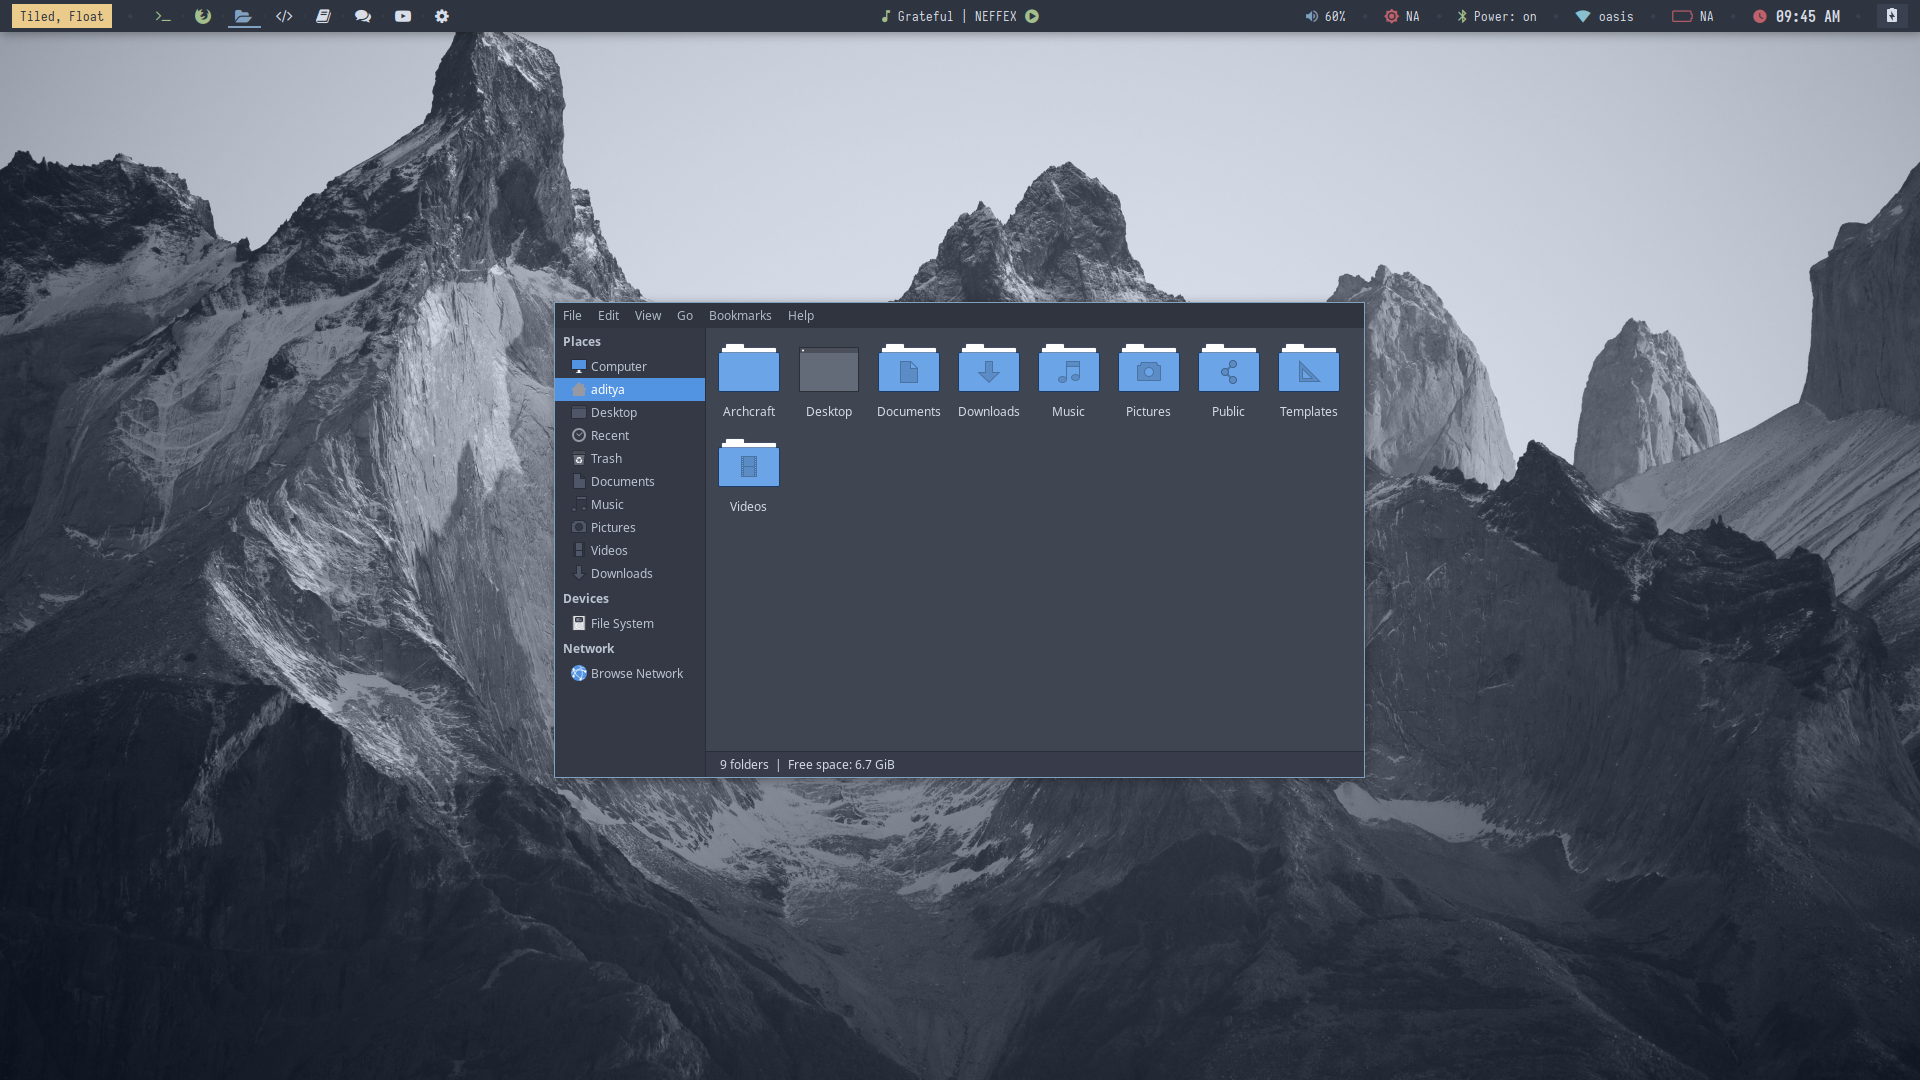
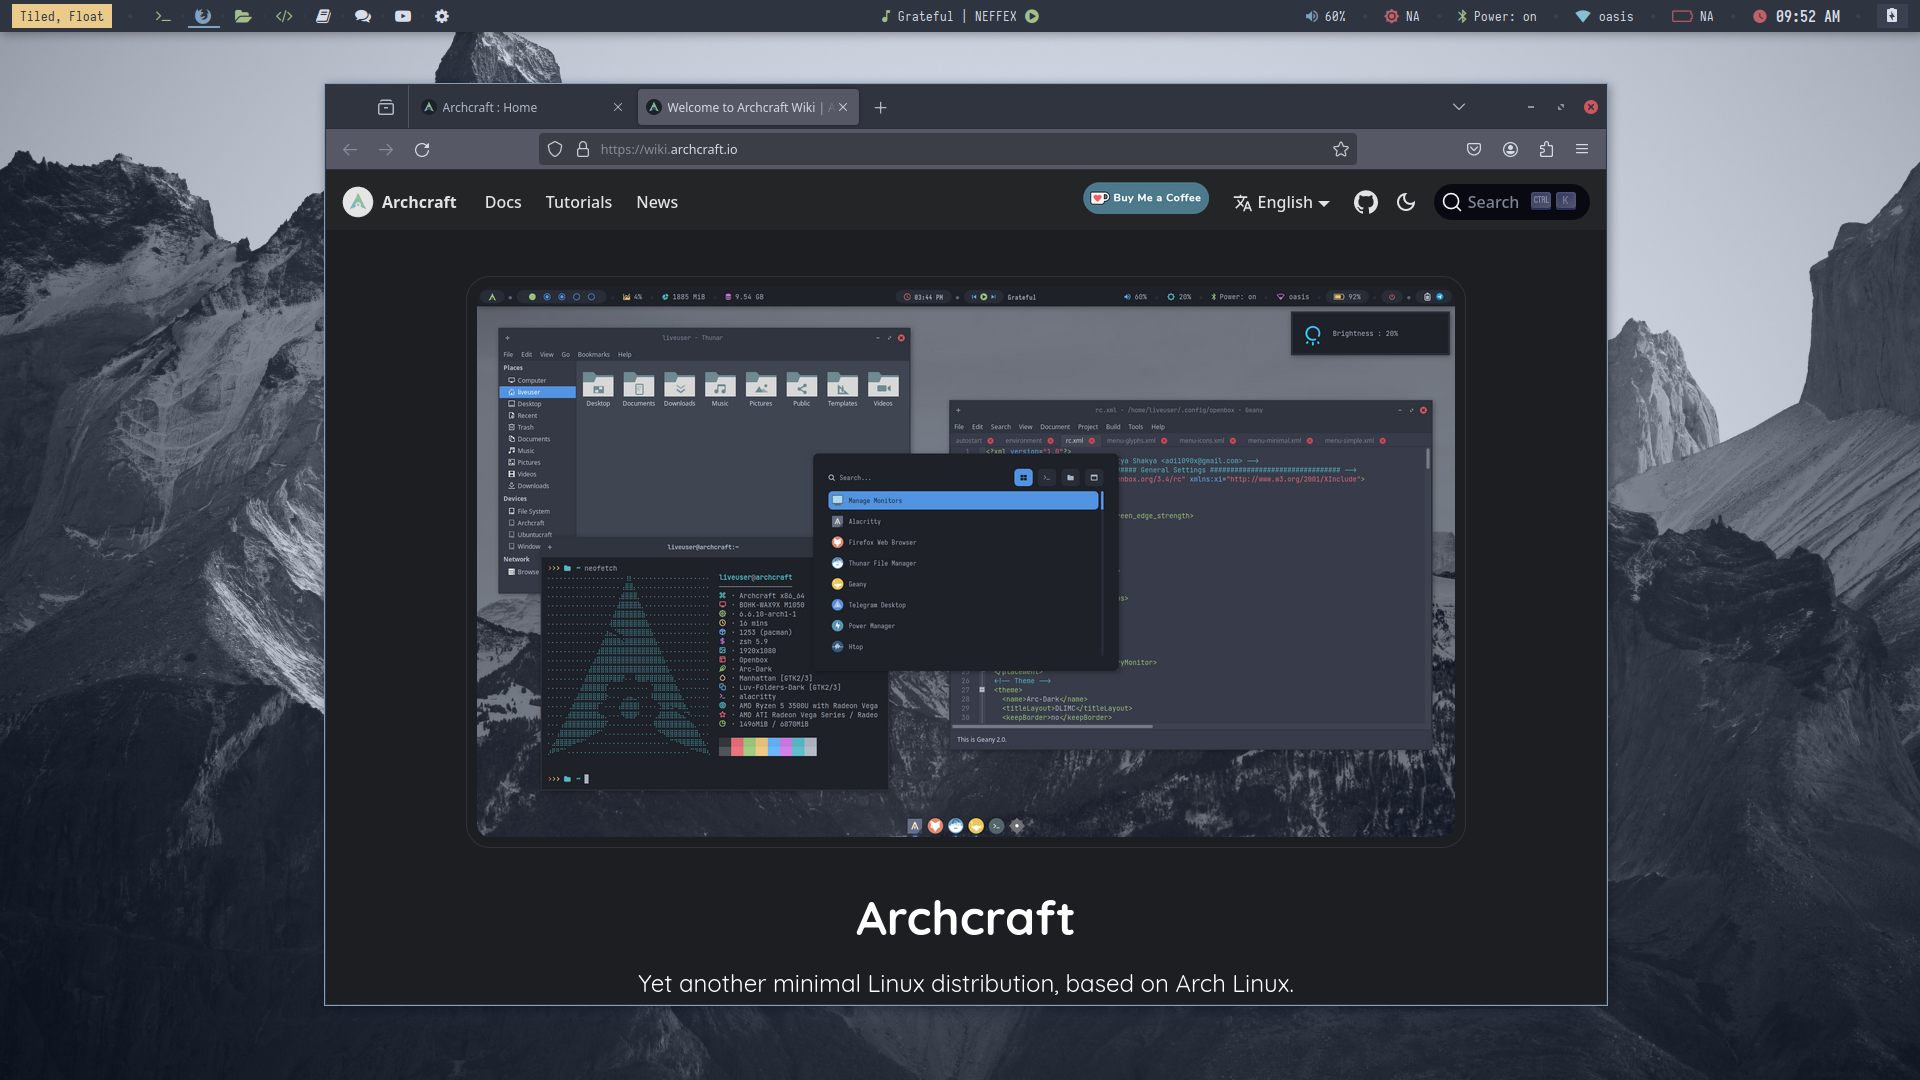
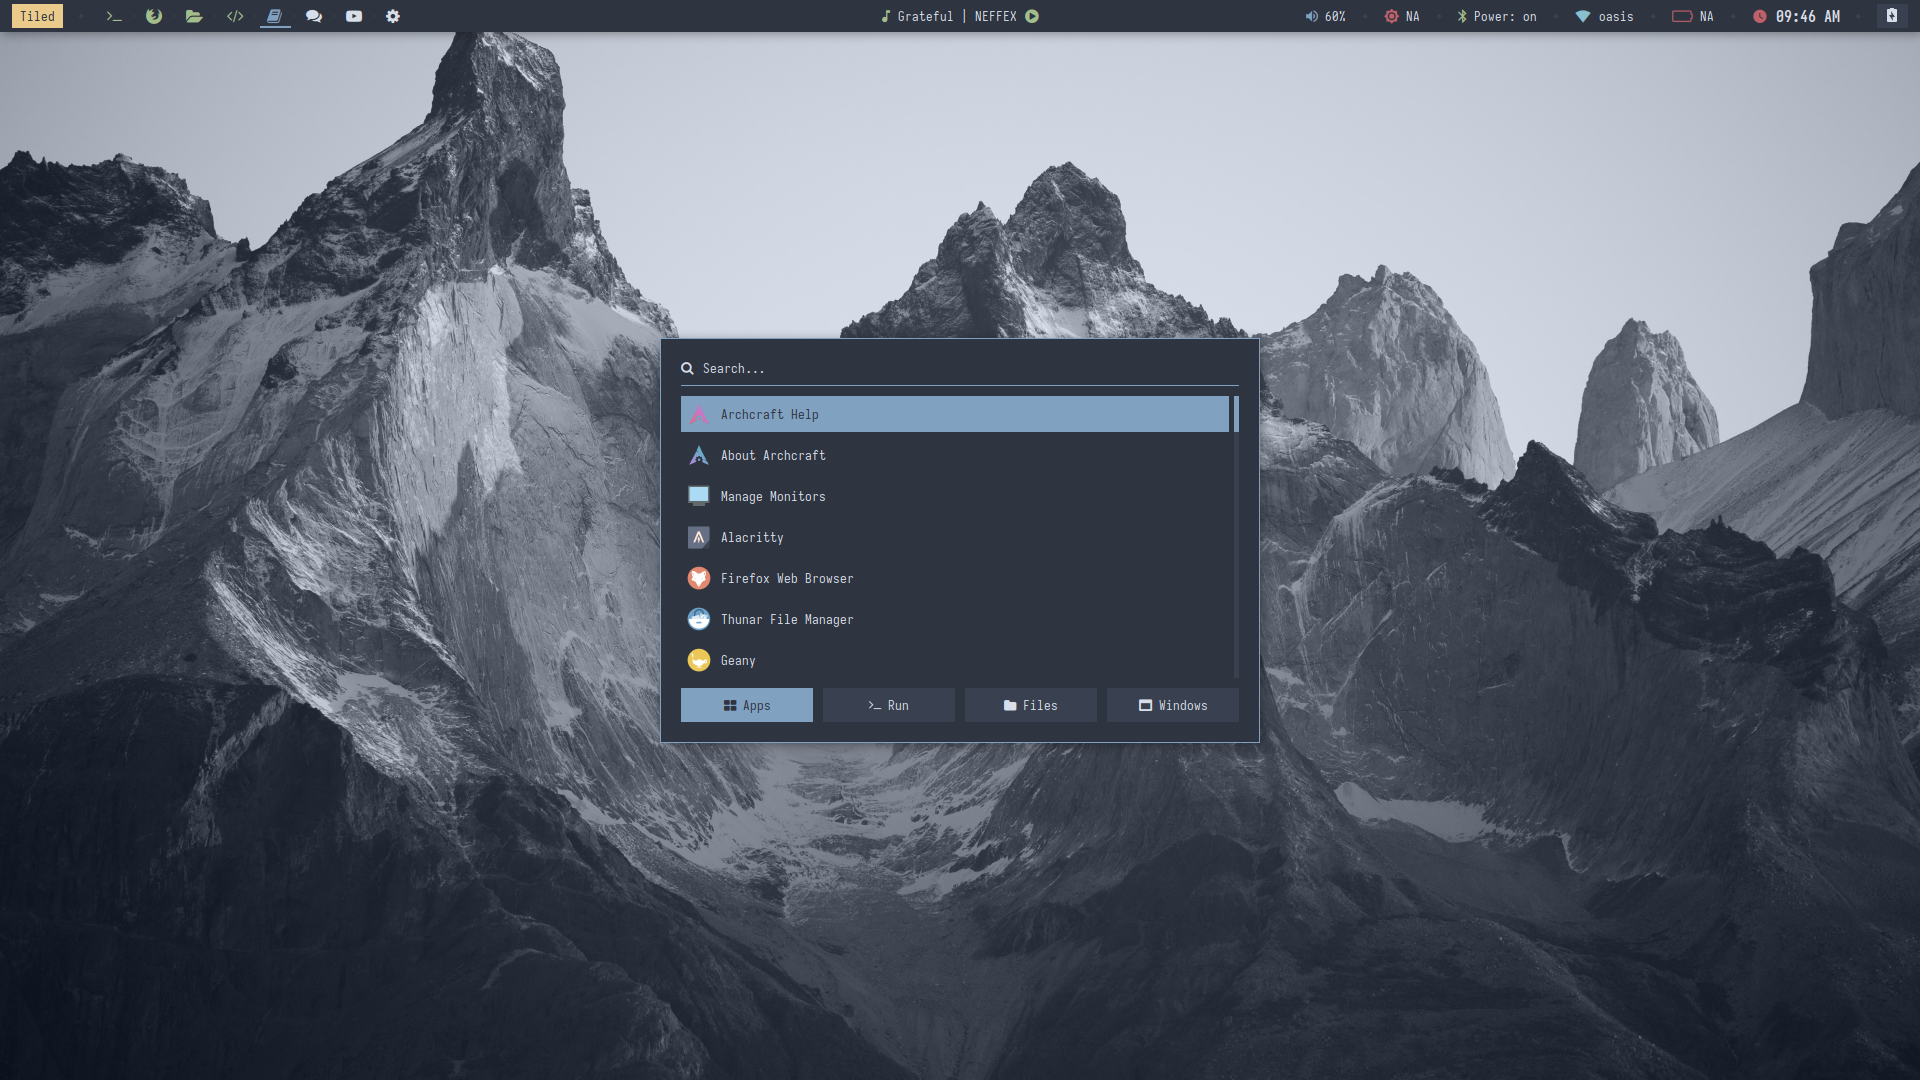
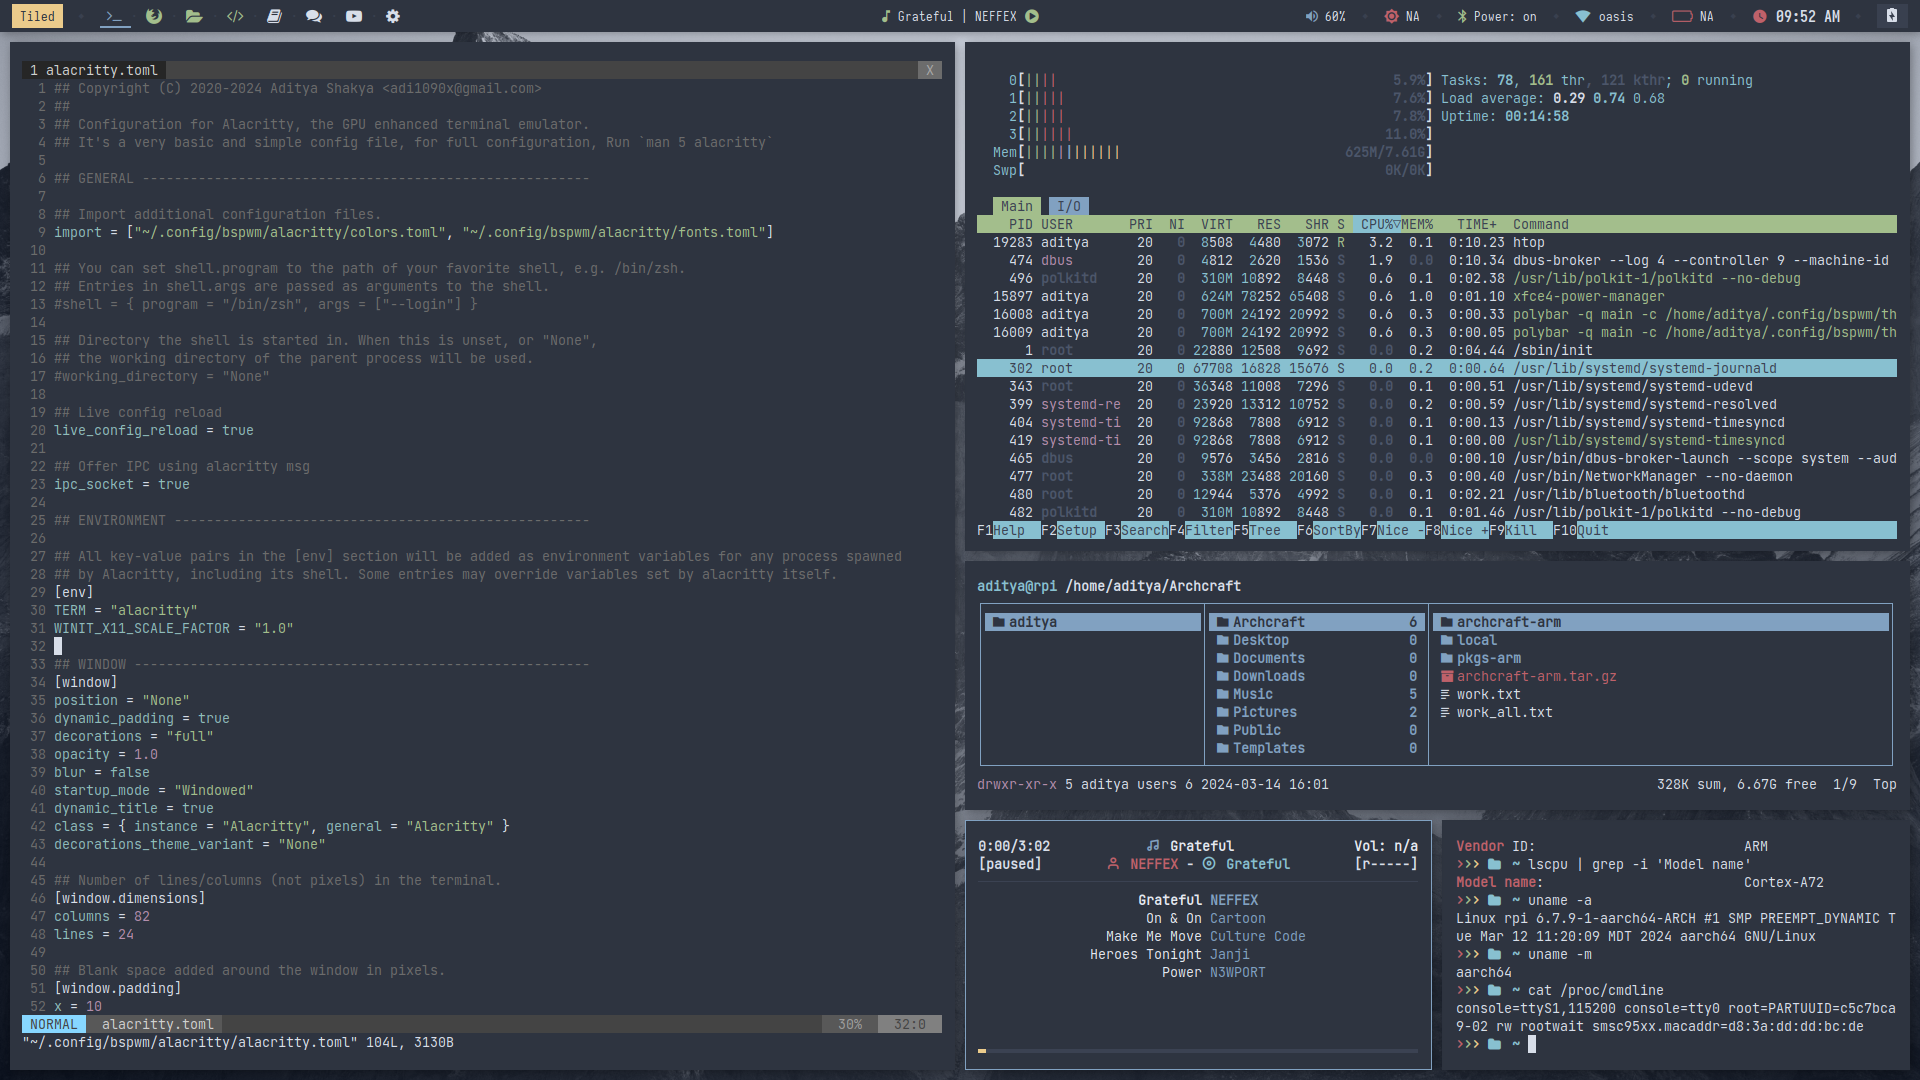
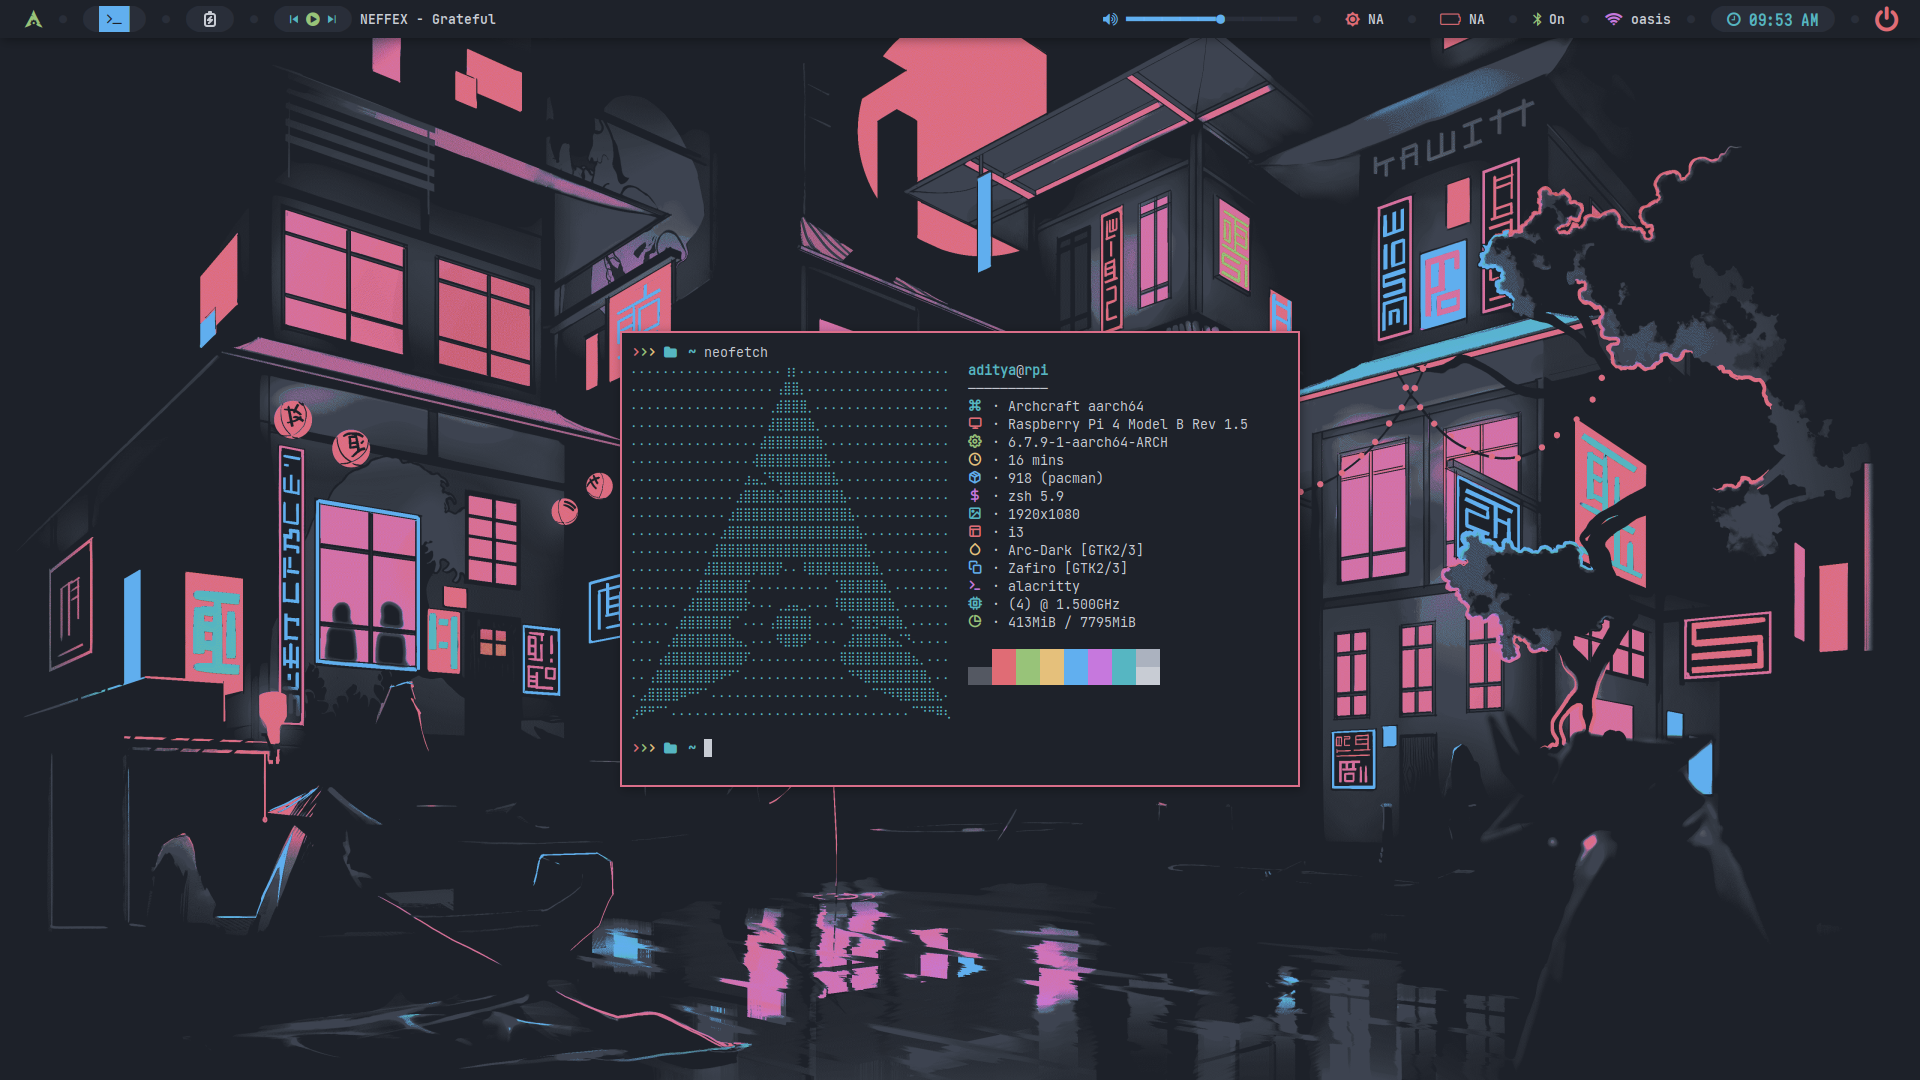
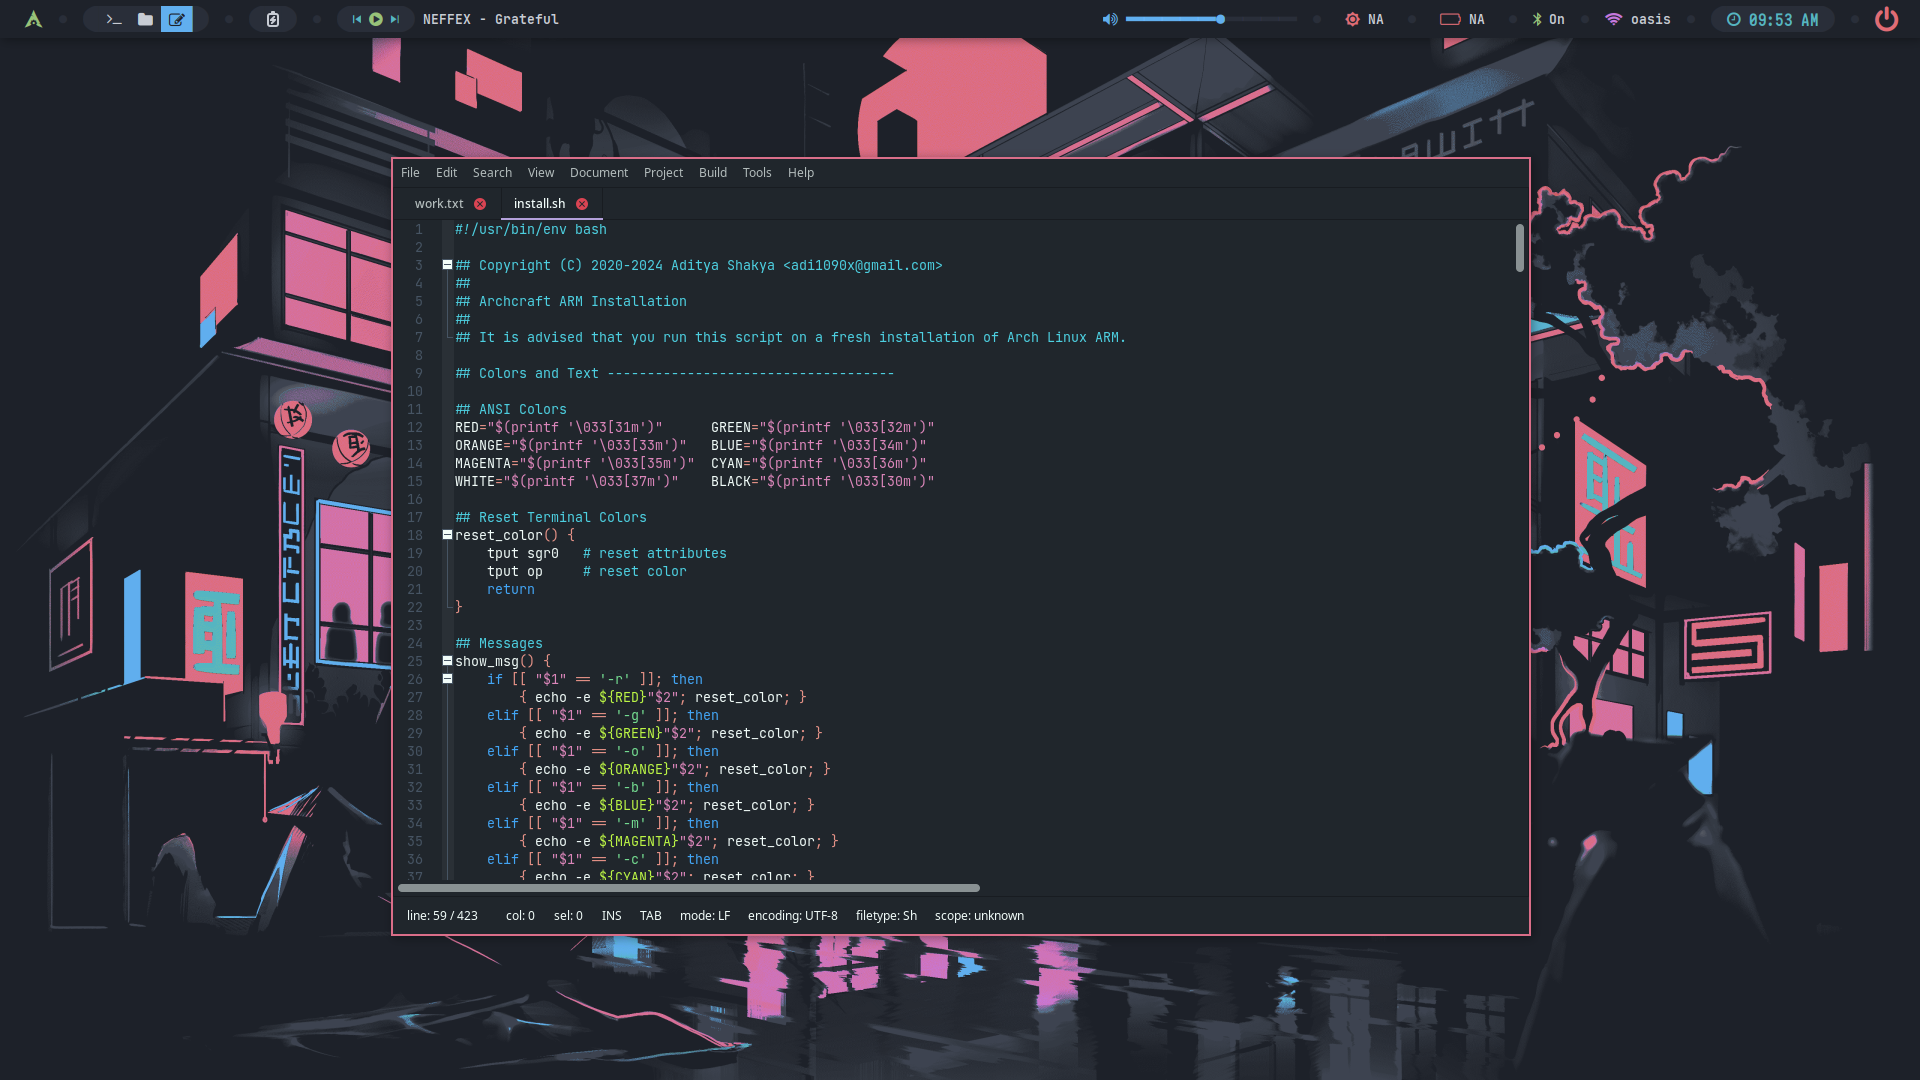
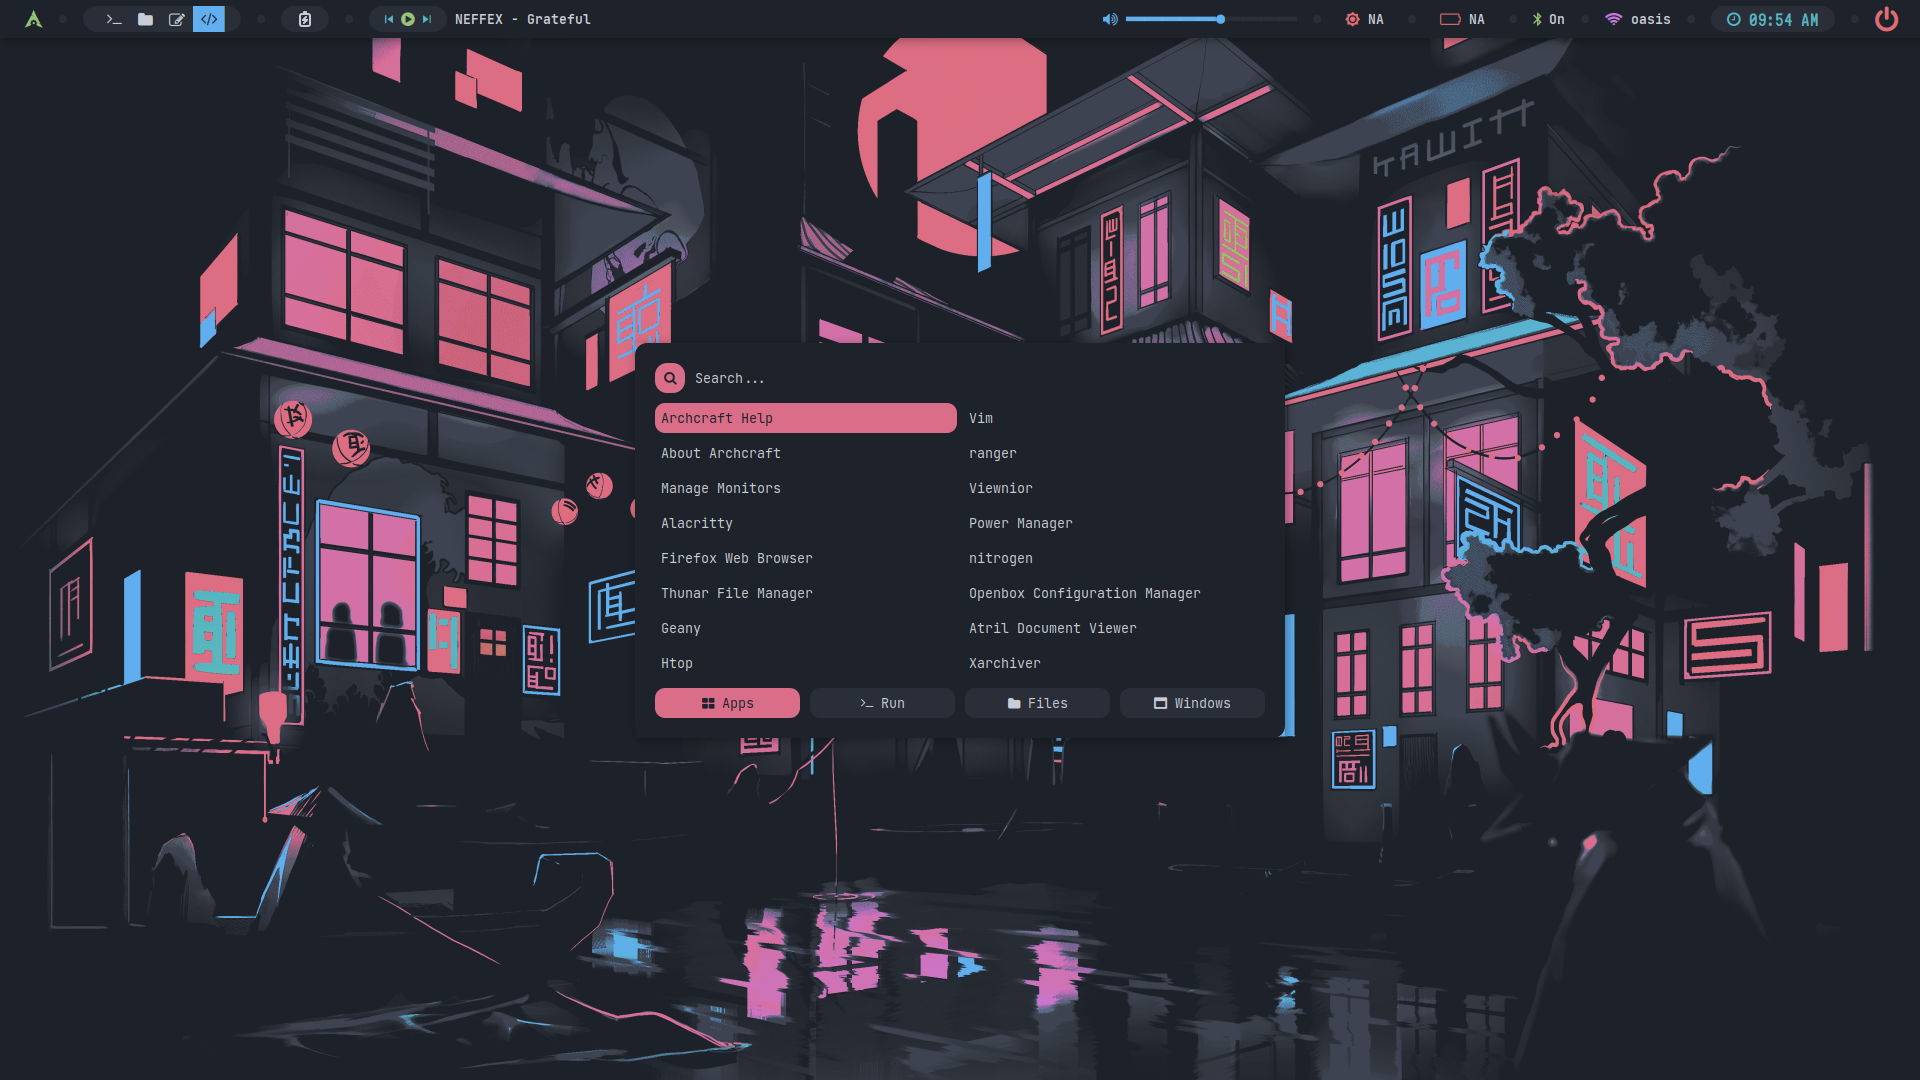
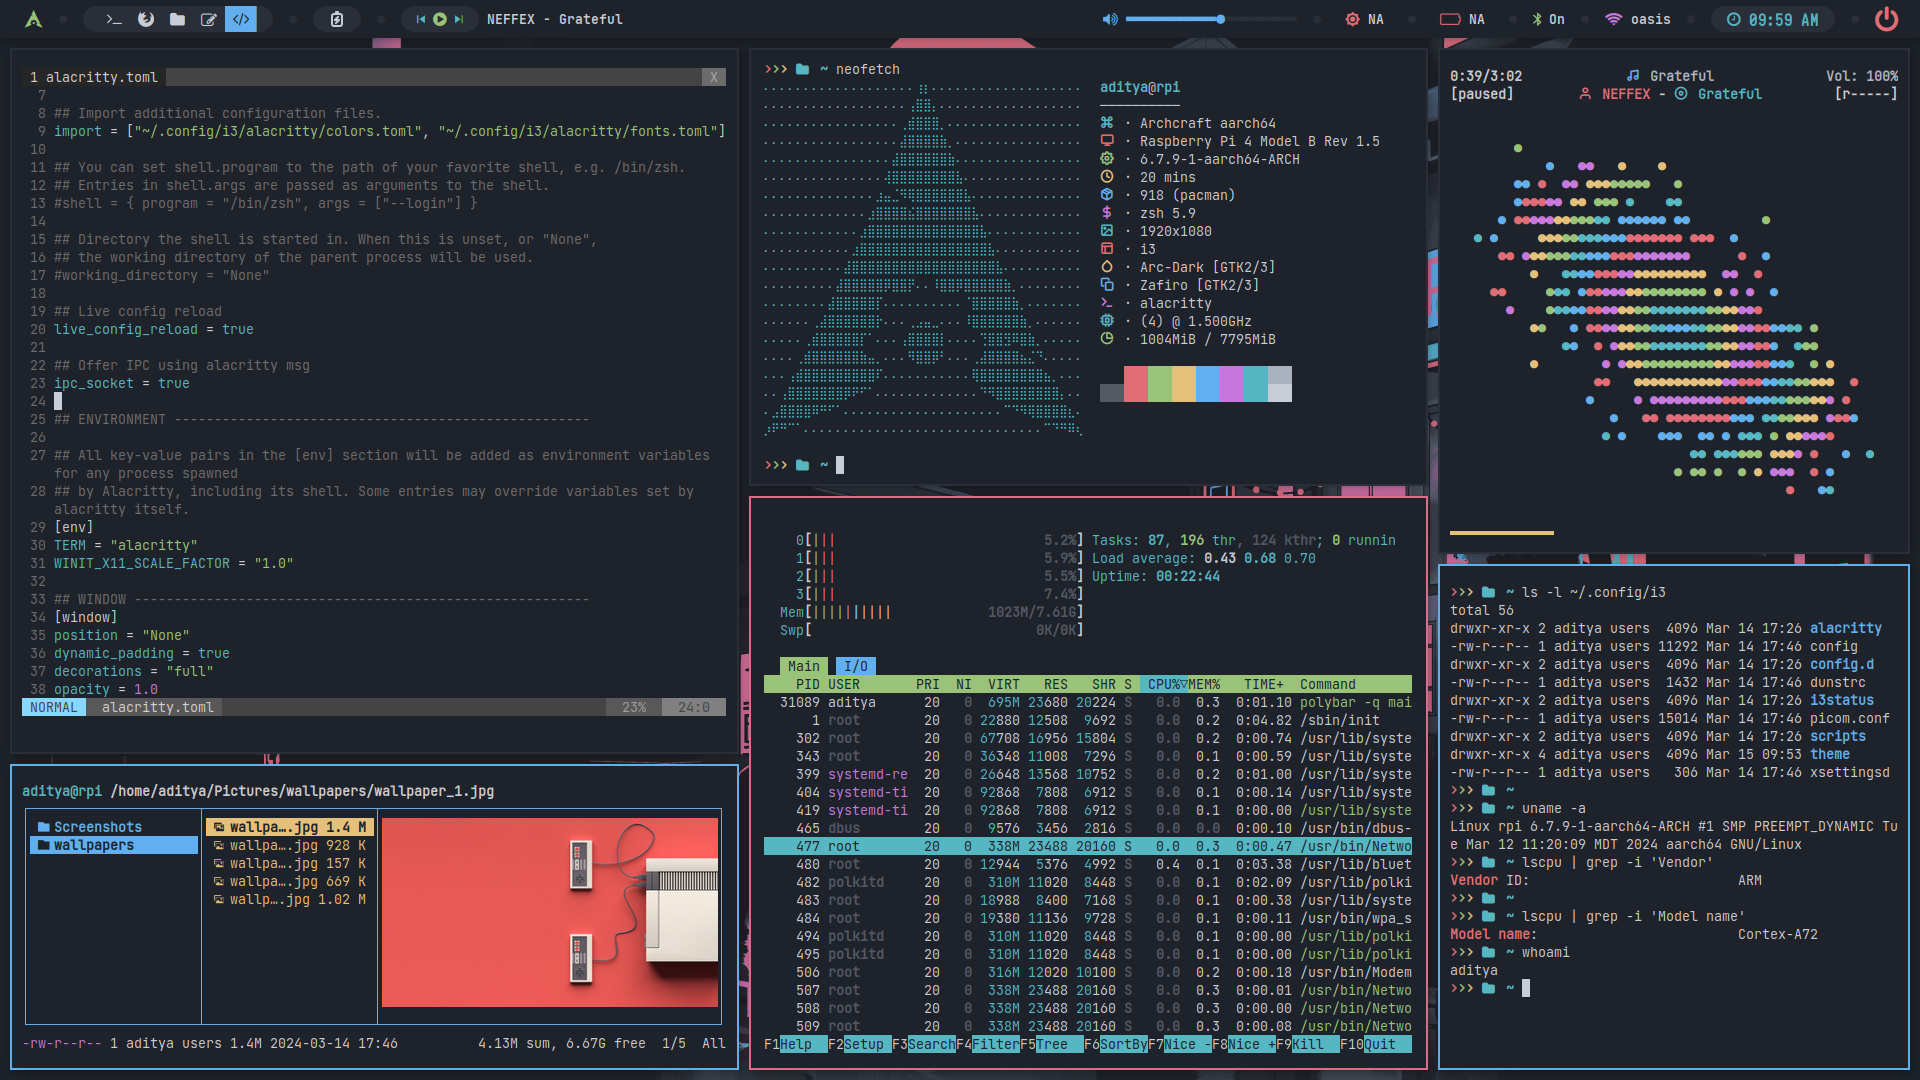
Screenshots
Here's a few screenshots of Openbox, Bspwm and i3wm desktops.
- Openbox
- Bspwm
- i3wm
| Desktop 1 | Desktop 2 | Desktop 3 |
|---|---|---|
 |  |  |
| Desktop 4 | Desktop 5 | Desktop 6 |
|---|---|---|
 |  |  |
| Desktop 1 | Desktop 2 | Desktop 3 |
|---|---|---|
 |  |  |
| Desktop 4 | Desktop 5 | Desktop 6 |
|---|---|---|
 |  |  |
| Desktop 1 | Desktop 2 | Desktop 3 |
|---|---|---|
 |  |  |
| Desktop 4 | Desktop 5 | Desktop 6 |
|---|---|---|
 |  |  |
FAQs
Why there's no ready to flash IMG or TAR file?
One Answer : Maintainability
There are so many ARM devices and each and every device is different and requires a device specific OS (and bootloader files) to work. You can see there are different Arch Linux ARM builds for different devices. I neither have so many ARM devices nor the time to create maintain for each and every device.
Arch Linux ARM is already doing that and once again, Archcraft is just Arch with customisations. So, This way of distributing Archcraft ARM is easy for me and I only have to maintain one project and it'll work on all devices as long as they are supported by Arch Linux ARM.
This way, I'll be able to maintain it for a long time and you'll be able to enjoy it for a long time. Win-Win for everyone.
How are the updates going to work?
Just like regular Archcraft, Via pacman.
Where are the keybindings?
Where do I report issues?
Have you found any bug and want to report it, Open an issue on Github