Install Archcraft With ABIF
ABIF is the secondary installer in Archcraft, It is based on the command line and very powerful (I personally use it).
It is expected that the people who use this installer to install Archcraft, know what they are doing.
I won't recommend using this installer if you're a beginner, Use Calamares instead.
But if you still want to use this installer, You can follow this guide.
In this guide, I'll be installing Archcraft on an UEFI system with Encryption and LVM by using ABIF.
The process will be the same if you are using BIOS.
I'm assuming that you have already created a bootable USB with Archcraft ISO, boot system with it and select Boot Archcraft. Launch the installer via either welcome app or menu.
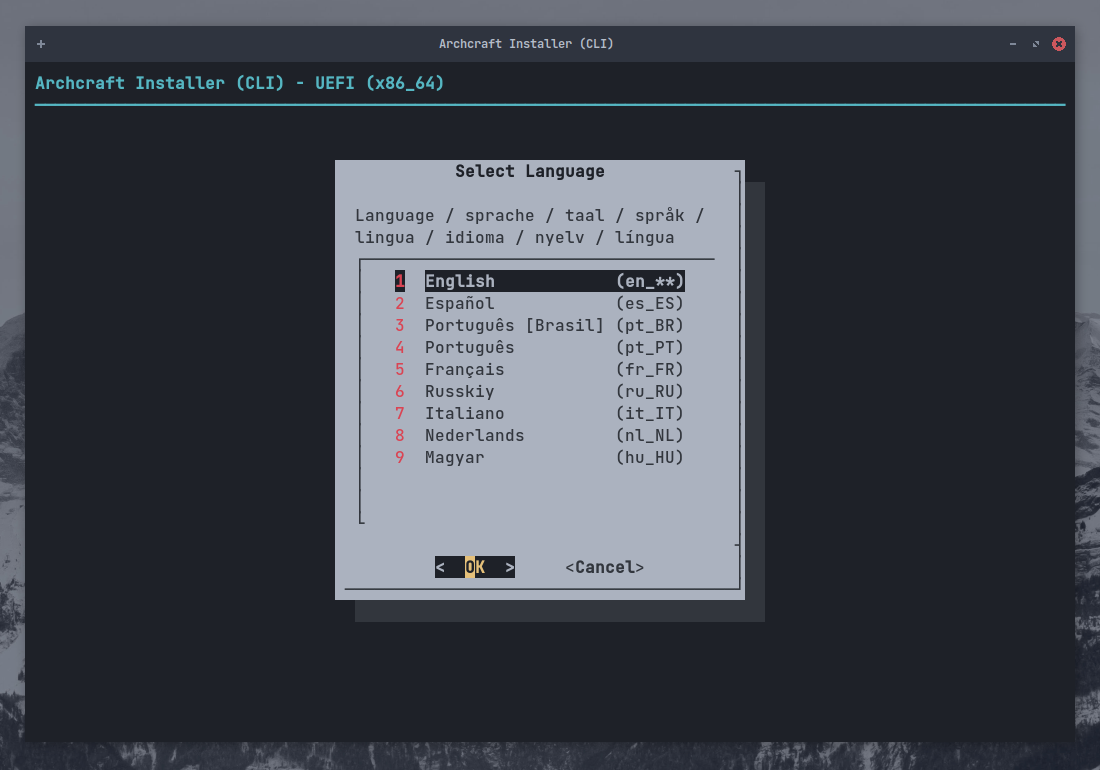
Select the installer language and press Enter
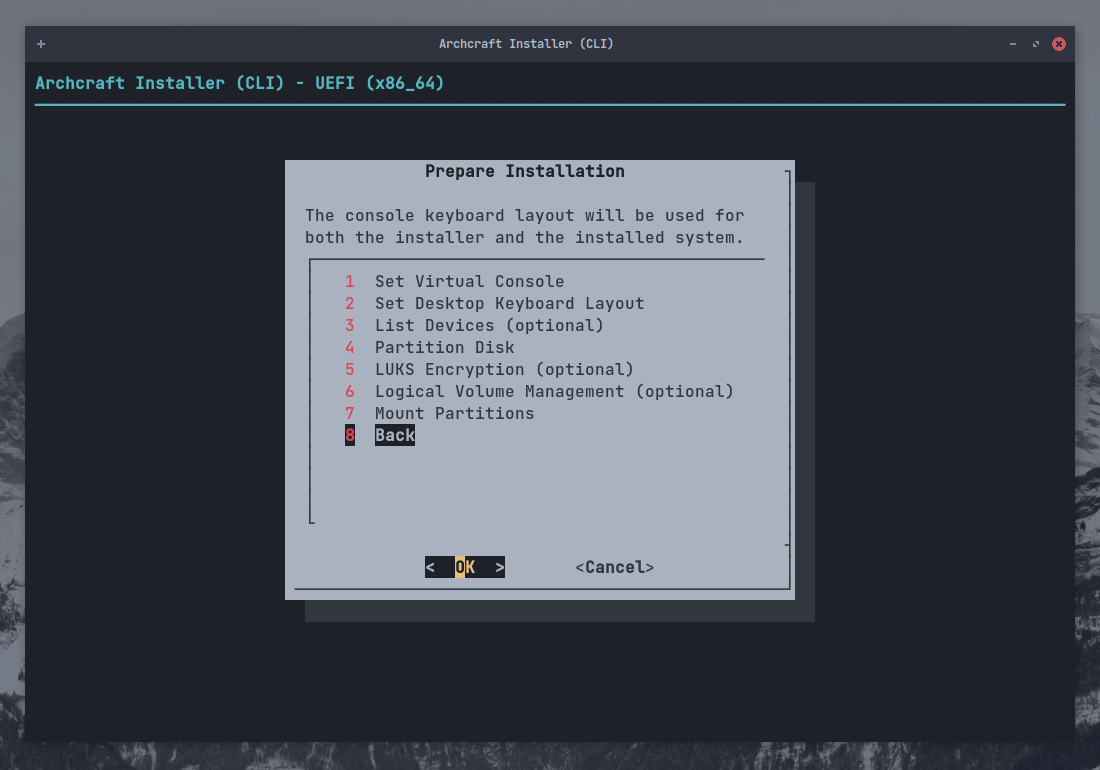
Prepare Installation
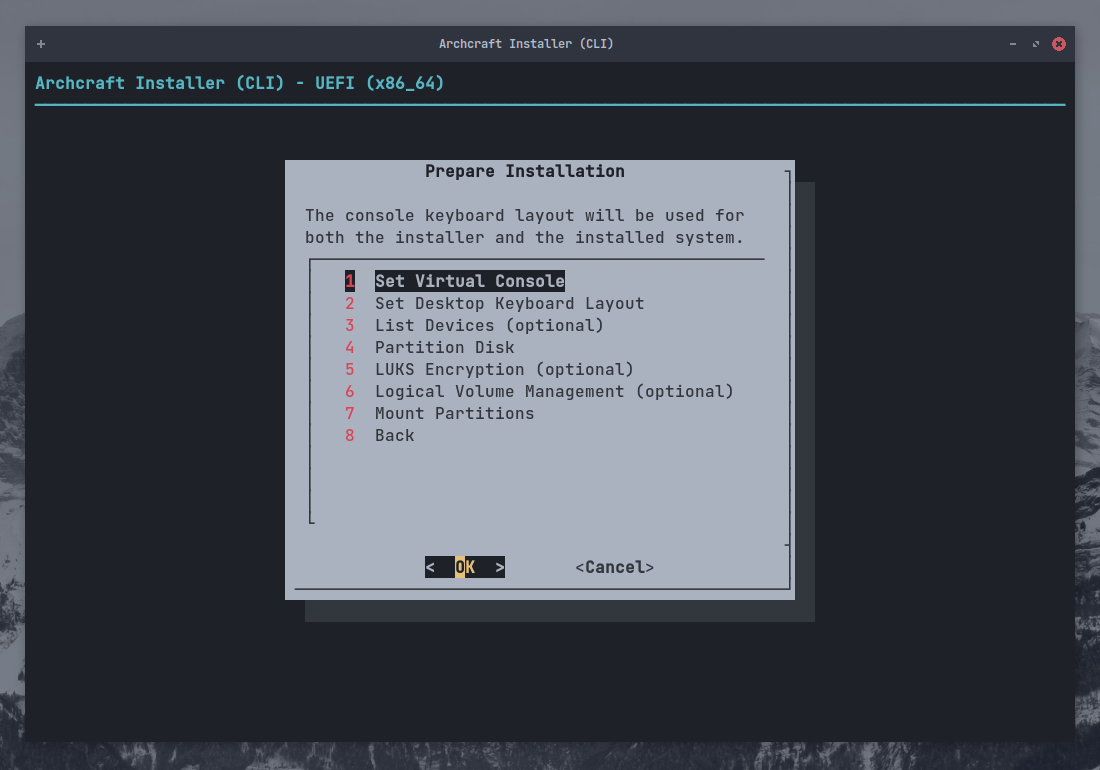
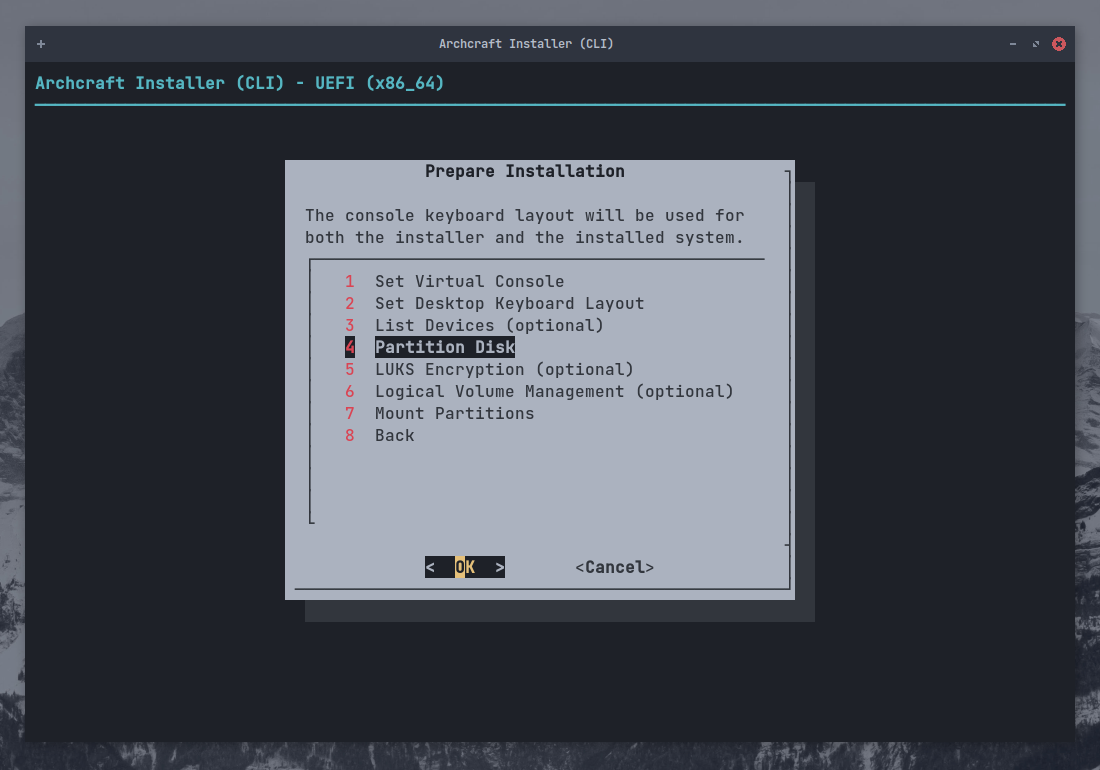
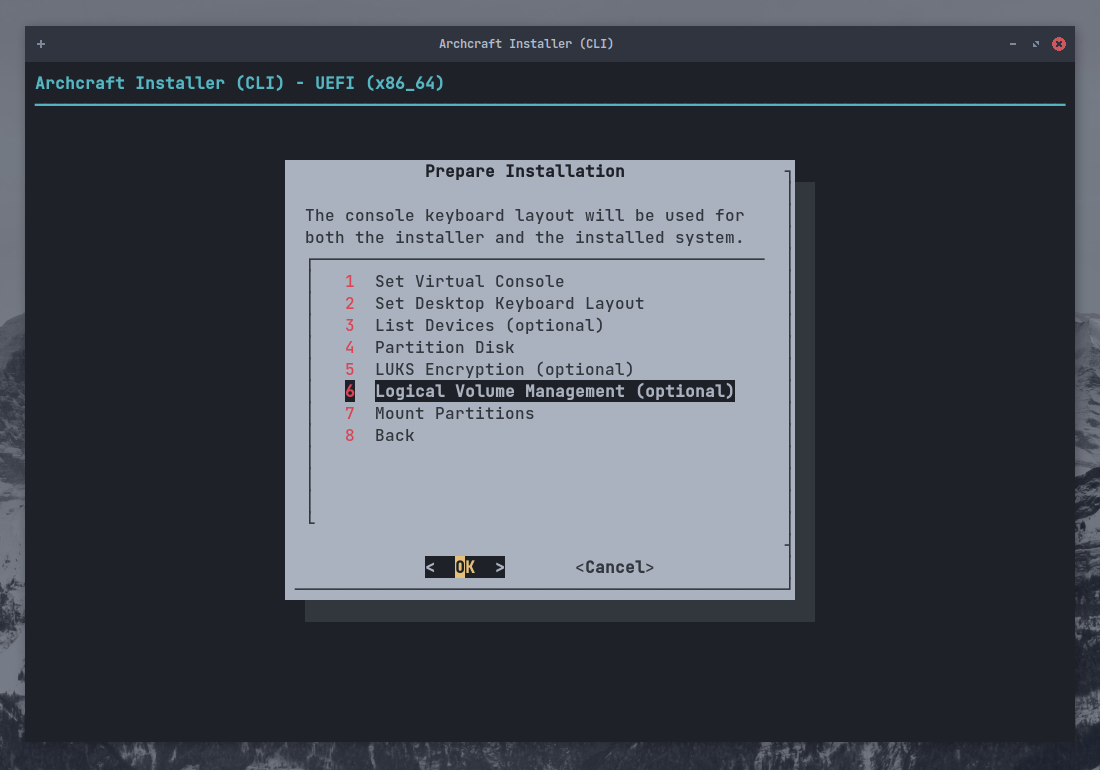
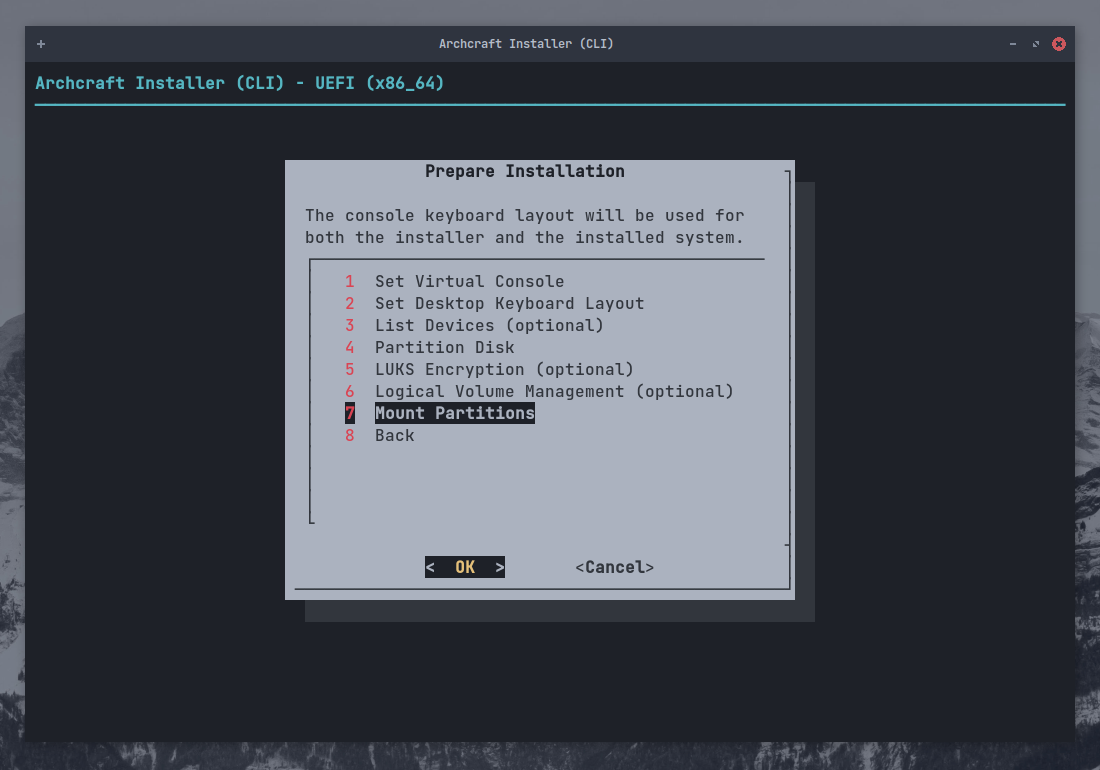
Select Prepare Installation and press Enter

Select Set Virtual Console, Choose your layout and press Enter
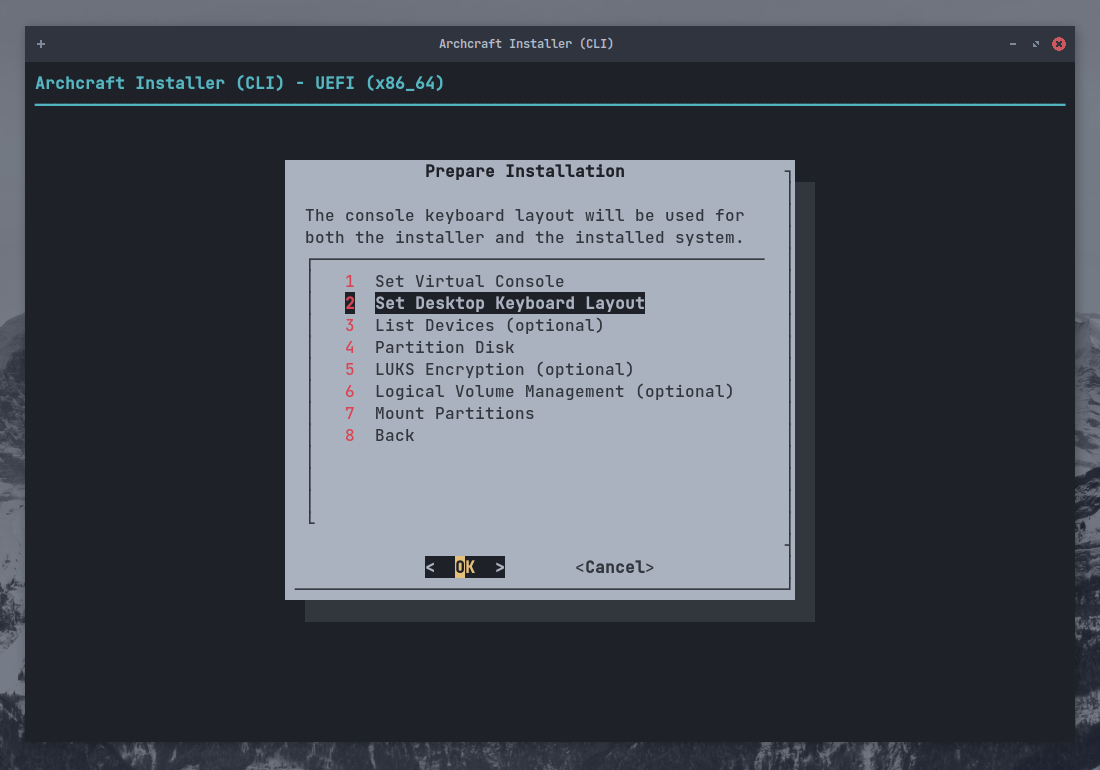
Select Set Desktop Keyboard Layout, Choose your layout and press Enter
Partition Disk
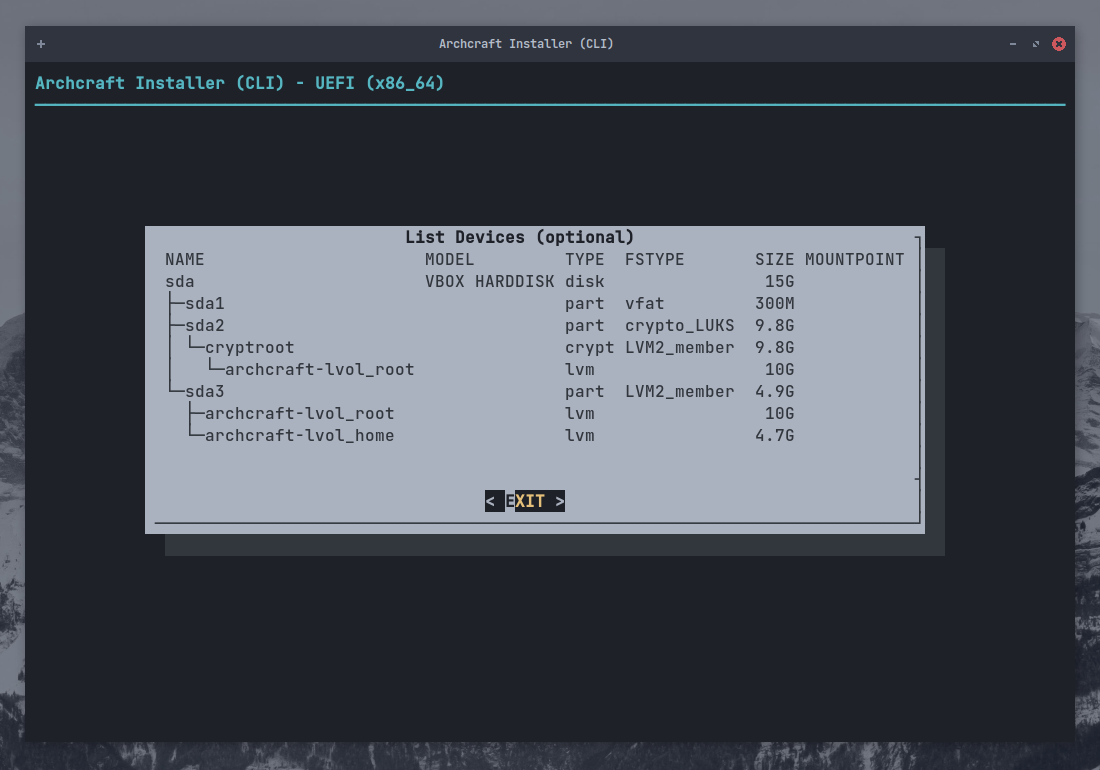
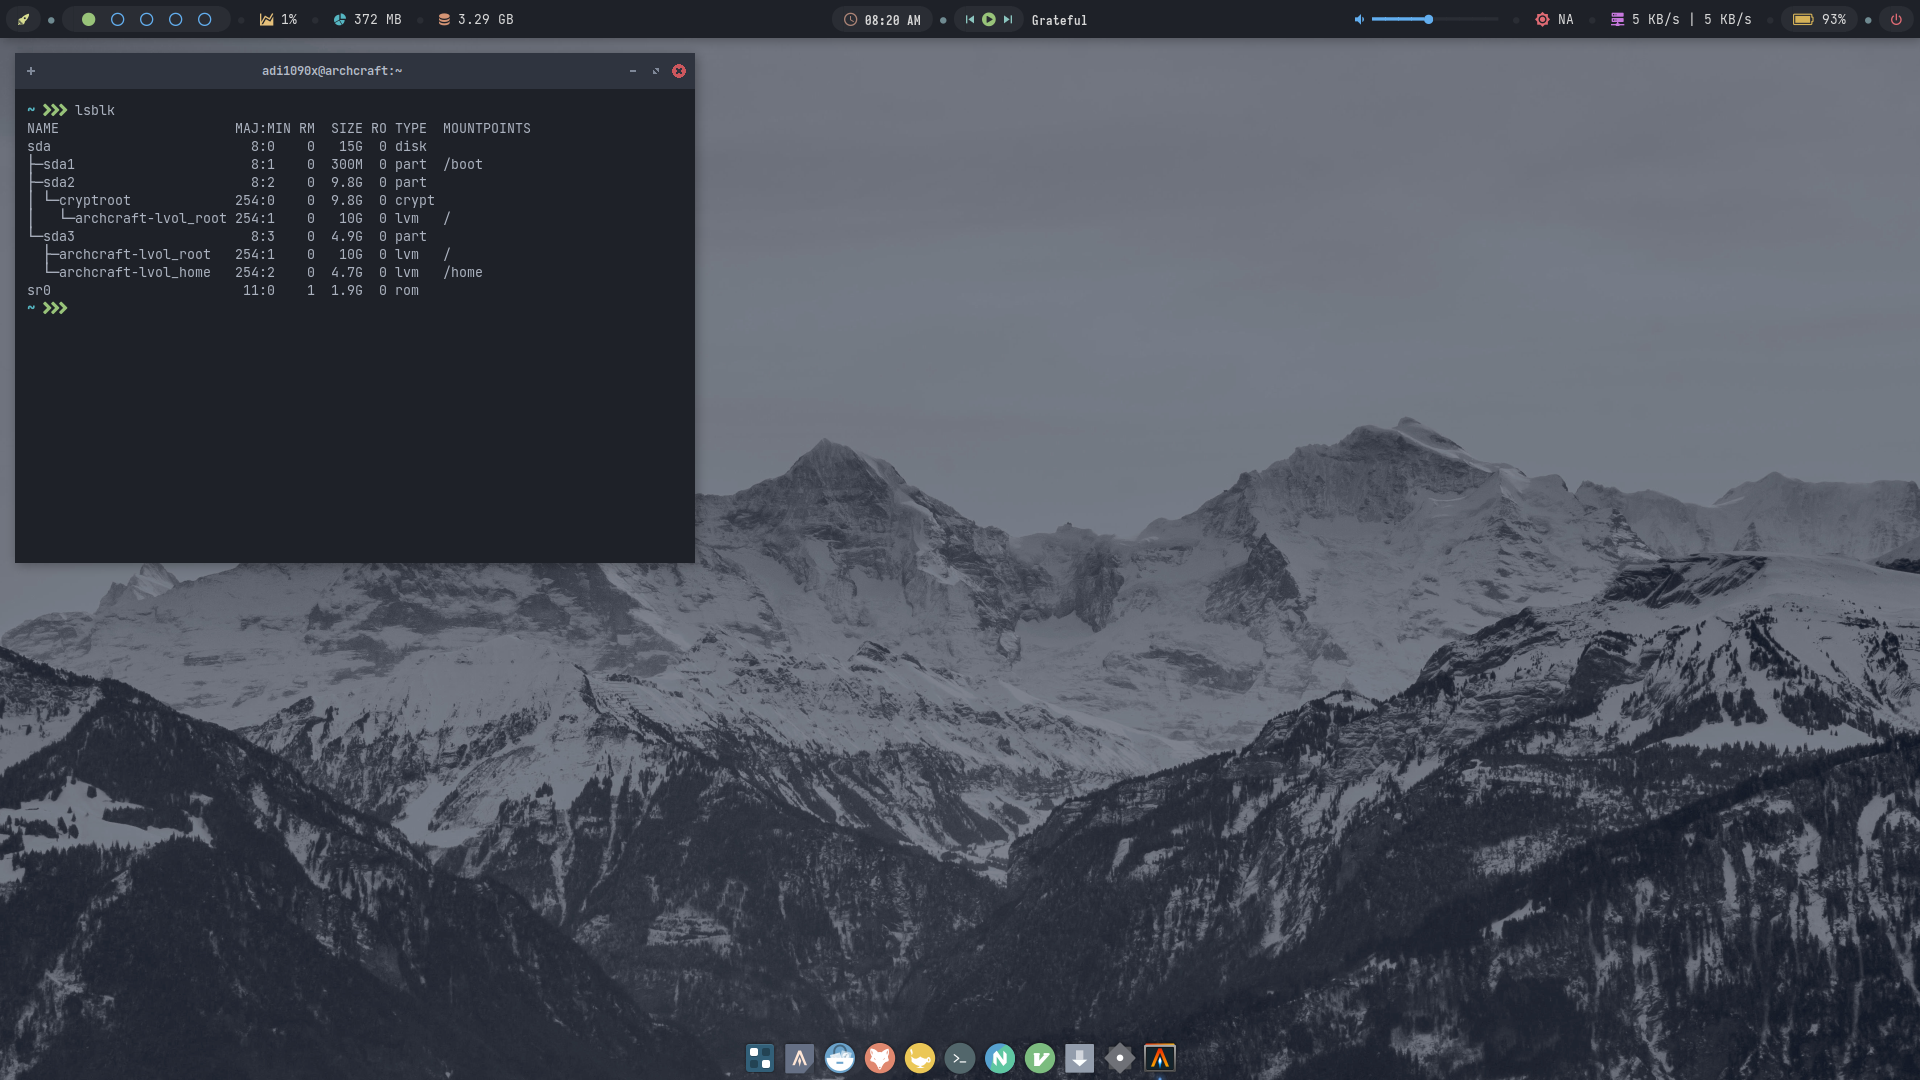
Select List Devices and press Enter
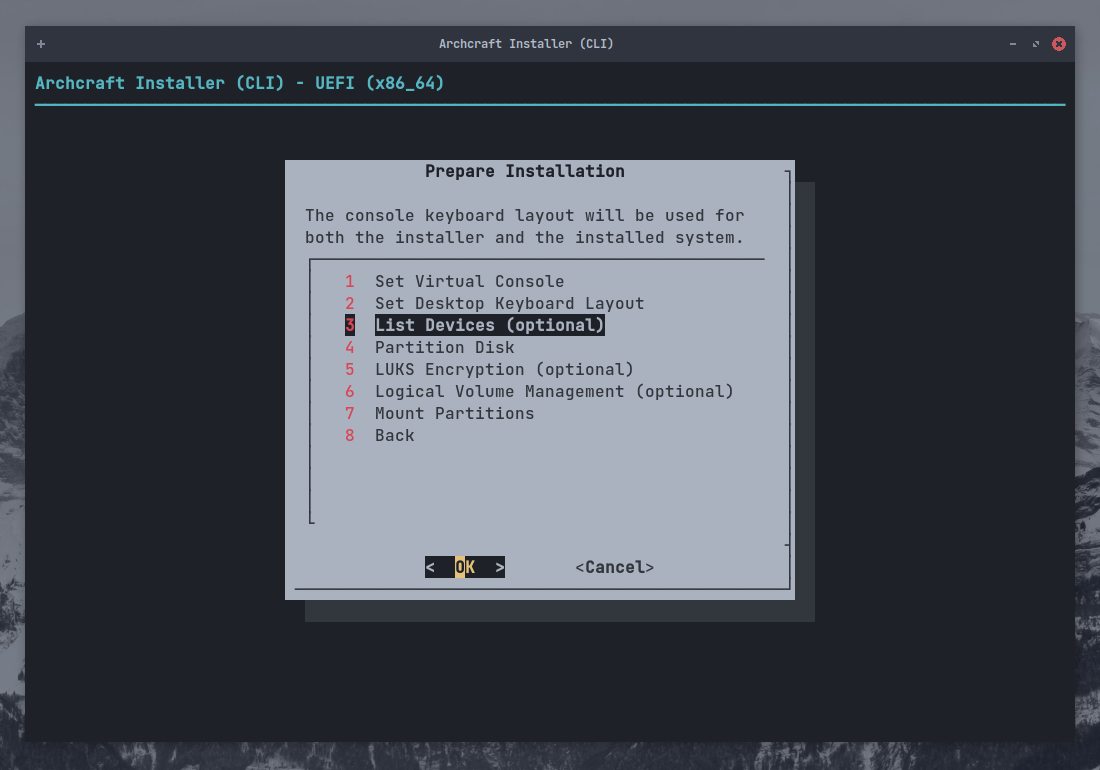
Here, You can see available disks and partitions on your system.
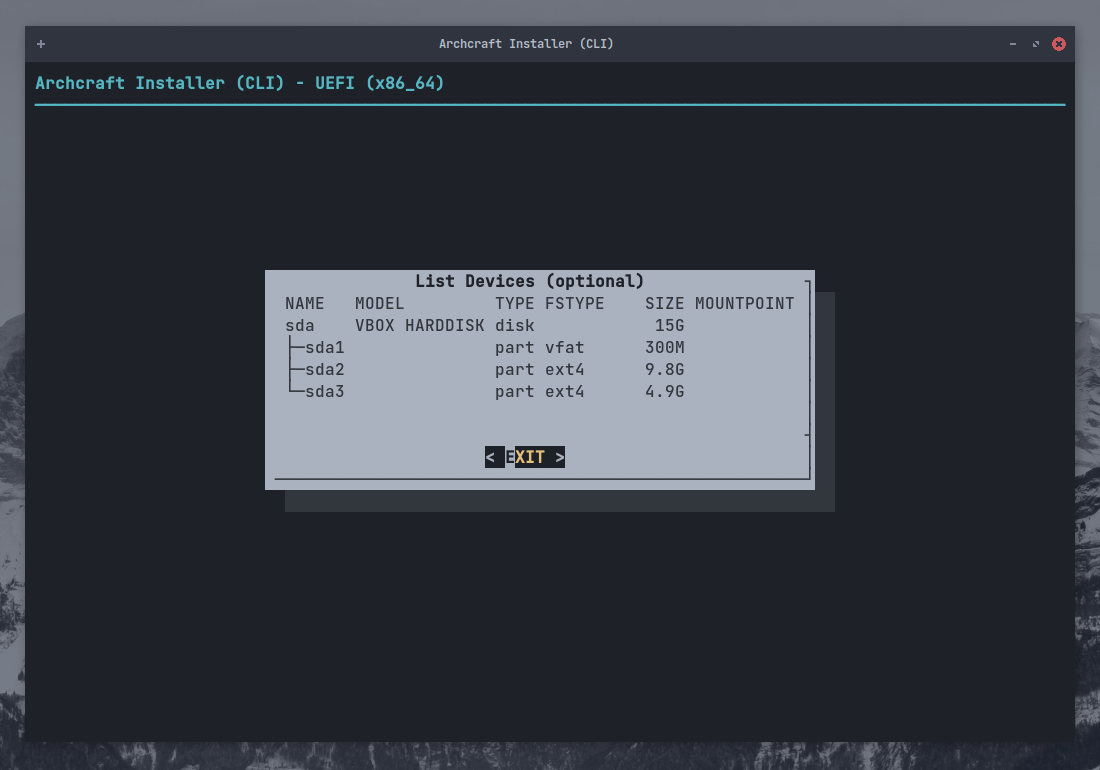
If your disk is already partitioned, you can skip this and move to :
- Setup LUKS (If you want to use
Encryption) - Setup LVM (If you want to setup
LVM) - Mount Partitions (If you just want a normal installation)
If you want to do the partitioning, Select Partition Disk and press Enter
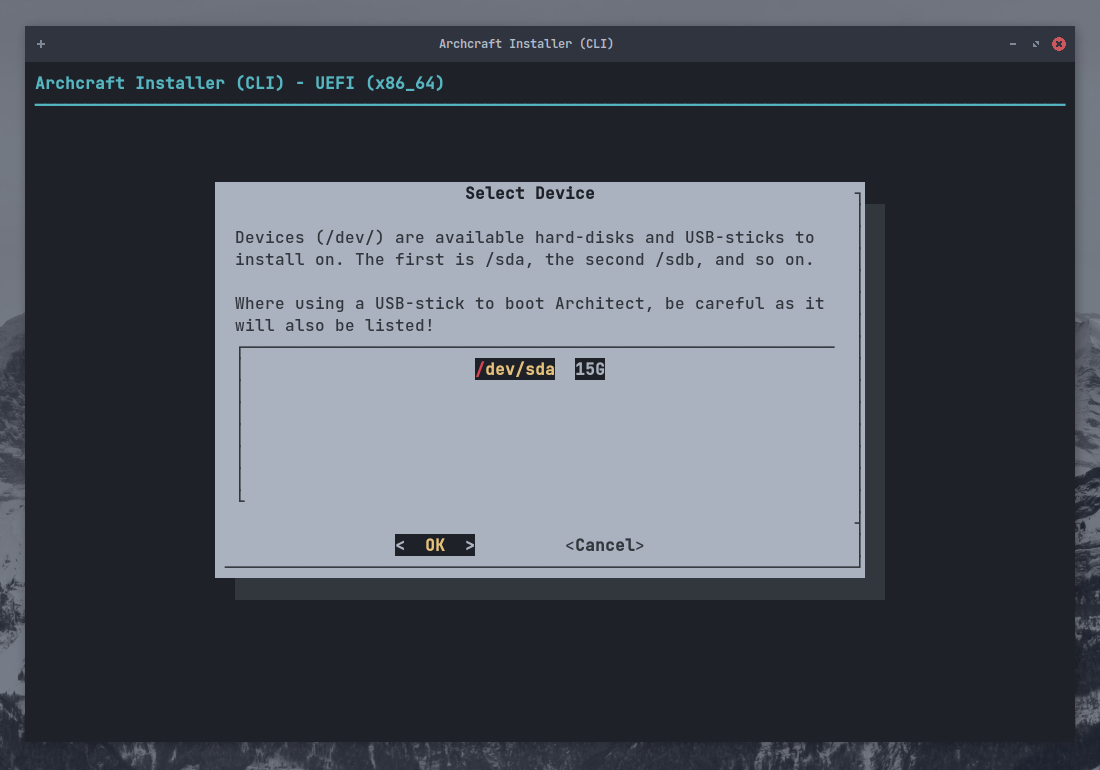
Select Your Disk and press Enter
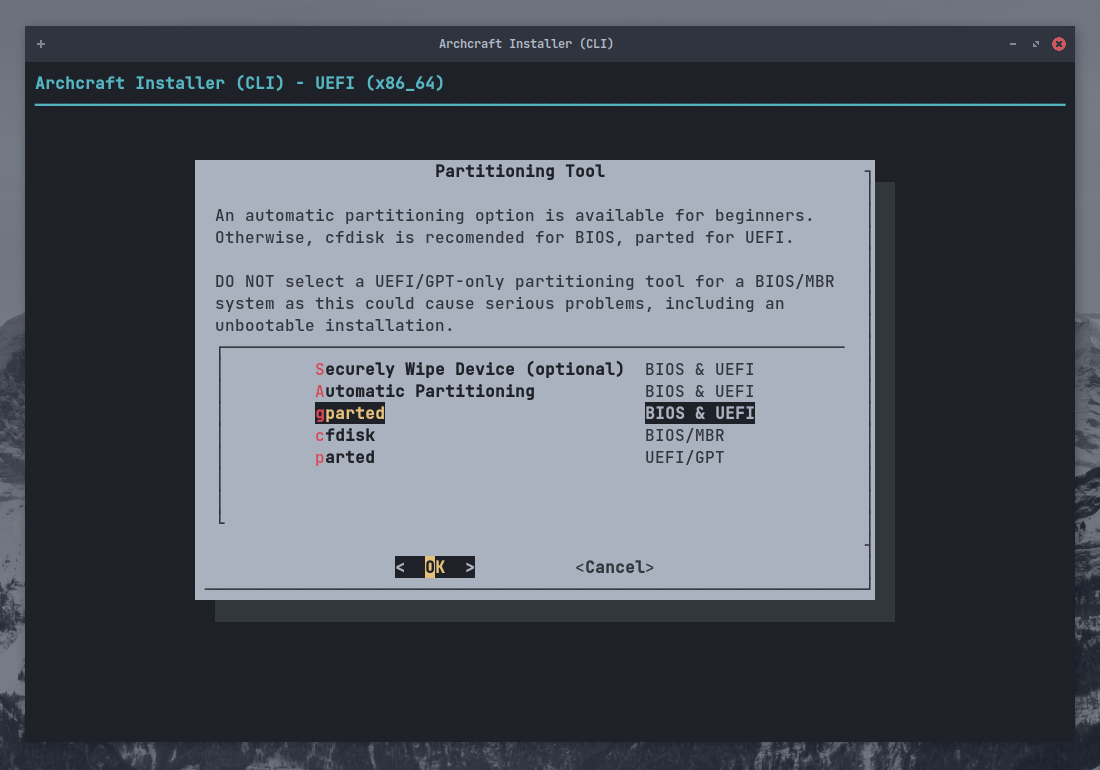
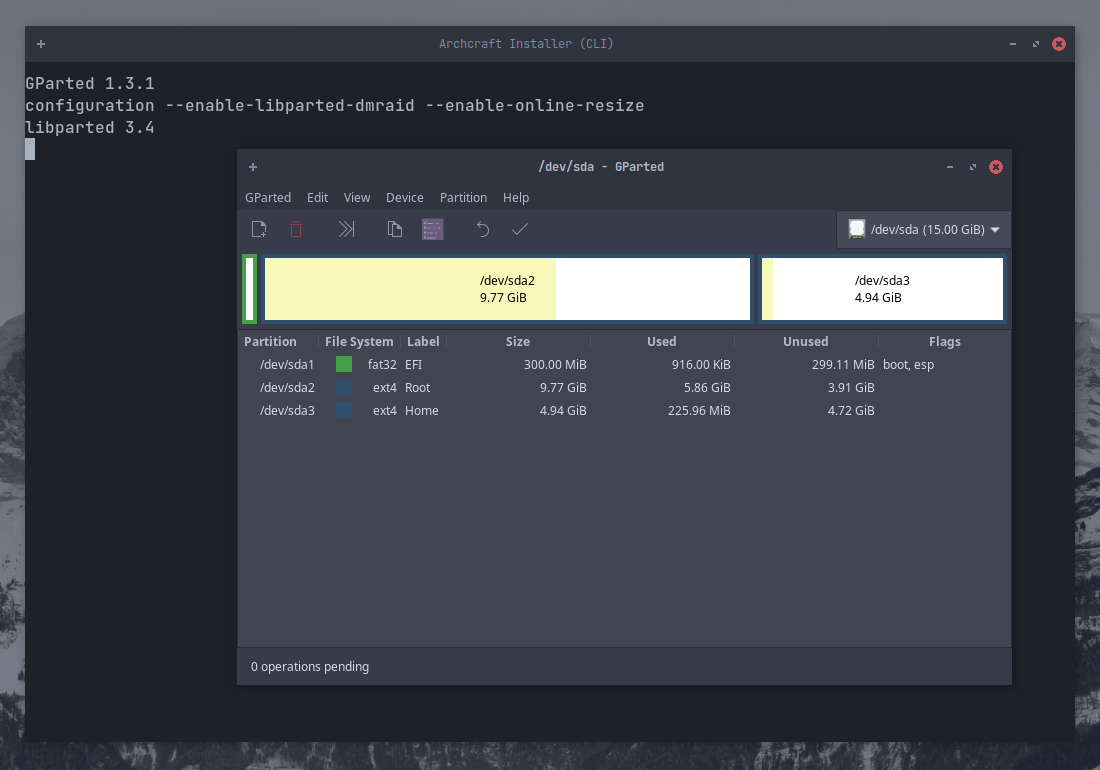
Choose any partitioning utility (* Using gparted here*) and press Enter
Do the partitioning and when you're done, exit gparted
If your system already has an EFI partition, Make sure it has at least 100MB of free storage, or the installation will fail.
Setup LUKS Encryption
If you don't want to use Disk Encryption, You can skip this and move to :
- Setup LVM (If you want to setup
LVM) - Mount Partitions (If you don't want to use
LVM)
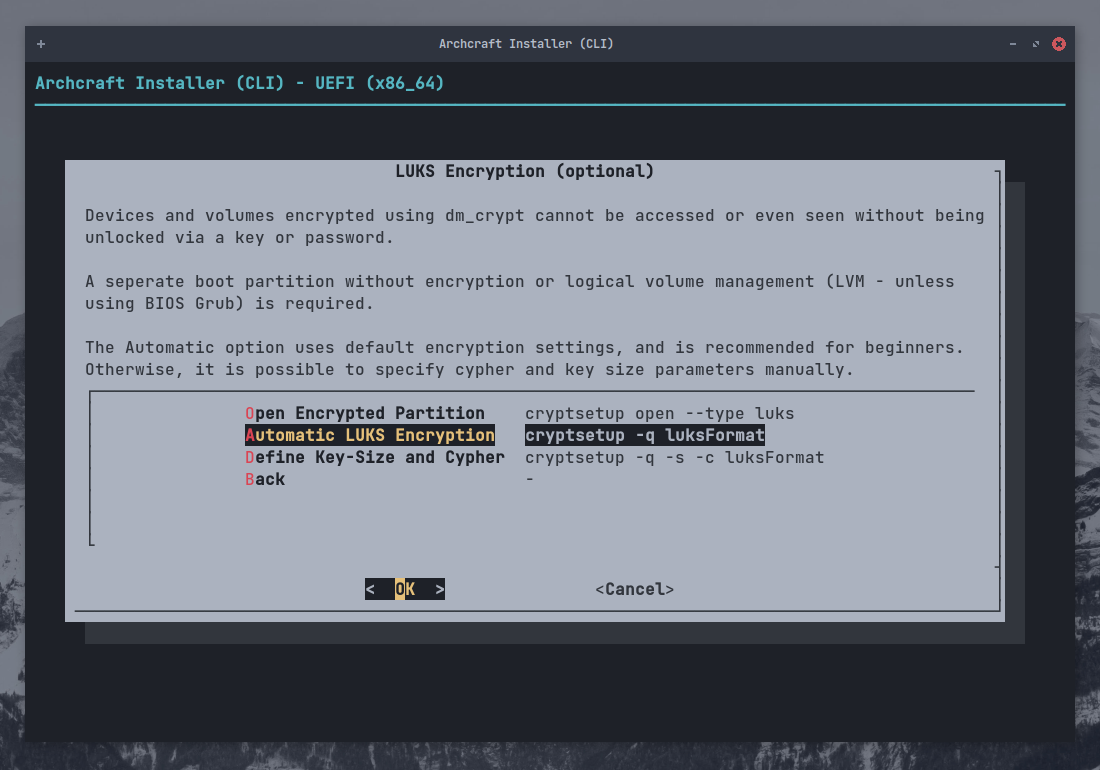
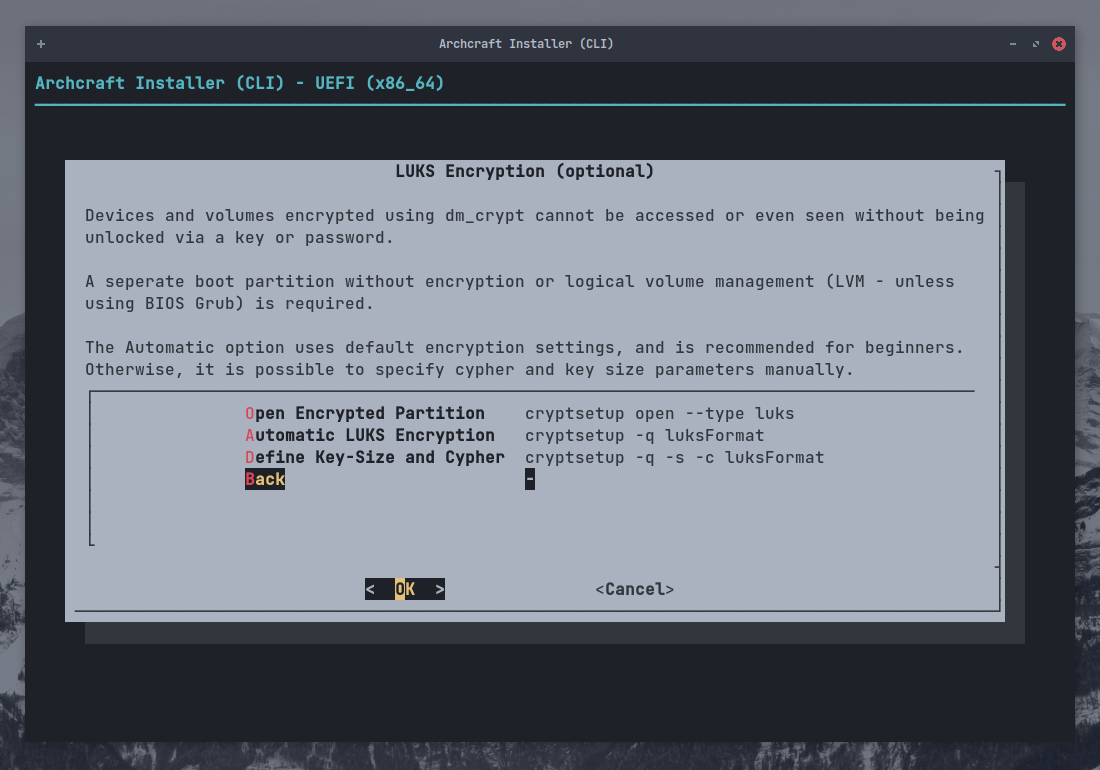
If you want to use Disk Encryption, Select LUKS Encryption and press Enter

I'll just go with Automatic LUKS but if you have preferences, Use that and press Enter
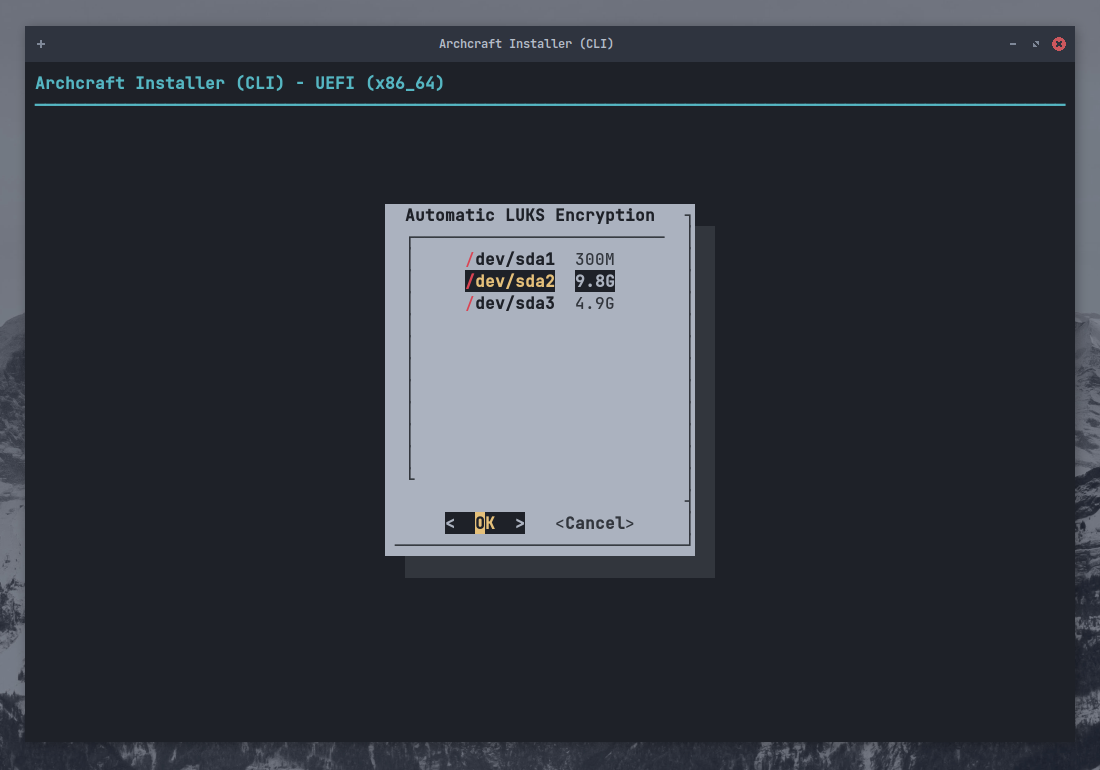
Select the partition you want to encrypt (I'll encrypt root which is /dev/sda2) and press Enter
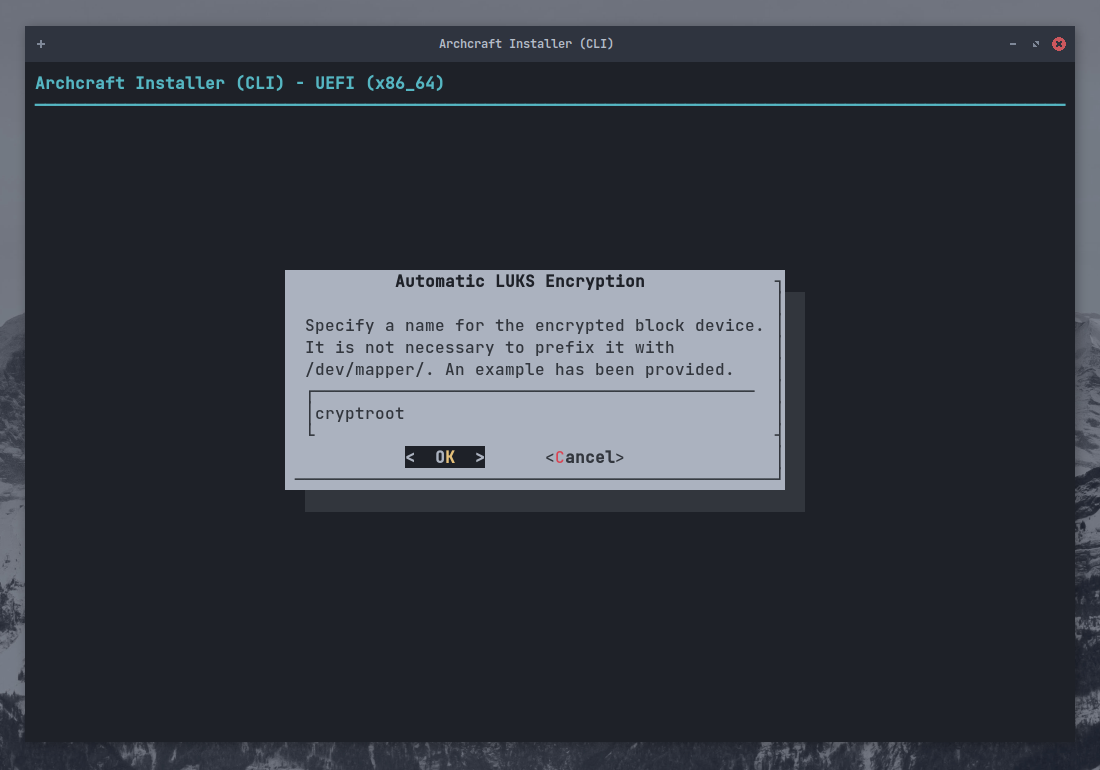
Enter the name for Encrypted block device and press Enter
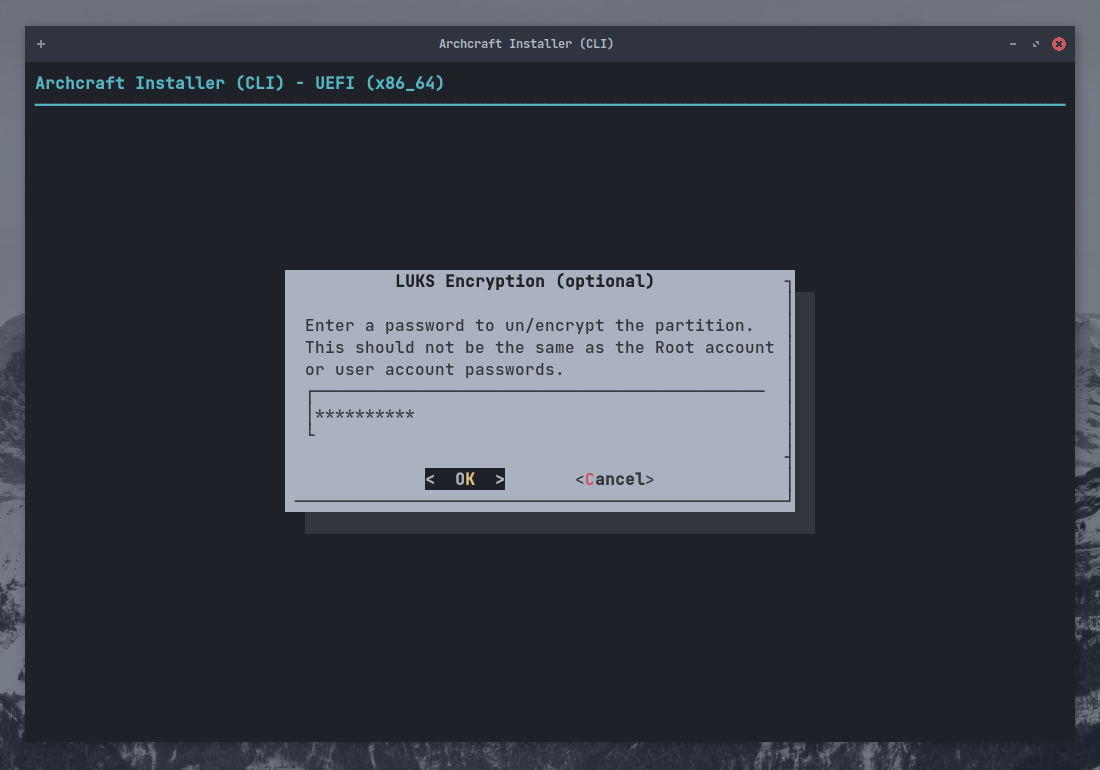
Type a strong password and press Enter, Do it again.
You can review your LUKS setup here. When done, press Enter to exit

Repeat the process to encrypt other partitions (for ex : /home).
When you're done, Select Back and press Enter
Setup LVM
If you don't want to set up Logical Volumes, You can skip this and move to Mount Partitions.
If you do, Select Logical Volume Management and press Enter
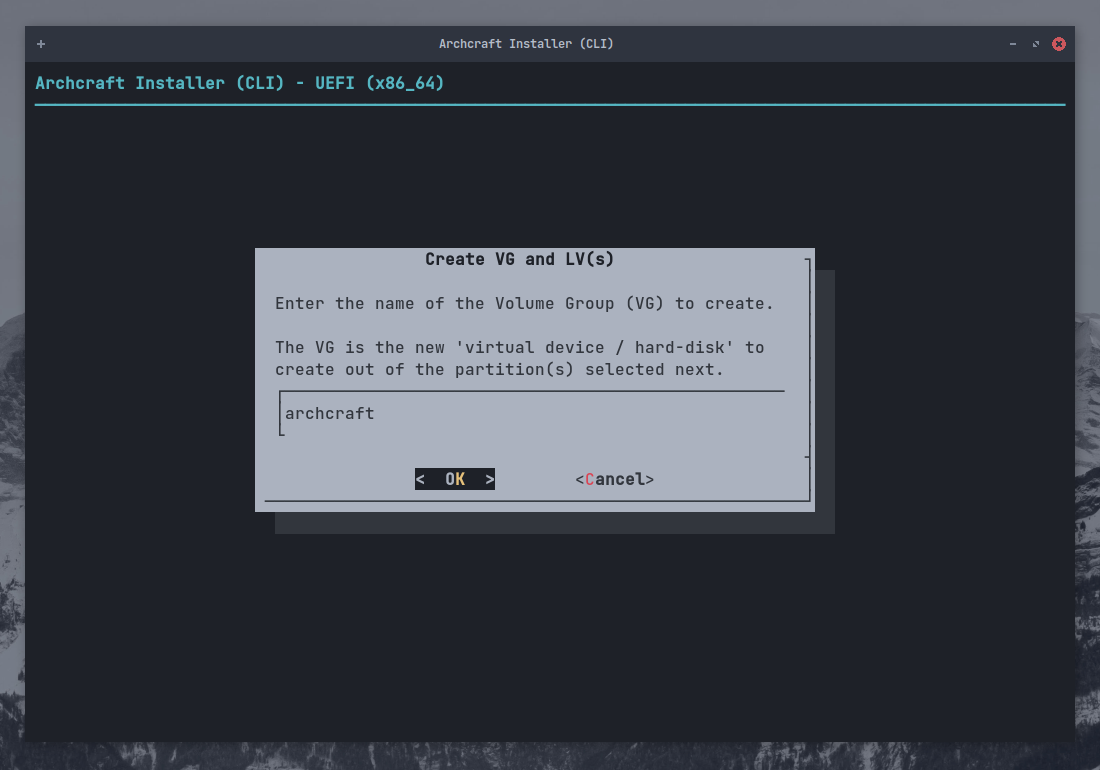
Create a Volume Group first, Select Create VG and LV(s) and press Enter

Enter the name of the group and press Enter
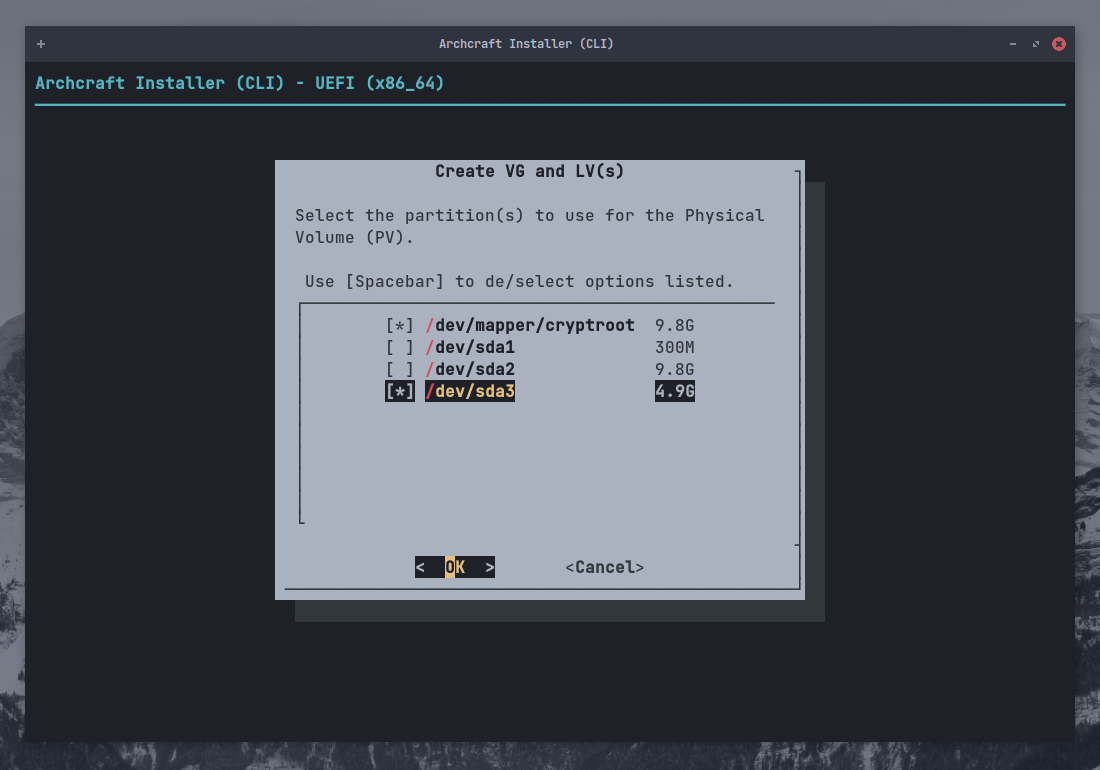
Select the Partitions (use SPACE) you want to add to the LV group and press Enter
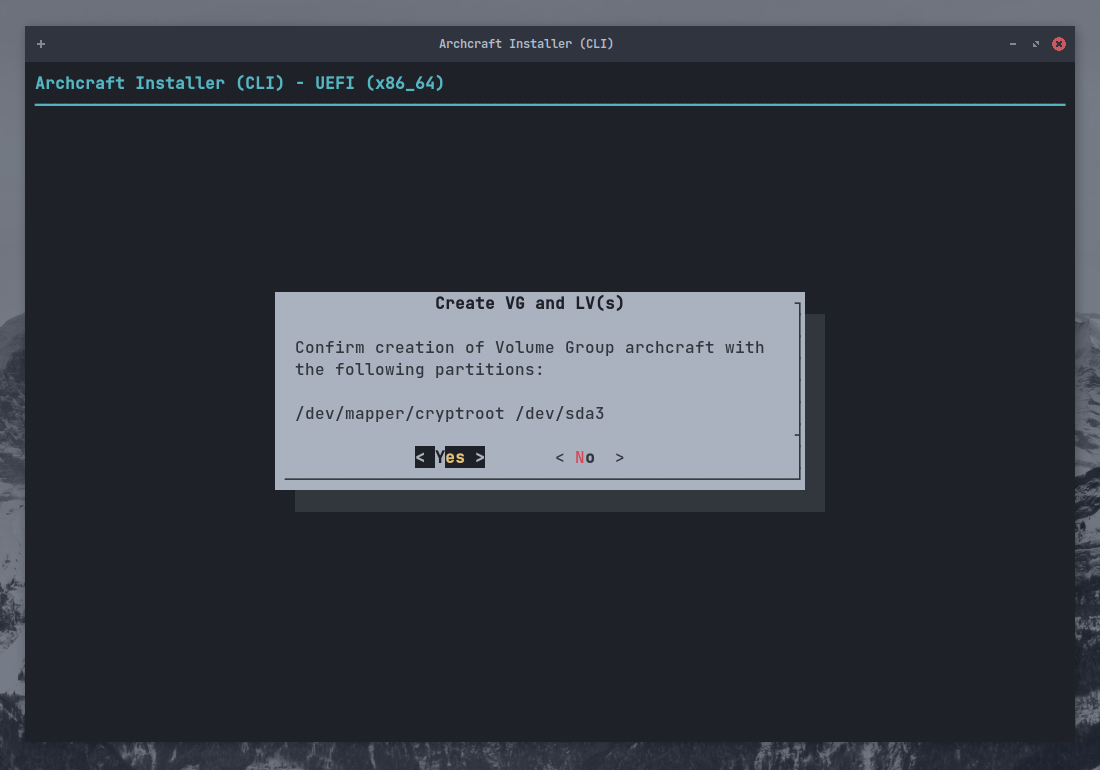
Press Enter to confirm the creation of the group.
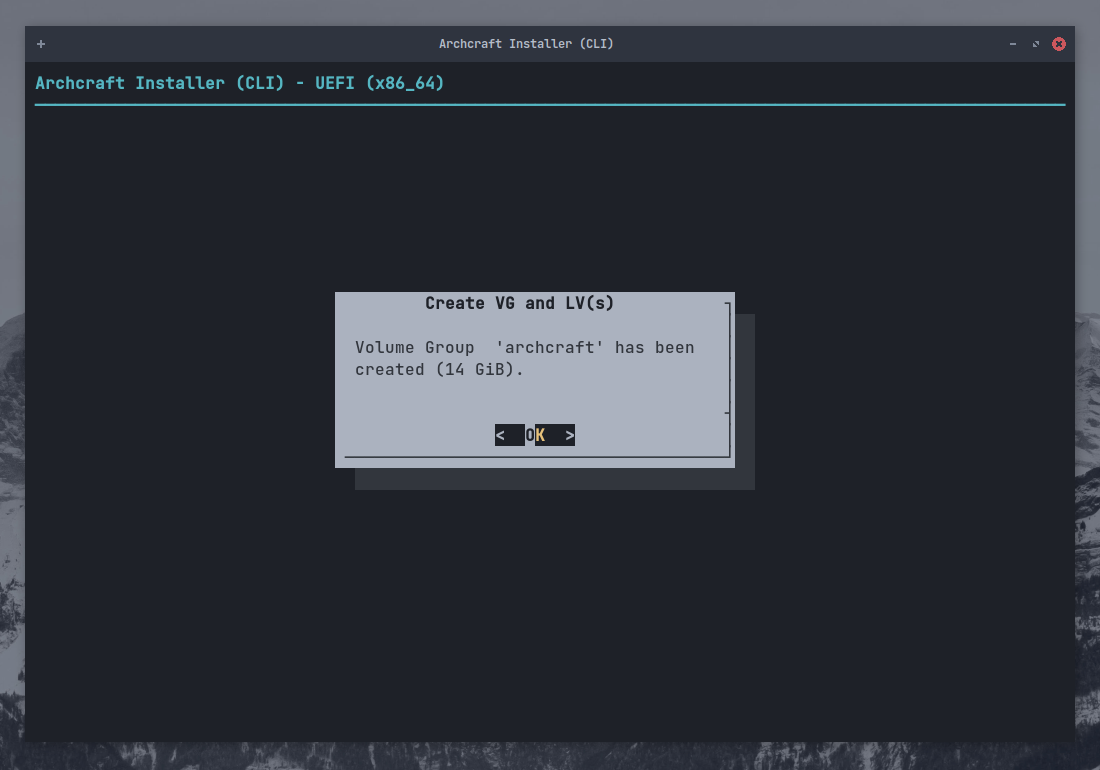
You'll get a dialog, confirming that the group has been created. press Enter to exit.
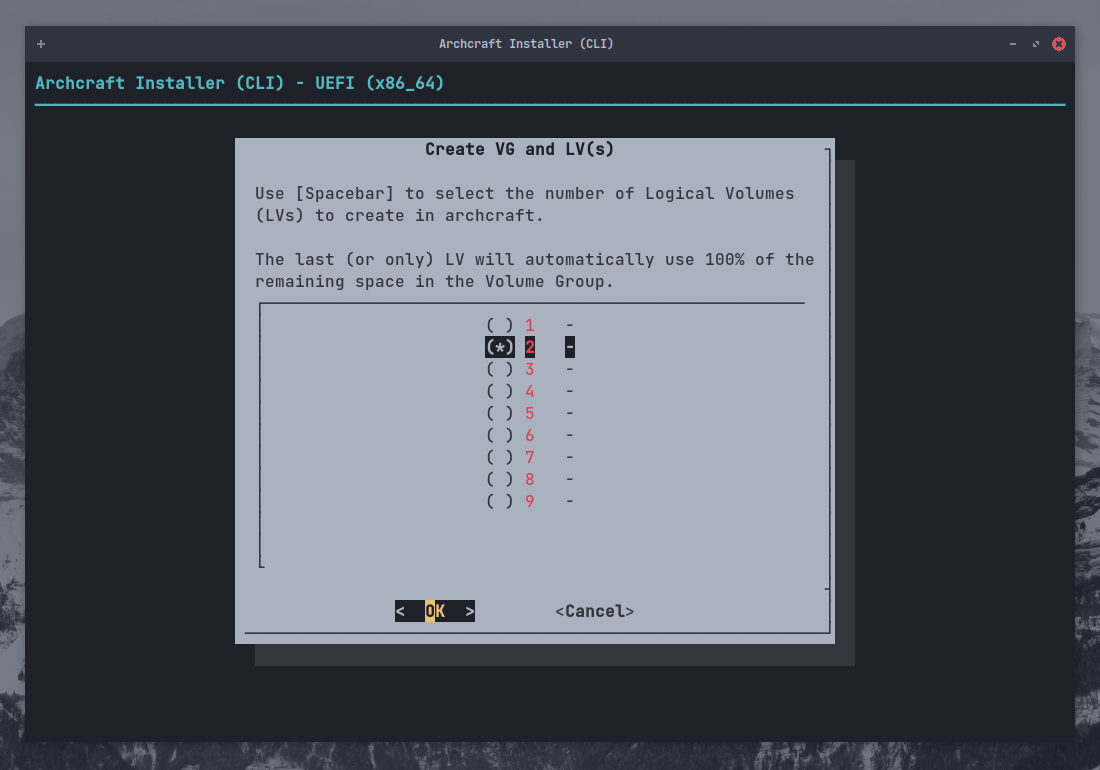
Select the Numbers of volumes in the group (We choose two partition to add in the group earlier) and press Enter
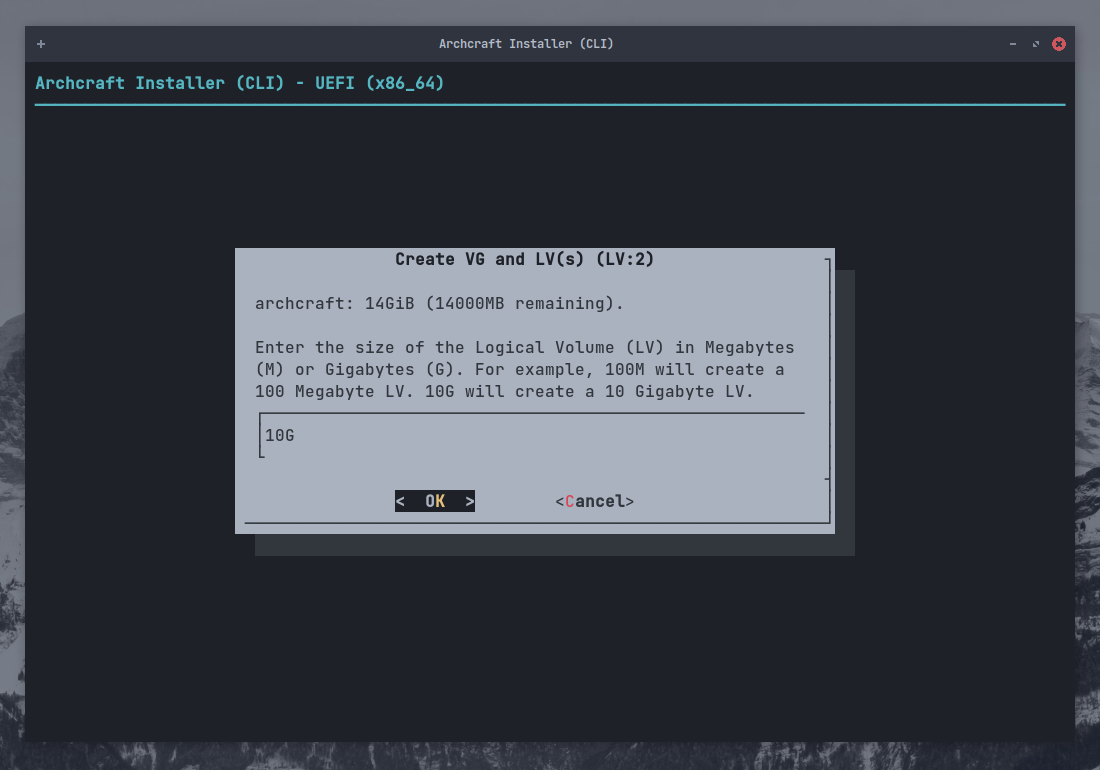
Enter the name of first LV (for root) and press Enter

Enter the size of the LV and press Enter
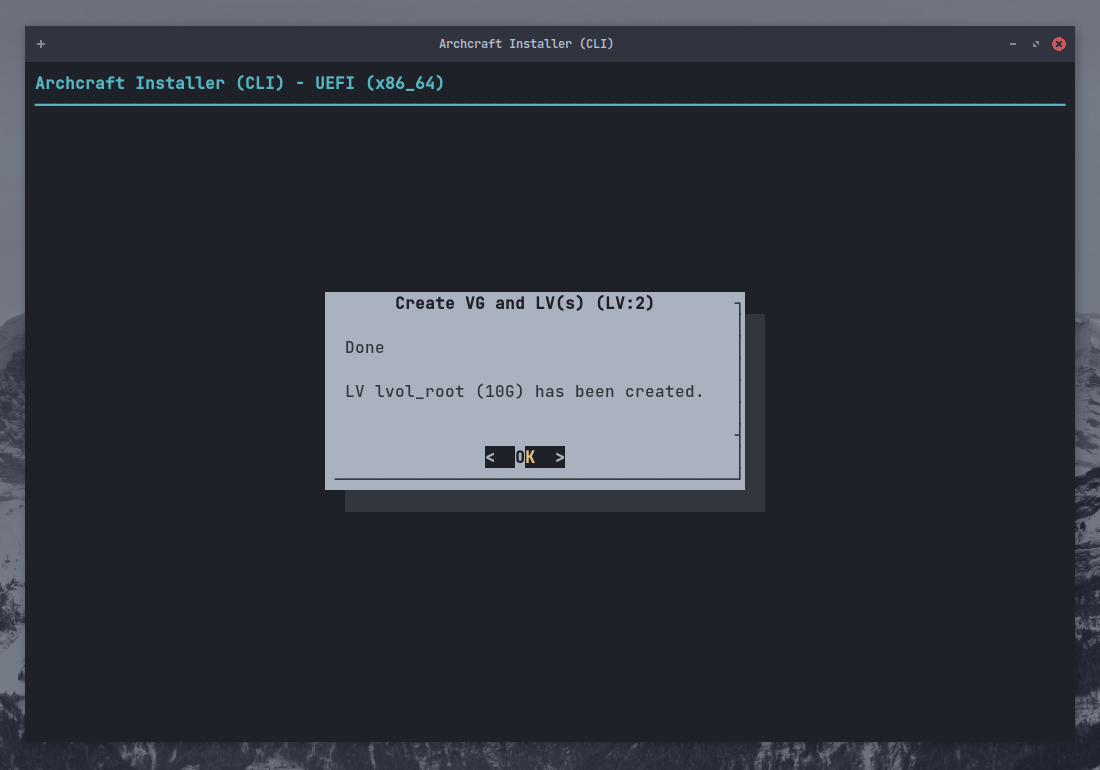
You'll see that the LV has been created. press Enter to exit.
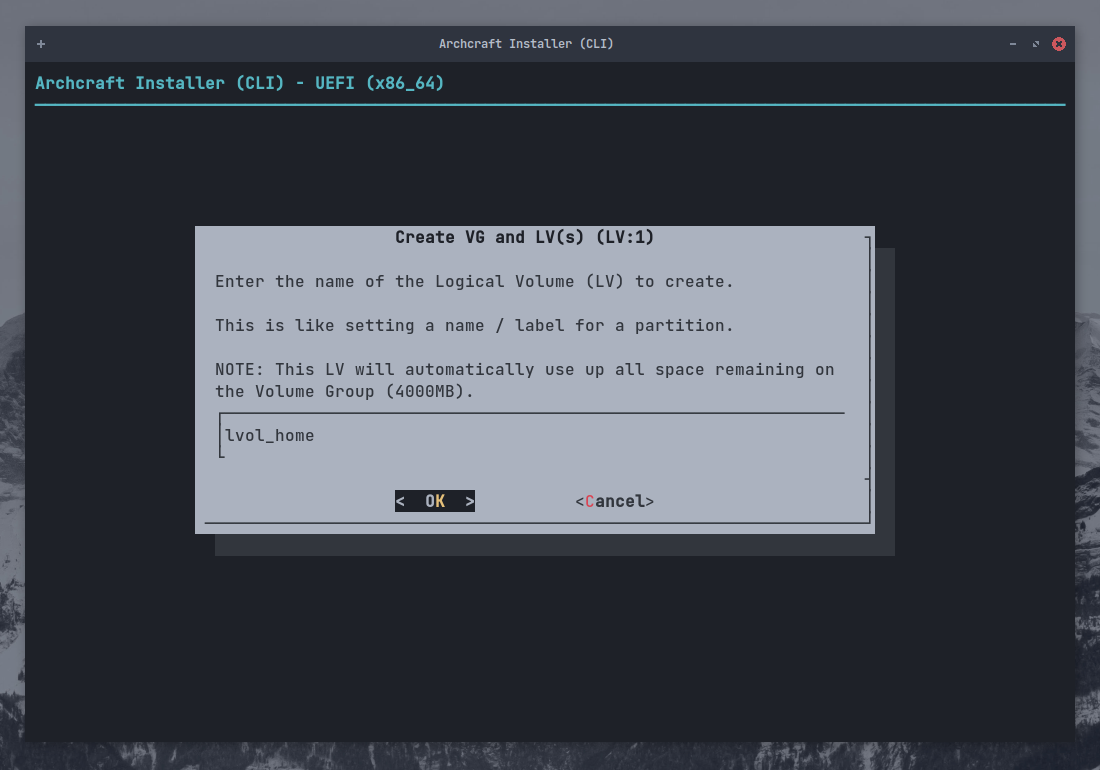
Do the same for the second LV, Enter name and press Enter. The size will be selected automatically.
Press Enter to view your LVM scheme.
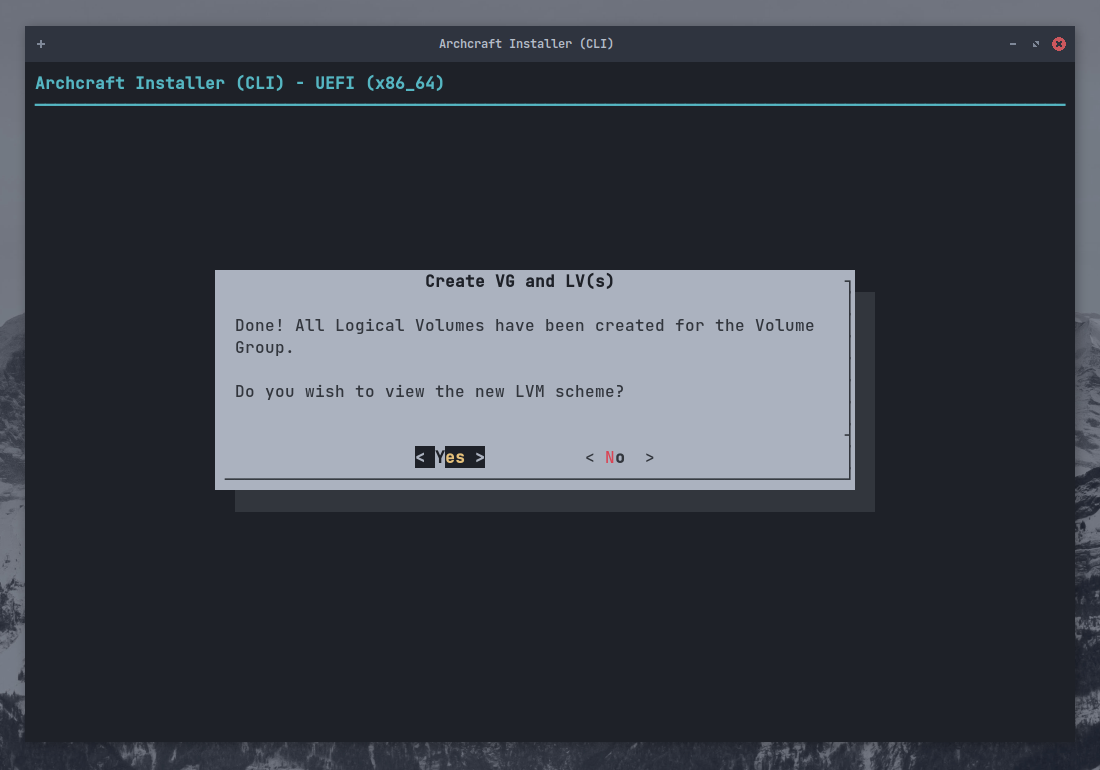
When you're done and press Enter to exit.
Mount Partitions
Now that we have set up Partitions, (Encryption and LVM). It's time to mount them for installation.
Select Mount Partitions and press Enter
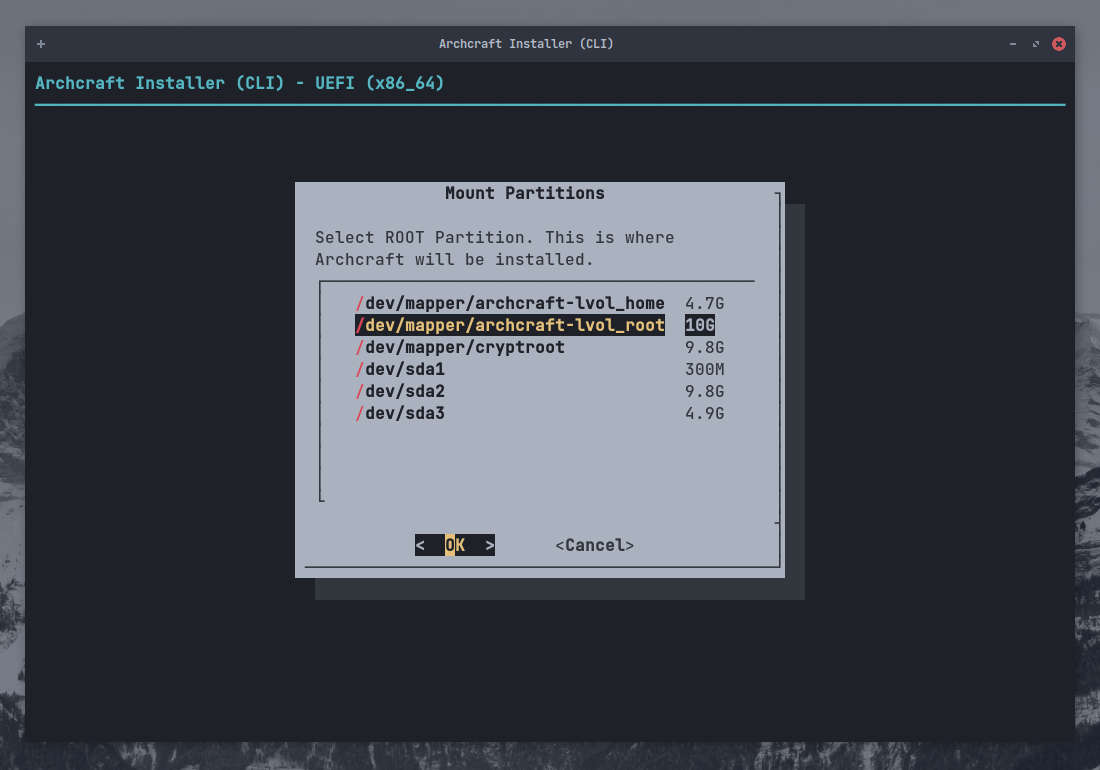
Select the Root Partition and press Enter. Keep in mind that :
- If you setup LVM (with encryption), choose that for
root(for ex : in this setup /dev/mapper/archcraft-lvol_root will be the root) - If you setup Encryption only (no LVM), choose that for
root(/dev/mapper/cryptroot) - If you've not setup Encryption or LVM, choose
rootnormally (/dev/sda2)
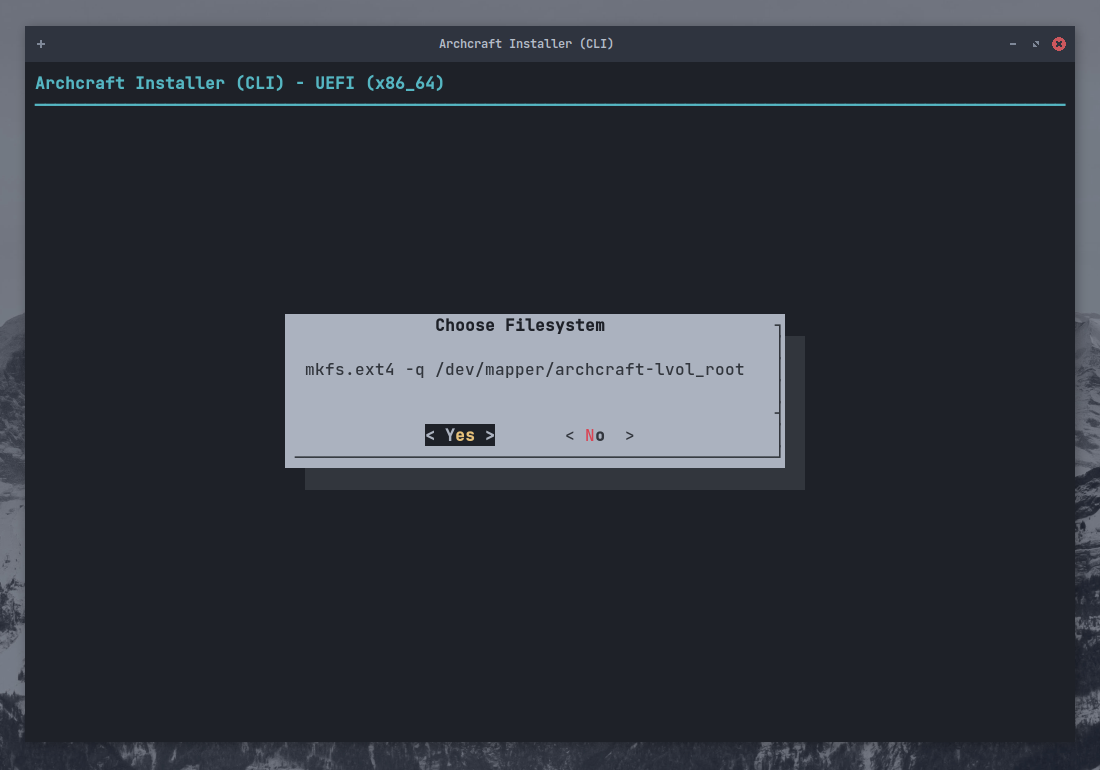
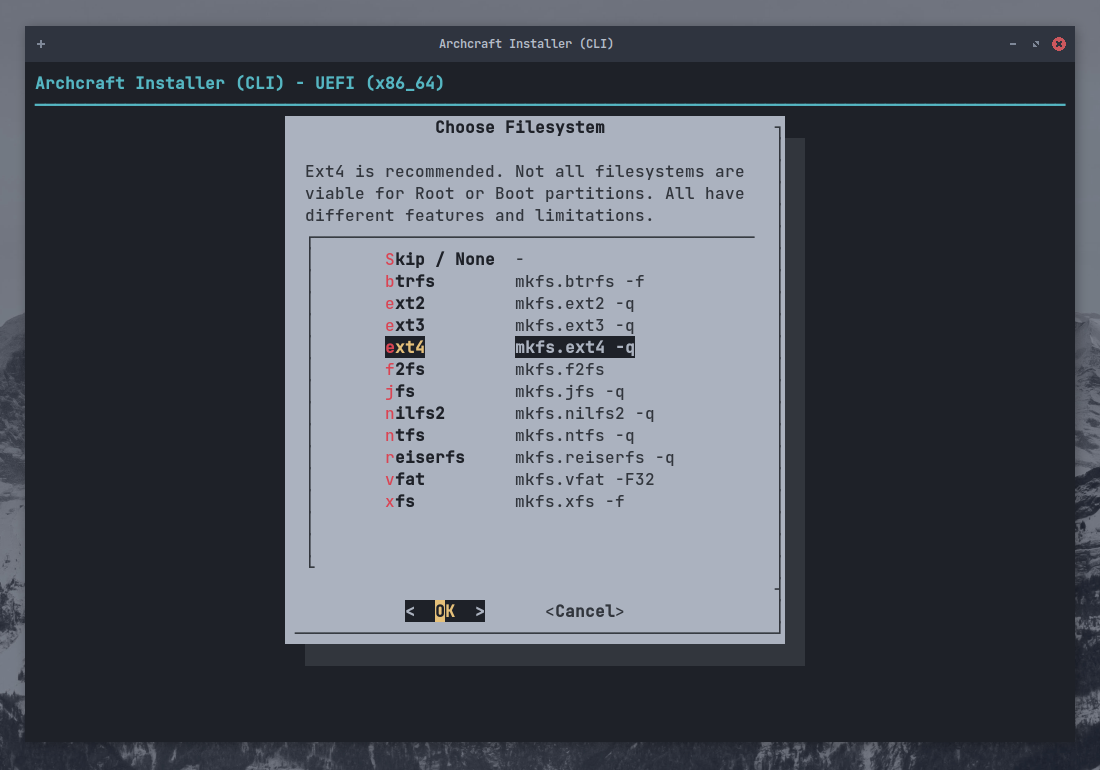
Select ext4 as file system (you can choose any other fs type) and press Enter

Select Yes and press Enter to format the partition, Ignore other stuff.
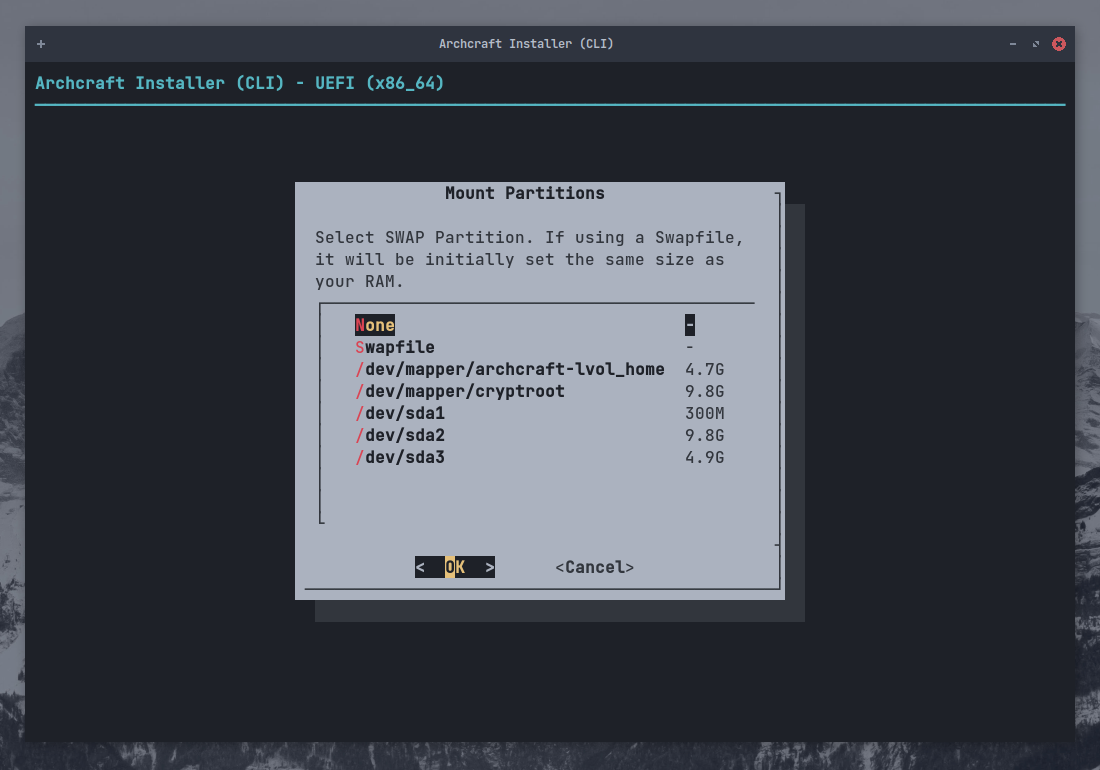
If you have set up a Swap Partition, You can mount it here. You can also use a Swapfile if you want.
Select whatever you prefer and press Enter
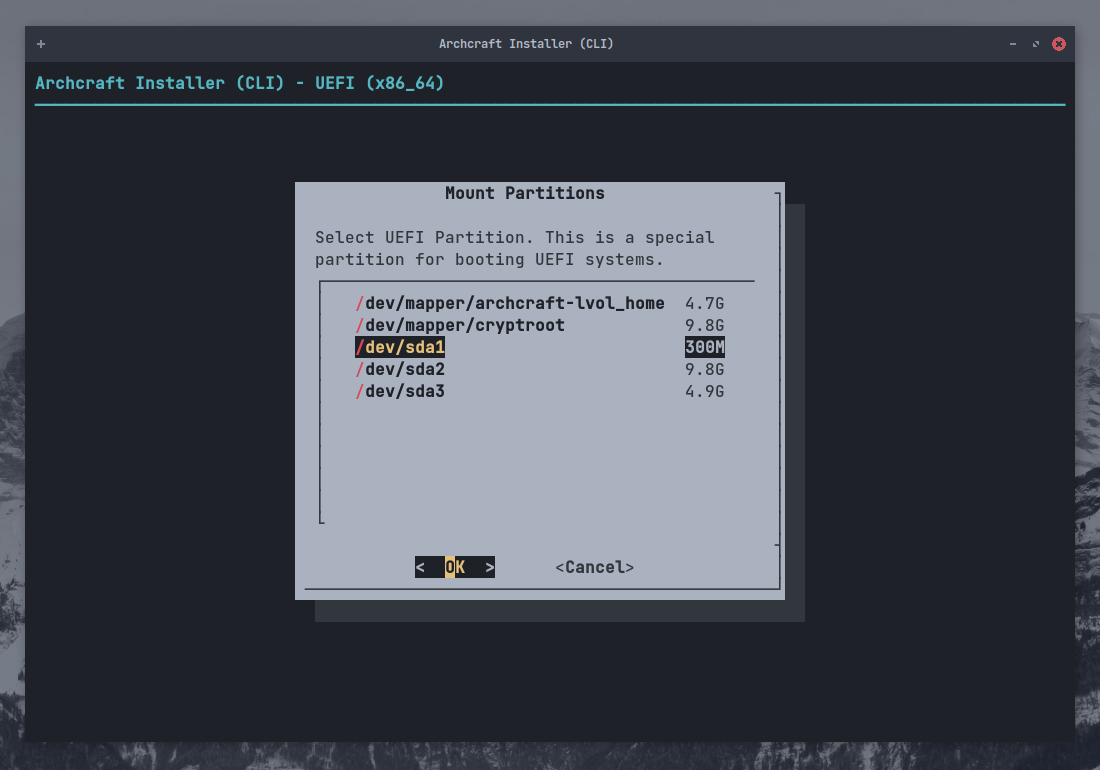
Now, Mount the boot partition. Select your EFI partition (/dev/sda1) and press Enter
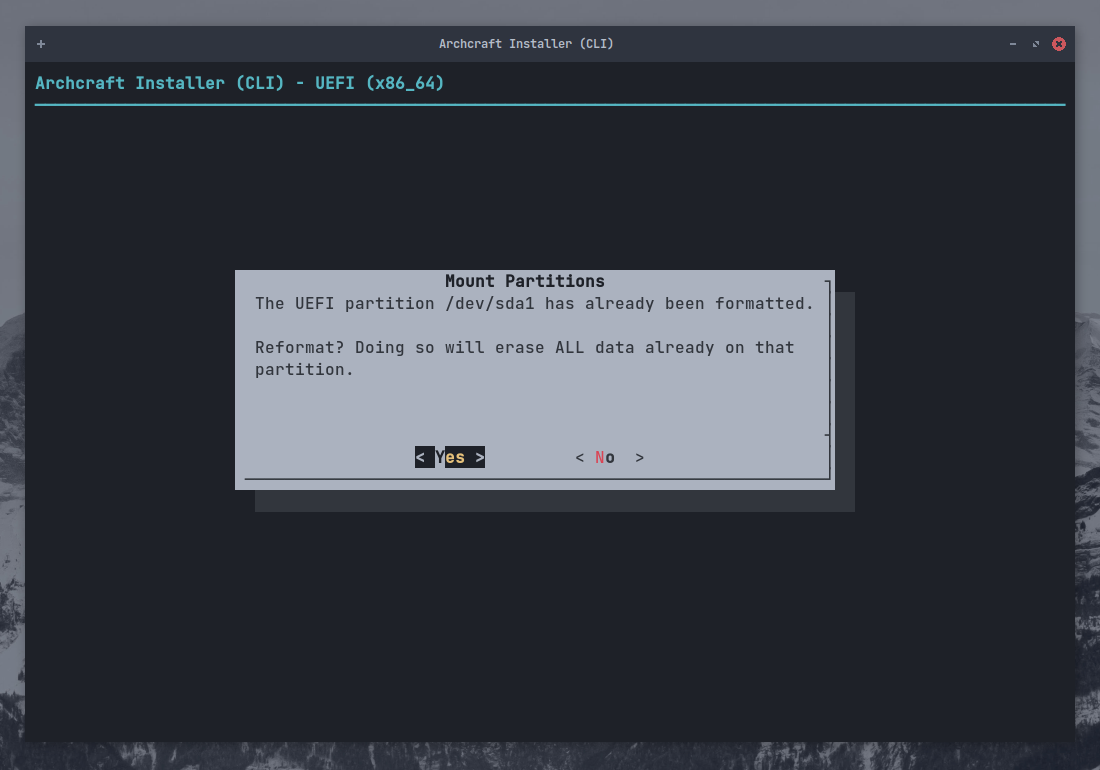
Your system may already have an EFI partition. In that case DO NOT FORMAT IT or you won't be able to boot into other installed OS (Let's say windows)
Just mount the EFI partition to /boot
Select No if you don't want to format the EFI partition and press Enter
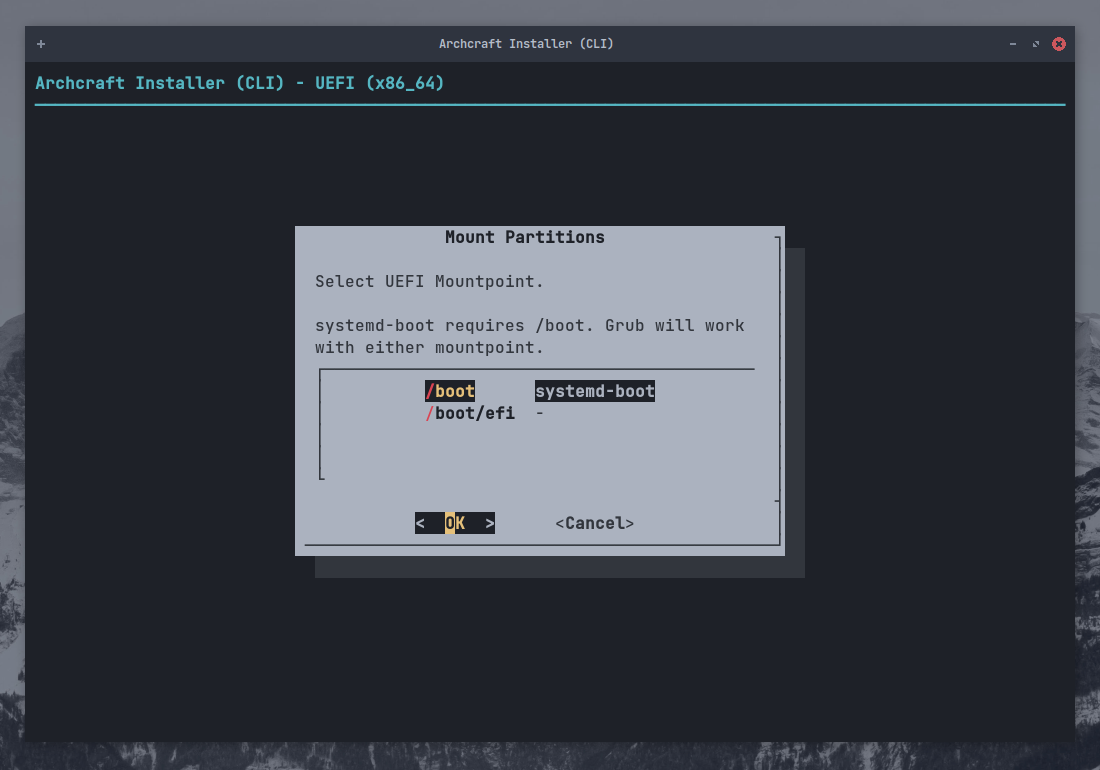
Select /boot as mount point and press Enter
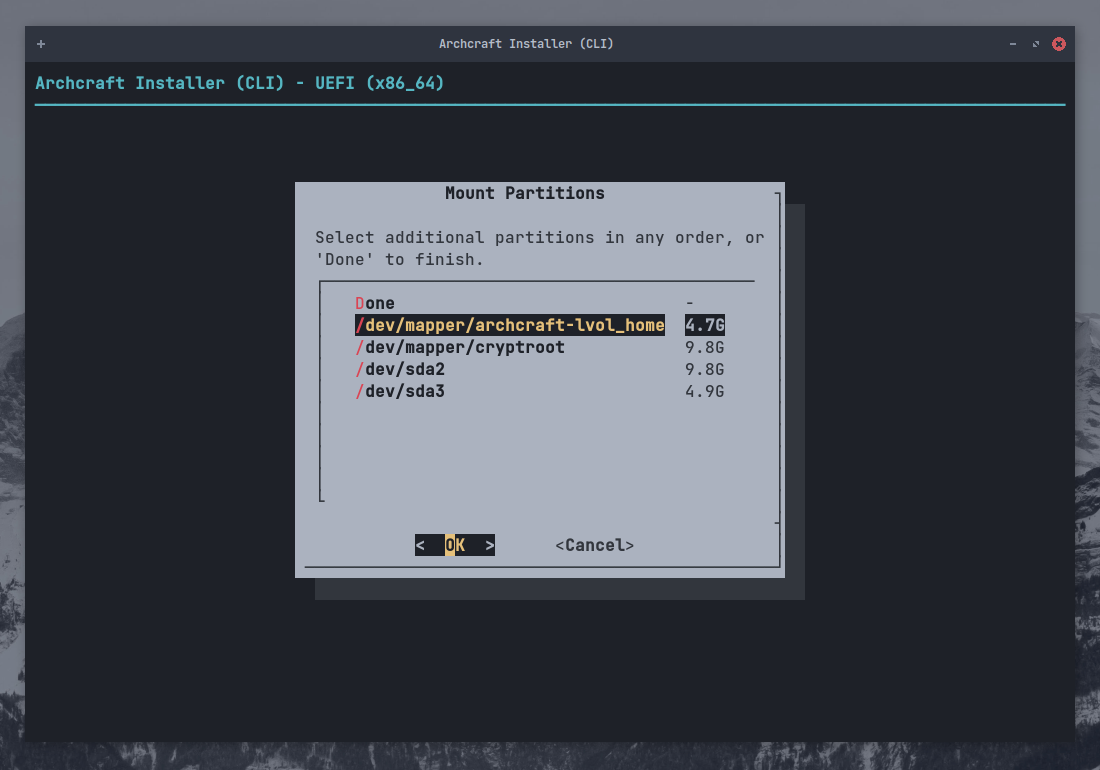
And, Now you can mount the rest of the partitions (for ex: /home) here. Select it and press Enter
Again, Select ext4 (or any other) as FS and press Enter
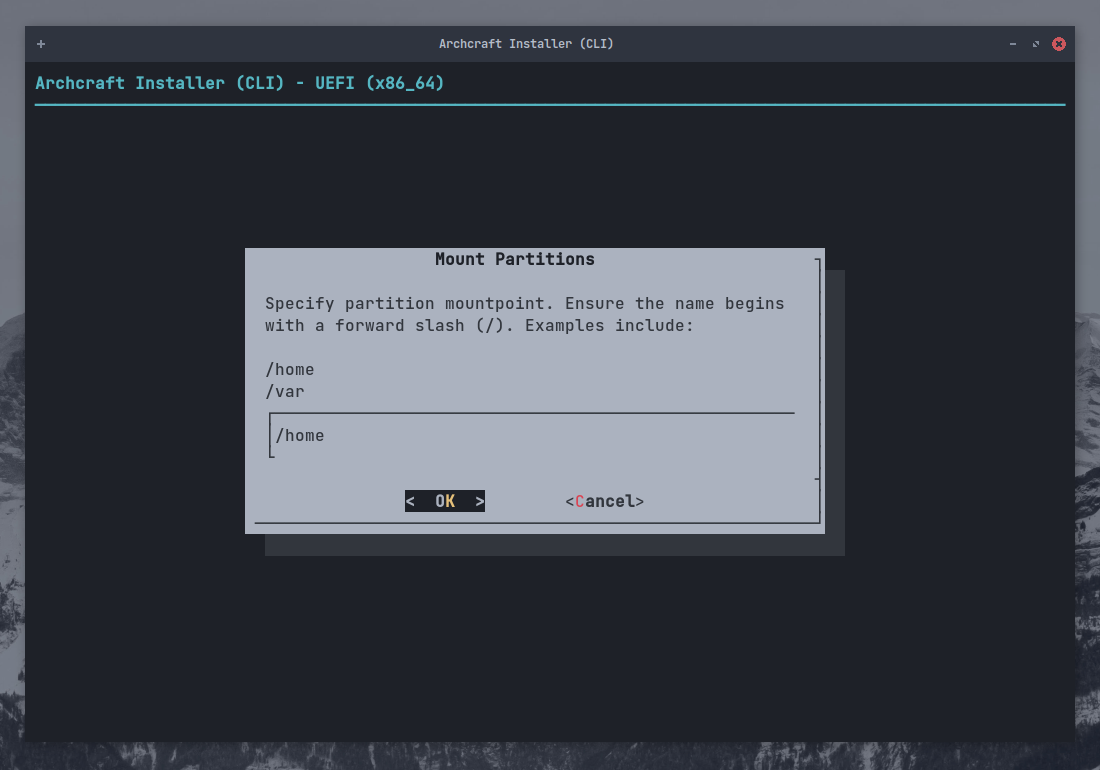
Enter the mount point for the partition and and press Enter
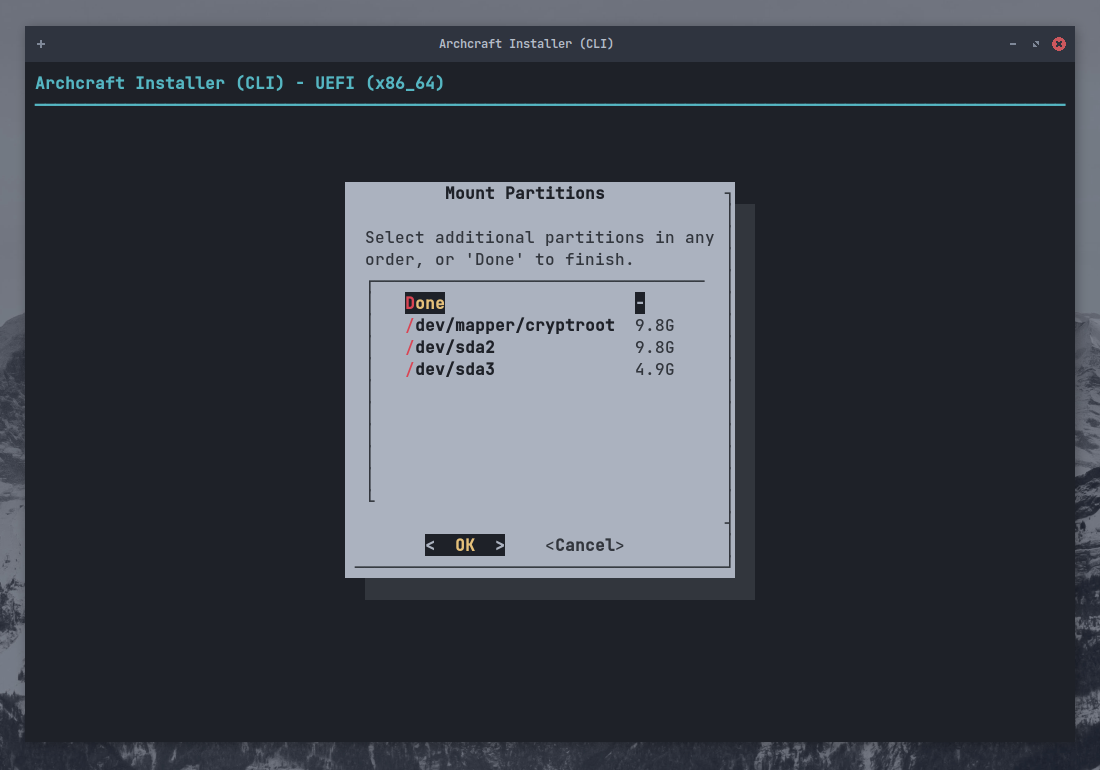
When you're done mounting all the partitions, Select Done and press Enter to exit
Select Back and press Enter to go to Installation.
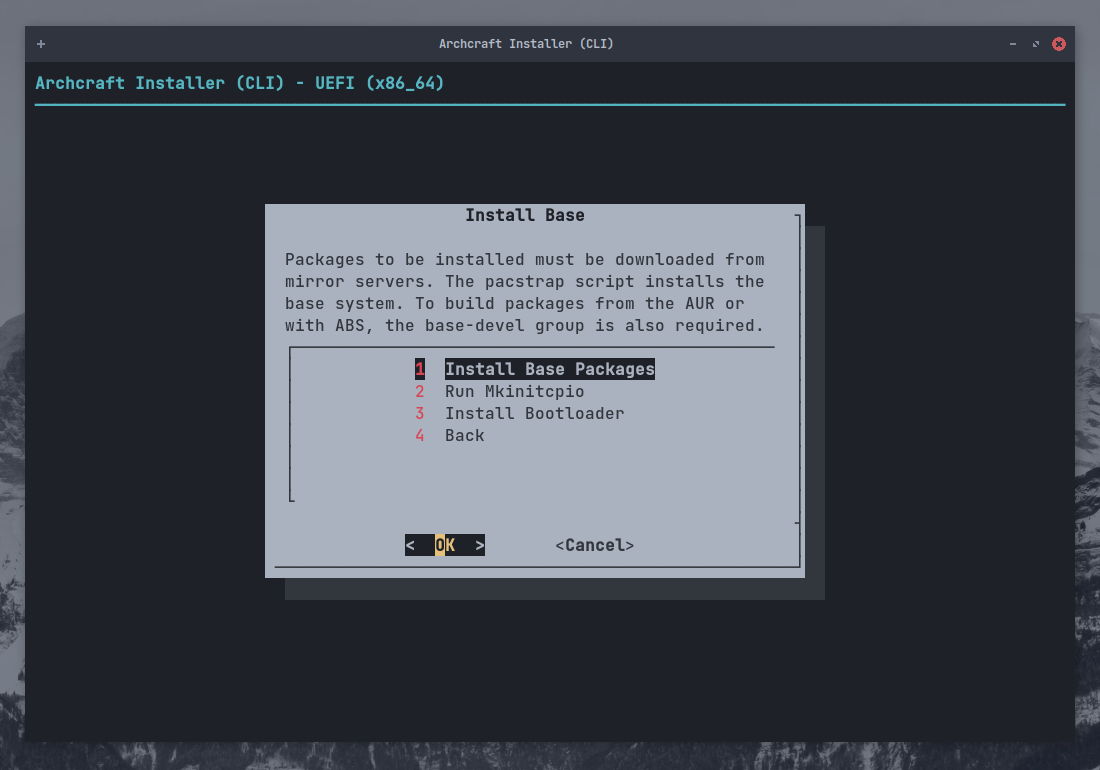
Install Base
Now all the partitions are mounted and ready, Let's install the Base packages
Select Install Base and press Enter

Select Install Base Packages and press Enter
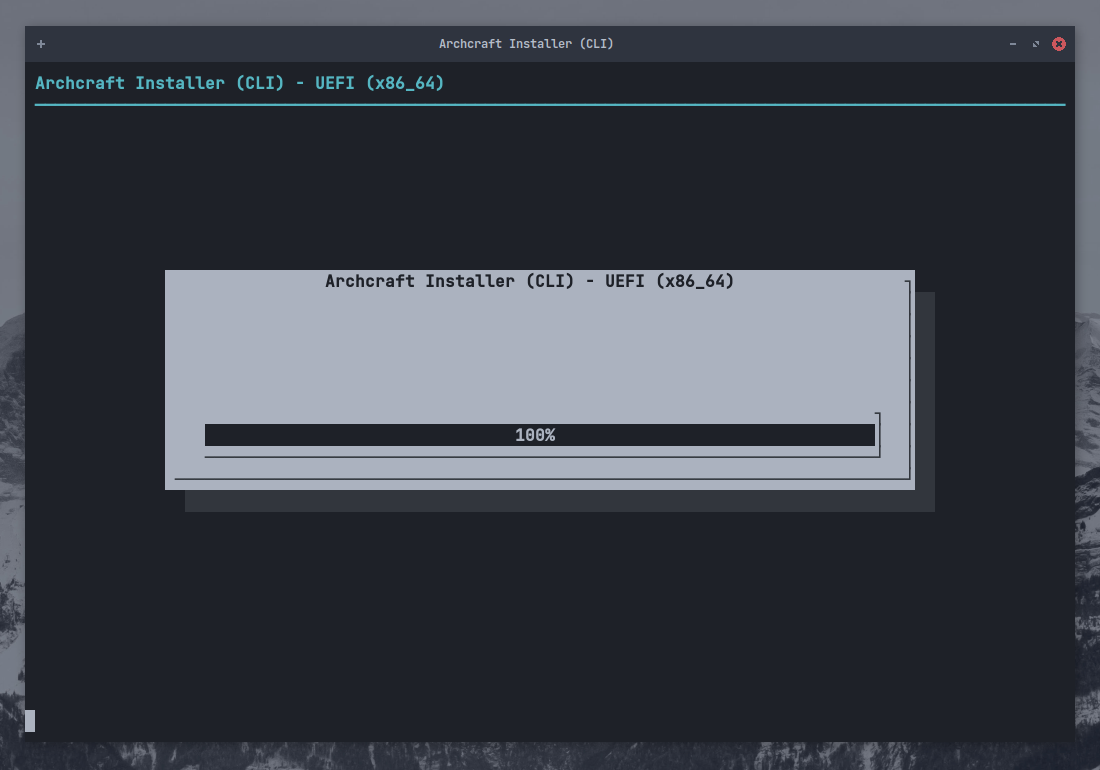
Wait for the installation to complete. In the meantime, Lighten Up Your Mood...
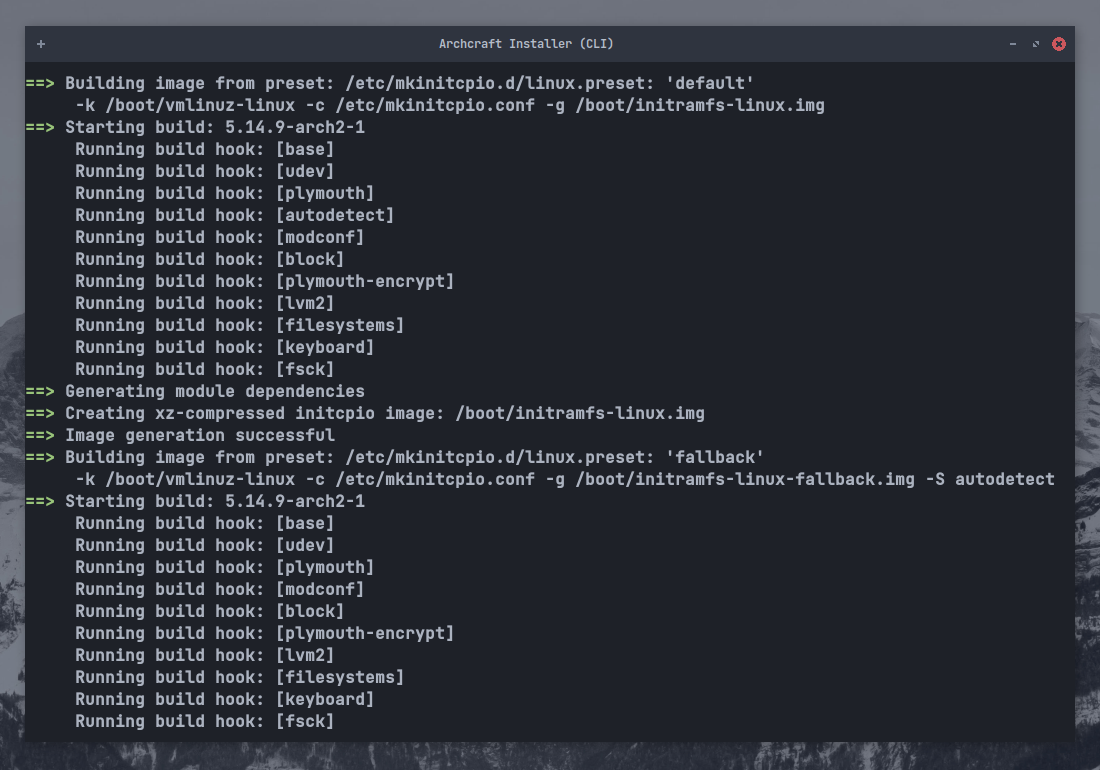
After the installation is done, Select Run Mkinitcpio and press Enter
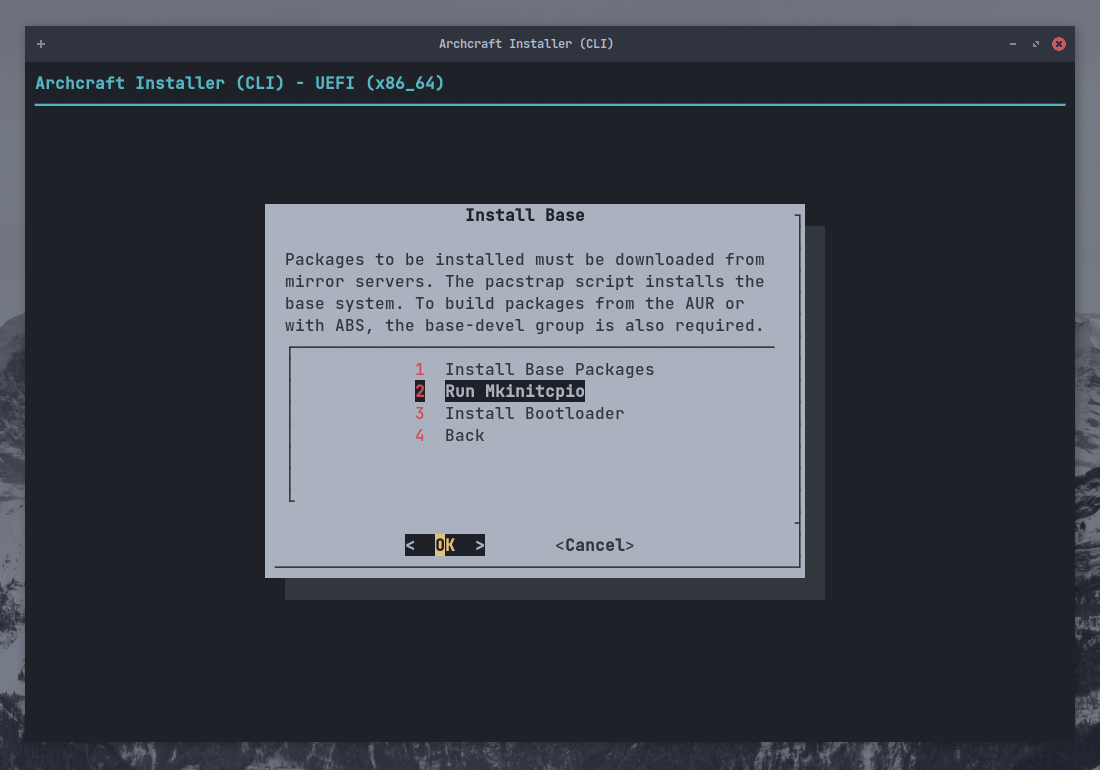
This will generate the initramfs-linux and initramfs-linux-fallback.
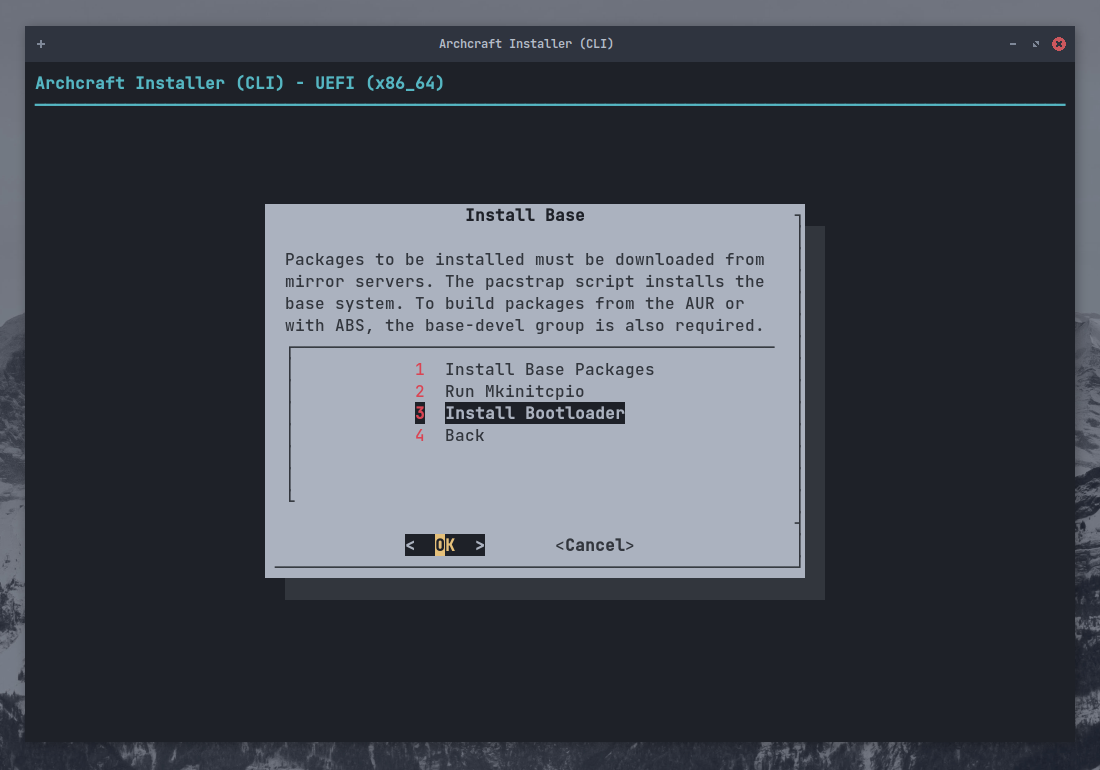
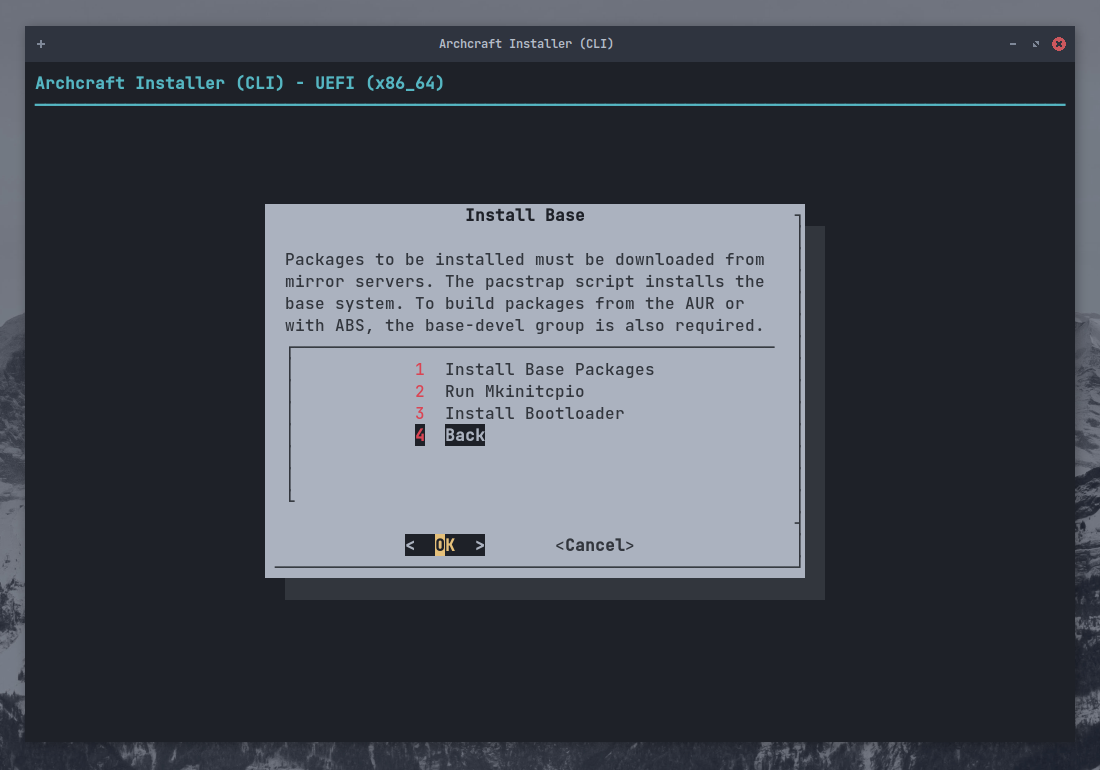
Select Install Bootloader and press Enter
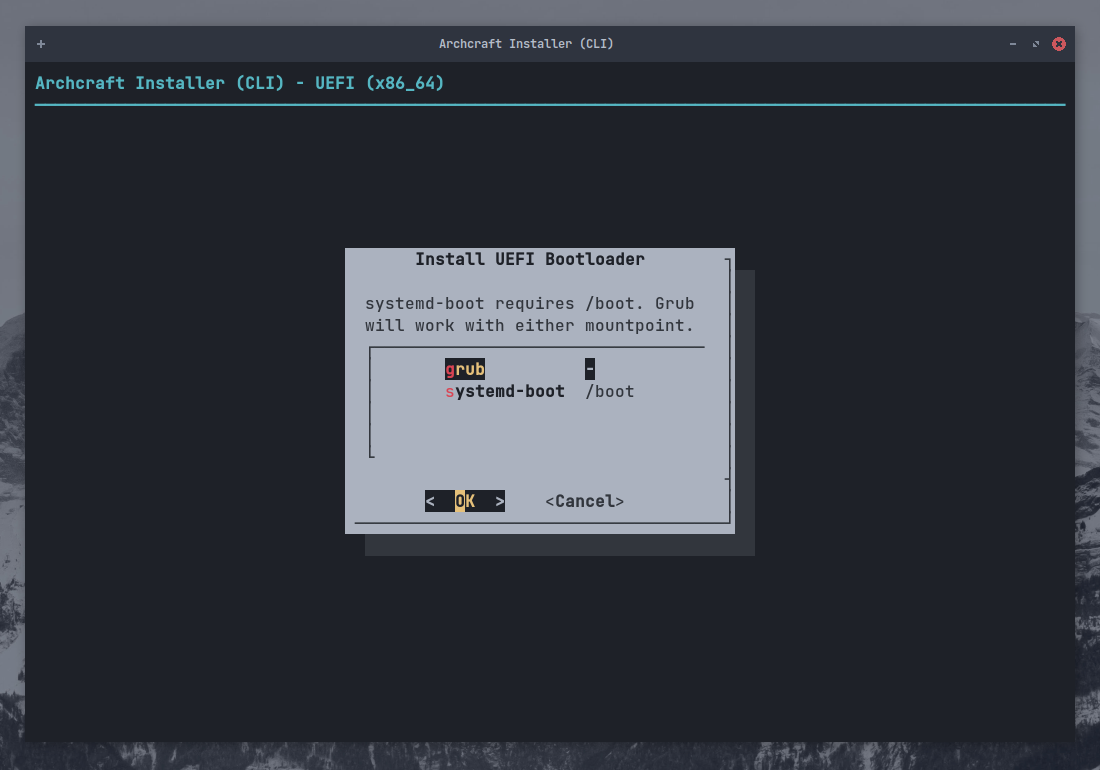
Select grub as bootloader and press Enter
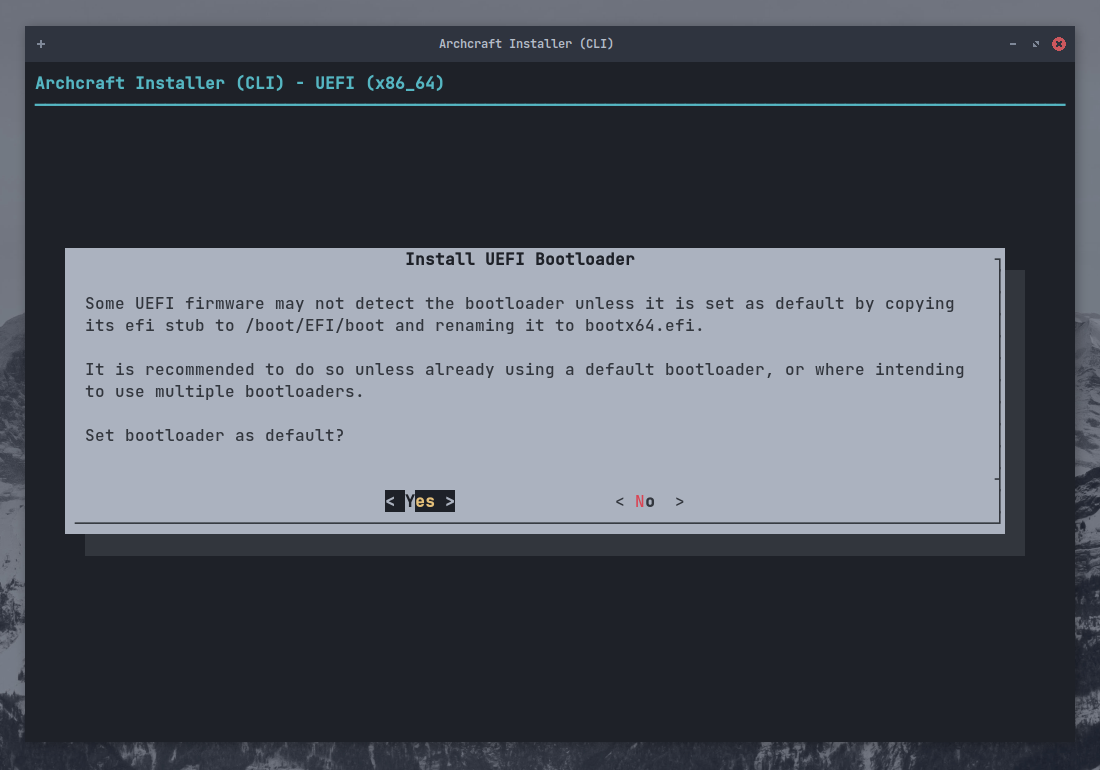
Select Yes to make grub default bootloader and press Enter
Select Back and press Enter to exit installation.
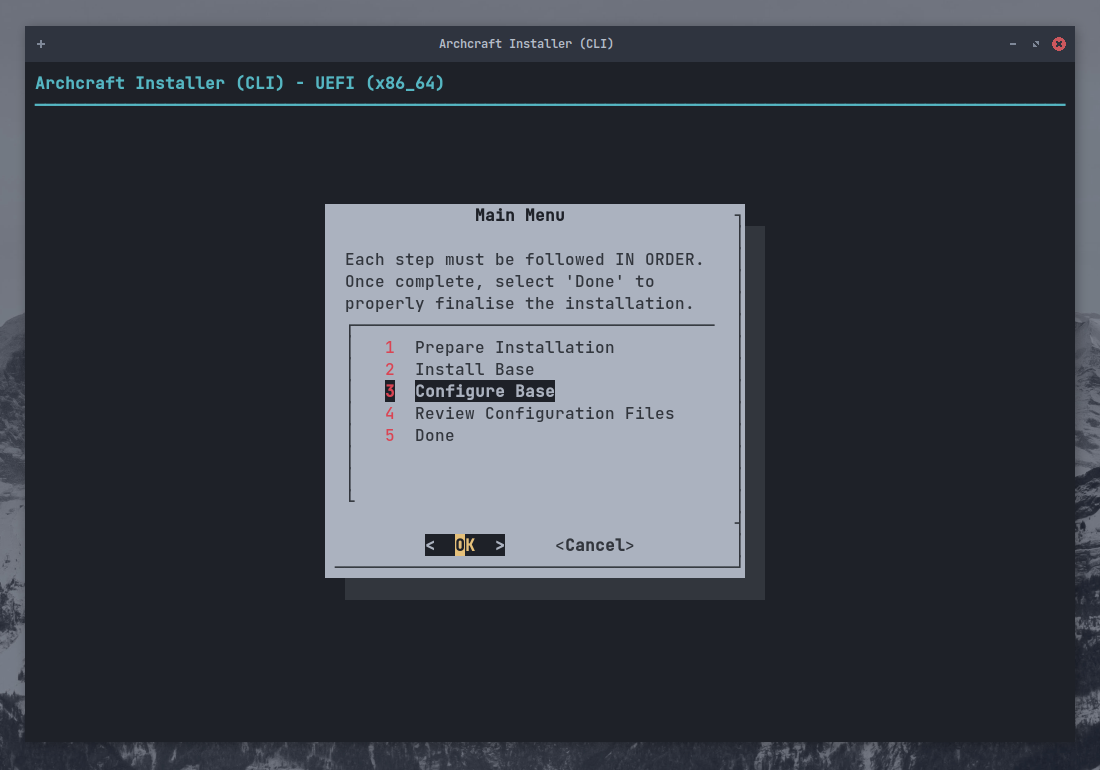
Configure Base
Archcraft is installed on your system. It's time to configure your installation.
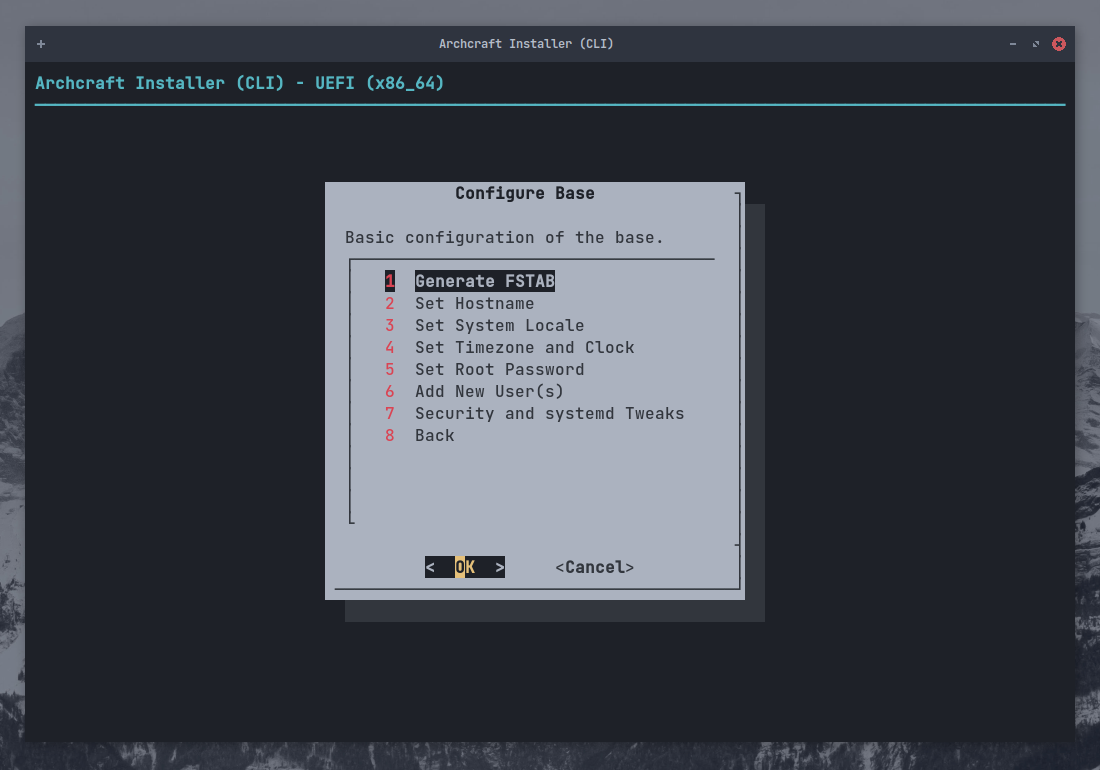
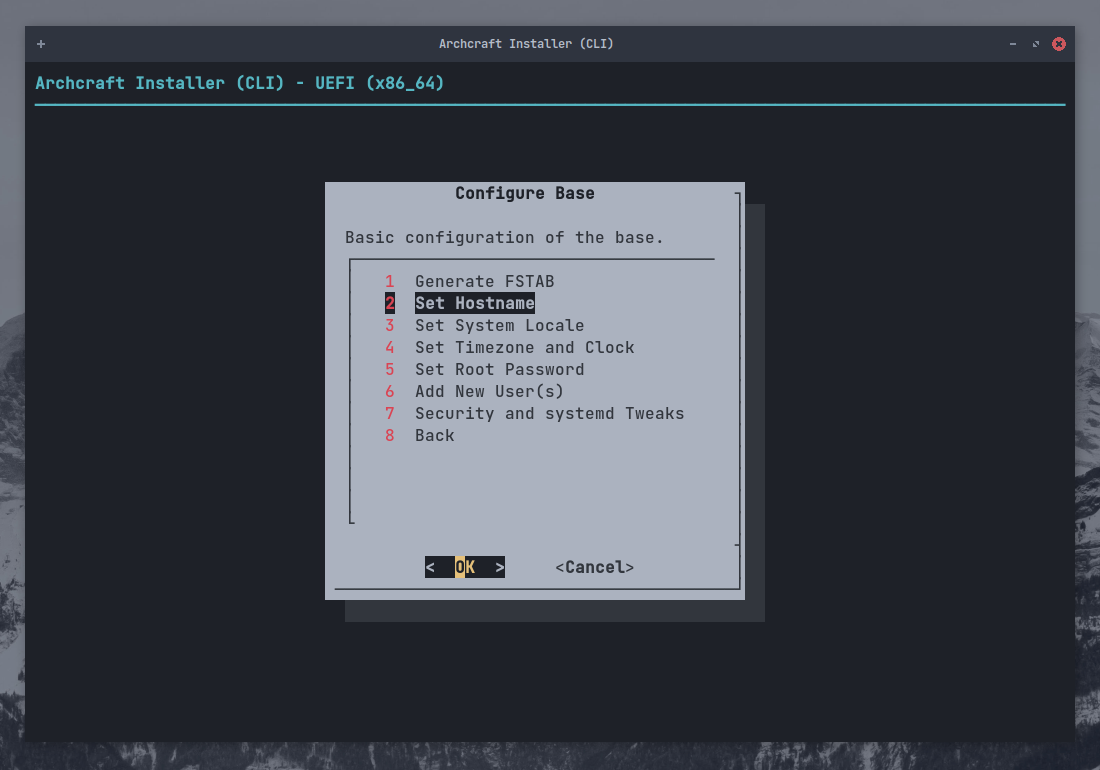
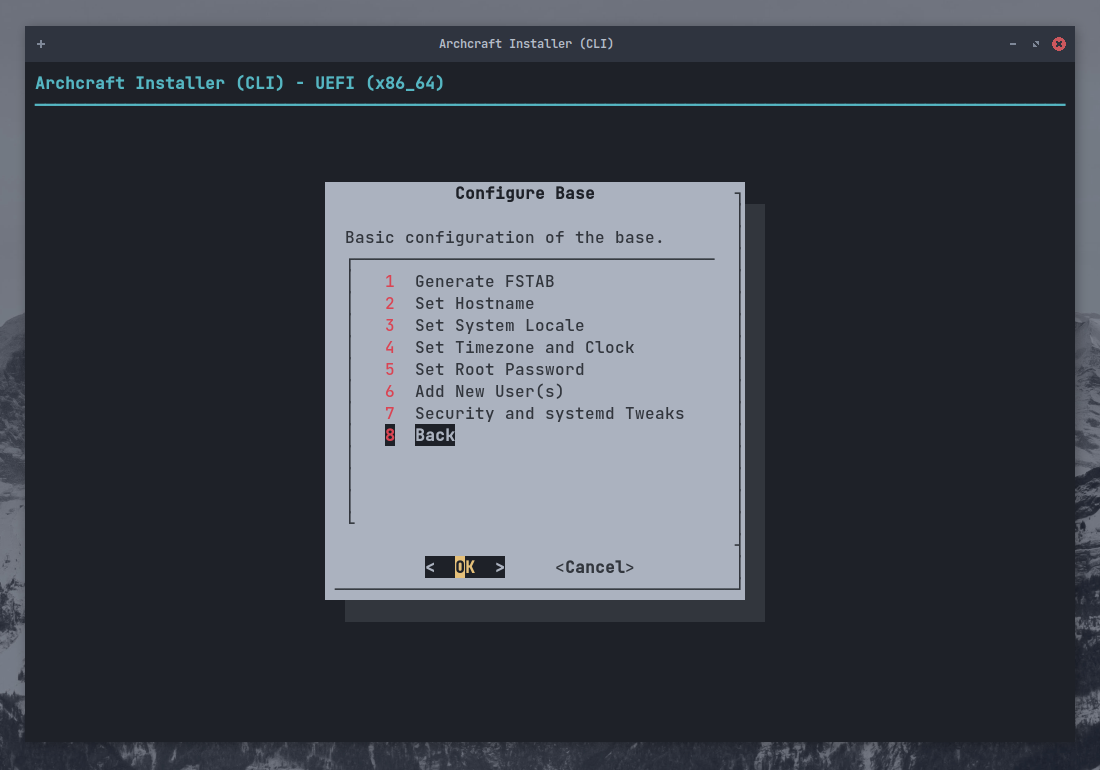
Select Configure Base and press Enter
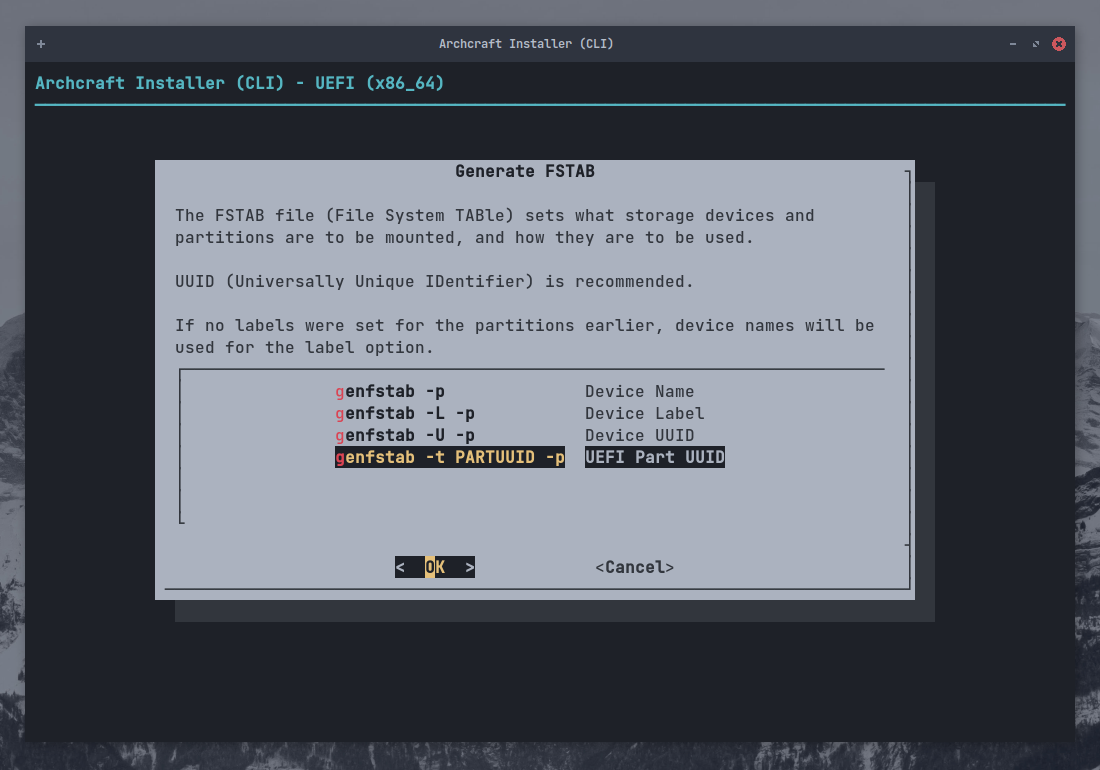
Select Generate FSTAB and press Enter
Select Part UUID for UEFI and Device UUID for BIOS and press Enter
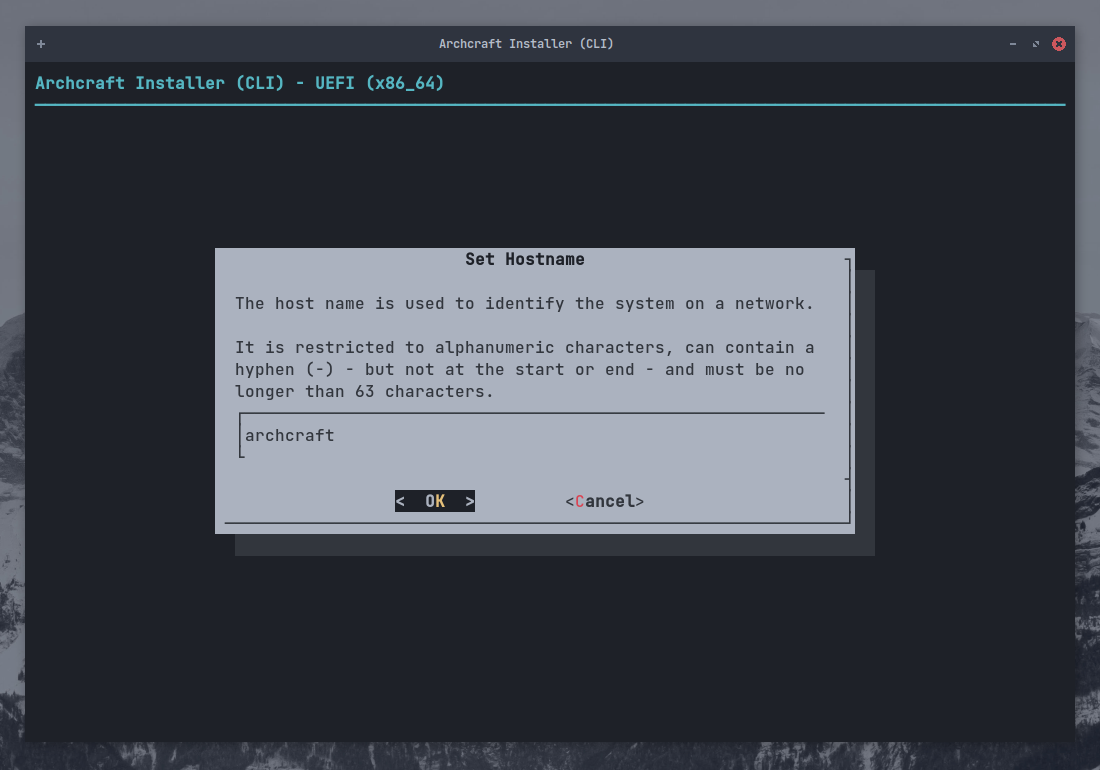
Select Set Hostname and press Enter
Enter the hostname for your system and press Enter
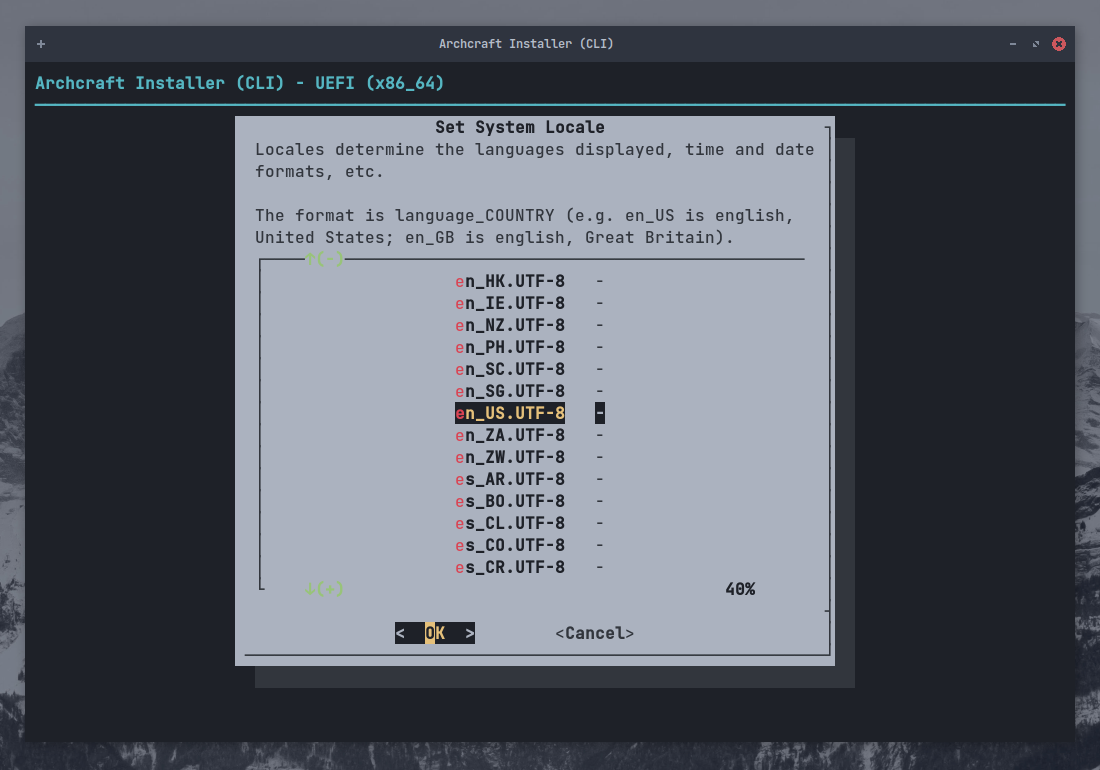
Select Set System Locale and press Enter

Select the locale you want to use (en_US.UTF-8 for US English) and press Enter
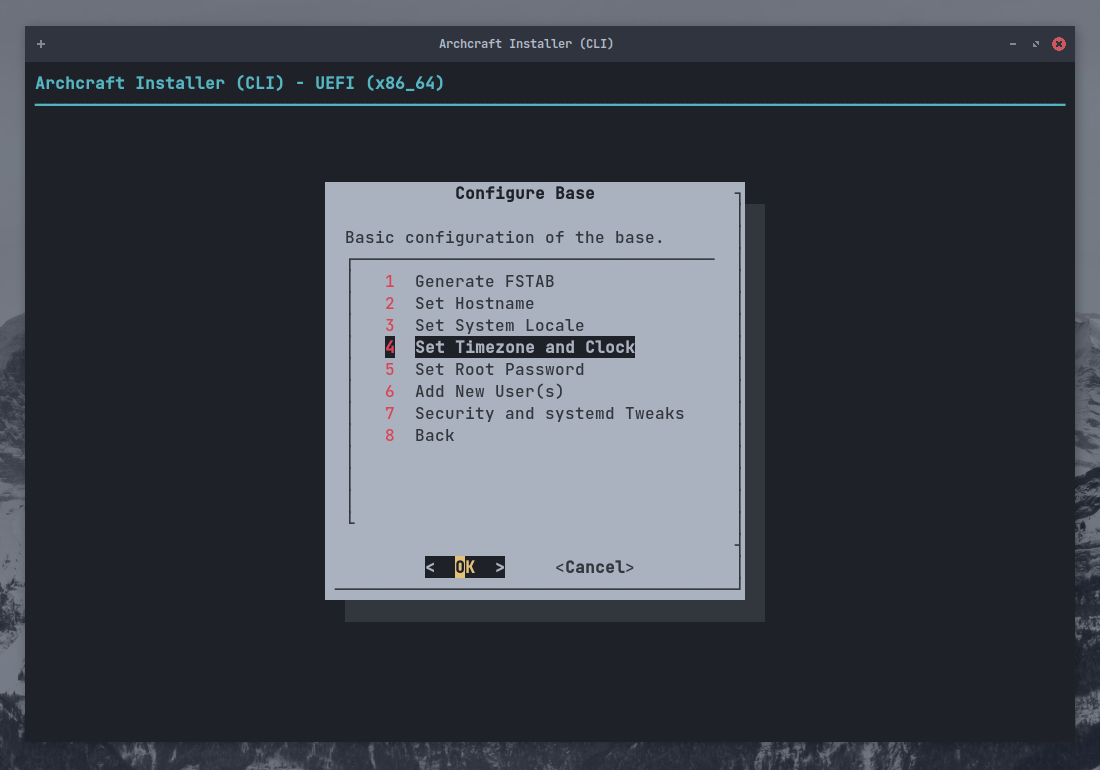
Select Set Timezone and Clock and press Enter
Select your Time Zone (eg : ASIA) and press Enter
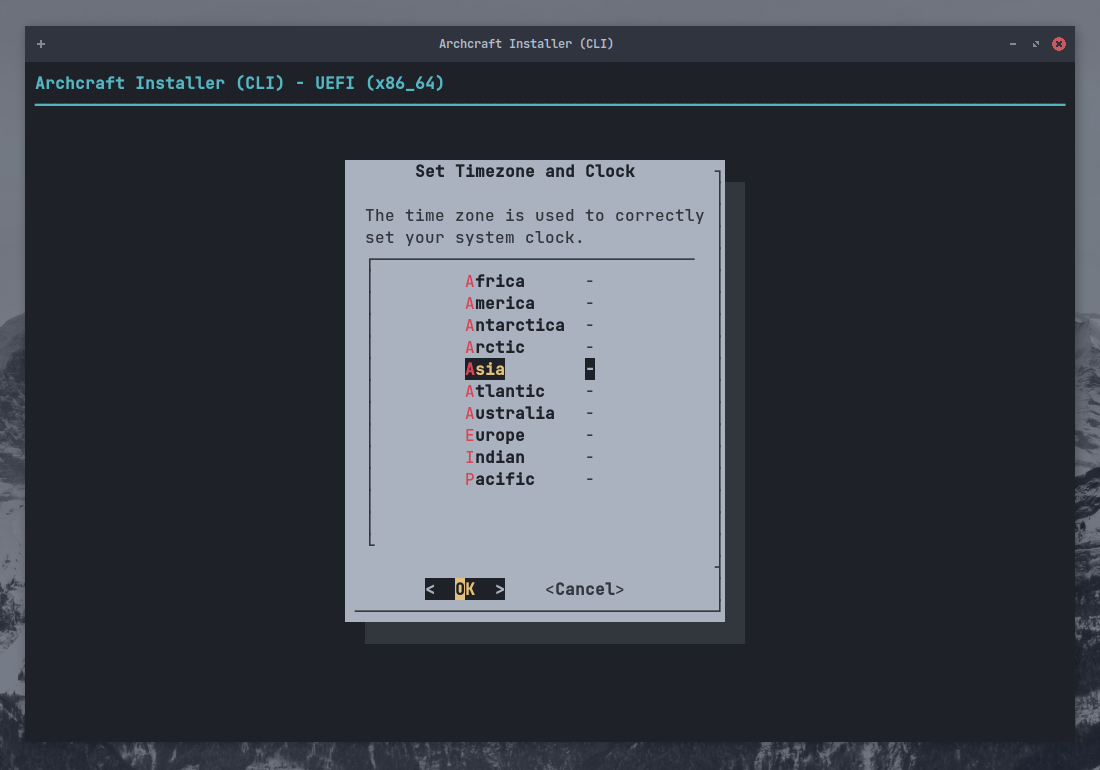
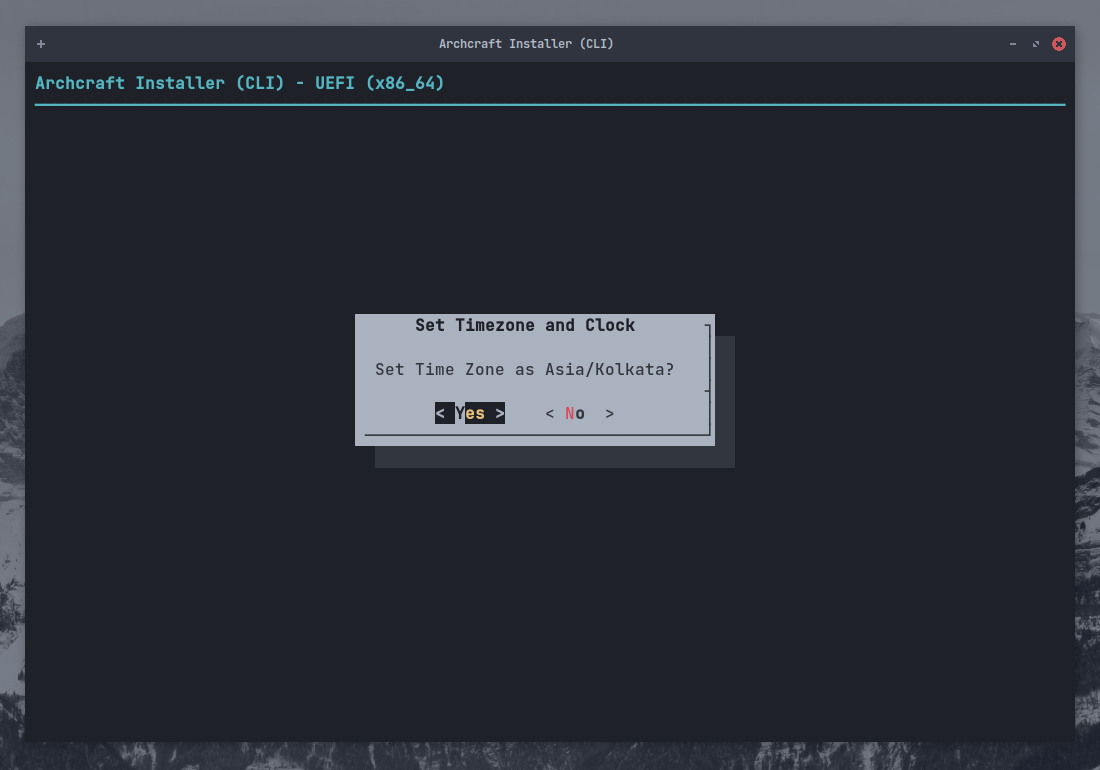
Select your Region (eg : Kolkata) and press Enter

Select Yes and press Enter
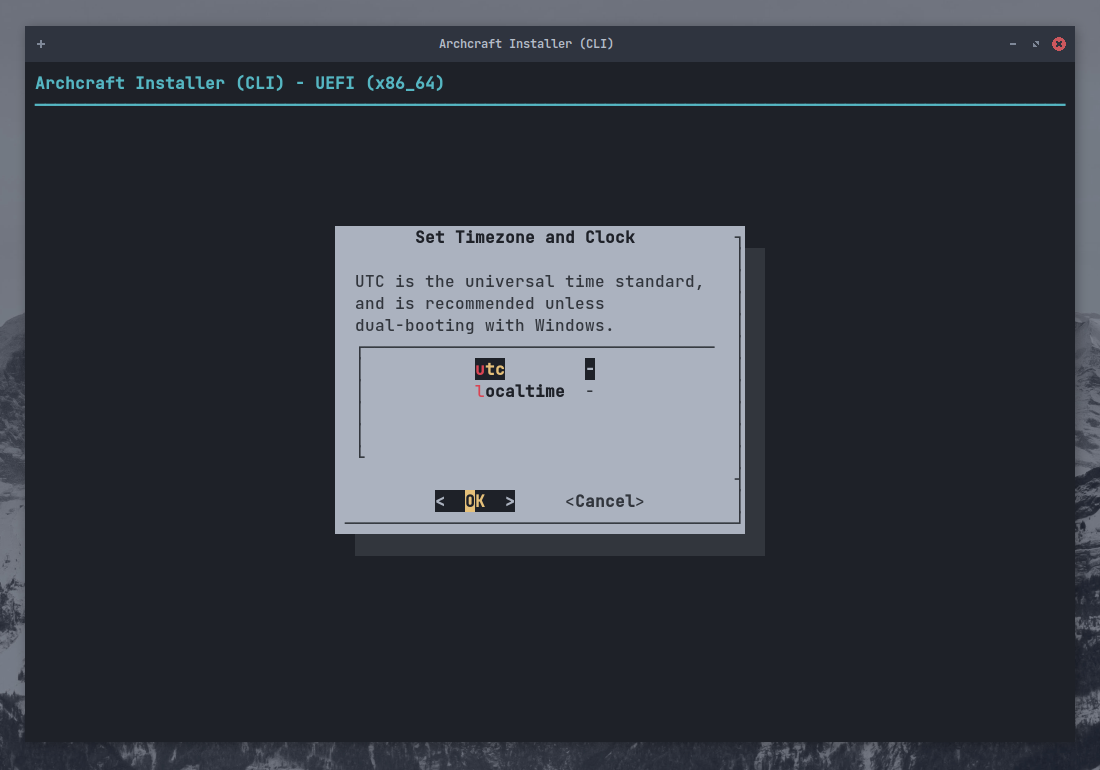
Select utc and press Enter
To dual boot with Windows it is recommended to configure Windows to use UTC, rather than Linux to use localtime. (Windows by default uses localtime)
Select Set Root Password to set a password for root and press Enter
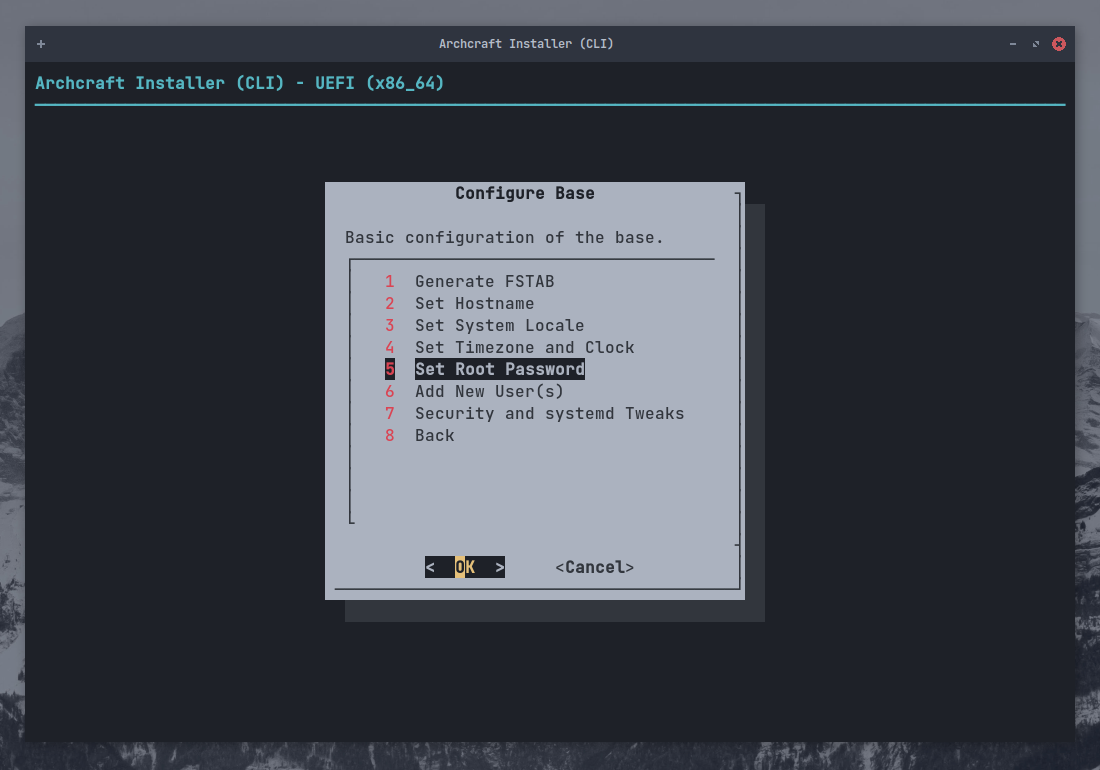
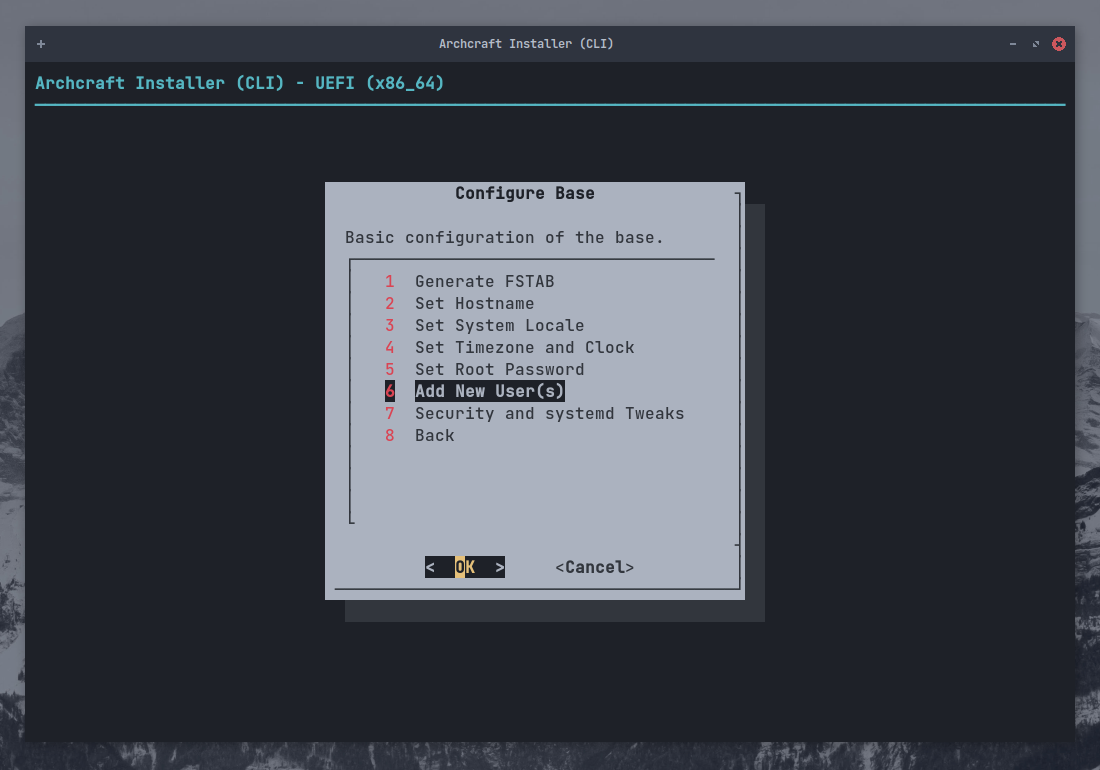
Select Add New User(s) to create new user account(s) and press Enter
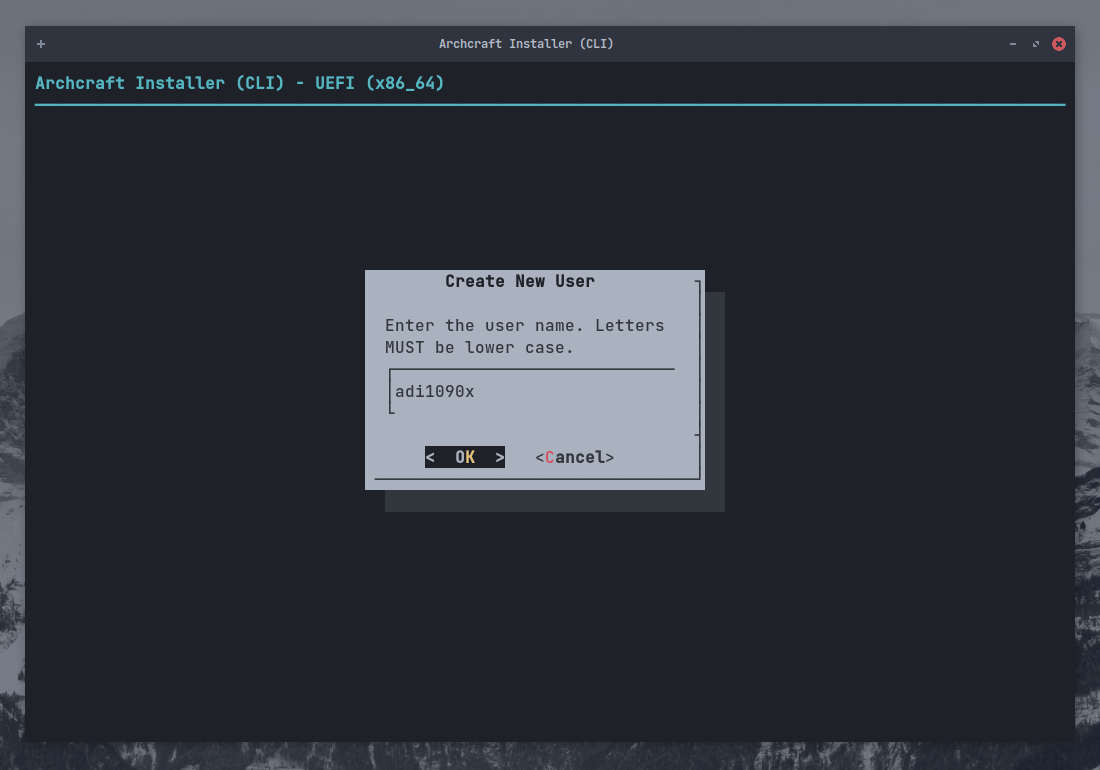
Enter username and press Enter
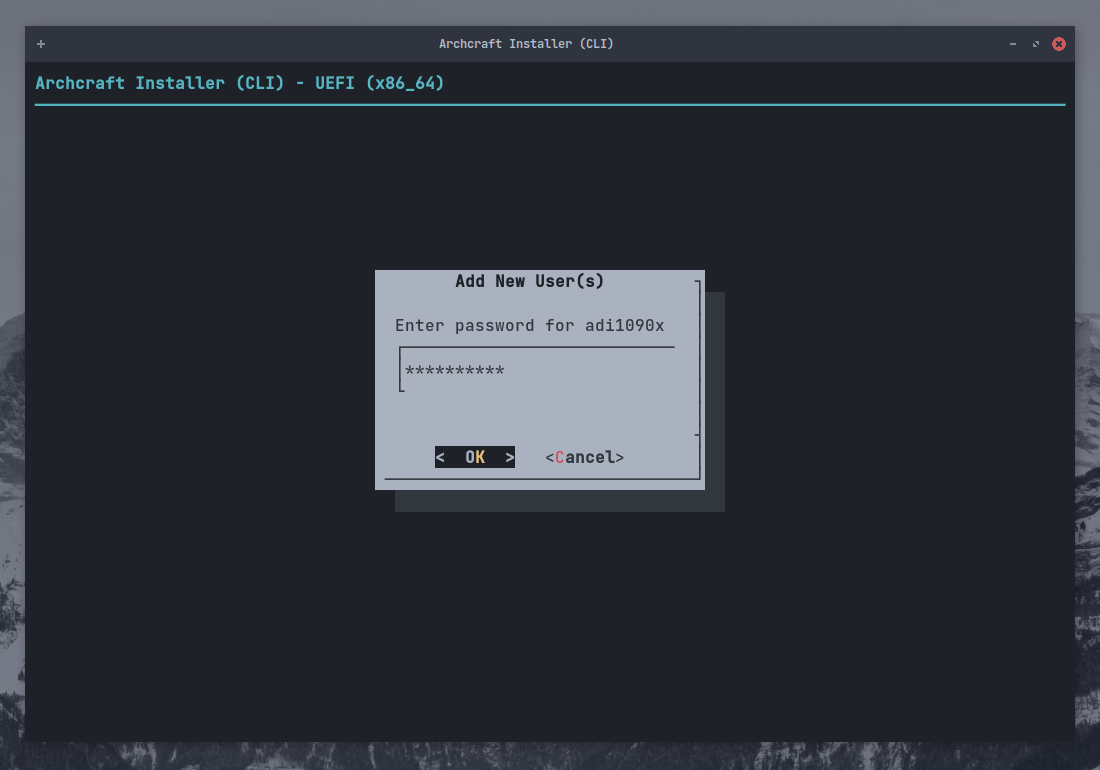
Enter password for your user account and press Enter. Confirm the password.
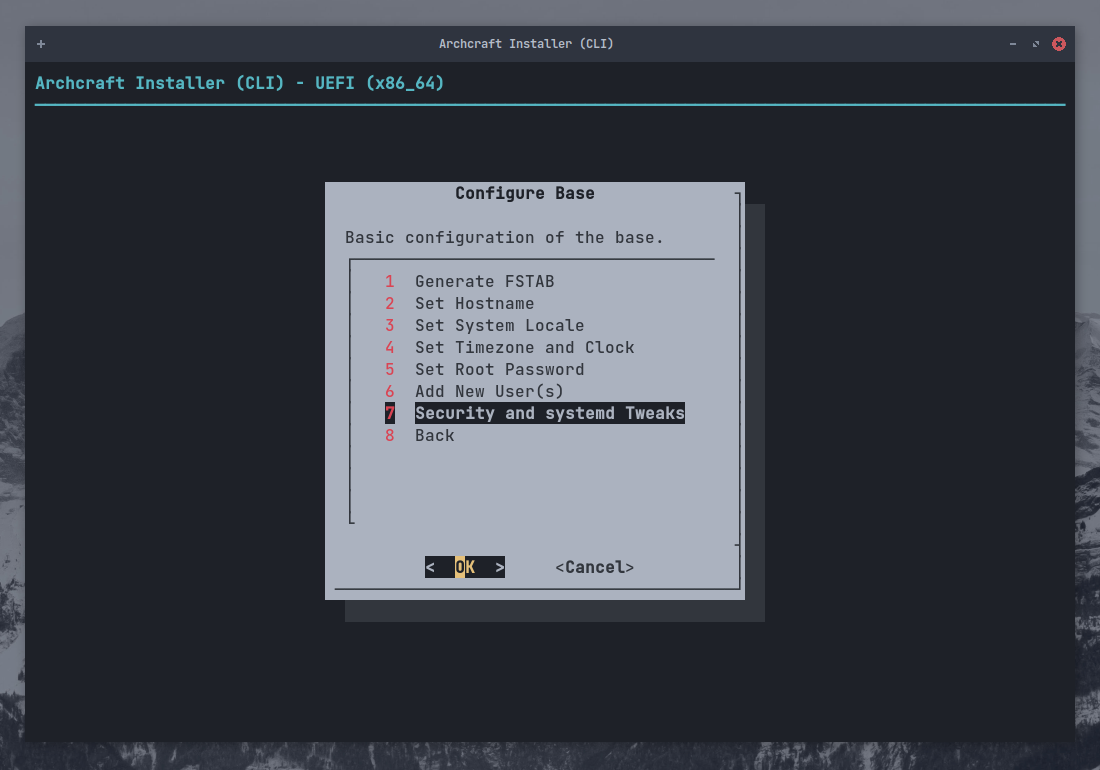
Select Security and systemd Tweaks to tweak that stuff (If you know what to do) and press Enter
When you're done, Select Back and press Enter to exit.
Review Config files
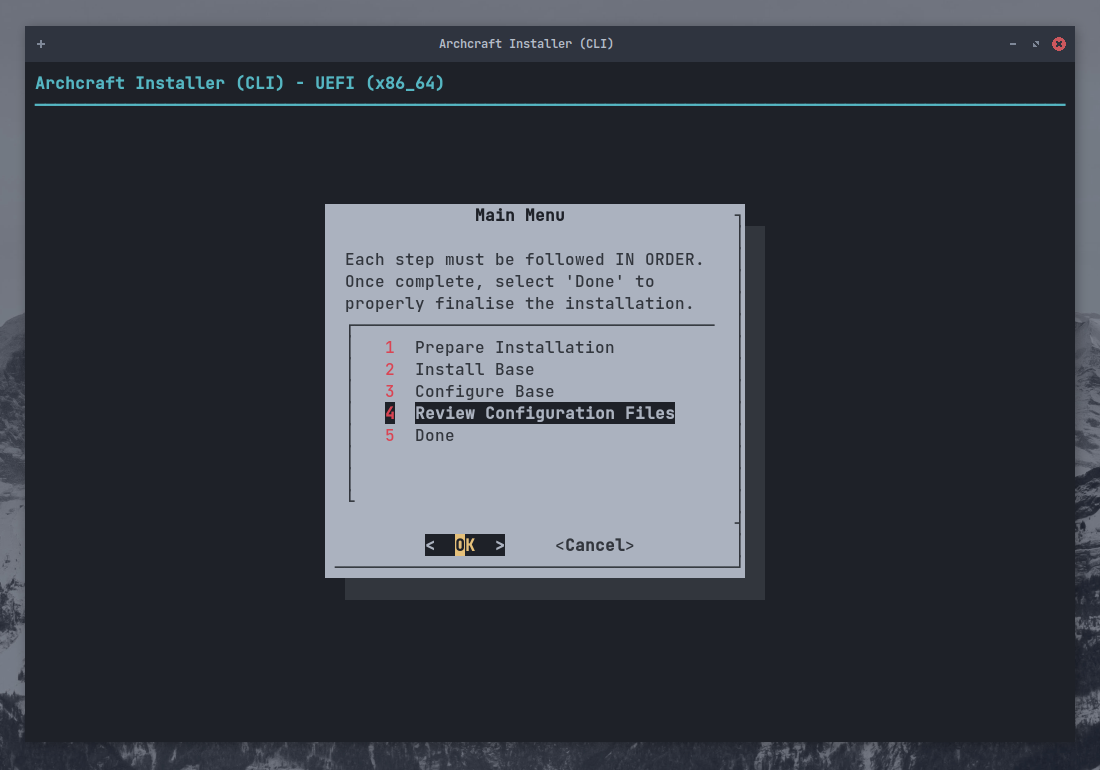
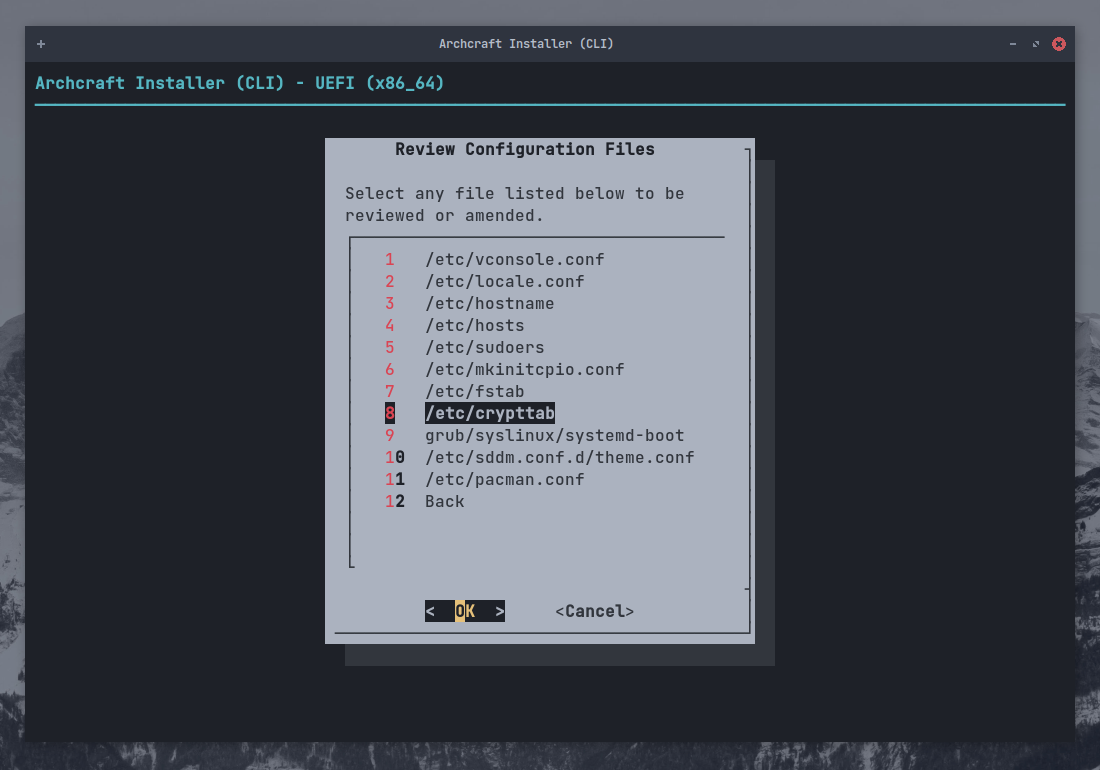
Select Review Configuration Files and press Enter
Select the file you want to view and press Enter. When you're done, Select Back to exit.
Finish
Everything is completed... You can now Quit the installer and reboot the system.
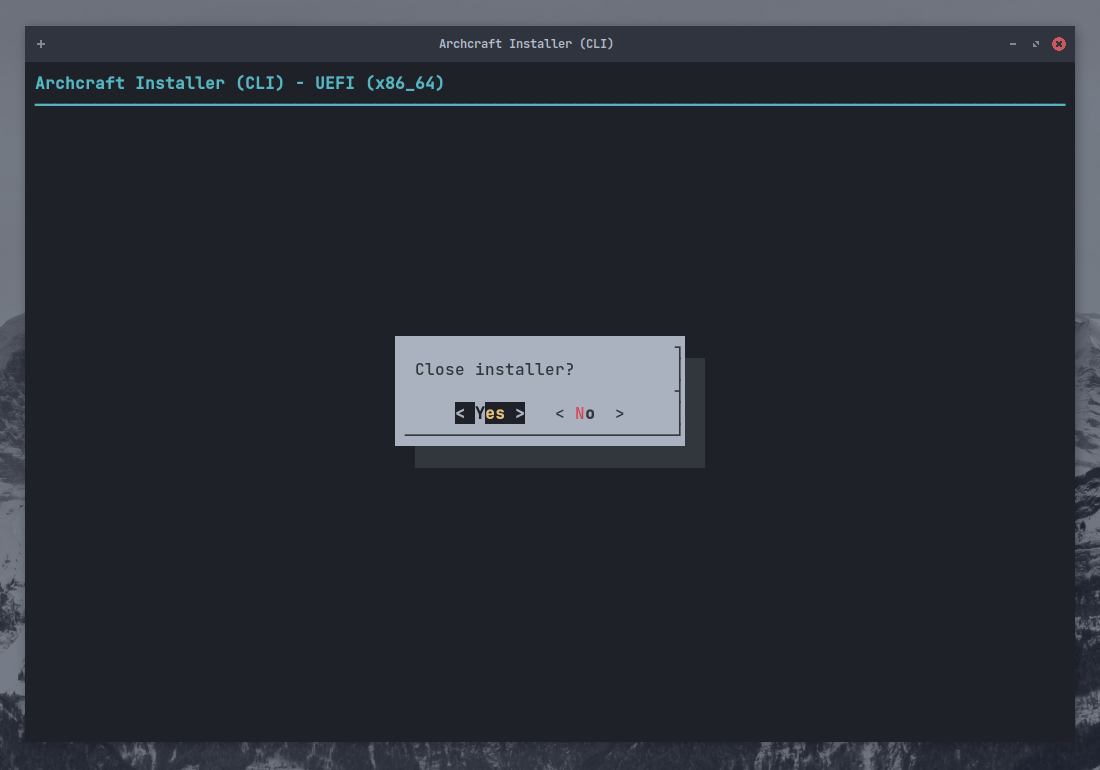
Select Done and press Enter
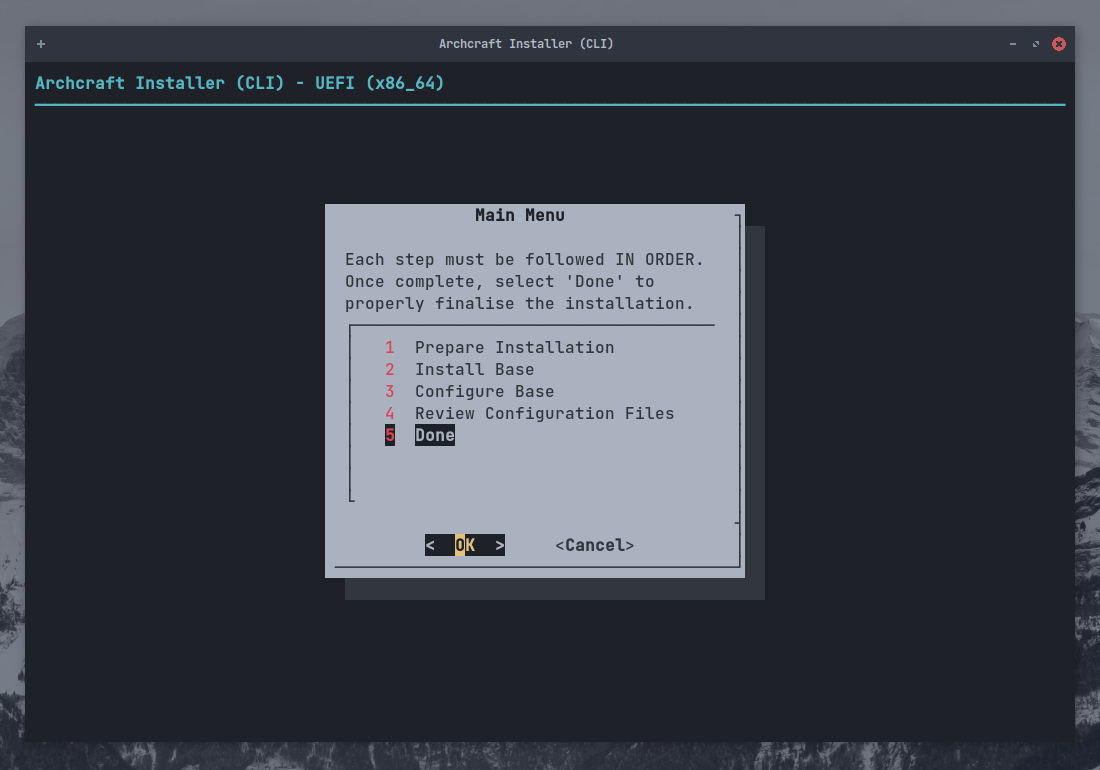
Select Yes and press Enter to quit.
Reboot into your newly installed system.
Well, That’s it! Archcraft is installed on your system. Enjoy!